Are you looking for a contractor?
Submit our quick form and get quotes now!
Table of Contents
6 min read
Maintenance Tips for Bathroom Tiles
6 min read
Maintenance Tips for Bathroom Tiles
FlooringMaintenance Tips for Bathroom Tiles
Tiles come in all kinds of colours, shapes and sizes, keeping bathroom floors waterproof and beautiful. However, like any home surface, they need proper maintenance to uphold their elegance while preventing cracking, mould or mildew growth.
Bathroom tile care and conservation will depend on the type of material, though there are several ways homeowners can maintain tiles regardless of what they’re made from.
Regular care and maintenance are not only important to tile appearance but also to their longevity. If you want tiles to last, you must take diligent care of them. Luckily, tiles are easy to clean and maintain with a few key things that need to be upheld.
Read on to find our tips for bathroom tile maintenance
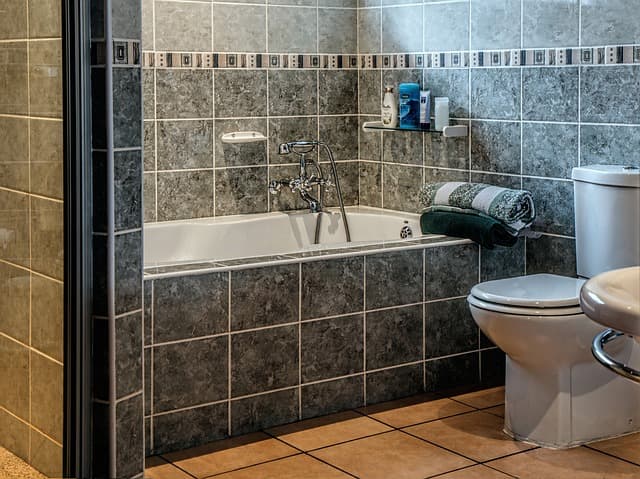
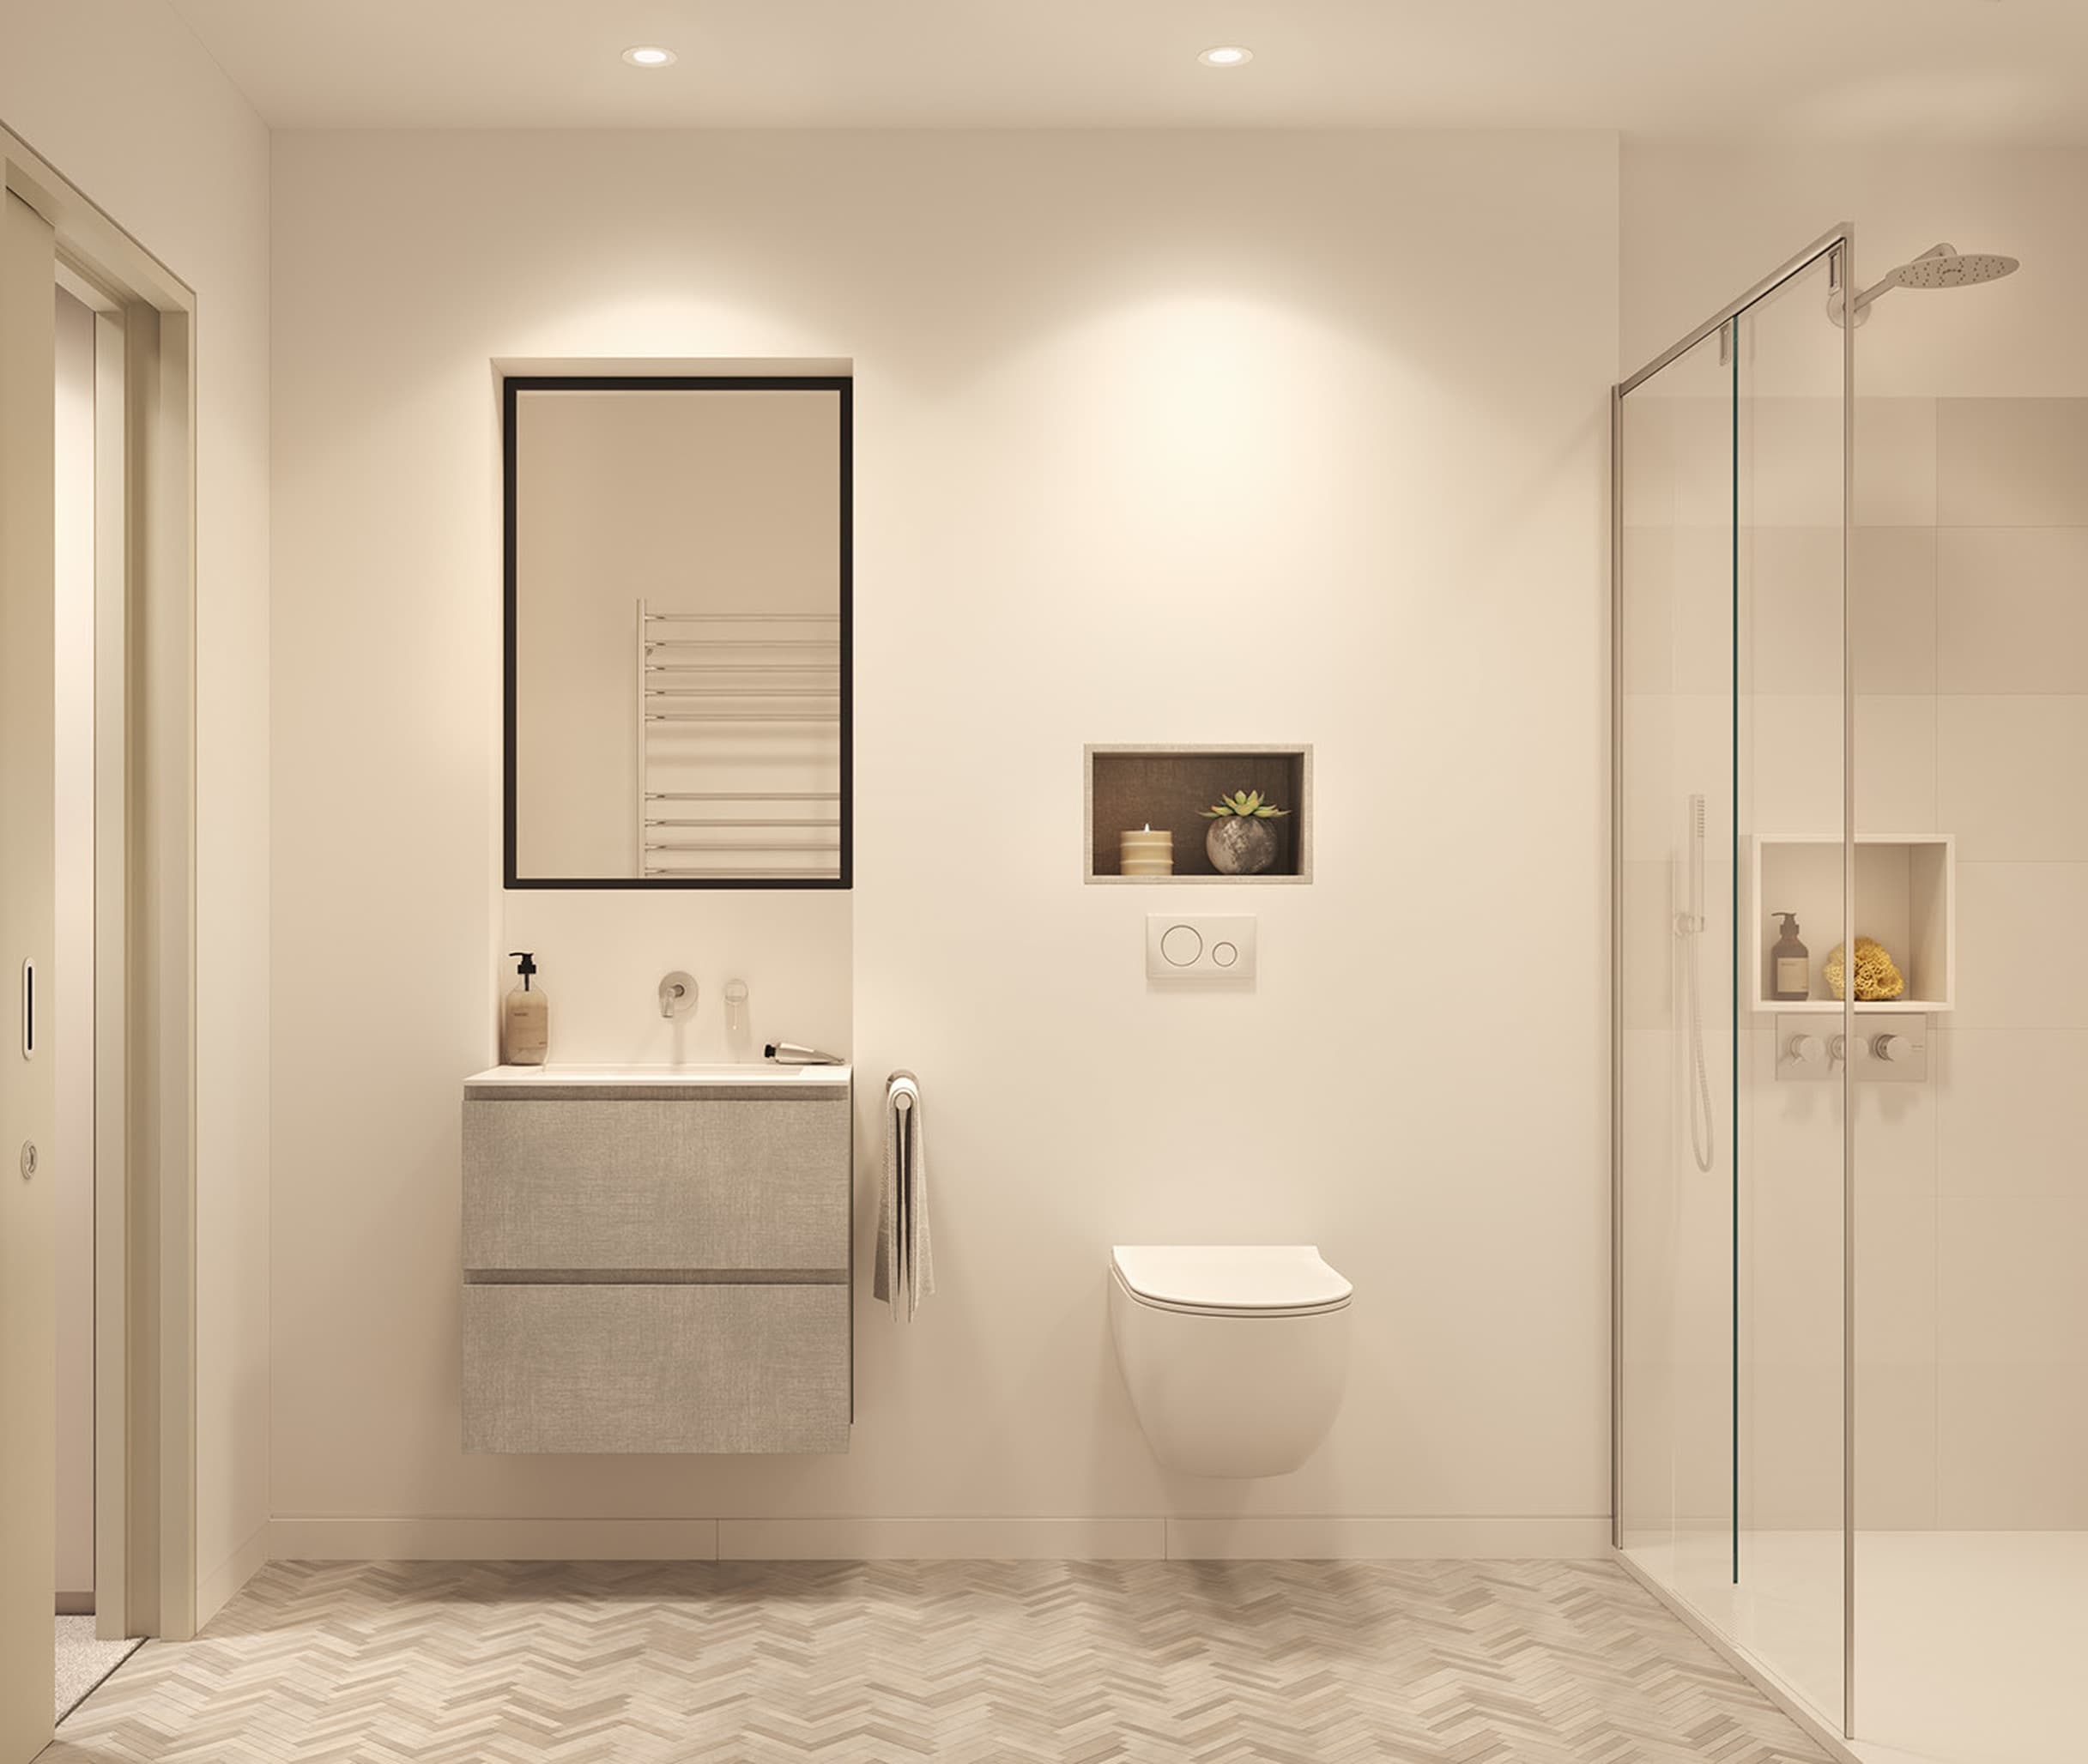
Routine Tile Care
source: Pixabay, Brett_Hondow
It is important that you routinely care for your bathroom tiles. Instead of cleaning them every so often, or just when you notice dirt building up on grout, set aside a time once a week or at least twice a month to take on bathroom tile maintenance. This job isn’t tough and doesn’t require special chemicals or solutions, as a regular all-purpose cleaner should suffice. Dilute the cleanser in a large bucket of hot water and tiles can be mopped or scrubbed to restore their colour and shine.
If you find areas of your bathroom floor with extra dirt buildup, transfer the solution into a spray bottle and spritz areas that need special attention. Let the solution stand for at least 15 minutes and then wipe away with a cloth.
If you’re more environmentally conscious or trying to avoid using chemicals, baking soda and vinegar are natural cleaning solutions that many homeowners adopt for their superb cleaning abilities. White vinegar works particularly well on hard water stains, and this can be used alone diluted in water and loaded into a spray bottle. Make sure to wear gloves when performing tile cleaning, as chemicals, natural or otherwise, can be hard on the skin.
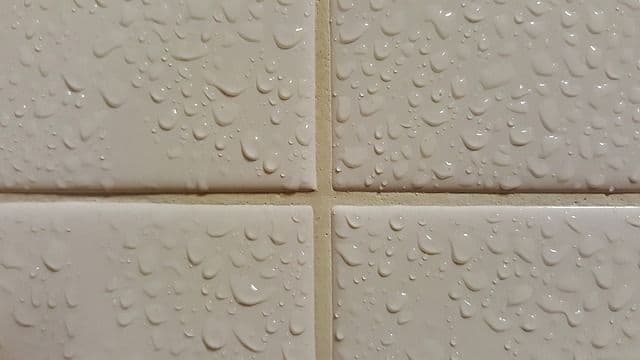
Tile Grout Maintenance
Tile grout needs to be kept clean, as this is where mould and mildew will grow. Although a monthly or bi-monthly cleaning of your tiles will help to keep grout clean, this will mostly work to remove surface debris from the tile surfaces themselves. Even the cleanest tile will look awful when surrounded by dirty grout.
To treat heavy buildup, mould or mildew, baking soda and hydrogen peroxide can be used. Create a paste from baking soda and water, and clean grout by spreading the paste between tiles, letting it stand for a few minutes and using an old toothbrush to scrub excess away.
Wipe off with water and let the floor dry. Hydrogen peroxide can also be used, mixing it with water in a spray bottle, scrubbing and wiping it away. Some homeowners may also use bleach to clean tiles, as bleach combats mildew and mould while removing stains. However, this is not an environmentally-friendly solution and is not recommended for homeowners who are environmentally conscious.
Further, bleach cannot be used on coloured tiles, as it will compromise the colour. Avoid cleaning products that have an acid-base, as they will eat away at ceramic tile grout.
To see examples of bathroom renovation projects carried out by contractors affiliated with RenoQuotes.com, see our article 10 examples of bathroom renovations.
Re-caulking
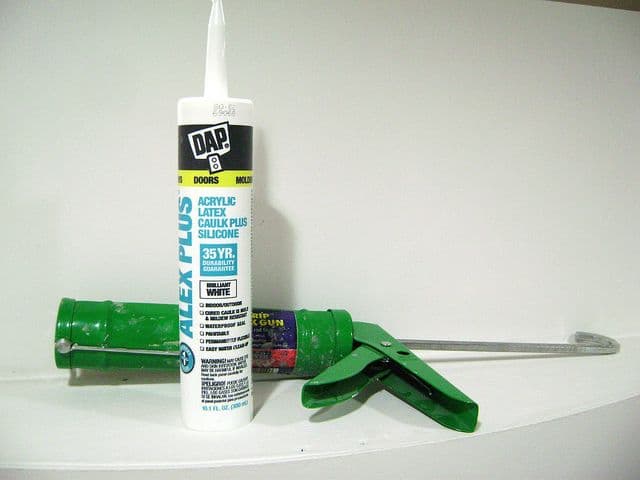
source: Flickr, wp8thsub
Tiles need to be correctly caulked to avoid water seeping between them, which will lead to mould and mildew growth as well as further surface problems. At the very least, the areas between tiles, tubs, toilets and sinks should be re-caulked annually. To do this, you must first remove the old caulk and replace it with some new stuff. Using a utility knife, cut the seal and simply pull old caulk away from the joints.
Make sure that before you re-caulk the open space, you clean out the crevice of any underlying dirt or debris. Now, you’re ready to re-caulk! Holding the caulking tube at an angle, drawing it along the crack, being sure to completely fill it and avoiding doubling back over the job. Wipe off any excess with a damp cloth and let it fully dry before using your bathtub or shower.
Looking for more information to help you plan your bathroom renovation project? Discover our Bathroom Renovation Guide.
Replace Broken Tiles
Just because one tile breaks on your bathroom floor, doesn’t mean you must change them all! However durable tiles may be, they are still prone to cracks. Fixing a broken tile is an easy DIY project that any homeowner can take on. It should be completed as soon as the tile is found to be broken, as a broken tile can lead to pieces getting caught in the feet of friends and family, as well as allowing water to seep through to the below floor where it is no longer protected. The process will start by removing the grout, raking it out from around the broken tiles.
Next, the pieces of the broken tile must be removed, though the surrounding tiles will need to be protected. The new tile can be neatly set in the space you’ve cleared away, it will need to be glued to the floor.
Lastly, the area surrounding the new tiles will need to be filled in and left to dry. For detailed instructions, check out our How To Replace A Few Tiles In Your Kitchen Floor article. Though the room may be different, the process for replacing bathroom tiles will be very much the same.
For detailed instructions on how to renovate a tiled bathroom floor, check out the following article How to renovate a bathroom ceramic floor.
Useful tools for impeccable tile work
The maintenance of your bathroom tile is indeed a job that you can do yourself and with the right tools, you will make sure to do good quality work, planned to last. Your personal safety is also important - if you plan to be on your knees for a long period of time, invest in a pair of knee pads.
Since removing a tile can also cause some splinters and dust, safety glasses and a mask will allow you to do this work in the best conditions. You will also need an adhesive that fits the type of tile being installed and make sure it fits for bathroom use, as not all adhesives will do!
You can also use an adhesive spreader to spread it out properly and a rubber mallet to gently tap the tile and give it a better grip in the long run. If you replace a tile on a bathroom wall, tape can be used at the corners of the tile as it dries.
Would you like an estimation of the cost of your next bathroom renovation project? Try our cost calculator.
Get 3 renovation quotes for your bathroom tile project
RenoQuotes.com can help you get quotes for your bathroom tile renovation project. If you submit your project to us, we’ll put you in contact with top-rated contractors. Fill in the form on the homepage (it only takes a few minutes), and you will get estimates from trusted professionals.
Dial 1-844 828-1588 to speak with one of our customer service representatives
Last modified 2023-11-07
Looking for something else?
Related articles
The latest industry news, interviews, technologies, and resources.

Léa Plourde-Archer • 07 Nov 2023
There are many reasons you may be interested in installing a floating floor. Whether it’s because you’re working with a concrete subfloor or you’re looking for the best solution for your current flooring, floating floors have become a popular choice for many.
RenoQuotes.com • 07 Nov 2023
If you’re looking to let a little bit of light in between two otherwise dull or dingy rooms, or you’re looking for an alternative to the classic sliding door, then you might be in the market for French doors. These doors can be a beautiful addition to both classic and modern home décors.

Christime Simard • 07 Nov 2023
In places like Montréal or Quebec, the unique architecture of buildings and apartment complexes is a part of the visual signature of these cities' designs. Some of these buildings are so important that a good portion of them are protected by laws when it comes to renovations, stemming either from neighbourhood rules or municipal bylaws.
RenoQuotes.com • 07 Nov 2023
If you haven’t heard of a wet room before, we recommend you start paying attention to this growing trend. The wet room is becoming more desirable as a minimalist, one-of-a-kind feature that works to add value to your home.
RenoQuotes.com • 13 Feb 2024
Electricity is a vital component in modern households, powering appliances, lighting up rooms, and facilitating day-to-day living. However, over time, electrical panels, or breaker panels as they’re commonly referred to, are often neglected, becoming near obsolete and presenting potential safety risks and, ultimately, limiting energy efficiency.