Are you looking for a contractor?
Submit our quick form and get quotes now!
Table of Contents
4 min read
How to Replace a Lamp On a Rail-Mounted Lighting System
4 min read
How to Replace a Lamp On a Rail-Mounted Lighting System
Interior renovationsHow to Replace a Lamp On a Rail-Mounted Lighting System
Rail-mounted light systems are a wonderful and versatile fixture made to suit the needs and décor of any home. This style of light consists of an electrical track that mounts to the wall or ceiling, with individual lamps attached at various points along the track.
The beauty of this fixture is that these individual lamps can be pointed in any direction, lighting different points of a room simultaneously. However, with multiple lamps come multiple chances for breakage.
Replacing lamps on a track light is a straightforward process that almost any homeowner can take on. From finding a matching replacement to the installation, ensuring compatibility is the first step. Read on to find all our tips and tricks for replacing a lamp on a rail-mounted light system.
How to replace a lamp on a track light fixture
A little bit about rail-mounted light systems
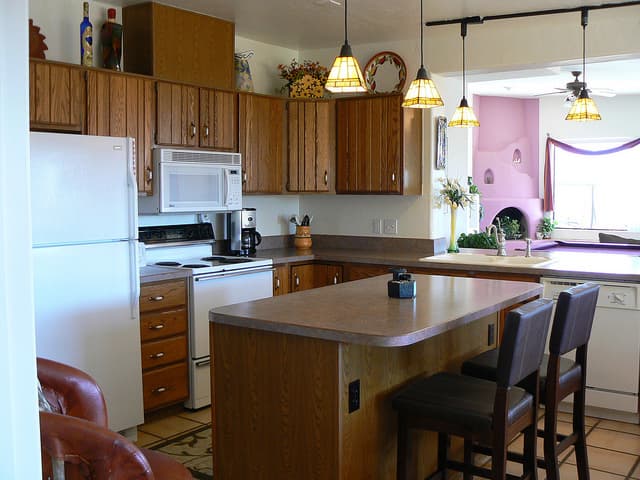
source: Flickr, Phoenix Condo
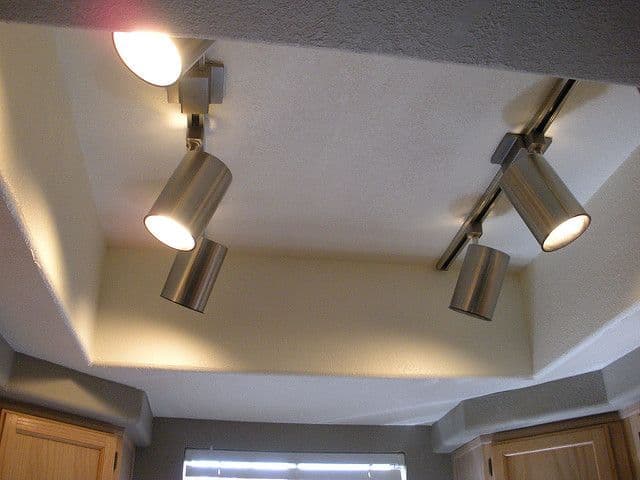
A rail-mounted light system consists of a series of lights that sit along a track. The most common style of system is a straight line-voltage track. The tracks come in three different configurations, and these are H, J or L, referring to the shape of the track itself. Another style that has gained popularity is the monorail track.
The most basic monorail track consists of a custom-formed track from which lights are suspended. This type of system is great for mimicking or matching the curvature of kitchen counters, bedframes or anything else you’d like your lights to illuminate.
The lights that sit along the rail-mounted light system are called track heads, and these come in a variety of shapes, styles and sizes. As we’ve stated, when taking on a replacement job for this style of fixture, the most crucial step is to make sure the chosen lights match the existing track style and voltage.
Preparation
Finding a replacement for the broken lamp is the initial step to solving the problem. Unfortunately, not all lamps will be compatible with all tracks. Therefore, it is useful to try and find an identical lamp, or if this isn’t possible, look for one made by the same manufacturer. Light from varying manufacturers is generally not interchangeable, as manufacturers try to have their own proprietary systems.
An excellent way to find a replacement light is to take the broken one with you to your local hardware store to see if they have anything to offer regarding a similar or replacement model. This will give homeowners the best chance of finding a replacement lamp. When purchasing, be certain that the replacement light has the same mounting system.
Once you have found your replacement lamp, or something similar, you can go ahead and begin the preparations within your home. Before beginning any form of work with electricity, make sure that power to the rail-mounted system has been turned off. Homeowners can accomplish this by switching off the breaker to which the fixture is connected.
Make sure to confirm that the power has been turned off by doing a test before moving on with the removal of the lamp. A voltage text can be completed using a non-contact voltage tester. Unfortunately, simply switching the light switch from off to on will not guarantee that the power is off.
Track light bulb removal and replacement
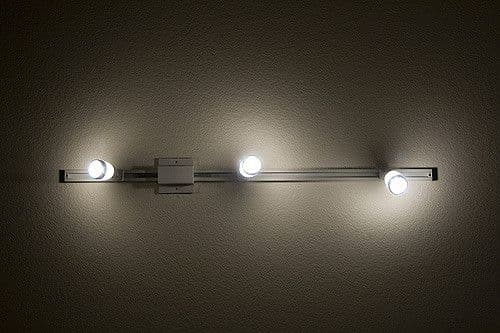
source: Flickr, reb
Although the lamps themselves might not be compatible with every track, the mounting process itself is straightforward and will not differ all that much from track to track or lamp to lamp. To remove a lamp from the track, simply turn it at a 90-degree angle. Before removing the light, make sure that its location has been marked, and this can be done with a pencil or some masking tape.
Also, some homeowners may want to mark which part of the room is illuminated to determine the orientation of the light. Next, you can go ahead and replace the fixture. The metal contacts on the base of the lamp should slide into the track. As with removing the lamp, turn it at a 90-degree angle to snap it into place. Next, install the correct bulb into the lamp head.
Test the newly installed lamp
All that’s left for homeowners to complete is to test that their newly inserted lamp works. Restore power to the circuit by turning on the breaker that you had switched off. If you find the lamp is still not switching on, make sure to test another bulb to determine that the problem is not with the bulb itself. Lastly, once everything is in working order adjust the orientation of the light so that it shines in the same direction as the original light.
Would you like to read more on the subject? Check out these articles:
Get 3 renovation quotes for your rail mounted lighting project
RenoQuotes.com can help you find a specialist for your lighting installation. If you submit your project to us, we’ll put you in contact with top-rated contractors. Fill in the form on the homepage (it only takes a few minutes), and you will get estimates from trusted professionals.
Dial 1-844 828-1588 to speak with one of our customer service representatives.
Last modified 2023-11-07
Looking for something else?
Related articles
The latest industry news, interviews, technologies, and resources.
N/A • 07 Nov 2023
A condo renovation is a serious undertaking; it involves plenty of steps including careful preparation and planning. Since you’re dealing with a tight space, likely sandwiched in between neighbours, any renovation in your condo will need to take others into consideration.
N/A • 07 Nov 2023
Although asbestos is no longer permitted in the construction or renovation of current homes, it is still possible to find asbestos today in several old houses. The harmful effects of exposure to asbestos are no longer a secret, which is why asbestos removal is necessary for certain circumstances. But what is asbestos removal and when is it necessary?

Léa Plourde-Archer • 07 Nov 2023
If you feel like your garage needs a good makeover, you may be having a hard time knowing where to start. RenoQuotes.com is here to give you a few ideas and tips on how to renovate your garage.

Amanda Harvey • 07 Nov 2023
When building a new home, air barriers are not always part of the equation. However, air barriers are crucial structures that assist in aiding with energy efficiency as well as maintaining a comfortable and cozy home environment.

Cynthia Pigeon • 07 Nov 2023
Replacing the windows in your home can be quite an expensive project! And that is reason enough to be somewhat cautious when choosing a particular model or material.