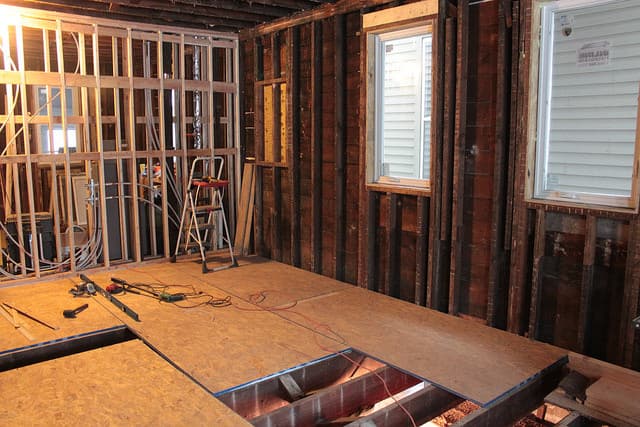
If you’re finding that your floor is squeaking or feels soft underneath your feet even though it’s called hardwood, you may have some issues with your subfloor. Subflooring becomes soft for several reasons, most commonly the penetration of humidity into the material. If this happens, it is important to remove and replace your subfloor to avoid mould and mildew growth.
The removal of your home's subfloor might seem daunting, but this job is simple and requires only a few tools. If you’re hoping to be walking on solid ground in the rooms of your home, then follow our steps and you’ll be all set to replace the floor of your home!
Remove your home's subfloor
Prepare for your Floor Renovation
For this project, you will need a hammer, crowbar or flat prybar as well as a reciprocating saw. When removing the floor of a home, it is important to wear protective eyewear as well as gloves to prevent any splinters from happening. Also, make sure to check for wiring or plumbing that might get in the way before attempting to remove the subflooring.
Remove Flooring Overlay

Source: Wikimedia Commons
Begin the subfloor removal process by peeling back any carpet or floor covering, such as tiling, from overtop the subflooring. If you do this and find floor underlay, such as a layer of particle board on top of the subflooring, then this will also need to be removed. To remove particle board, grab your crowbar and hammer, and using the tip of the crowbar, push between the boards, using the hammer to gently tap the end of the bar. This action should work to lever the boards apart.
Next, you’ll want to wiggle the crowbar further in order to pry the boards free from their place. Repeat this action until you remove everything from the area. The particle board may break into pieces during this process, but this is fine as you'll be throwing it into the garbage afterwards!
Begin Removing Subflooring
Next, locate the placement of nails throughout the subfloor. There should be parallel lines where the subfloor is nailed to the floor joists that are underneath. Again, using the crowbar or a flat prybar, locate the intersection where two pieces are nailed to the floor joist and place the crowbar there.
Using the end of the crowbar, hit the end of the bar hard with a hammer to drive it down between the two intersecting pieces of subfloor. Do not worry too much about chipping or damaging the edges of the subflooring, as you are in the process of removing it!
Pry down on the crowbar, using it to lift the edge of the plywood as far away from the joist as possible. Now that an opening has been created underneath the plywood, insert it into the space as far left and right as it will go. Pry and continue moving down the edges of the board until a sheet or section of the subfloor has been loosened from the underlying joist.
Next, grab the edges of the section or board you have loosened from the joists. Lift it up at a 90-degree angle, and pull the remainder of the nails loose on the opposite side. Now, use a claw hammer to pull out all the nails.
Place this single piece of wood or section that you've just removed over the joists at a skewed angle, as this will act as a safety piece for you to use while removing other pieces of wood.
Finish Subfloor Removal!

Source: Flickr, tzbrown02
Work your way across the floor, removing sections and sliding the safety piece along with you to work from. You can easily remove pieces by inserting the crowbar under the next adjoining piece, and prying it up, continuing to inset and pry until all sides of the board are loose.
If you are finding that certain pieces are stubborn and won't release, try kicking the plywood with your foot while holding it up. If you’re the fragile type and don't feel comfortable kicking, feel free to hit it with the hammer in order to loosen the boards further.
If you’re finding that certain pieces are still sticking, refusing to budge, cut off nails with a reciprocating saw. You can do this by inserting the blade of the saw under the edge of the wood and cutting along the top of the joist to cut nails in half. Following this, the subflooring should lift off no problem.
If there are nails remaining in the floor joists, use the hammer to drive nail heads down below the surface of the wood. Repeat the process until the entire section or room is complete, and soon you'll have a gateway to the surface that lives underneath.
For more information about floors read:
Get 3 renovation quotes for your floor removal project
RenoQuotes.com can help you get quotes for. By submitting your floor removal project to us, we’ll put you in contact with top-rated contractors. Fill in the form on the homepage (it only takes a few minutes), and you will get estimates from trusted professionals.
Dial 1-844 828-1588 to speak with one of our customer service representatives
Looking for something else?
Related articles
The latest industry news, interviews, technologies, and resources.
Cynthia Pigeon
•23 Jul 2026
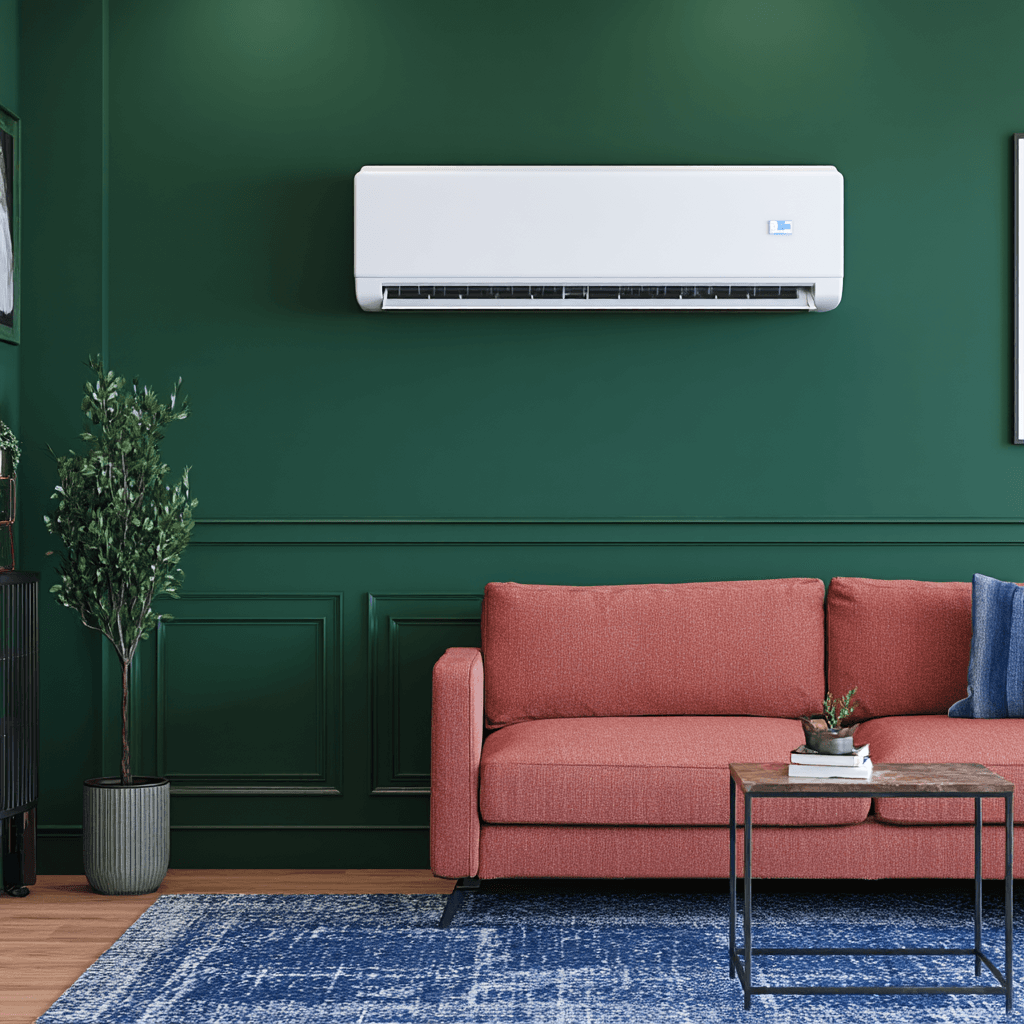
In 2026, installing a heat pump in Canada is more accessible than ever, thanks to robust local and provincial incentives. By leveraging provincial utility rebates and home retrofit grants—as well as federal programs for those converting from oil heating—homeowners can, in some cases, cover a significant portion of purchase and installation costs, often estimated between 30% and 50% depending on eligibility. For a high-performance central heat pump, these incentives represent meaningful savings. In addition, select regions offer rebates of up to $600 for the purchase and installation of a residential EV charging station.
Editorial Team
•08 Nov 2023
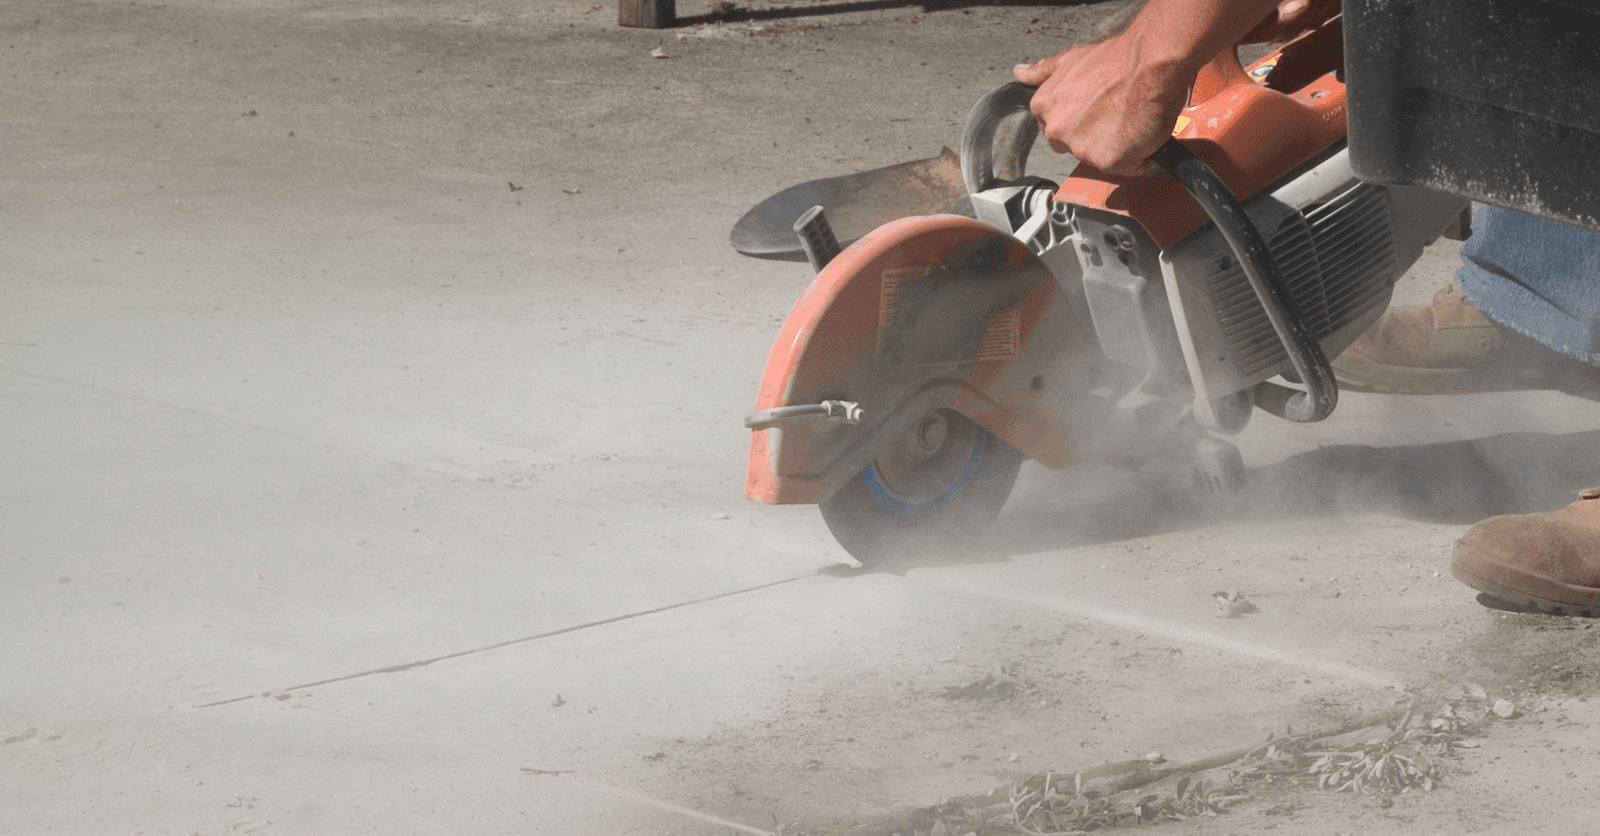
A concrete circular saw is an efficient and precise tool provided you’re using the right equipment. From the saw to the blade type, here’s how to choose your material to cut concrete like a pro.

Editorial Team
•08 Nov 2023
Although the integration of light colours brings a much-appreciated light into a room and tends to visually enlarge the perception of space, some of us prefer dark colours.
Cynthia Pigeon
•08 Nov 2023
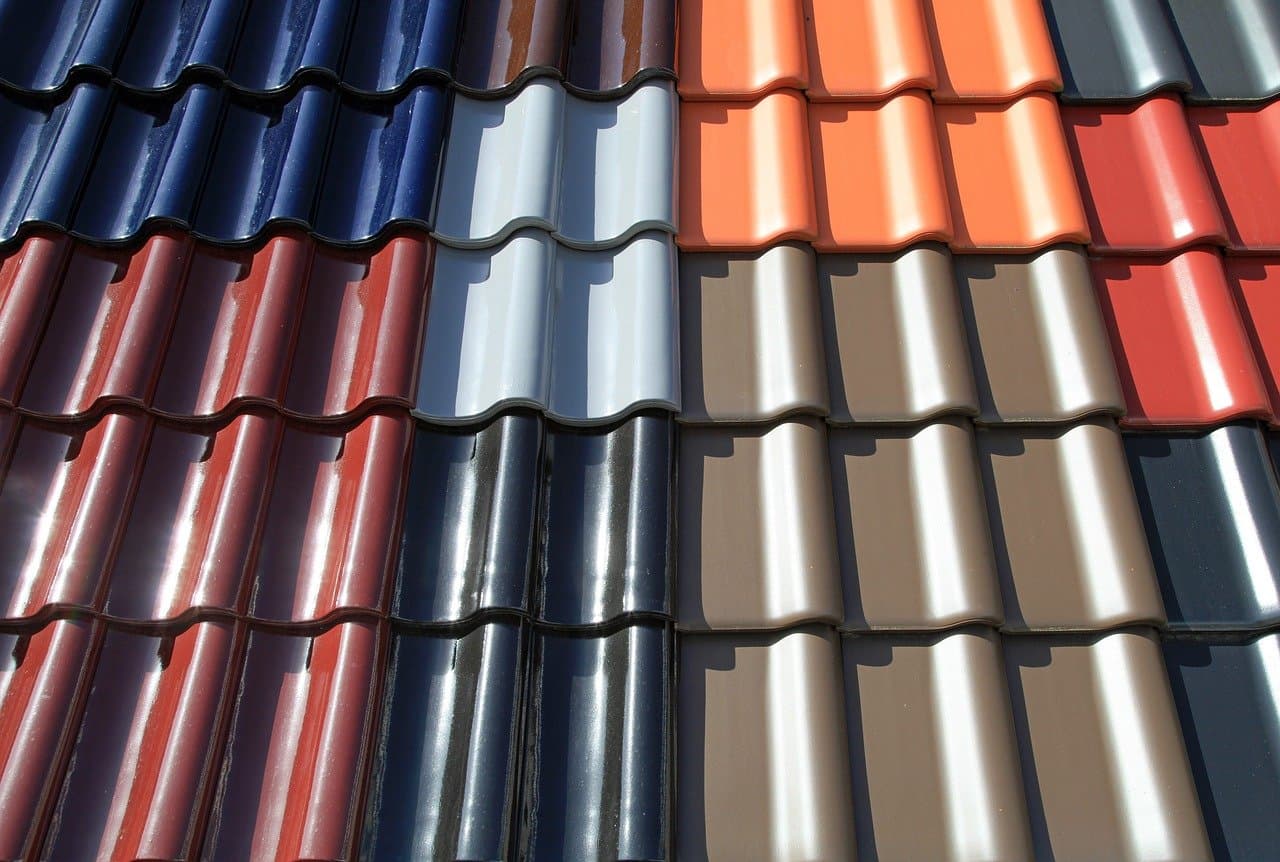
Are you shopping around for a new roof? Do you also want to change the siding on your house, but aren't sure which roof colour is best? Well, you've come to the right place! Below, we've outlined all the factors to consider when choosing a roof colour for your Quebec home.
Cynthia Pigeon
•08 Nov 2023
Techniseal® is a Canadian company that has for the past four years served the construction industry. They offer a range of products for elastomeric roof coatings. Not only are they one of the leading partners in roof repairs and maintenance, but their products are highly regarded by professionals in Quebec.