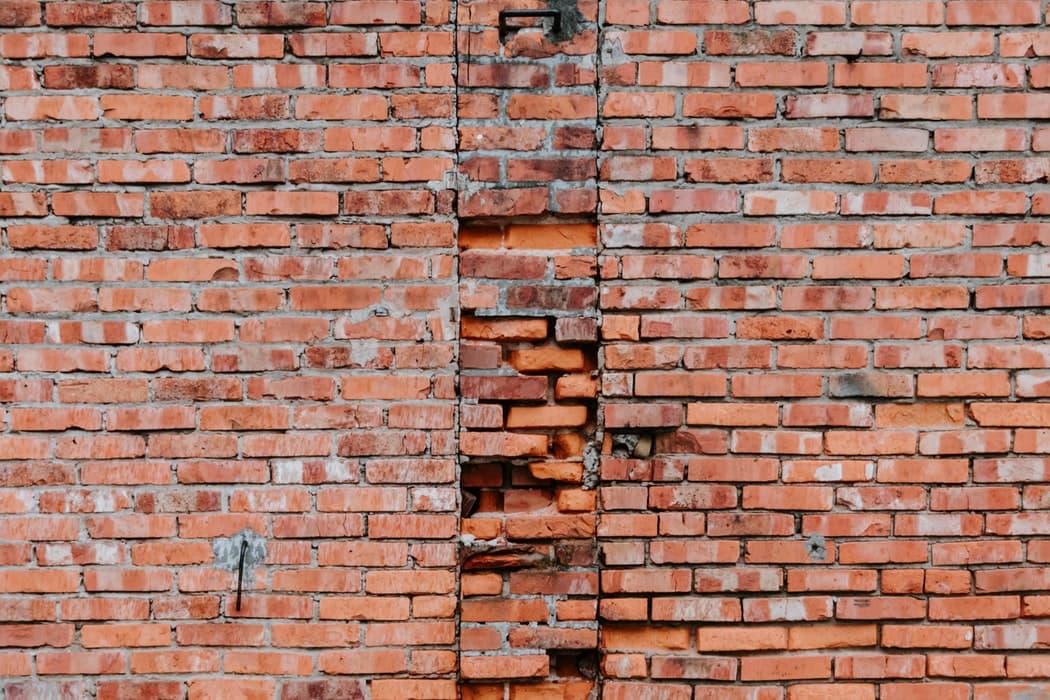
Have you noticed that something just doesn’t look right on your brick wall? Has it seen better days? In the following article, RenoQuotes.com will explain how to replace a brick on your exterior brick wall.
Can I remove the damaged bricks myself?
In this article, we will present the steps to follow to replace worn-out bricks. It should be noted that this type of project is not recommended for beginners who have never done any manual work. It is also strongly recommended that experts be brought in to make a diagnosis as to what may have caused the damage to the bricks. Who knows? Maybe you've got a bulging wall situation on your hands? If this is the case, the replacement process presented below will not provide a long-term solution.
Despite this note, it is still useful to know how to proceed, especially when you receive a confirmation that you only have to replace some bricks.

The tools you will need
Have you decided to go ahead with your brick replacement project? Here is the equipment you will need to collect:
Protective equipment (gloves, glasses);
Drill;
Chisel;
Trowel;
Hammer;
Wire brush;
Brush;
Sponges;
Sealing mortar.
How to remove the damaged bricks
Once you have identified the bricks that need to be replaced, you will have to remove them from the wall. Don’t forget to wear gloves and protective glasses while completing the job.
First of all, you’ll have to use a drill to puncture holes inside the mortar that surrounds the damaged bricks. These holes should be a few centimetres deep and should be set according to a regular pattern. Next, using a chisel and a hammer, dig the mortar around the bricks. Once you have removed most of the mortar, remove the damaged bricks. Always work in the most delicate manner you can manage. If needed, use masonry scissors.
How to clean out the area where the damaged bricks were located
Now empty, the place where the damaged bricks used to be will require a proper cleaning and smoothing process before going on to the next step. Use a metallic brush to clean out the surfaces. This step is extremely important as it will contribute to the fact that you will not run into problems when installing the new bricks.
Next, use a hand brush to clean out the cavity. Don’t forget to use a wet sponge in order to humidify all the surfaces around the area where the brick(s) will be. This will serve to ensure that the new mortar you will apply will stick.

How to prepare the new bricks and install them
If, when you turn over the old bricks, you notice that some of them are intact on the unexposed side, you could reuse them. However, if both sides are damaged, replace them with new bricks that have the same shape and colour.
Be sure to humidify the bricks before you put them in. You can use grouting mortar (also known as anchoring mortar) to stick the bricks to the surface. This product requires you to mix the powdered grouting mortar with water, which you must stir until you obtain a homogenous mix. You will then have to spread the product on the backside of the brick. Do not apply grouting mortar on the face that will be visible on the wall.
After having prepared your bricks, slowly start placing them in the empty spaces. Make sure that they are well aligned with the others. Using your trowel, shape the joints so they match the others, as this will give an optimal result. When you have completed each step of the process, remove the extra mortar. Lastly, don’t forget to clean up the surface using a wet sponge. Congratulations, you’ve replaced your damaged bricks!
For a professional, high-quality result, hire a mason for your masonry renovation project.
How much is a brick replacement done by a bricklayer?
For a professional result, do not hesitate to contact a masonry specialist for your renovation project. On average, the replacement of deteriorated bricks costs between $24-38/linear foot (price is indicative and subject to change).
Get 3 renovation quotes from masonry contractors
RenoQuotes.com can help you get quotes from qualified masons and renovation contractors for your interior brick wall. If you submit your project to us, we’ll put you in contact with the best masons in our contractor network. Fill in the form on (it only takes a few minutes), and you will receive quotes from qualified masons and home renovation companies.
Dial 1-844 828-1588 to speak with one of our customer service representatives.
Looking for something else?
Related articles
The latest industry news, interviews, technologies, and resources.

Editorial Team
•17 Apr 2024
In Quebec, summertime is short-lived. Since we want to enjoy it as much as possible, we rarely hesitate to make our backyards a full-on, outdoor living space. No matter the design or layout, a patio or deck remains the centrepiece. This versatile space can be used as a living room, a dining room, and a remote office. Six months out of the year, it’s a household fan favourite. Since it has an expiration date, your deck might have lost its charm or is no longer suitable in size or location.
Editorial Team
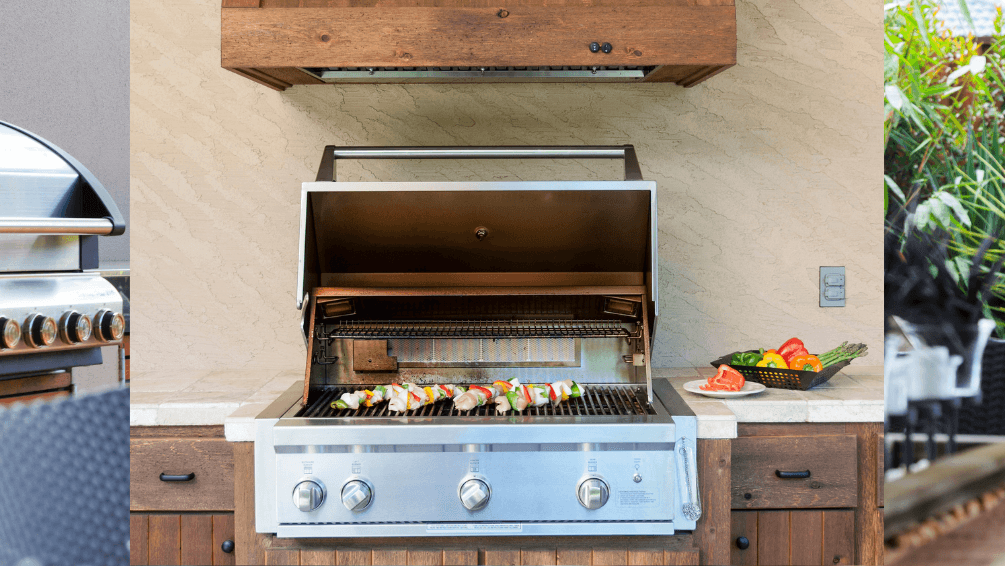
•23 Jul 2025
Many of us appreciate the great outdoors, soaking up the summer or cozying up in the fall outside on the patio. Hosting a backyard barbeque is a favourite spring, summer and fall pastime (sometimes even winter) but running back and forth between inside and out can get exhausting and take your mind out of the party.
Editorial Team
•08 Nov 2023
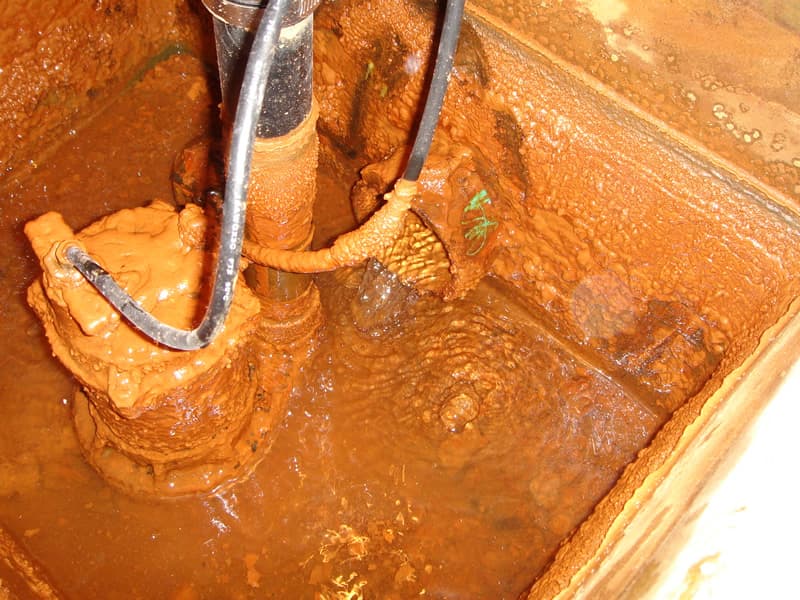
Given the significant damage iron ochre can cause, it definitely poses a substantial threat. This corrosive iron substance demands particular concern, whether for homeowners already contending with its adverse consequences or for prospective buyers apprehensive about its potential impact. In any case, here's all of the relevant information you need about the tell-tale signs of iron ochre.

Editorial Team
•08 Nov 2023
If you're looking to give your interior a modern look, concrete and concrete-inspired wall coverings are a great option. This article explains all the ways you can achieve a concrete look for your wall, with or without real concrete!

Editorial Team
•25 Jul 2025
Since April 1st, 2022, certain specialized contractors and general contractors are now required to commit to continuing education. Should you be among the many individuals affected by this latest mandatory continuing education, note that you must complete a certain amount of educational training hours every two years to maintain your licence.