Are you looking for a contractor?
Submit our quick form and get quotes now!
Table of Contents
4 min read
Everything About Plumbing Vents
4 min read
Everything About Plumbing Vents
RoofEverything About Plumbing Vents
The sheer size of a home's plumbing system can make plumbing issues seem rather complex. There are pipes in the basement, drains outside, bits of pipe coming out on the roof, valves, and elbow joints under the sinks...
So, how does one tackle the mysterious rotten smell, the slow-draining sink, the empty toilet tank, and the gurgling monster living in the pipes? Well, there's no need to get poetic about it; a damaged, improperly installed, or clogged plumbing vent could account for all of the above.
What’s a Plumbing Vent?
Also known as an air admittance valve (AAV) or drain-waste-vent system (DWV), a plumbing vent is an integral part of the drainage system that disposes of household wastewater. Specifically, it's the portion of the system that vents the pipes to ensure that the sewer fumes stay, well…in the sewer.
Plumbing vents ensure that there's a proper water flow without so much as creating a void in the p-trap (the part of the pipe under your sink that forms a U shape). When the p-trap lacks a minimum amount of water, noxious odours and fumes, including methane, are released.
Basically, a plumbing vent levels out the pressure in the pipes, forcing air behind the draining water, thus preventing gases from entering the home and keeping the pipes in good condition.
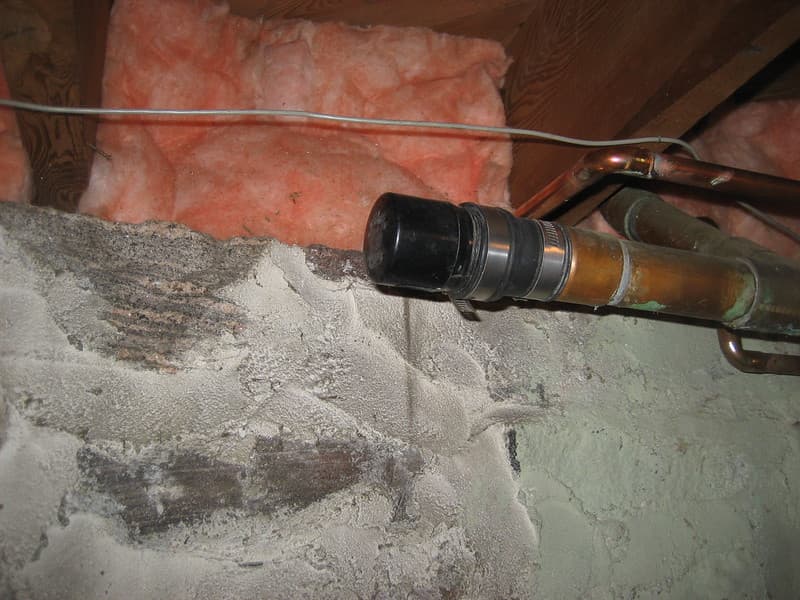
Normally, the drain pipes are routed through the walls, towards an exterior-leading vertical ventilation system. However, in some cases, this simple configuration is more difficult to achieve. Consider, for example, a sink embedded in a kitchen island. In such cases, small automatic discharge vents, which are commonly found in hardware stores and only used as a last resort, come into play. They're affixed directly to the drain pipe, opened while the air pressurizes the water, and closed when the flow is complete, keeping the trap well drained.

Source: Flickr
Problems Related to a Faulty Vent
Numerous issues can arise if:
The vent is incorrectly positioned;
The model installed is too small;
The exterior cap isn’t sealed properly;
Something is obstructing the vent (branches, leaves, nests, ice).
Keep an eye out for the early warning signs of such problems before the repercussions take over your home and completely clog your pipes.
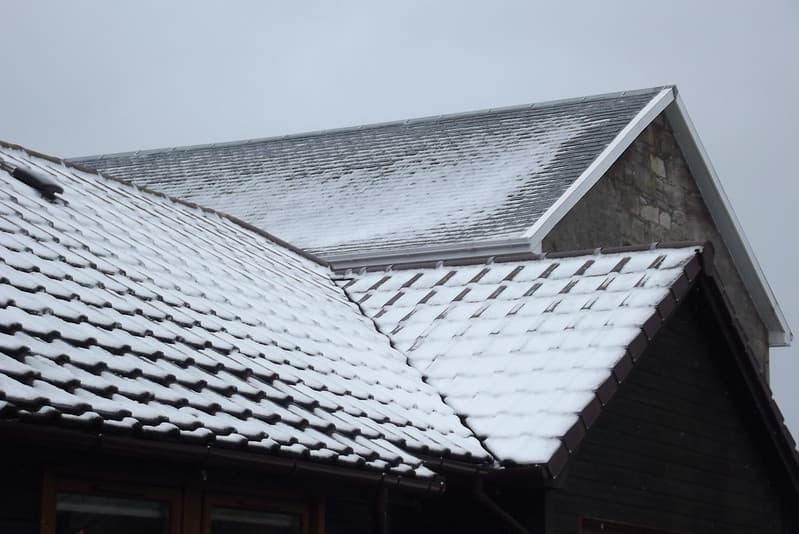
If you notice moisture build-up on your ceilings, check your vents before becoming overwhelmed by repair costs associated with a suspected cracked roof.
If your home is developing a foul odour, then your plumbing vents may be clogged.
If you notice that the water is draining slowly after bathing or washing dishes, it could be something more than hair or food scraps clogging the drain. If using drain cleaners fails to clear the clogged drain, consider inspecting your vents.
If abnormal, gurgle-like or muffled noises are emanating from your pipes as water flows through, poor airflow might be to blame.
A lack of air pressure caused by clogged vents affects the water level in the trap, therefore, when flushing, your toilet tank doesn't properly refill.
When in doubt, call in an expert.
Do you have a plumbing renovation project in mind?
Fill in this form to be connected with top-rated contractors!
Automatic Drain Vent: Price & Installation
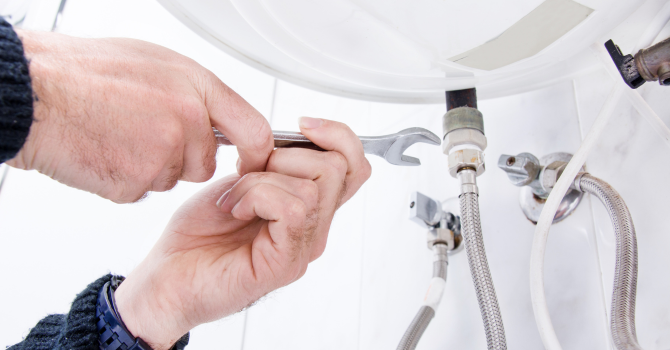
In most hardware stores, like Canac, Canadian Tire, Rona, and Réno-Dépôt, one can find the necessary tools and devices. Prices vary depending on size and use. A 1- to 2-inch ABS automatic drain vent meant to fit under a sink, if a conventional vent can't be used, costs between $4 and $20. On the other hand, an outdoor steel wall vent with a cap and gasket can run around $30.

Source: Flickr
Hire an expert to install an exterior or a roof-mounted vent. Assuming that you need to change the vent below the sinks or the ones accessed during renovations, here’s a run-down of all the materials required and the steps to follow.
Tools:
Vent;
A container/bucket to collect water;
A pipe cutter or metal saw, depending on the plumbing system’s materials;
Locking pliers;
Measuring tape;
Cement and sealant tape (silicon or Teflon);
PVC primer;
Joints, traps, and pipes to complete the work depending on the extent of the project.
First off, place a bucket or container under the sink to avoid creating a mess, unscrew the nuts and bolts holding the drain trap in place, and remove the elbow joint.
Get a hold of a sanitary tee (T) and pipes. Depending on the configuration of your installation, you may have to trim the pipe a bit. Note that the bottom part of the vent should be about 4 inches from the top of the trap (maximum 30 inches), so measure your pipe extension accordingly.
Connect all the components without glueing them to make sure everything fits as it should, and if necessary, make any adjustments. When everything looks as it should, with a marker, label where everything lines up (pipes with joints).
Take the pieces apart, apply the glue, then hook up the pieces before linking the whole thing to the existing piping under the sink.
Install the vent at the top of the vertical pipe as per the manufacturer's instructions and apply sealant tape before screwing on the nuts and bolts.
Next, secure the trap by sliding the elbow joint onto the drain fitting and inserting the pipe arm into the T-joint. Screw on all the nuts.
Lastly, test it out by filling up the sink with water and removing the stopper to see if there are any leaks in the wastewater flow.

Source: Sketch made in Paint
Get 3 quotes for your plumbing project
RenoQuotes.com can help you get quotes for your plumbing project. By submitting your plumbing project to us, we’ll put you in contact with top-rated professionals in the industry. Fill in the form on the homepage (it only takes a few minutes), and you will get estimates from trusted professionals.
Dial 1-844 828-1588 to speak with one of our customer service representatives.
Last modified 2023-11-07
Looking for something else?
Related articles
The latest industry news, interviews, technologies, and resources.
Amanda Harvey • 07 Nov 2023
Plumbing problems quickly shake up our day-to-day habits. Since we're used to having access to clean water, as soon as a situation complicates this process, many of our daily tasks are affected.
Cynthia Pigeon • 07 Nov 2023
When it comes to re-roofing, your main concerns are likely to be preventing future water infiltration and choosing a durable coating.

RenoQuotes.com • 22 Nov 2023
In many Canadian regions, fireplaces become the heart of the home for 3 out of the 4 seasons. The wood crackling in the hearth, the comforting smell of burning wood, and the cozy ambience of the room—whether we consciously acknowledge it or not—all contribute to a fireplace's undeniable charm.

Christime Simard • 07 Nov 2023
Are you one of those people who tend to be nostalgic for past eras and not too fond of modern decors? If polka dots, bright colours and geometric forms are all things you like, maybe it's time to give your home a little retro makeover! Here are some examples that could inspire you!

RenoQuotes.com • 07 Nov 2023
Whether you’re looking to create a modern or industrial look, the versatility of waxed concrete will surprise you every time. It's the number-one option whenever you want to add a distinctive touch to your new décor. However, before using this coating as part of your revamped space, learn more about it.