Bathroom backsplash – Trendy ideas that still feel timeless
By Léa Plourde-Archer
Updated on May 11, 2026

A bathroom backsplash protects your walls from moisture and splashes while defining the room's aesthetic character. In 2026, the top trends for bathroom backsplashes are handcrafted zellige tiles, large-format seamless tiles, and organic textures.
For a long-lasting installation, it's important that the substrate be installed meticulously and that water-resistant materials be prioritized.
Why is a backsplash a must-have in the bathroom?
Source : Trajectoire Design
In Canada, bathrooms are among the most renovated rooms, with an average return on investment ranging from 75% to 100%. While the backsplash occupies a small area compared to the flooring, it plays a strategic role both structurally and visually.
A barrier against moisture
From a purely technical standpoint, the backsplash acts like a waterproof barrier. Between daily splashes from the sink and the saturated humidity from hot showers, drywall takes a beating. Without protection, the drywall paper absorbs water, sometimes leading to peeling paint, swelling of the materials, and, in the most severe cases, mould growth behind the walls.
The Aesthetic Anchor
From a design perspective, the backsplash serves as a visual anchor. It's the element that bridges the gap between the vanity countertop, the faucets, and the lighting. In a small condo bathroom or a guest powder room, it's the perfect place to inject personality without undertaking a complete room makeover. It's often this detail that transforms a generic room into a space worthy of a design magazine.
Bathroom Backsplash Trends in 2026
The Canadian renovation market is seeing a marked shift towards materials that combine authenticity and durability. Here are the styles currently dominating renovation projects across the country.
1. Zellige and the Return to "Handmade"
Source : Soumission Renovation
The industrial, ultra-smooth look is giving way to intentional imperfection. Zellige, a glazed terracotta tile of Moroccan origin, is the star. Each tile has variations in colour (the famous nuanced effect) and surface irregularities that catch the light dynamically.
Why it works: In our often minimalist decors, zellige brings an organic texture that warms the atmosphere.
Maintenance tip: Since the edges are often uneven, use a very thin grout line to avoid obscuring the texture.
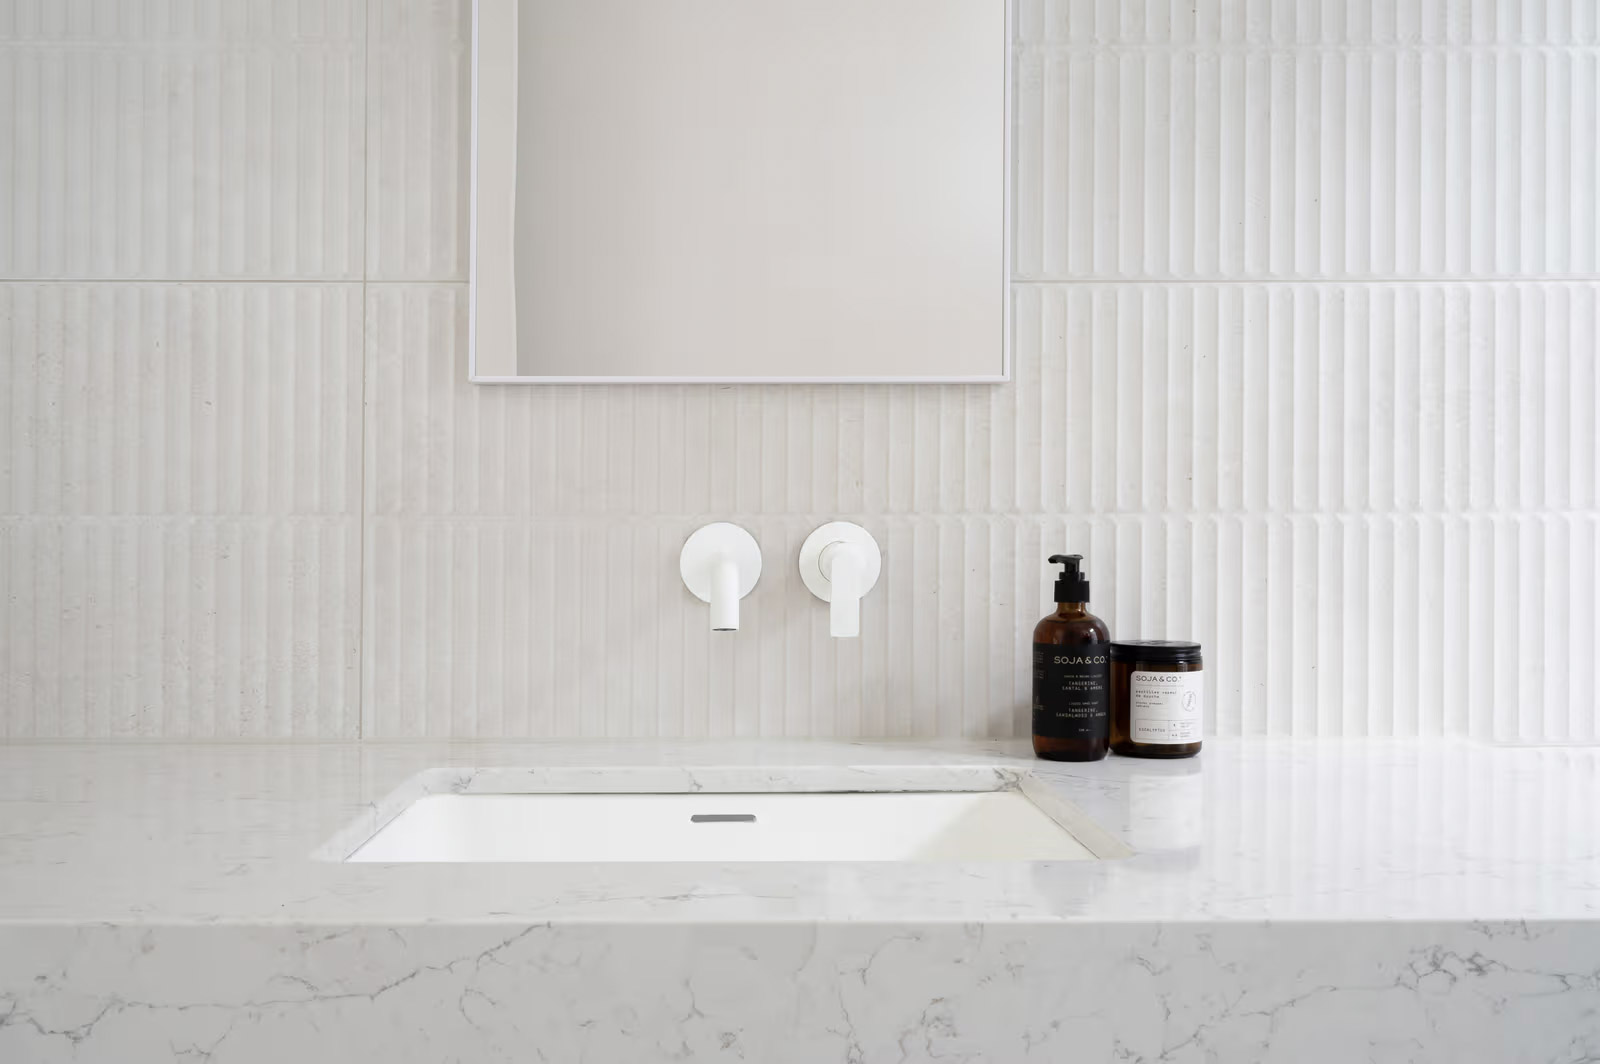
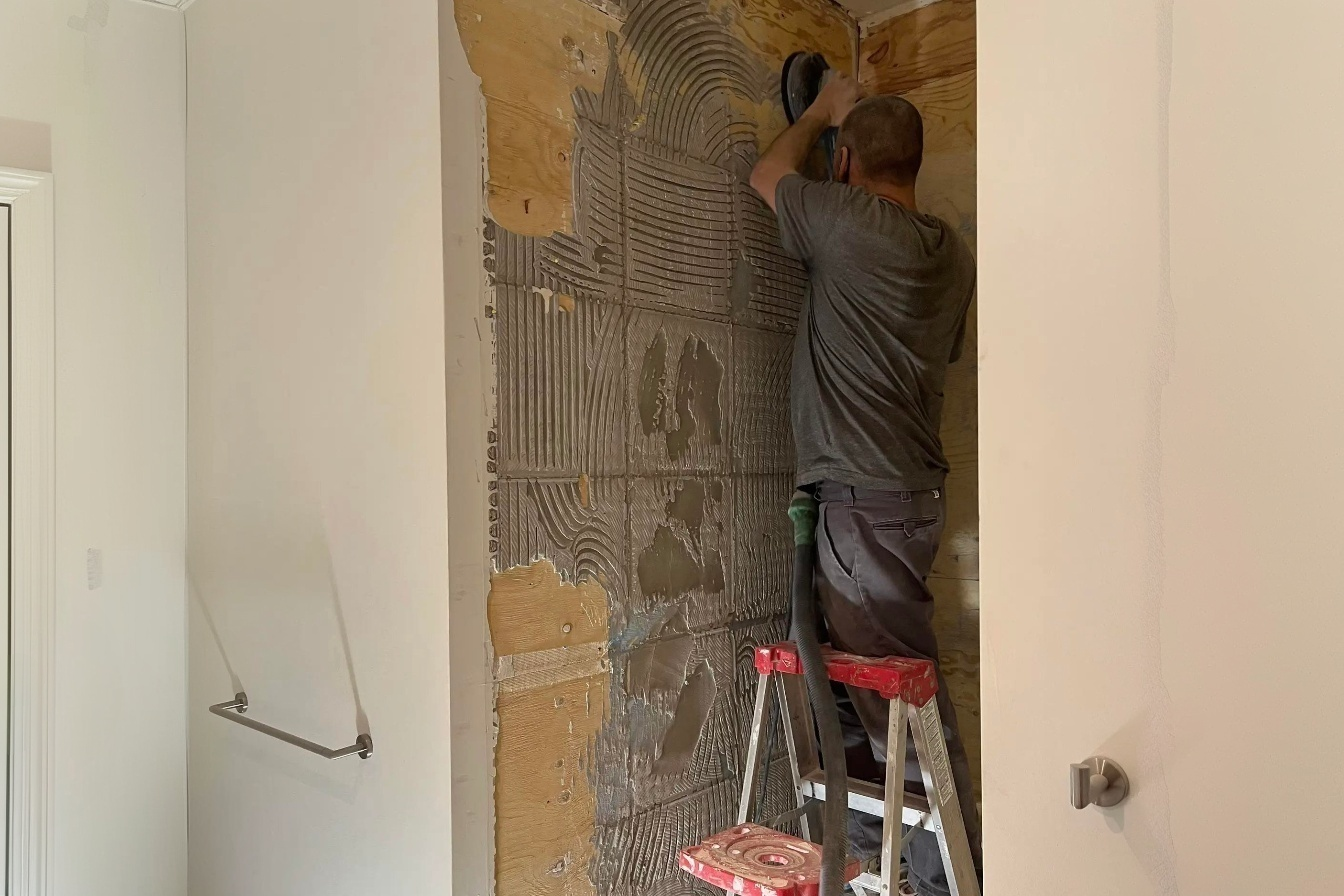
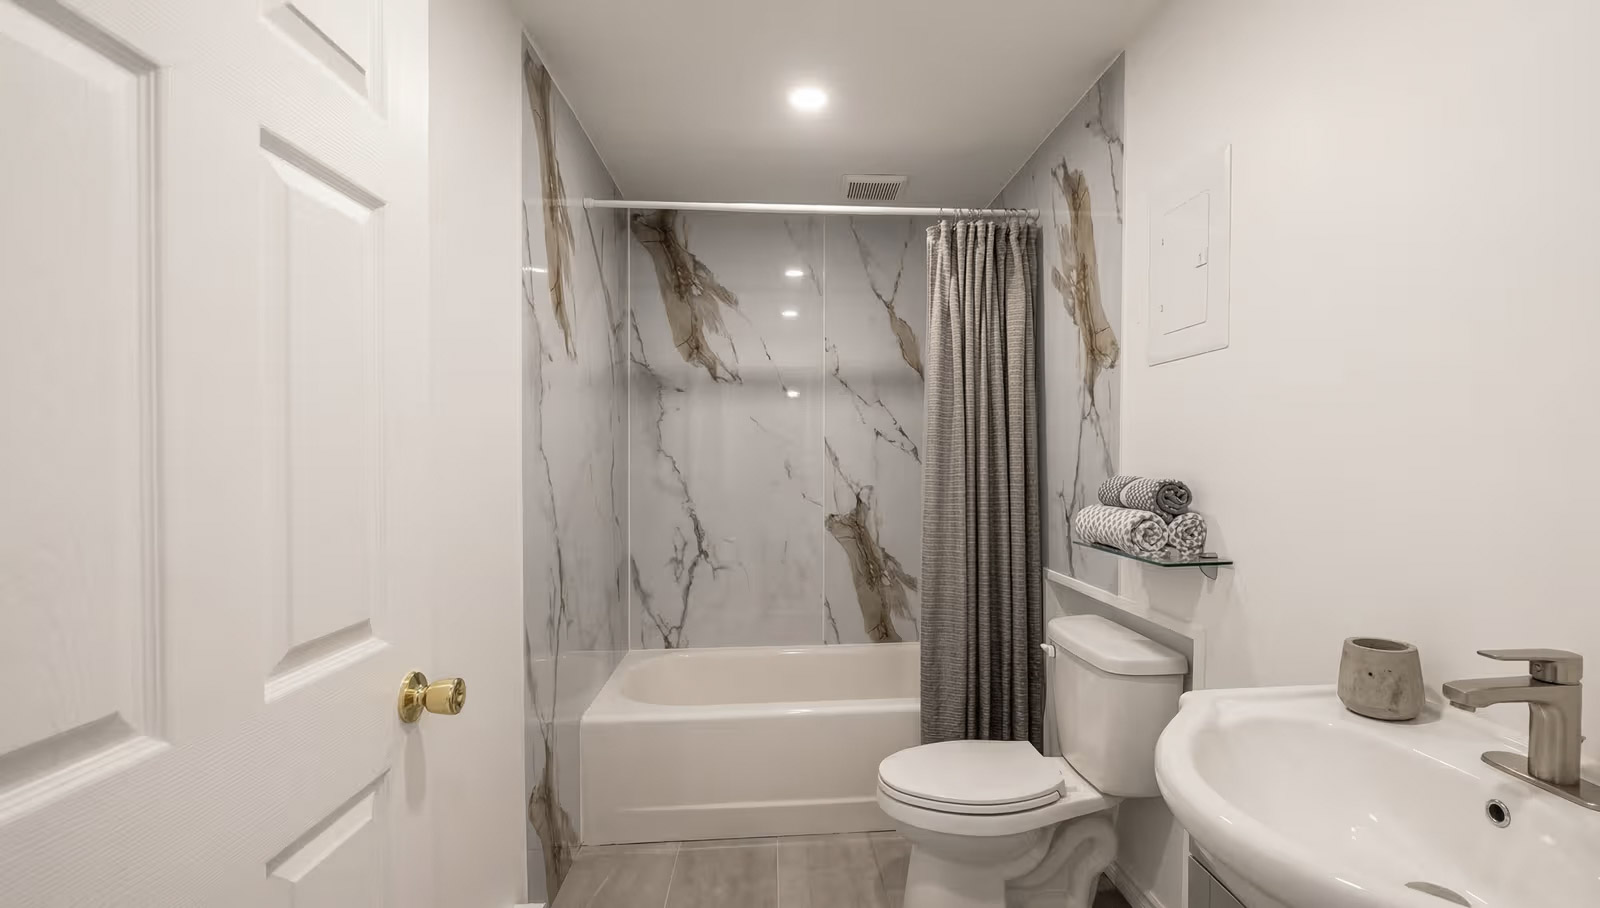
2. Large-Format Slab Tiles
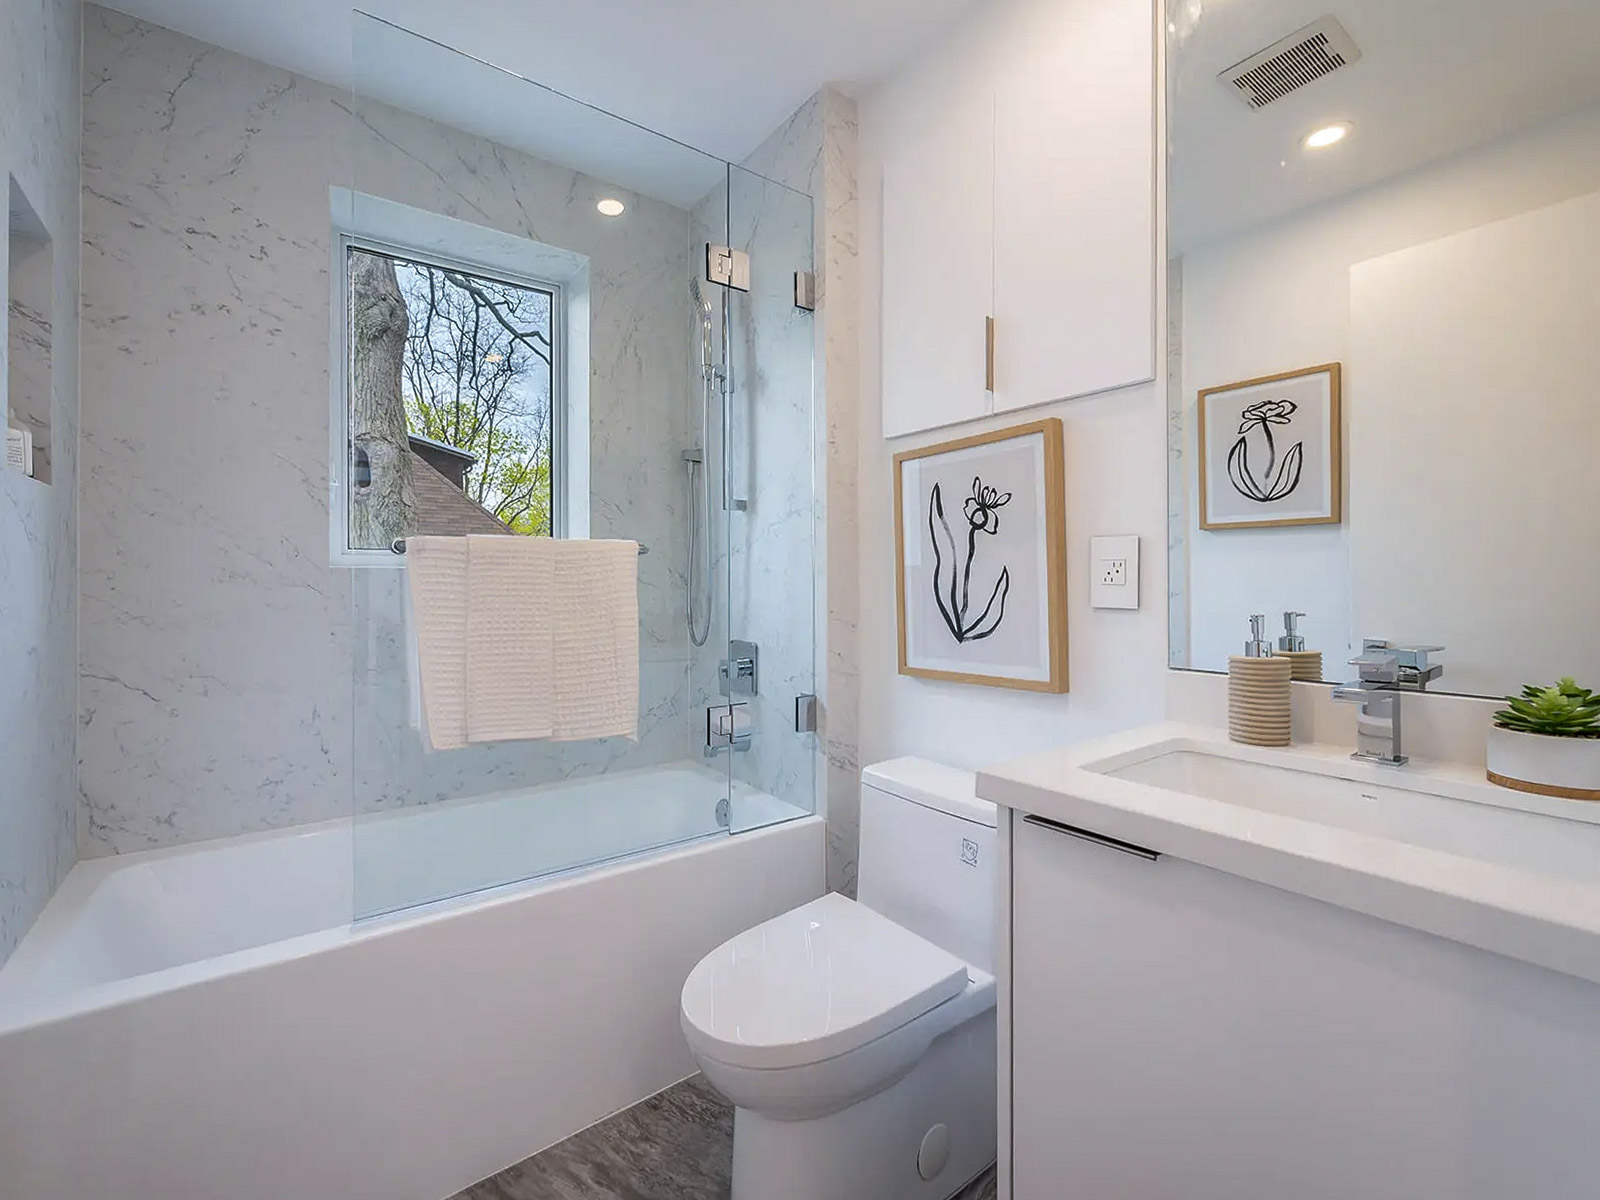
Source : Generational Homes Inc
For an ultra-modern and luxurious look, small tiles are replaced with large slabs of quartz, porcelain, or natural stone. The countertop material is often extended directly onto the wall, up to the mirror, or even to the ceiling.
The major advantage: The near-total absence of grout lines. For those who hate cleaning grout, this is the ultimate solution.
The visual impact: It creates a continuity that visually enlarges the space, a major asset for small bathrooms.
3. Herringbone and Geometric Patterns

Source : Dentinger immobilier inc
Subway tile remains a timeless classic known for its unbeatable price, but it's being reinvented through its installation process.
Herringbone: Installed at 45 or 90 degrees, the tiles create a sophisticated movement.
Vertical Installation: Ideal for low ceilings, this installation gives an immediate impression of height.
The "Basketweave": A return to classic 1920s styles, perfect for heritage homes.
4. Terrazzo and Organic Patterns
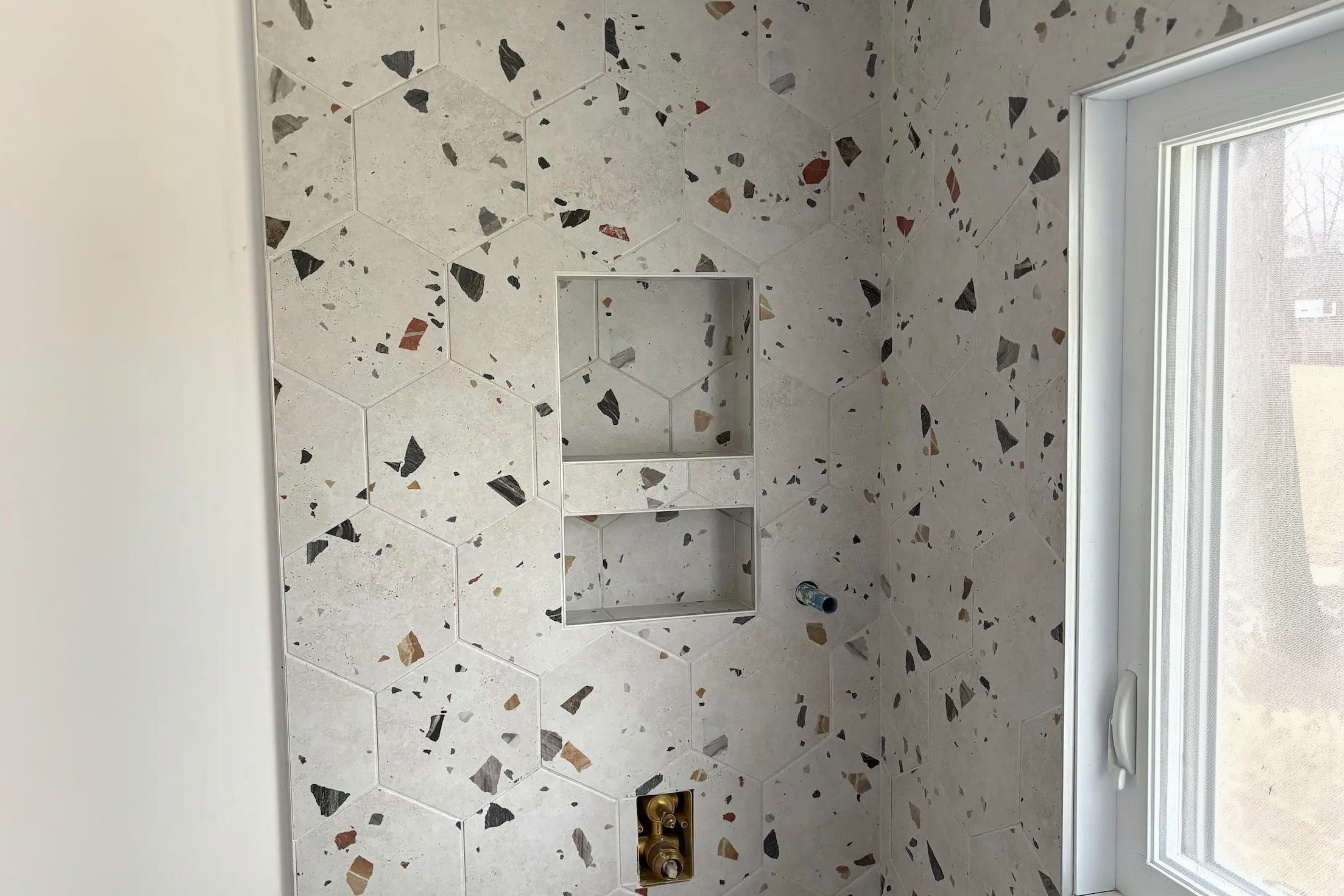
Source : 11276140 Canada Inc.
Terrazzo, with its colourful stone chips, is making a notable comeback. We're also seeing a rise in popularity for cement tiles (or their easier-to-maintain porcelain equivalent) featuring botanical patterns or soft geometric shapes.
10 Examples of Ceramic Tile Backsplashes
Complete Checklist for a Successful Bathroom Renovation
Bathroom Backsplash Comparison: Budget, Installation, and Lifespan
Shopping for a backsplash can be overwhelming given the vast selection available at home improvement centers and specialty stores. Here's a chart to guide your choice based on your priorities.
Material | Average Price ($/sq ft) | Durability | Installation Difficulty |
Standard Ceramic | $2 - $12 | Excellent | Beginner |
Porcelain | $5 - $22 | Superior | Intermediate |
Natural Stone (Marble/Slate) | $12 - $50 | Variable | Advanced (weight/cut) |
Focus on Porcelain vs. Ceramic
Although porcelain and ceramic are often confused, porcelain is fired at higher temperatures, making it less porous than ceramic. For a bathroom with constant humidity, porcelain is a wise investment that is more resistant to stains and impacts.
The Ultimate 2026 Home Renovation Cost Guide
Backsplash Installation Guide: Steps to a Professional Result
Source : Melage Pro Sol
If you have a knack for DIY and a good dose of patience, installing a backsplash is relatively easy and rewarding. Here are the steps to follow.
Step 1: Surface Inspection and Preparation
Never neglect this step. A crooked wall will result in a crooked finish, no matter how expensive your tiles are.
Cleaning: Remove all traces of grease or soap residue.
Sanding: If the wall is painted with a glossy paint, use 80-grit sandpaper to create a surface for the tiles to adhere to.
Repairs: Fill any holes with joint compound and ensure the surface is perfectly flat.
Primer: Applying a sealer primer may be necessary on new drywall to prevent it from absorbing water from the mortar too quickly.
Step 2: Planning (The Layout)
The difference between an amateur and a pro is evident in the corners.
Calculating the center line: Find the center of your bathroom vanity and draw a vertical line. Continue outwards towards the sides.
Avoiding sliver cuts: If you reach an end with a tile trim of less than 1/2 inch, adjust your starting point.
Electrical outlets: Identify where the cuts will fall around the electrical boxes.
Step 3: Adhesive (Thin mortar vs. cement-based adhesive)
For bathrooms, avoid paste adhesives (mastic) if you are installing stone or glass. Use a polymer-enriched thin mortar.
Use a notched trowel (usually 1/4" x 1/4" for average-sized tiles).
Work in small sections to prevent the mortar from forming a dry "skin" before the tile is set.
Step 4: Cutting (The Art of Precision)
This is where the equipment comes in.
Subway/Ceramic Tile: A manual scoring tile cutter is sufficient.
Hard Porcelain or Stone: A wet saw is essential to prevent chipping.
Outlets: Use an angle grinder with a diamond blade for U-shaped cuts.
Step 5: Grouting and Finishing
After 24 hours of drying time, you can apply the grout.
Without sand: For joints less than 1/8 inch wide or tiles that scratch easily (glass, polished marble).
With sand: For wider joints, providing greater mechanical resistance.
Cleaning: Use a damp (not soaking wet!) sponge in a circular motion to smooth the grout.
How to find and select the right bathroom renovation contractor in Canada?
Even if the project seems simple, many homeowners prefer to delegate to ensure a flawless finish, especially with expensive materials. Here's how to navigate the renovation bidding process.
Questions to Ask During the Interview
Before signing a contract with a bathroom expert, ask these questions:
"Do you include wall preparation and removal of the old backsplash?"
"What type of grout do you recommend to prevent water stains?"
"Do you offer a warranty on the installation?"
"Can you provide me with three references from recent clients?"
Planning a bathroom renovation project ? Click here to get in touch with certified contractors
Pricing Structure
The labour cost for a backsplash generally ranges from $12 to $30 per square foot, depending on the complexity of the design (e.g., a herringbone pattern is more expensive than a straight installation). Make sure the detailed quote clearly states whether the installation materials (mortar, grout, trim moldings) are included.
Maintenance and Durability in Our Climate
Canadian homes experience significant cycles of contraction and expansion due to drastic temperature changes between January and July. These movements can cause rigid grout joints to crack.
The Secret to Caulking
The most common mistake is applying grout to the junction between the countertop and the backsplash. With the natural movement of the house, this joint will crack.
The Solution: Use a high-quality silicone-based sealant, ideally the same colour as your grout. Silicone is flexible and will remain watertight despite vibrations or slight settling of furniture.
Cleaning and Prevention
According to the recommendations of the Société d'habitation du Québec (SHQ), a healthy bathroom environment should maintain a humidity level between 30% and 50%.
Ventilation: Run your bathroom fan for at least 20 minutes after each shower to prevent water from pooling on the backsplash grout.
Sealant: If you have chosen natural stone, apply a water-repellent sealant every 12 to 24 months to saturate the stone's pores.
Common Mistakes to Avoid when renovating a bathroom
Source : Bougie Rénovation inc.
Neglecting Under-Cabinet Lighting: A beautiful textured backsplash loses its impact if it's in the shadows. Consider LED strips to highlight the tile's texture.
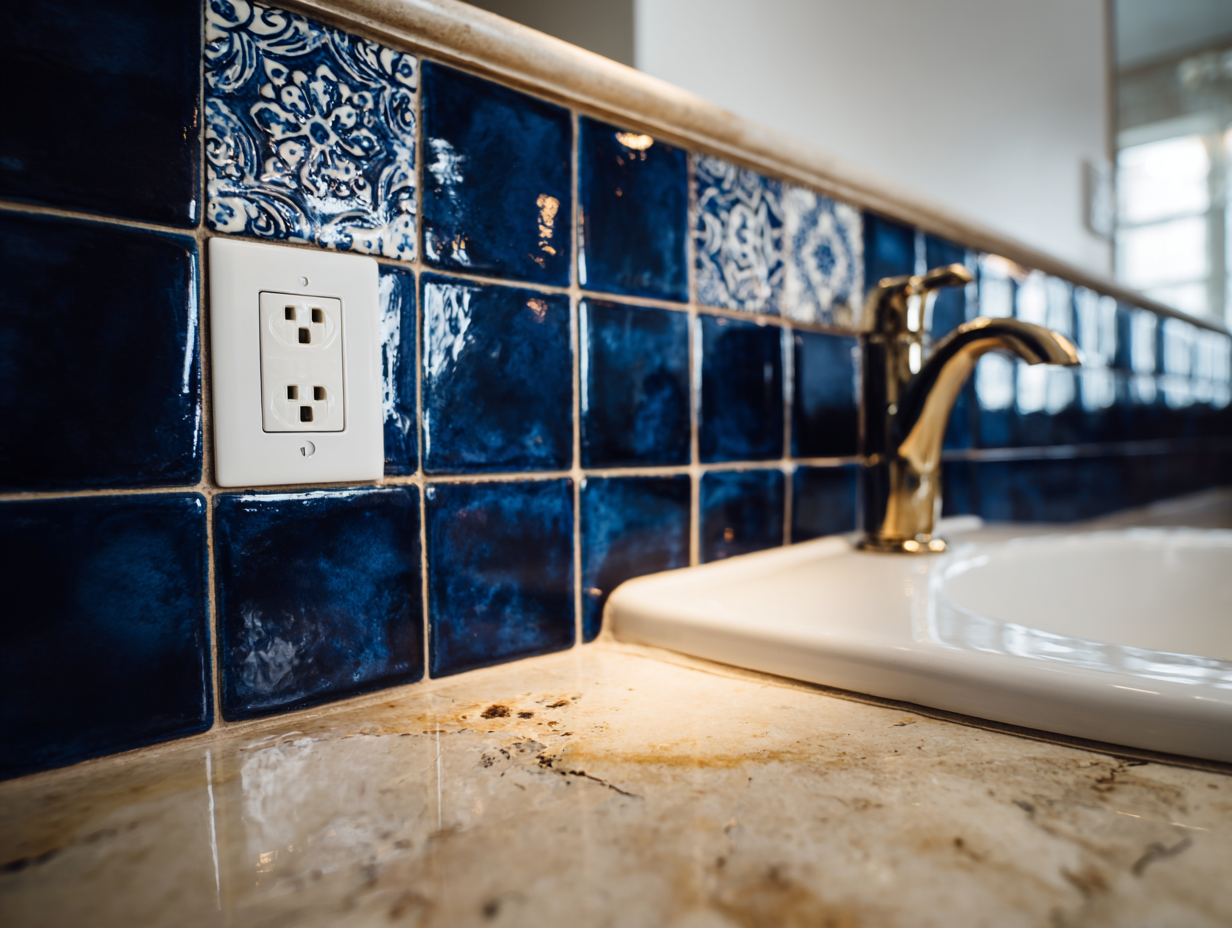
Forgetting Cover Plates: Nothing ruins a beautiful backsplash faster than an old, yellowed plastic electrical outlet. Opt for models that match the colour of your tiles.
Choosing Grout That's Too Light: In a bathroom, soap and makeup residue quickly stains white grout. A light gray or sandy beige is much more forgiving.
Bathroom Renovation Cost in Canada 2026: How Much Should You Budget?
Conclusion: A Worthwhile Investment
Changing or installing a bathroom backsplash is one of the most effective and affordable ways to modernize your home. It's a project that combines technical protection with artistic expression.
By choosing the right materials, following the installation steps, or hiring a certified professional, you can ensure a look that will remain beautiful for decades. Whether you live in a heritage home in Victoria or a new condo in Halifax, the options are endless. Take the time to order samples, observe them in different lighting, and go for it!
Looking for something else?
Related articles
The latest industry news, interviews, technologies, and resources.
Léa Plourde-Archer
•05 Dec 2025
If you've ended up here, you’re probably starting a major bathroom renovation project. Renovating a bathroom from top to bottom is a project that involves several stages and can easily be spread out over several weeks.

Editorial Team
•16 Mar 2026
Choosing a Trane heat pump is a big decision for homeowners who want year-round comfort (heating + cooling) while keeping energy costs under control. In this guide, you’ll find five popular residential Trane models with their key features, efficiency ratings (SEER2 / HSPF2), sound ranges, and a practical way to compare pricing so you can make a more informed purchase decision.

Editorial Team
•02 Aug 2024
The kitchen is a space of collaboration and cohabitation, where friends and family gather to cook, clean and hang out. Many important elements and fixtures occupy this room, and often overlooked is the humble backsplash.

Cynthia Pigeon
•30 Apr 2026
Across Canada, the cost of an asbestos test for a residential property typically ranges between $200 and $950. A simple DIY sampling kit costs around $200, while a full professional inspection with a certified report generally falls between $500 and $950. Testing materials before any demolition or renovation—especially in homes built or heavily renovated between 1930 and 1990—is a critical step to protect occupants’ health and ensure compliance with occupational health and safety regulations.

Cynthia Pigeon
•08 Nov 2023
Typically, the roof is the largest surface of a building. And, because of that, contractors are awarding more importance to this structural element during construction projects. That said, the inverted roof is one of the most durable and dependable options available.