Radon Mitigation System: Types, Costs & How to Choose a Contractor
By Editorial Team
Updated on July 9, 2026
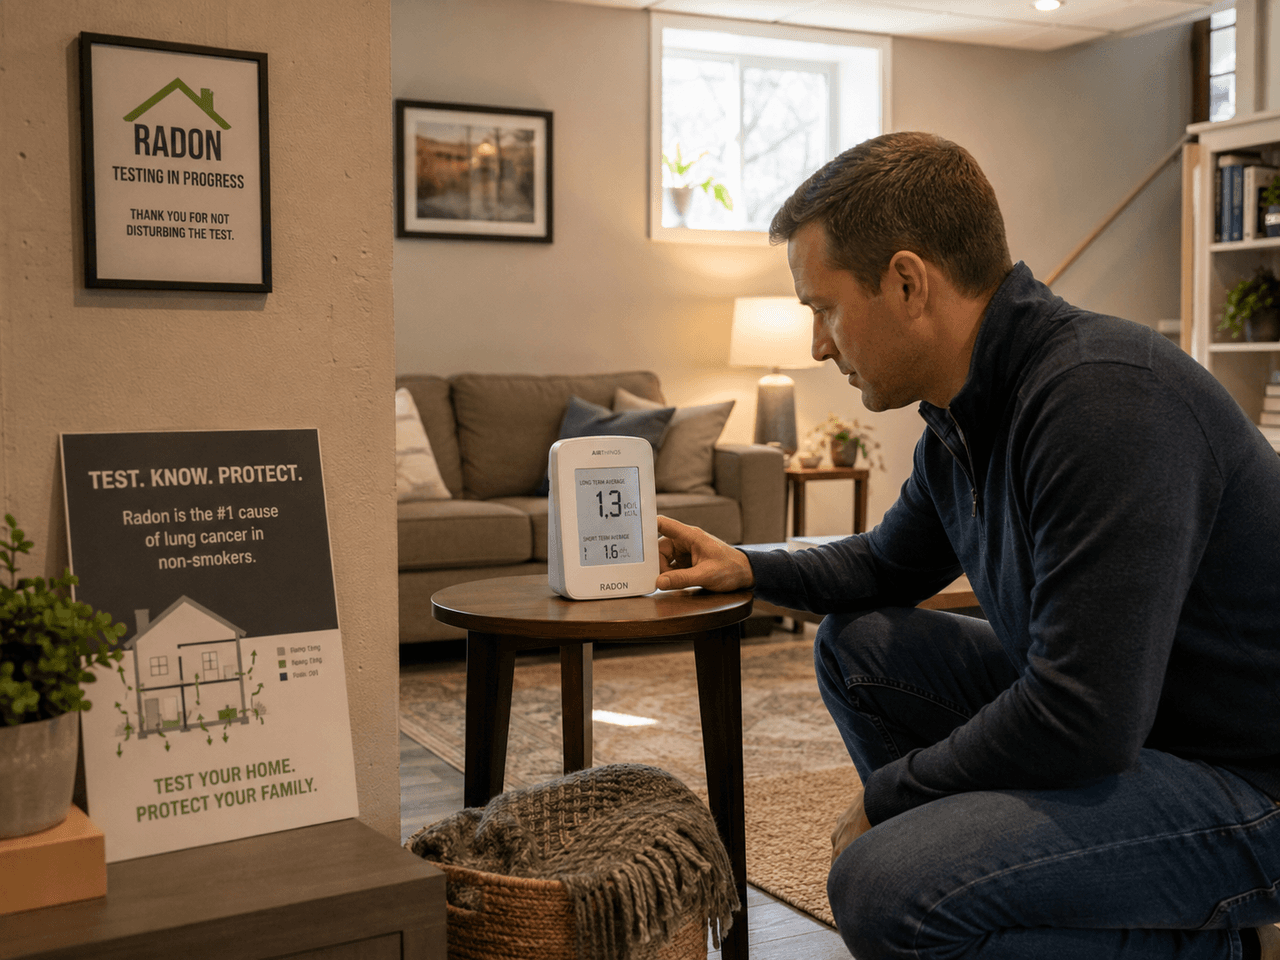
A radon mitigation system cost in Canada typically ranges from $2,000 to $4,000 for a standard single-family home. The final price depends on how the house is built, how easy it is to route vent piping, whether the basement or crawl space is finished, and how much diagnostic work is needed before installation.
Radon is an invisible, odourless radioactive gas that can enter homes through foundations, sumps, cracks, floor drains, service penetrations, and exposed soil. Health Canada recommends a long-term radon test of at least 3 months, ideally 3 to 12 months. Decisions should be based on a long-term average, and if a below-guideline result was not measured for at least 91 days during the heating season, retesting during the next heating season may be recommended.
Average Radon Mitigation Cost in Canada
Source: Reno Quotes
For most homeowners, the installed cost includes the radon fan, PVC venting, suction point, sealing work, labour, diagnostics, and post-mitigation testing guidance. A simple system in an accessible unfinished basement is usually less expensive than a system in a finished basement, crawl space, split-level home, or house with multiple slab areas.
Type of project | Typical cost range | Best suited for |
Standard active sub-slab depressurization | $2,000 to $4,000 | Most homes with a basement or slab-on-grade foundation |
Sump or drainage system depressurization | $2,000 to $4,500 | Homes where the sump or drain tile can be safely sealed and used as part of the system |
Crawl space sub-membrane depressurization | $3,000 to $6,000+ | Homes with exposed soil, partial crawl spaces, or complex access |
Activating an existing radon rough-in | Often less than a full retrofit | Newer homes with a properly installed rough-in pipe |
Complex or multi-system installations | $4,000 to $10,000+ | Large homes, multiple foundations, difficult venting, or very high radon levels |
Regional pricing can vary. Publicly available pricing examples show standard systems in Calgary often falling around $2,000 to $3,500, while Halifax examples often range from $1,500 to $3,000 for standard homes. In higher-cost urban markets or homes with complicated layouts, homeowners should expect quotes to exceed the national average.
Test Before Budgeting for Mitigation
A proper radon test should come before installation. Health Canada recommends long-term testing for at least three months, ideally during the heating season, because radon levels can fluctuate from day to day.
Testing matters because the result helps determine how urgent the work is and how robust the system may need to be. A home slightly above 200 Bq/m³ should still be addressed, but the urgency and system design may differ from a home with much higher levels.
What factors influence the cost of a radon mitigation system?
A contractor should not quote the job based only on square footage. Radon mitigation depends on how air moves under and around the foundation, where radon is entering, and how difficult it is to exhaust soil gas safely outdoors.
Foundation type: Poured concrete slabs, slab-on-grade homes, block foundations, crawl spaces, and mixed foundations require different system designs.
Home size: Larger homes may need longer pipe runs, more labour, or more than one suction point to create proper suction below the slab.
Finished basements: Finished walls, ceilings, flooring, and utility rooms can make pipe routing more labour-intensive and may require minor repairs after installation.
Crawl spaces: Exposed soil usually needs a sealed membrane before the fan can draw radon from below it, which adds material and labour.
Multiple slab areas: Split-level homes, additions, and homes with more than one foundation zone may need a more customized system.
Number of suction points: Some homes only need one sub-slab suction point, while others need several to achieve good pressure across the foundation.
Fan strength: Higher radon levels, dense soil, or poor sub-slab airflow may require a stronger radon fan.
Venting complexity: Long pipe runs, roof penetrations, exterior routing, tight utility spaces, and aesthetic finishing can increase the cost.
Sealing or membrane systems: Sump lid sealing, crawl space membranes, floor crack sealing, and service penetration sealing can add material and labour costs.
Geographic location: Labour costs, contractor availability, travel distance, climate, and local housing types can affect pricing.
System diagnostics: A proper pre-installation assessment may include airflow verification, pressure field testing, and inspection of radon entry points.
What is included in the price?
A professional quote should clearly explain what is included and what may cost extra. This makes it easier to compare contractors and avoid choosing a low quote that leaves out important work.
A standard radon mitigation price may include:
Pre-installation assessment
System diagnostics
One or more suction points
Radon fan
PVC vent piping
Basic sealing of key openings
Sump lid sealing, if required
Labour and installation materials
System indicator or manometer
System labelling
Homeowner instructions
Warranty information
Post-mitigation testing instructions or testing service
Extra costs may apply for crawl space membrane work, electrical work, finished basement repairs, additional suction points, complicated vent routing, long-term monitoring, or follow-up visits. Always ask whether post-mitigation testing is included in the quote.
Types of Radon Mitigation Systems
Source: Reno Quotes
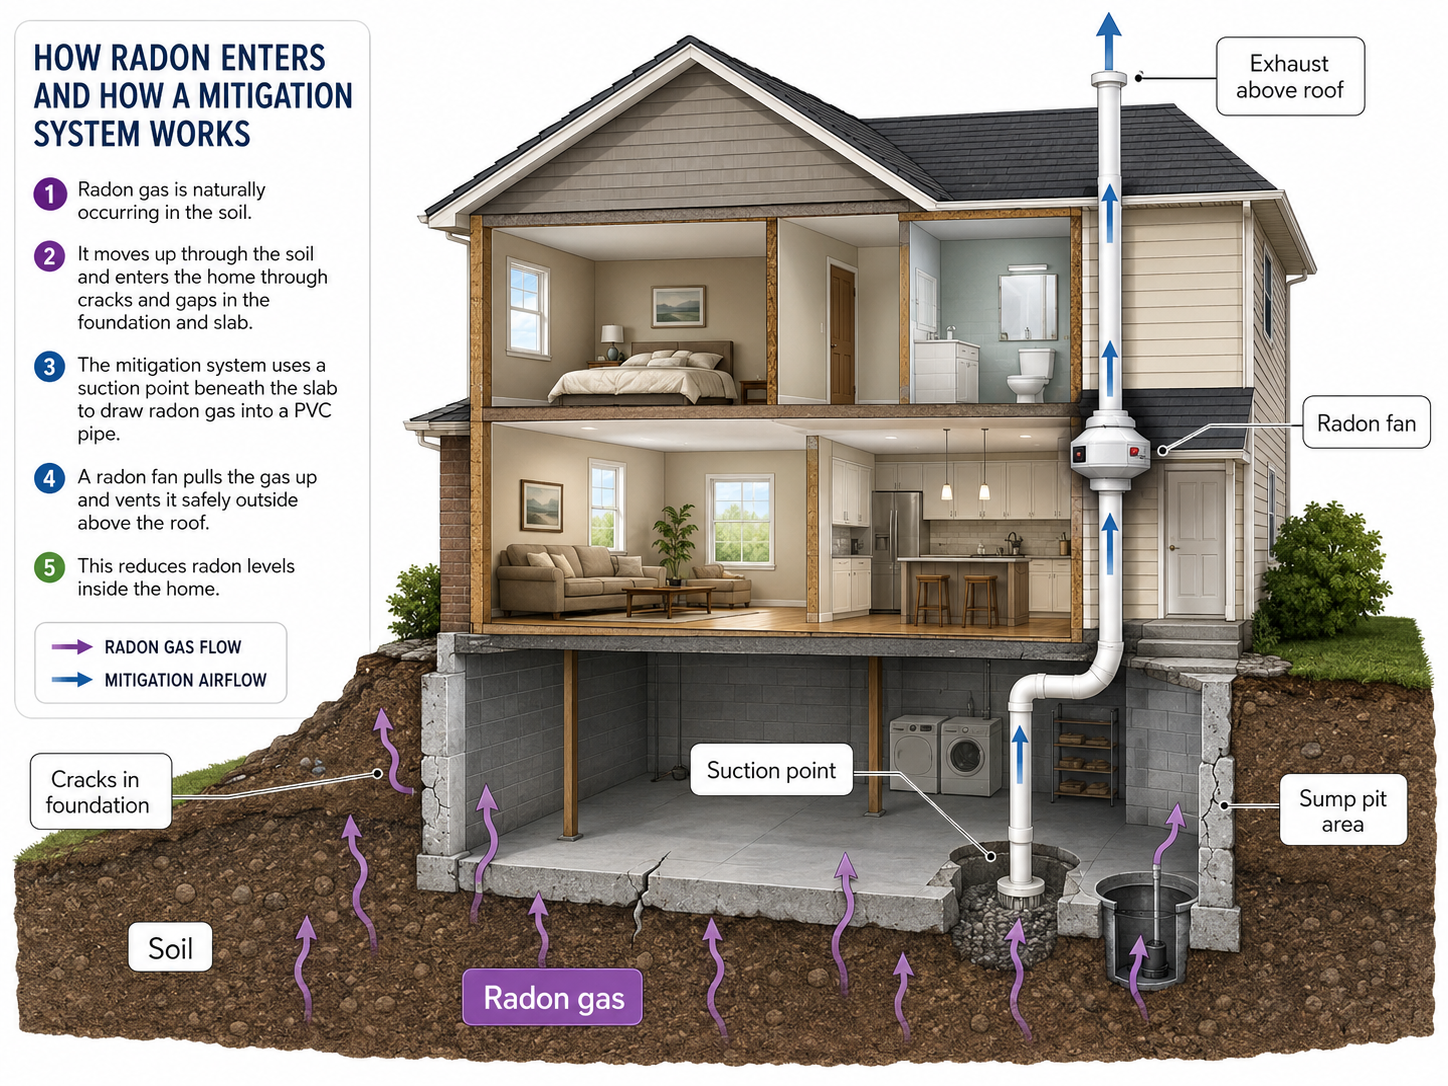
The right radon mitigation system depends on the foundation, radon level, existing drainage, and whether the home is new or already built. Most Canadian homes with elevated radon levels use a fan-based system that collects soil gas from below the home and exhausts it outdoors.
System type | Typical purpose | Best use case | Relative effectiveness |
Active sub-slab depressurization | Pulls radon from below a concrete slab using a fan and vent pipe | Basement and slab-on-grade homes | Usually the most effective and common option |
Sump or drain tile depressurization | Uses a sealed sump or drainage layer as part of the suction system | Homes with suitable sump pits or drain tile systems | Can be very effective when the drainage system can be sealed properly |
Sub-membrane depressurization | Covers exposed soil with a sealed membrane and pulls radon from below it | Crawl spaces or partial crawl spaces | Effective, but often more labour-intensive |
Passive radon system | Uses vent piping without a fan | Newer homes with radon rough-ins or lower-risk starting conditions | Less consistent than active systems, especially for higher radon levels |
Ventilation-based support | Increases air exchange to dilute indoor radon | Some homes with moderate radon levels or broader indoor air quality concerns | Secondary approach, not usually the main solution for high radon |
Active Sub-Slab Depressurization
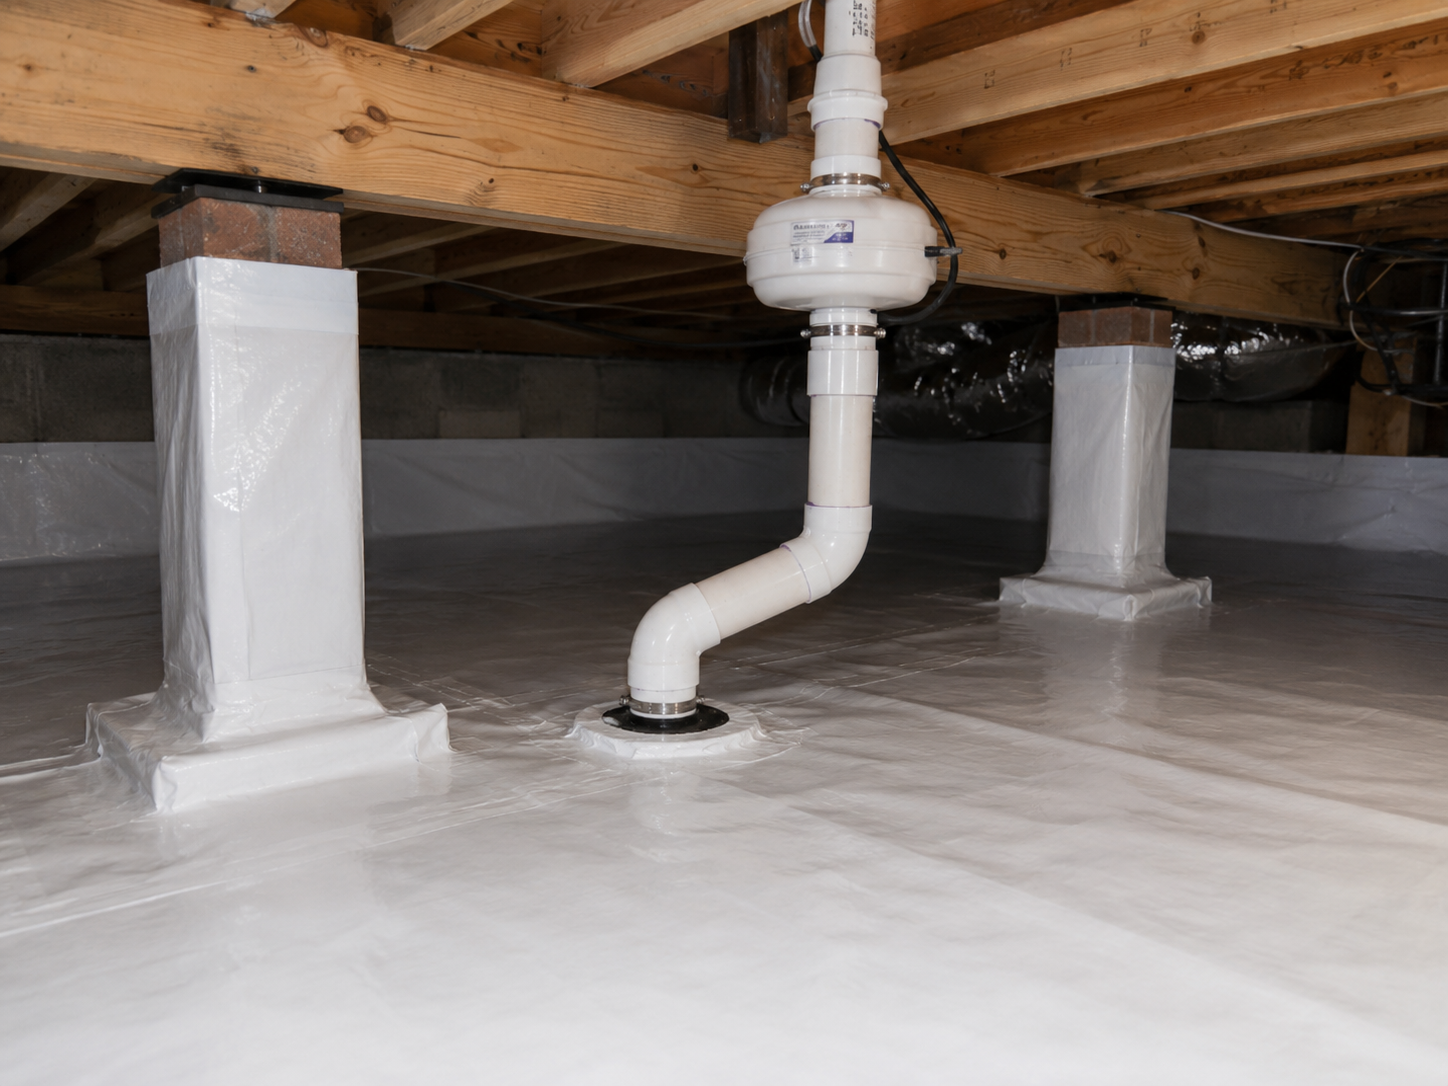
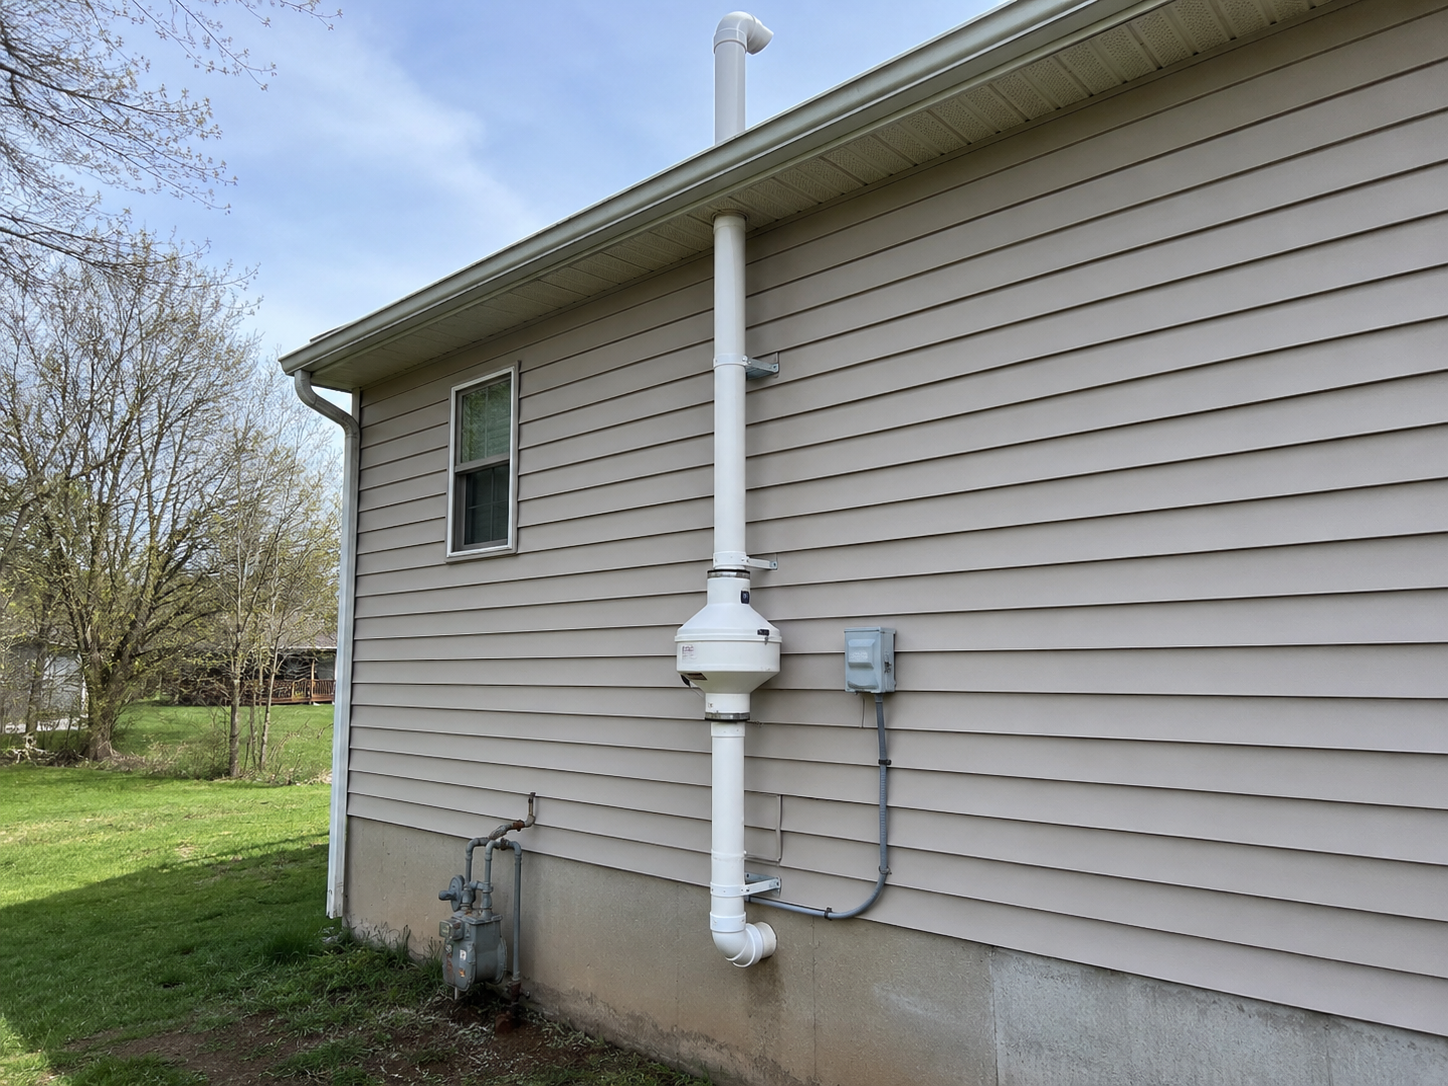
Active sub-slab depressurization is the most common and reliable option for many Canadian homes. A contractor drills one or more suction points through the slab, connects PVC vent piping, and installs a continuously operating radon fan that draws soil gas from beneath the home and exhausts it outdoors.
This is usually the best fit for homes with basements or slab-on-grade foundations, especially when radon levels are above Health Canada’s guideline and consistent reduction is needed. Costs can rise if the home needs multiple suction points, stronger fan capacity, difficult vent routing, or extra sealing.
Sump or Drain Tile Depressurization
If the home has a sump pit or connected drainage system, the contractor may be able to seal the sump lid and use the drainage layer as part of the suction system. This can be effective because the drainage layer may already connect to soil gas below the slab.
This option works best when the sump and drain tile can be sealed without affecting drainage performance. Expect added cost if the sump lid, floor drain, or drainage connections need upgrades.
Sub-Membrane Depressurization for Crawl Spaces
For crawl spaces with exposed soil, the contractor typically installs a durable membrane over the ground, seals seams and edges, and pulls radon from beneath the membrane using a fan. This helps prevent radon from entering the crawl space air and moving into the rest of the home.
This system is usually more labour-intensive than a standard basement system. Low clearance, moisture, debris, piers, uneven soil, and multiple crawl space sections can all increase the price.
Passive Radon Systems
Passive systems use vent piping without a fan. They are more common in new construction or homes with a radon rough-in already in place. In some homes, a passive system may help reduce radon, but it is generally less reliable than an active fan-based system.
A passive system may be enough when test results are low or only slightly elevated, but it should not be assumed to solve a high radon problem. If testing shows radon remains above Health Canada’s guideline, a certified contractor may recommend adding a fan to make the system active.
Radon-Resistant New Construction and Rough-Ins
New homes may include radon-resistant construction features, such as a soil gas barrier, granular layer, sealed foundation penetrations, and a radon rough-in pipe. These features are not the same as a fully active mitigation system, but they can make future mitigation easier and less expensive.
A rough-in allows a contractor to add a fan later if post-construction testing shows elevated radon levels. Even in a new home, radon testing is still needed after occupancy because the rough-in only proves the home is prepared for mitigation, not that radon levels are already low.
Ventilation and Air Filtration
Ventilation and filtration should be treated as supporting measures, not replacements for a proper radon mitigation system. A heat recovery ventilator, or HRV, may help dilute indoor radon in some homes by increasing controlled air exchange, but it is usually less effective than sub-slab depressurization for high radon levels.
HEPA air filters can improve particle filtration, but they do not remove radon gas itself. For most homes with elevated radon, the main goal is to stop radon from entering the living space by depressurizing the soil below the foundation.
Best System by Home Type
Home type | System that often fits best |
Standard basement home | Active sub-slab depressurization |
Slab-on-grade home | Active sub-slab depressurization with one or more suction points |
Home with sump pit or drain tile | Sump or drain tile depressurization, if the system can be sealed properly |
Crawl space home | Sub-membrane depressurization |
Split-level or addition with multiple slabs | Custom active system with more than one suction point or zone |
Newer home with radon rough-in | Passive system activation or fan upgrade after testing |
Home with moderate radon and ventilation issues | HRV as a supplemental measure, not a substitute for proper mitigation |
Installation Process and Contractor Selection
Source: Reno Quotes
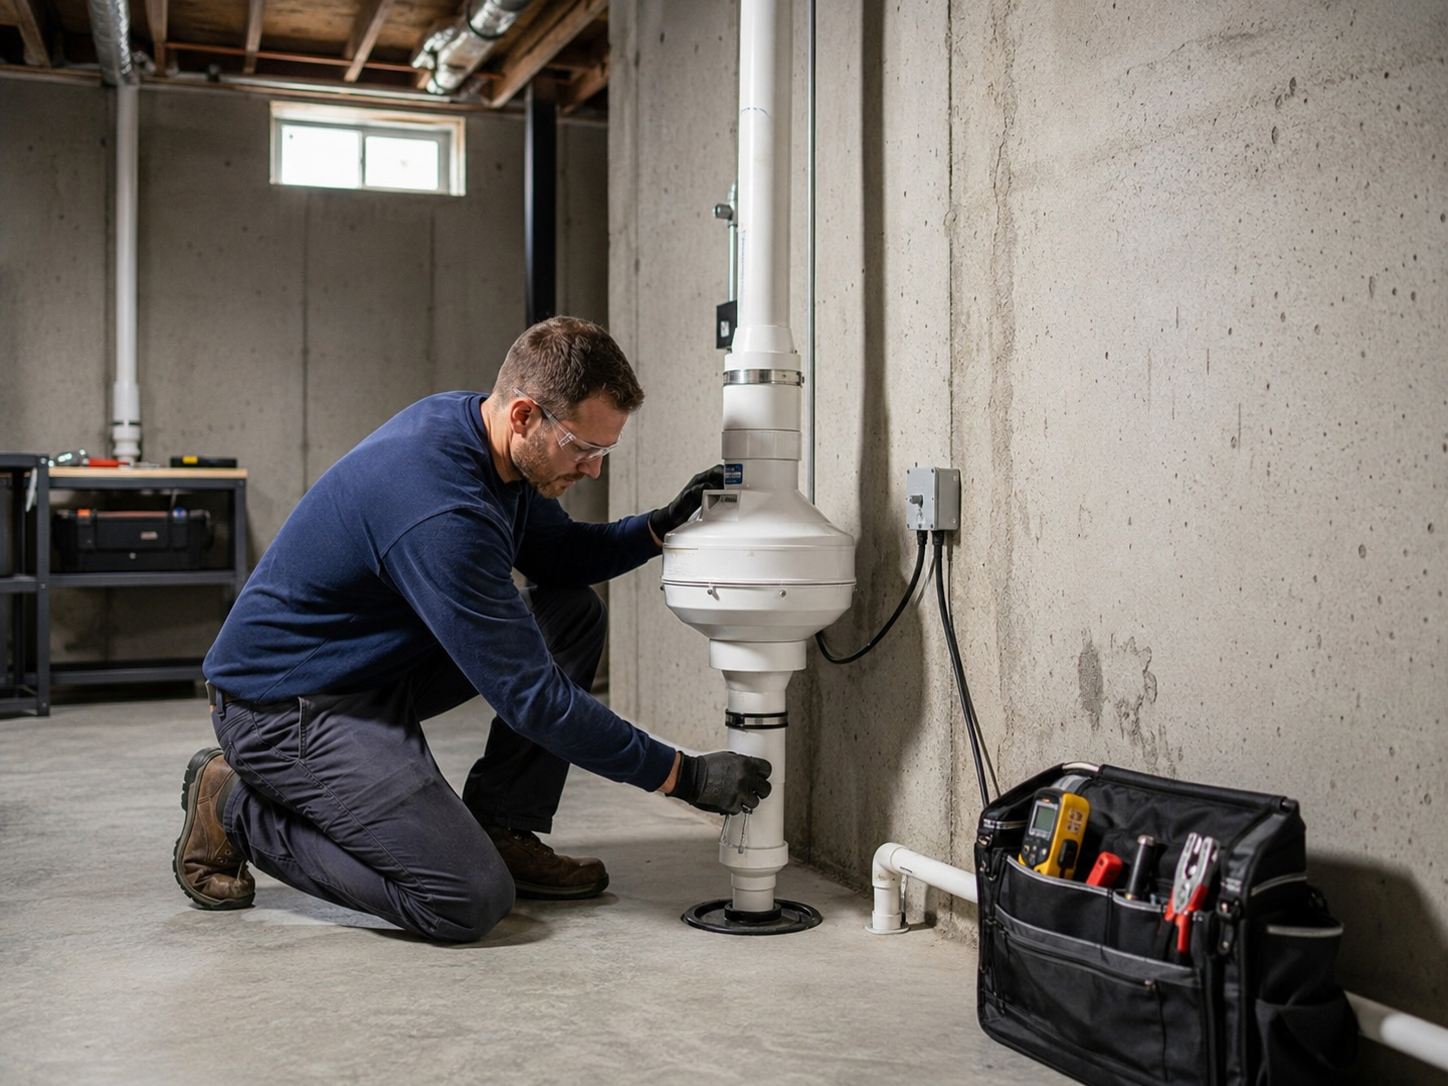
A professional radon mitigation installation should follow a clear sequence, from assessment to post-installation testing. In many typical single-family homes, the work can be completed in one day, but crawl spaces, finished basements, difficult vent routing, or multiple foundation areas may take longer.
Before Installation
Before work begins, the contractor should review your radon test results and inspect the home. This assessment helps determine the best suction point, fan size, vent route, sealing needs, and whether the foundation has conditions that could affect performance.
A proper pre-installation assessment may include:
Reviewing long-term radon test results
Inspecting the foundation type and basement layout
Checking the sump pit, floor drains, cracks, and utility penetrations
Looking for crawl spaces, additions, or multiple slab areas
Planning the vent route and fan location
Confirming whether pressure field testing or extra diagnostics are needed
This step matters because radon reduction is not just about installing a fan. The system has to create enough suction below the foundation to collect radon before it enters the living space.
During Installation
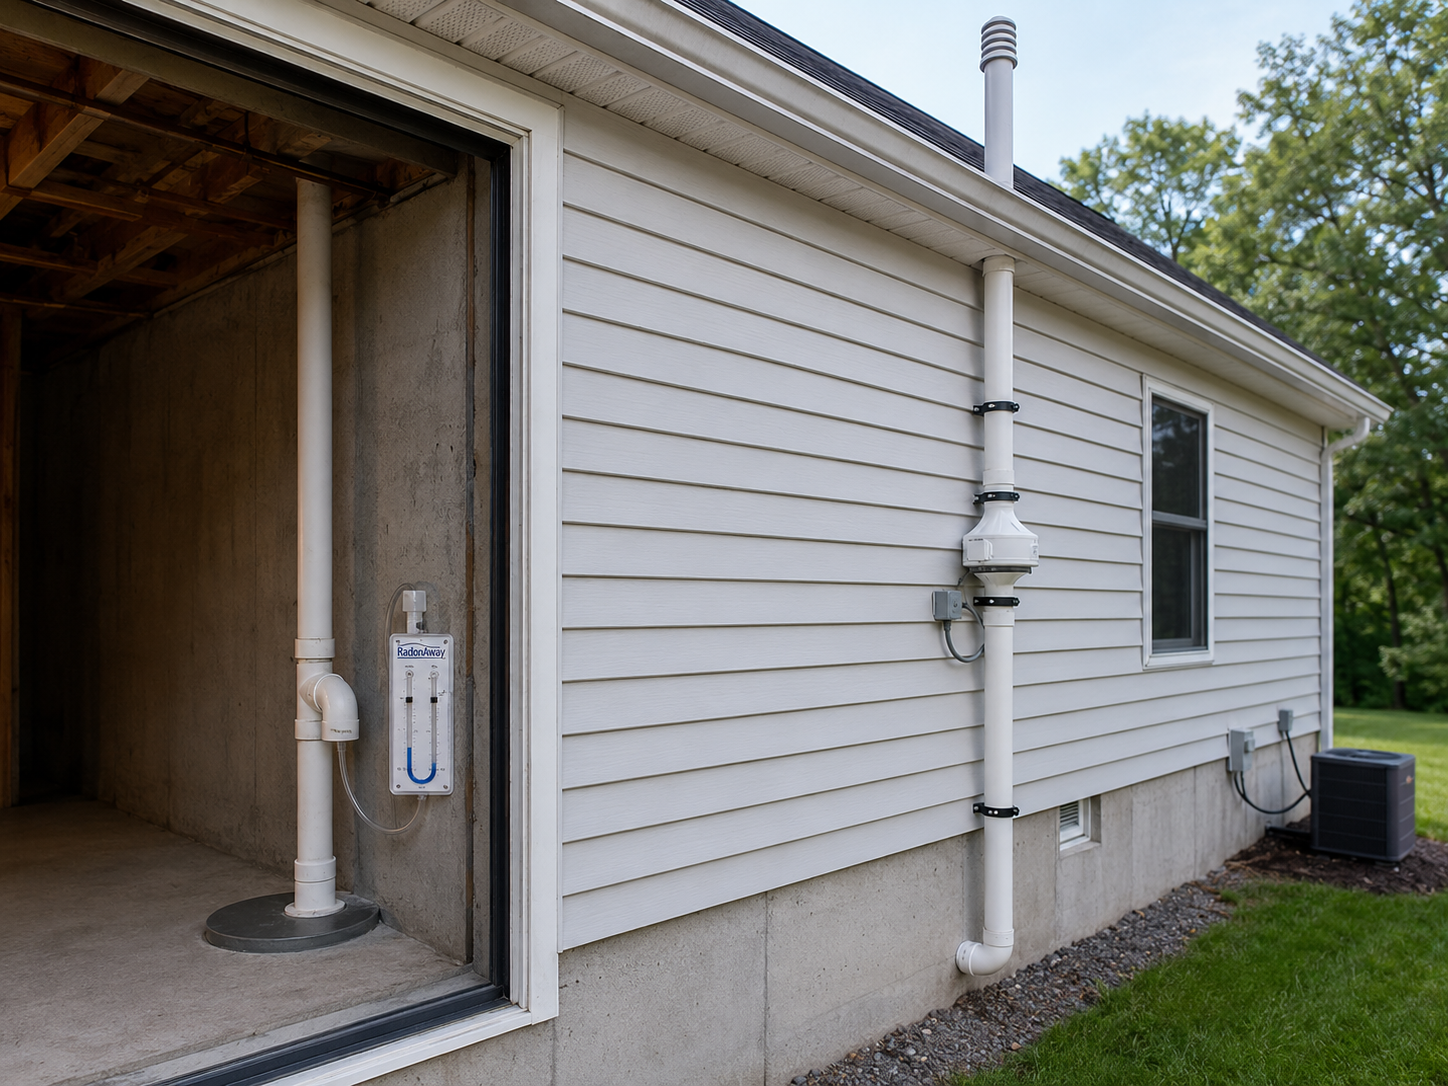
A standard active sub-slab depressurization installation usually includes drilling one or more suction points through the slab, connecting PVC vent piping, installing a radon fan, sealing key openings, and venting the radon safely outdoors. The contractor should also install a system indicator, often a U-tube manometer, so the homeowner can see whether the fan is creating suction.
A standard installation often includes:
One suction point or sump connection
Properly sized radon fan
PVC vent piping
Basic sealing around key entry points
System indicator
System labelling
Homeowner instructions
Basic cleanup
Warranty information
Some work may cost extra, depending on the home. Common add-ons include crawl space membrane installation, multiple suction points, finished basement repairs, electrical changes, difficult exterior venting, roof penetrations, sump upgrades, or follow-up visits.
After Installation
Once the system is running, the contractor should explain how to read the system indicator, what normal operation looks like, and what to do if the fan stops working or becomes noisy. They should also provide documentation for your records, including the invoice, system details, fan model, warranty information, and testing instructions.
After installation, a short-term post-mitigation test should be started no sooner than 24 hours after the system is activated, completed within one month, and run for at least 48 hours. A long-term follow-up test during a future heating season helps confirm ongoing performance.
DIY vs. Professional Installation
Source: Reno Quotes
DIY radon reduction may seem less expensive, but it is not recommended for most homeowners. Sealing cracks alone is usually not a reliable long-term solution for high radon levels, and a poorly designed system may fail to reduce radon enough.
A professional installation is usually the safer choice because a certified contractor can assess sub-slab airflow, choose the right fan strength, place suction points correctly, route vent piping safely, seal important openings, and verify performance after the system is running. These details affect both the cost and the long-term effectiveness of the system.
How do you choose the right contractor?
Radon mitigation is not a good place to choose the cheapest quote without checking credentials. A poorly designed system may fail to lower radon levels, create venting problems, or require costly adjustments later.
Look for a contractor who offers:
C-NRPP certification: In Canada, choose a Canadian National Radon Proficiency Program certified mitigation professional.
A written scope of work: The quote should describe the system design, fan, suction points, vent route, sealing work, and exclusions.
Proof of insurance: Ask for liability insurance and, where applicable, provincial business licensing.
Diagnostics before design: The contractor should assess the home before deciding where the fan and suction points should go.
References or project examples: A qualified contractor should be able to discuss similar homes they have worked on.
Post-installation testing: The contractor should explain how results will be verified after the system is running.
Warranty information: Ask about fan warranty, workmanship warranty, and what happens if radon levels remain high.
Warning signs include contractors who quote without asking about test results, skip diagnostics, recommend sealing alone for high radon levels, refuse to provide certification, or promise a specific result without post-installation testing.
How to Compare Quotes
Do not compare radon mitigation quotes by price alone. A lower quote may leave out testing, sealing, warranty support, proper vent routing, or work needed for your specific foundation.
A useful quote should answer these questions:
What type of system is being installed?
How many suction points are included?
Where will the fan and vent pipe be located?
What sealing work is included?
Is electrical work included or separate?
Is post-mitigation testing included?
What warranty applies to the fan and workmanship?
What happens if radon levels do not drop enough?
The best quote is usually the one that clearly explains the system, includes the right diagnostics, and gives you a practical plan for confirming that the installation worked.
Long-Term and Hidden Costs of a Radon Mitigation System
Source: Reno Quotes
A radon mitigation system is not usually expensive to maintain, but homeowners should plan for a few ongoing costs.
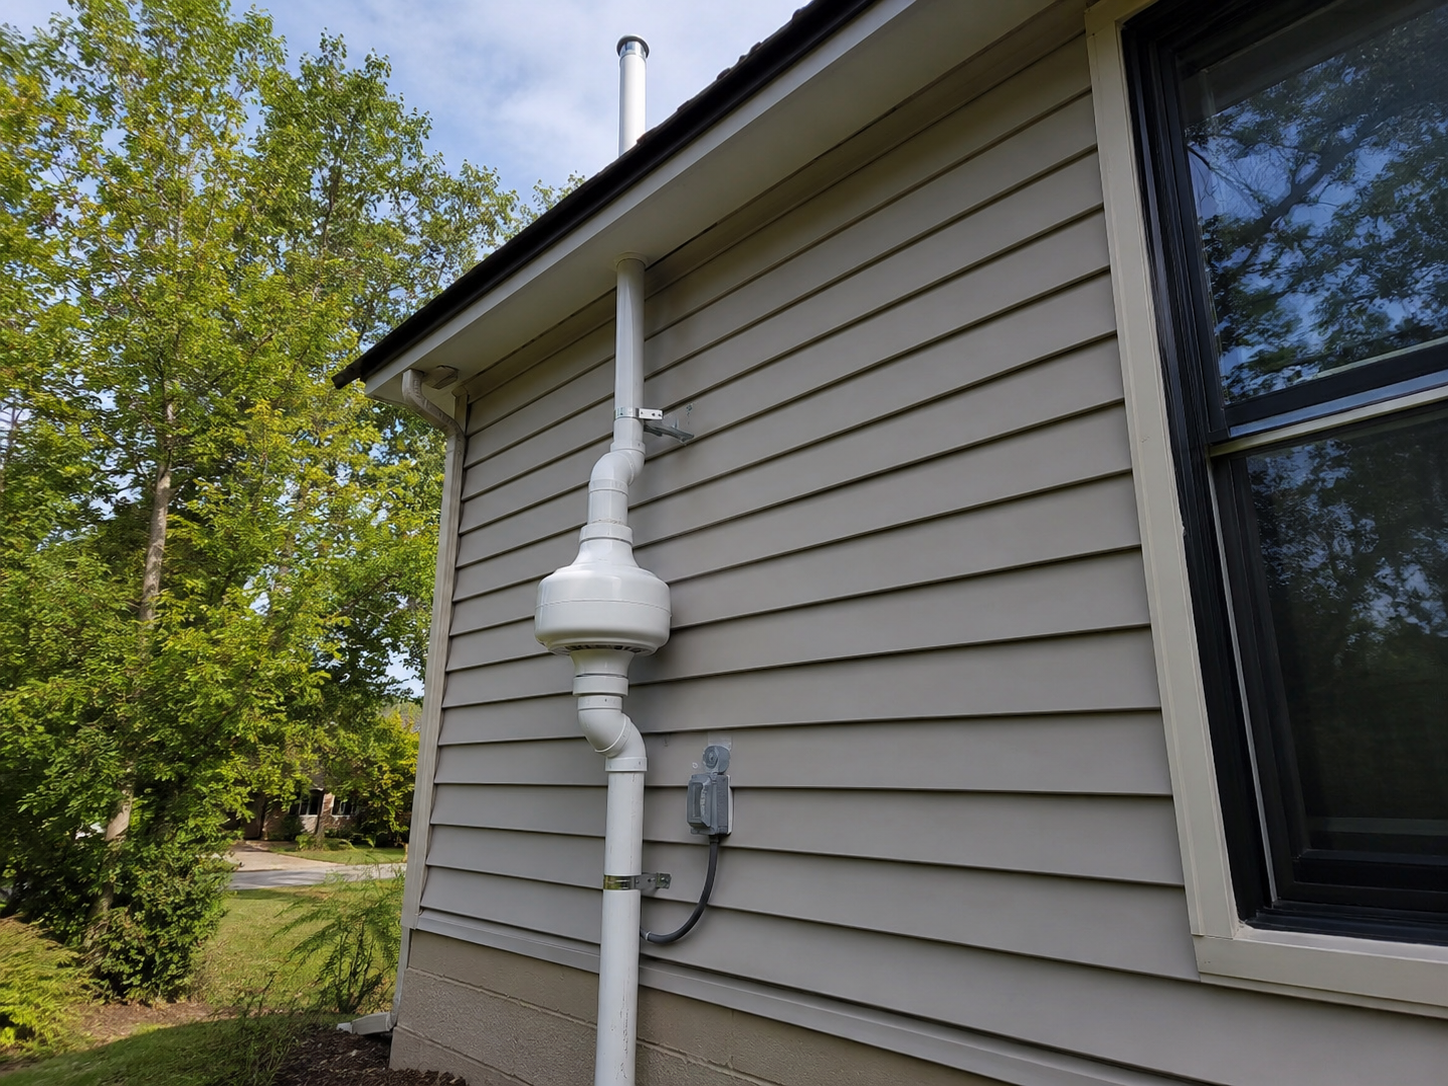
The radon fan must run continuously, so there will be a small electricity cost. Health Canada has estimated fan electricity at about $50 to $75 per year, but the actual amount depends on local electricity rates and fan size. Fans can last five to ten years or longer, and replacement cost can vary by model and labour.
Other possible costs include:
Post-mitigation short-term testing
Long-term follow-up testing during a future heating season
Fan replacement after several years
Repairs if the manometer shows the system is not operating properly
Additional sealing if renovation work changes airflow
Adjustments after major basement, HVAC, or foundation work
Ask the contractor what is included in the quote. A low estimate may not include post-mitigation testing, sump sealing, finished basement repairs, warranty coverage, system checks, or future adjustments after renovations.
Financial Assistance and Regional Programs
There is no universal federal rebate that covers every Canadian radon mitigation project. However, some financial assistance may be available depending on your location, income, home type, or warranty status.
The Canadian Lung Association’s Lungs Matter program may provide up to $1,500 toward home radon mitigation for eligible applicants, including people diagnosed with lung cancer or households that meet income requirements. Applicants generally need long-term radon test results above 200 Bq/m³ and a quote from a C-NRPP certified radon mitigation professional.
Some municipalities and provinces have offered local programs, rebates, loans, or tax-related support. For example, Health Canada lists municipal and provincial examples such as certain Quebec local subsidies, Manitoba Hydro financing, and Saskatchewan renovation tax credit eligibility for radon reduction measures.
Ontario homeowners with a newer home should also check Tarion warranty coverage. If an eligible new home tests above Health Canada’s guideline, Tarion may cover radon remediation within the warranty period, subject to the program’s rules and testing requirements.
To check for financial help:
Start with Health Canada’s radon subsidy and incentive resources
Check your provincial or territorial health agency
Search municipal home improvement, housing, or public health programs
Ask your utility provider about financing options
Check new home warranty coverage if the home is still within the warranty period
Ask a C-NRPP certified contractor whether they know of current local programs
Before applying, gather your long-term radon test results, contractor quote, proof of ownership or occupancy, income documents if required, and warranty documents if the home is newer.
How to Confirm the System Is Working
After installation, the system should be tested to confirm that radon levels have dropped. C-NRPP guidance recommends a short-term test after the fan has been running for at least 24 hours, followed by long-term testing during a future heating season.
Homeowners should also check the system indicator, often a U-tube manometer, to make sure the fan is creating suction. If the fan is off, the manometer level changes, or the system becomes noisy, contact the installer.
Retest after major renovations, basement finishing, insulation upgrades, foundation repairs, HVAC changes, or if the system has been repaired. Even a good radon mitigation system needs occasional verification.
Health and Home Benefits
Source: Reno Quotes
If long-term testing shows radon above 200 Bq/m³, mitigation is usually worth the cost. Radon exposure is a long-term health risk, and Health Canada identifies it as the leading cause of lung cancer in non-smokers. A properly installed active system can reduce radon levels significantly, often by more than 80%.
Mitigation also gives homeowners a clearer path forward after a high test result. Instead of repeatedly testing without resolving the source, a properly designed system helps reduce radon entry and supports more consistent indoor air quality.
A radon system may also make a home easier to sell, especially as more buyers ask for radon test results or proof that elevated levels have been addressed. The best value comes from testing first, choosing a certified contractor, confirming the system works after installation, and keeping records for future resale.
In Conclusion
Most Canadian homeowners should budget $2,000 to $4,000 for a standard radon mitigation system, with higher costs for crawl spaces, finished basements, multiple slab areas, difficult venting, or complex foundations. The most common solution is active sub-slab depressurization, but the right system depends on the home.
Before paying for installation, confirm your radon level with proper testing and get written quotes from C-NRPP certified professionals. After the work is complete, post-mitigation testing is essential to confirm the system is protecting your home.
Frequently Asked Questions
Why do some homes cost more to mitigate than others?
Costs rise when the home needs more suction points, stronger fan capacity, difficult vent routing, crawl space membrane work, sump sealing, finished basement repairs, or extra diagnostics.
Is post-mitigation testing included?
Sometimes. Some contractors include testing, while others provide instructions and charge separately. Ask before signing the quote.
What is the cheapest radon mitigation option?
The cheapest option may be activating an existing radon rough-in, if the home already has one. However, the lowest-cost option is not always the right one. The system must be strong enough to reduce radon below Health Canada’s guideline.
Can I install a radon mitigation system myself?
DIY installation is not recommended for most homeowners. Radon mitigation requires proper diagnostics, fan sizing, vent routing, sealing, and post-mitigation testing. A poor installation may not lower radon levels and may create other building performance issues.
Looking for something else?
Related articles
The latest industry news, interviews, technologies, and resources.
Editorial Team
•27 May 2026
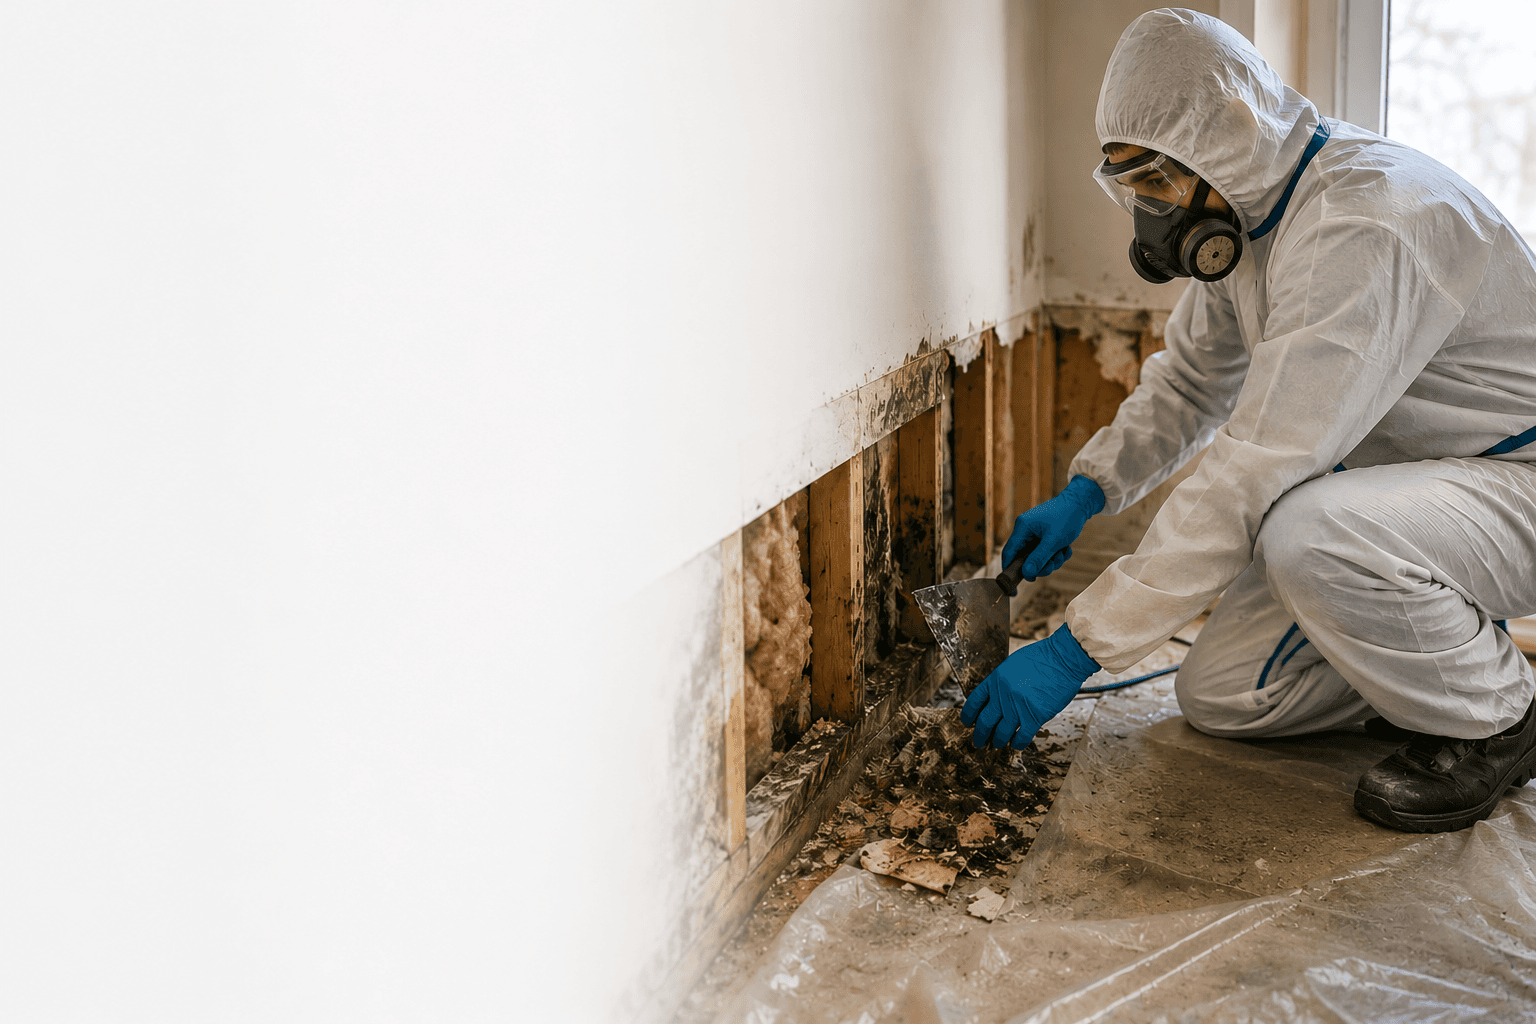
Living in and maintaining a healthy environment may require you to undertake home and ground decontamination and remediation procedures.
Cynthia Pigeon
•20 Jul 2026
Discovering black spots on a wall, a persistent damp-earth smell, or suspicious stains after water damage can immediately cause concern for a homeowner. Across Canada, cold winters, freeze-thaw cycles, heavy rainfall, and humid summer conditions can place considerable stress on a building envelope.
Editorial Team
•08 Nov 2023
After meeting with the interior designer, creating plans for the project and choosing our contractor, it's time to start buying materials and furniture!

Editorial Team
•06 Nov 2025
Obtaining a licence from the Régie du bâtiment du Québec (RBQ) is an essential step for any construction contractor wishing to operate legally in the province. Yet, every year, a large number of applications are refused or delayed due to simple, avoidable mistakes.

Léa Plourde-Archer
•08 Nov 2023
Ceramics look beautiful in almost any home, whether used as a material for the kitchen backsplash or as a beautiful mosaic accent piece on a wall. This material is versatile, low-maintenance, sturdy and with an excellent lifespan if looked after correctly. Another place a tile floor is commonly found is in the bathroom. If you already have one installed, then you’re one step ahead of us.