How to Install a Radon Mitigation System in Canada
By Cynthia Pigeon
Updated on July 21, 2026
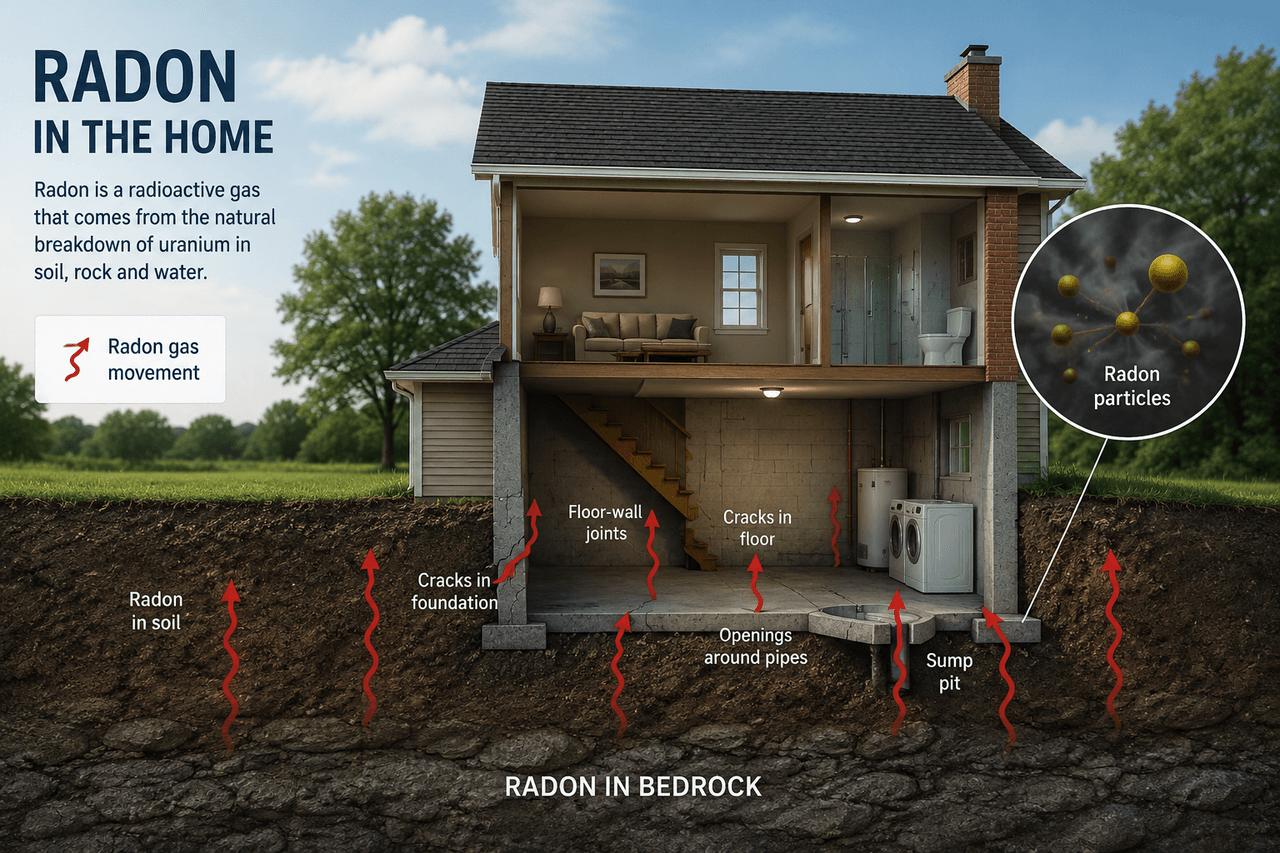
Odourless, colourless, and tasteless, radon is an invisible threat that can enter homes unnoticed. Across Canada, radon concentrations may be higher in lower levels, particularly basements and crawl spaces, because the gas typically enters through openings in contact with the ground and can accumulate when indoor air exchange is limited.
Awareness of indoor air quality risks is growing among young families, homebuyers, and owner-builders. Fortunately, elevated radon levels can be addressed. Proven residential mitigation methods can significantly improve indoor air quality. This guide explains how a radon mitigation system is installed in Canada, from testing and diagnosis to selecting a qualified contractor.
How Does Radon Enter Your Home?
Source: RenoQuotes
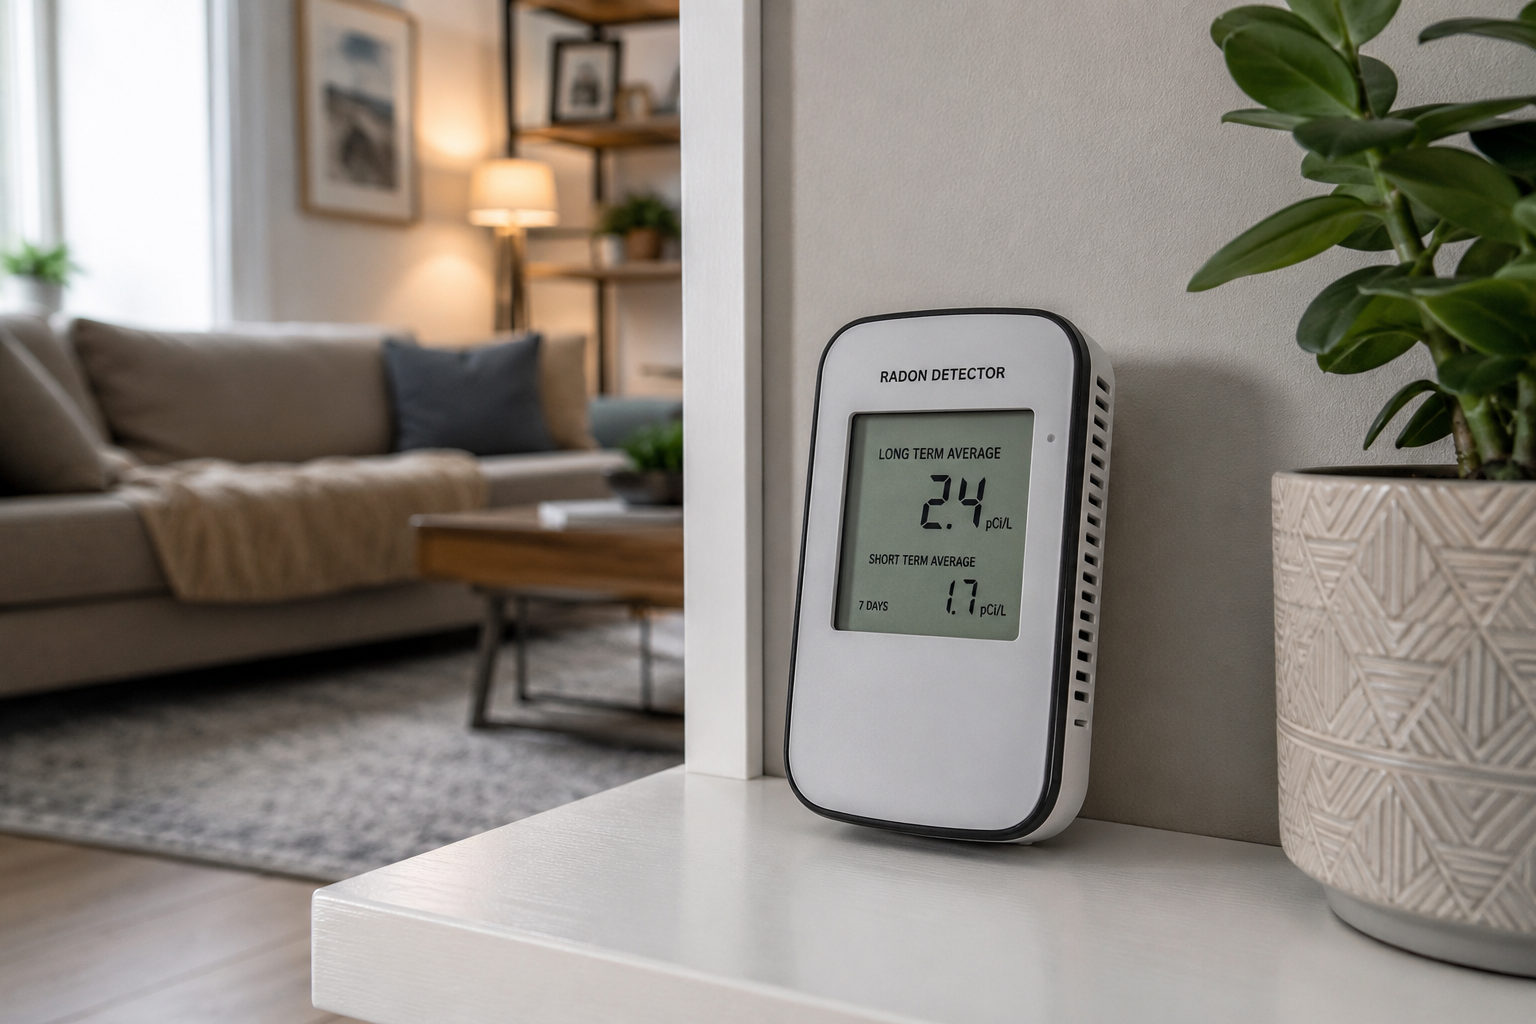
Maintaining a healthy home includes controlling soil gases. Unlike many outdoor air pollutants, radon is produced by the natural radioactive decay of uranium found in varying concentrations in rocks and soil, including certain granite formations.
During the winter, the stack effect can create negative pressure in the lower levels of a house as warm air rises and escapes through the upper portion of the building. The house can then act like a vacuum, drawing radon through openings that are in contact with the ground. A properly designed mitigation system changes this pressure relationship and captures the gas before it enters the living space.
What Is Radon and Why Is It Dangerous?
Radon is a radioactive noble gas. As it decays, it produces radioactive particles that can attach themselves to dust in the air. When inhaled and deposited in the lungs, radon and especially its decay products can emit alpha particles that damage the DNA of lung cells and increase the risk of lung cancer.
The link between long-term radon exposure and lung cancer is well established by international health authorities. In Canada, radon is the second-leading cause of lung cancer after smoking and the leading cause among people who do not smoke. Health Canada estimates that radon is associated with more than 3,000 lung cancer deaths each year in Canada.
A properly designed mitigation system can significantly reduce indoor radon concentrations. Health Canada indicates that systems installed in homes achieve reductions greater than 80% in most cases. Their performance must still be confirmed through post-installation testing.
When Should You Install a Radon Mitigation System?
Source: RenoQuotes
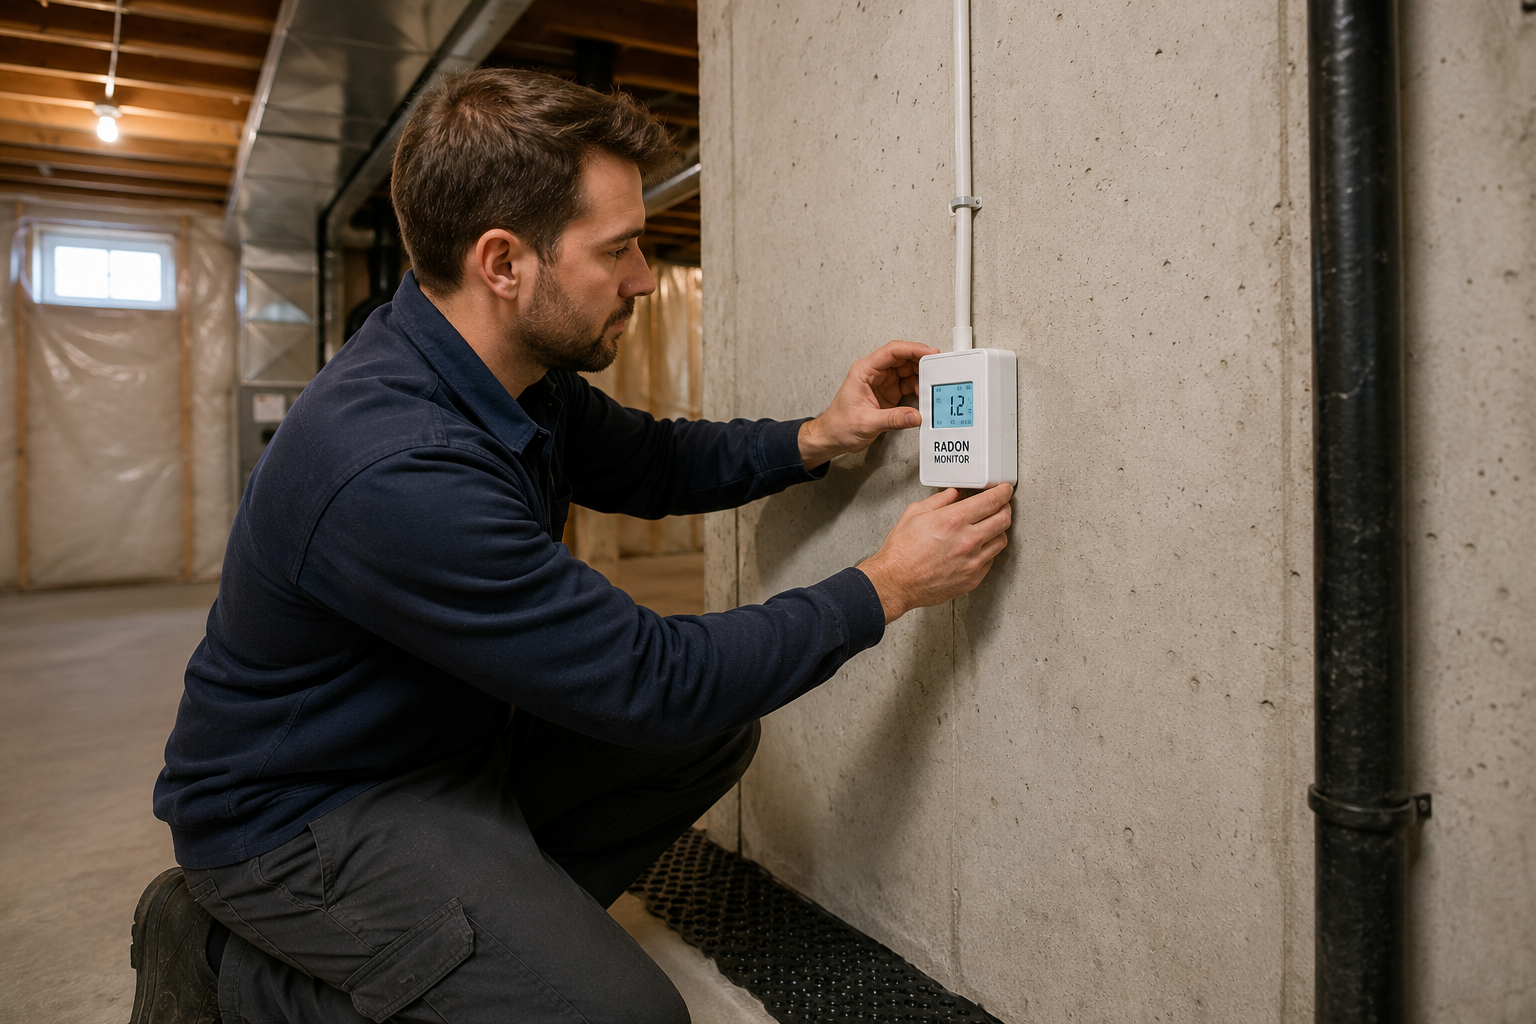
The only way to determine the radon concentration in your home is to test it. Radon levels can vary considerably from one street to another and even between neighbouring properties, depending on soil permeability and foundation design.
Radon can be measured using a passive alpha-track detector or an electronic monitor that has passed C-NRPP performance testing for long-term measurements. To obtain an accurate picture of your household’s exposure, Health Canada recommends testing for at least 91 days, ideally during the heating season.
Below 200 Bq/m³: Immediate corrective action is not required, although Health Canada recommends keeping radon levels as low as reasonably achievable.
At or above 200 Bq/m³: Health Canada recommends taking corrective action within one year, with higher concentrations addressed more quickly.
Radon Protection Requirements for New Homes
Source: RenoQuotes
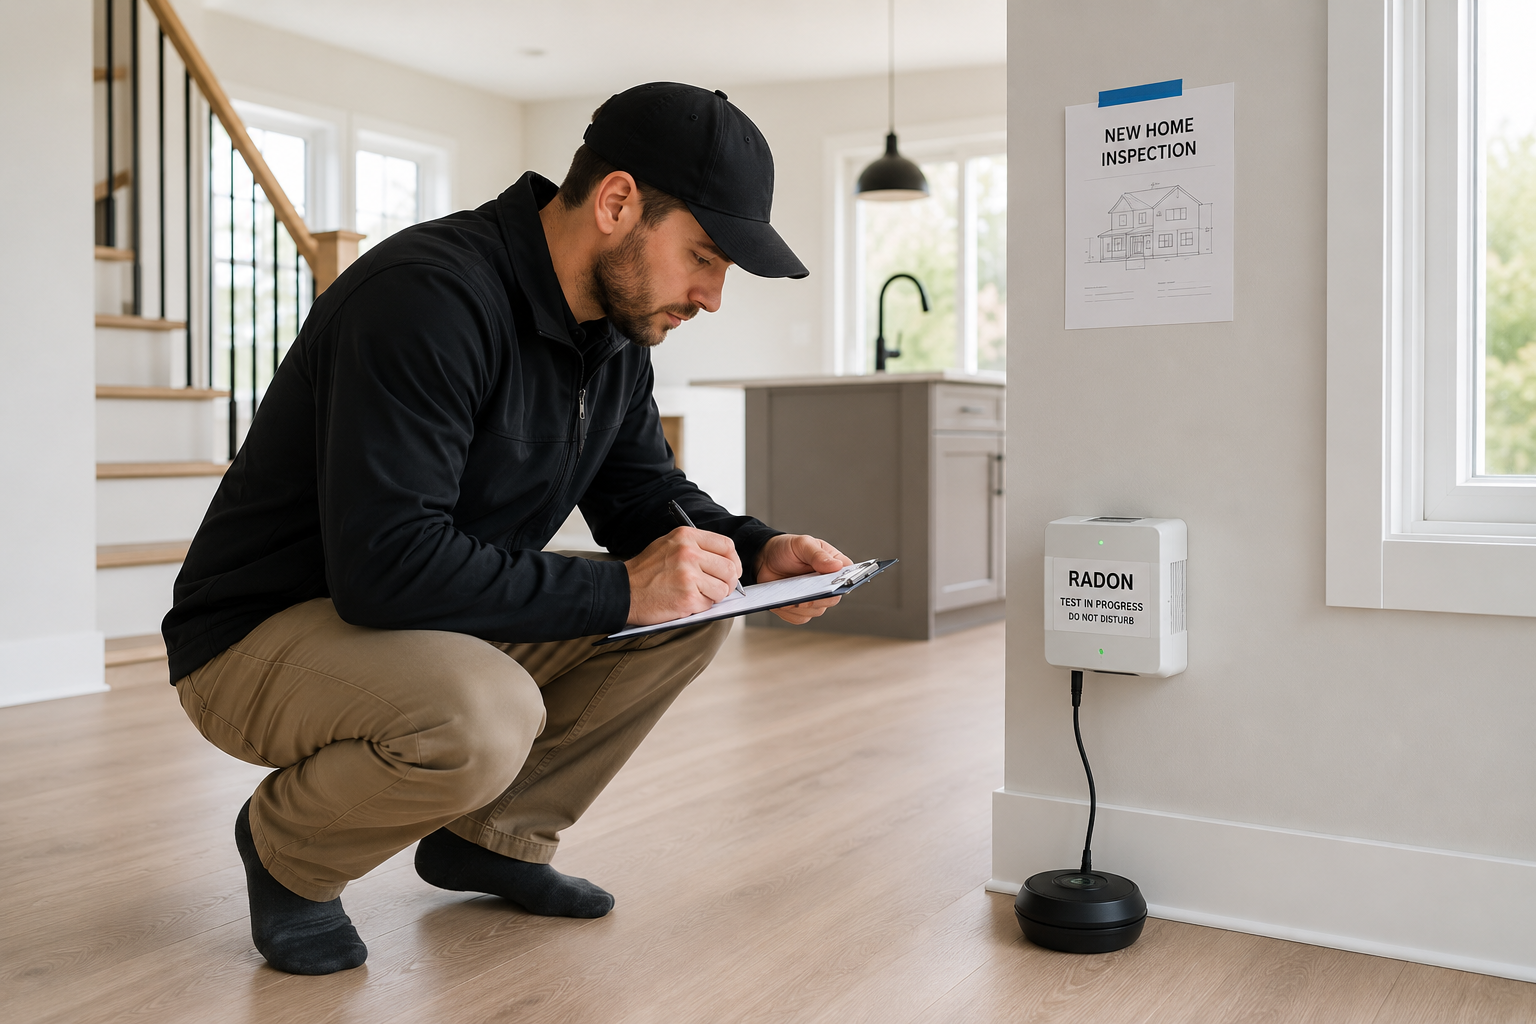
Building-code requirements related to soil gases and radon vary by province, territory, municipality, and the edition of the National Building Code adopted in each jurisdiction.
Depending on the building design and local code requirements, preventive measures may include a sealed soil-gas barrier, rough-in piping for a passive radon system, or components that allow an active mitigation system to be added later. If future testing identifies a concentration above 200 Bq/m³, the pre-installed piping may simplify the addition of an exhaust fan, subject to an assessment of the building configuration and the system’s effectiveness.
Steps for Installing an Active Sub-Slab Depressurization System
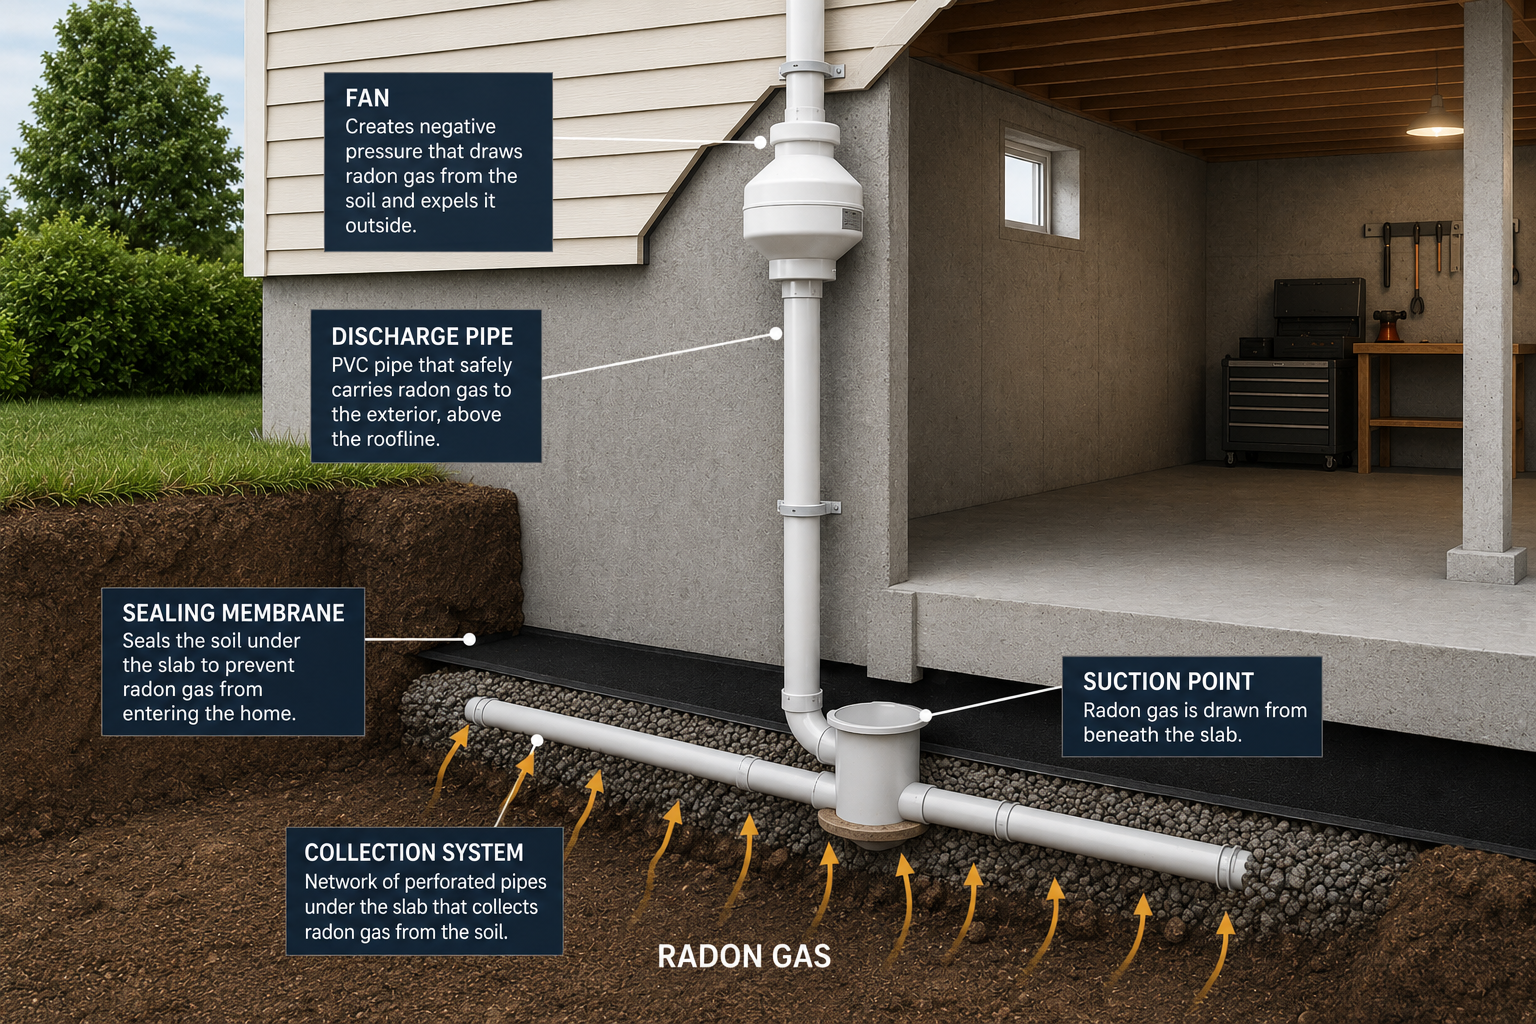
Source: RenoQuotes
Active sub-slab depressurization is the most widely used and effective method for reducing radon in Canadian homes with concrete slabs. The system creates a continuously lower-pressure area beneath the building. Soil gas is drawn toward a suction point below the slab before it can enter the house and is then safely discharged outdoors.
A professionally installed active sub-slab depressurization system generally involves three main stages.
1. Sealing Cracks and the Basement Sump
Before mechanical suction is applied below the house, the concrete floor and other openings should be sealed as effectively as possible. If the slab has significant air leaks, the system may draw conditioned air from the basement instead of primarily extracting soil gas. This can reduce system efficiency and increase heating or cooling costs.
Sealing the concrete: The installer seals relevant cracks, joints, and openings using products suited to the materials and conditions of the building. Expansion joints around the perimeter of the slab may also be sealed.
Sealing the sump pit: The sump pit is a common radon entry point. The installer fits an airtight, bolted cover with a durable gasket. A clear cover may allow the water level and pump to remain visible while limiting the movement of soil gas into the basement. If the inspection reveals possible structural damage or significant foundation deterioration, additional foundation repairs may need to be assessed separately.
2. Drilling the Concrete Slab and Installing the Exhaust Pipe
Once the relevant openings have been sealed, the installer creates the main collection point, also known as the suction pit.
Drilling the slab: Using a concrete core drill, the installer makes an opening approximately 3 to 4 inches in diameter through the basement slab. The location is selected strategically, often near an exterior wall or inside a mechanical room to reduce the visual impact of the piping.
Excavate a suction pit: The installer removes approximately one to two cubic feet of soil or aggregate below the opening. This cavity helps air move toward the suction point. However, the actual pressure field depends on factors such as the permeability of the material below the slab, foundation walls or footings below the floor, and the overall building configuration.
Installing the PVC riser: A rigid Schedule 40 PVC pipe is inserted into the opening. The penetration through the slab is sealed using a compatible, durable material to limit air leakage around the pipe.
3. Installing the Radon Fan and Exterior Exhaust
The mechanical fan is the central component of an active sub-slab depressurization system.
In-line fan: A radon-rated exhaust fan designed for continuous operation is connected to the PVC piping. It must not be installed inside an occupied living space. If the pipe leaked on the pressurized side of the fan, soil gas containing elevated radon concentrations could be released into the building. The fan must be installed outside living spaces, for example outside the home or in an unfinished attic. Its exact location must adhere to applicable standards and prevent any leak from the pressurization system to release radon into an occupied space.
Discharge route: The exhaust piping extends outdoors and releases the soil gas into the open air. The discharge point must comply with applicable technical standards and be positioned far enough from windows, doors, mechanical air intakes, and other openings to reduce the risk of the gas re-entering the house. Depending on the design, the exhaust may terminate above the roof.
System manometer: A small U-shaped tube containing coloured liquid is attached to the PVC pipe in the basement. This simple visual indicator allows the homeowner to confirm that the fan is operating and maintaining negative pressure beneath the slab.
How Much Does a Radon Mitigation System Cost in Canada?
Source: RenoQuotes
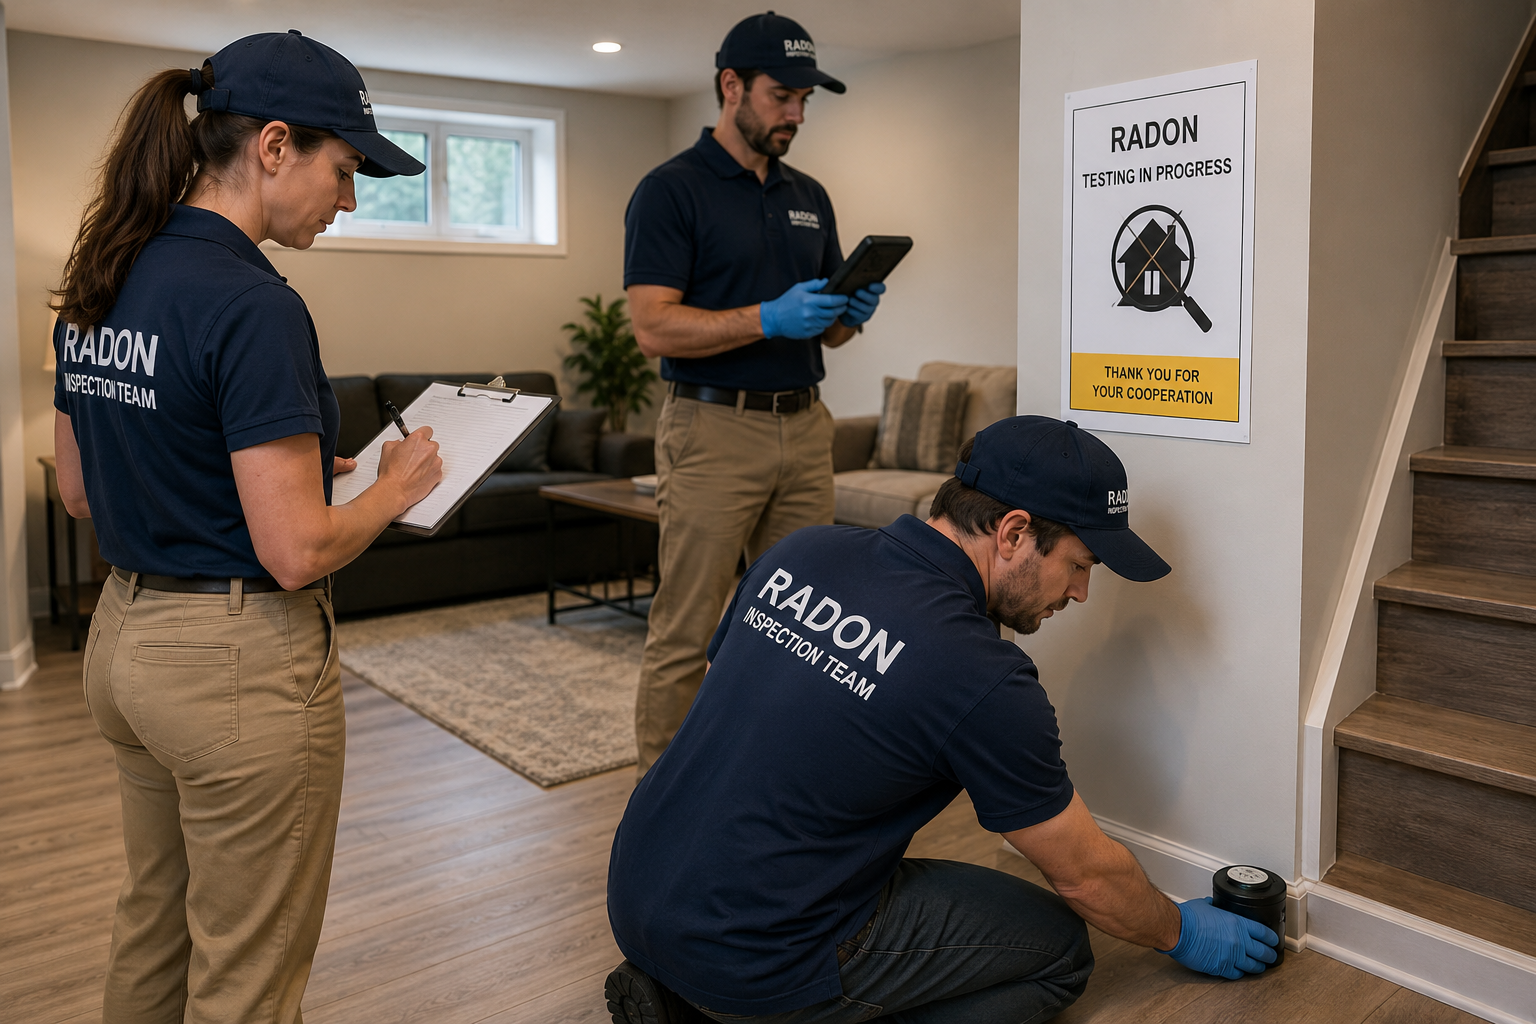
Radon mitigation is often less expensive than homeowners initially expect. The cost depends on the building configuration, the number of suction points required, accessibility, regional labour rates, and the material below the concrete slab.
In Canada, a typical professional installation may cost approximately $1,500 to $3,500, although complex systems can exceed this range. Sand or clean gravel below the slab generally allows air to move more easily, while compact clay, divided foundation sections, or inaccessible piping routes may require a more powerful fan or multiple suction points.
The following cost breakdown provides a general estimate for an active sub-slab depressurization project:
Project Component | Description | Estimated Cost |
Initial Assessment and Pressure-Field Testing | Evaluation of air movement and soil permeability below the slab | $250 to $450 |
Materials and Piping | PVC pipe, specialized sealants, and an airtight sump cover | $300 to $600 |
High-Efficiency Radon Fan | Radon-rated in-line fan designed for continuous operation | $400 to $750 |
Professional Labour | Slab drilling, system installation, sealing, and electrical work | $800 to $1,800 |
Post-Mitigation Testing | Follow-up testing to confirm the reduction in radon | $150 to $300 |
Note: These figures are estimates only. Some items may be included in a contractor’s fixed price and should not necessarily be added together.
Although the investment can be substantial, a documented mitigation system and satisfactory follow-up test results may reassure prospective buyers and help facilitate discussions during a real estate transaction. If other major work is already planned, including radon mitigation in the overall project budget may simplify scheduling and coordination while reducing household exposure.
Choosing a C-NRPP-Certified and Properly Licensed Contractor
Radon mitigation system design requires specialized knowledge. A poor installation may be ineffective and can potentially create secondary problems, including the backdrafting of combustion gases such as carbon monoxide from a gas-fired water heater, furnace, or other fuel-burning appliance.
When selecting a contractor, verify that the radon professional holds a valid C-NRPP certification. You should also confirm that the contractor and any subcontractors hold the licences, permits, or trade qualifications required in your province or territory.
C-NRPP certification: The Canadian National Radon Proficiency Program is the national certification program recognized by Health Canada for radon measurement professionals, mitigation professionals, and approved testing devices. Certified professionals receive training in soil-gas behaviour, pressure diagnostics, system design, and radon safety.
Provincial and trade licensing: Licensing requirements differ across Canada. Depending on the scope of work, the project may involve a licensed general contractor, electrician, plumber, HVAC contractor, or other qualified trade. Confirm the applicable requirements with your provincial or territorial regulator and your municipality before awarding the contract.
Request more than one quote and ask each contractor to explain the proposed system design. A qualified professional should review your radon test results, inspect the building, and provide a written mitigation plan before beginning the work.
Conclusion and Safety Recommendations
Radon is a serious lung cancer risk, but well-designed mitigation measures can substantially reduce indoor concentrations and the associated exposure. An active sub-slab depressurization system, when validated through follow-up testing, can significantly reduce radon levels in a home. Keep all test reports, installation records, warranties, and follow-up results. These documents may also help with future maintenance and disclosure during a real estate transaction.
To move forward safely:
Use a long-term radon test: If your home has never been tested, purchase an approved detector and measure the radon concentration for at least 91 days, ideally during the heating season.
Hire qualified professionals: Do not entrust sub-slab pressure modifications to an inexperienced installer. Choose a C-NRPP-certified radon professional and contractors who hold the applicable provincial, territorial, or trade qualifications.
Complete follow-up testing: After the system begins operating, conduct a short-term test to confirm its initial performance, followed by a long-term test. The objective is to reduce the concentration below Health Canada’s guideline of 200 Bq/m³ and to the lowest level reasonably achievable.
Taking action on radon can significantly improve the safety of your indoor environment. Begin by obtaining a proper assessment and comparing proposals from qualified professionals in your area.
Looking for something else?
Related articles
The latest industry news, interviews, technologies, and resources.
Cynthia Pigeon
•22 Jul 2026
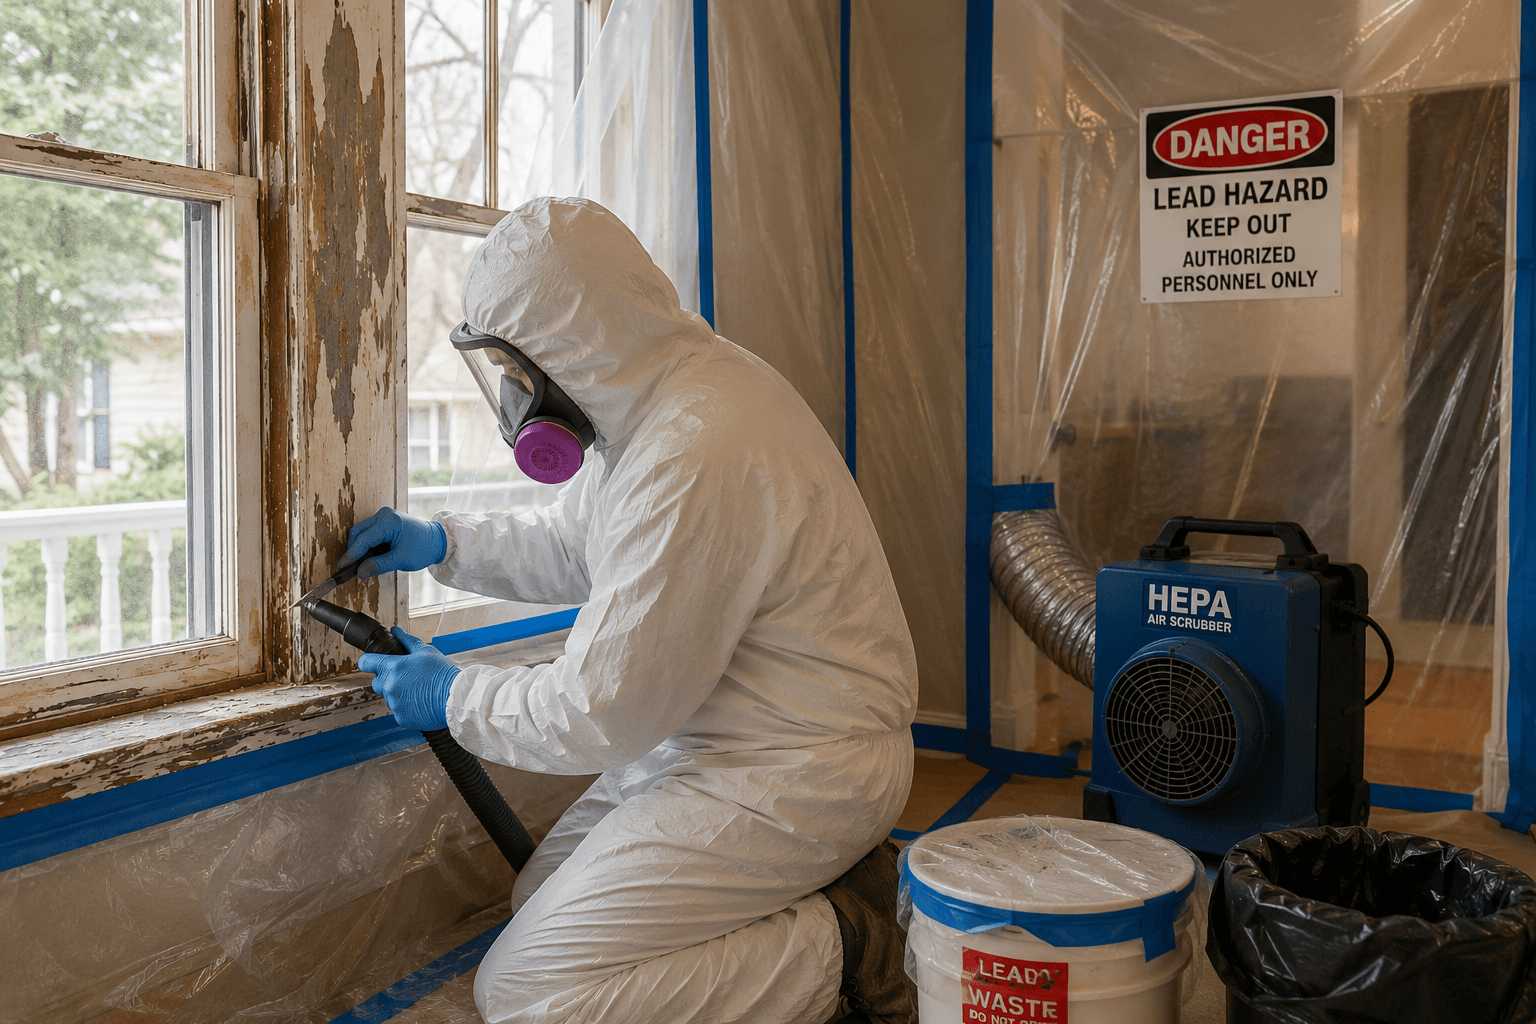
Owning an older or heritage home in Canada comes with undeniable architectural charm, whether it is a century-old duplex in Montréal, a Victorian house in Ontario, or a historic property in the Maritimes. However, restoring these buildings can also reveal hidden challenges. One of the most serious environmental risks is the presence of lead-based paint.
Editorial Team
•28 Apr 2026
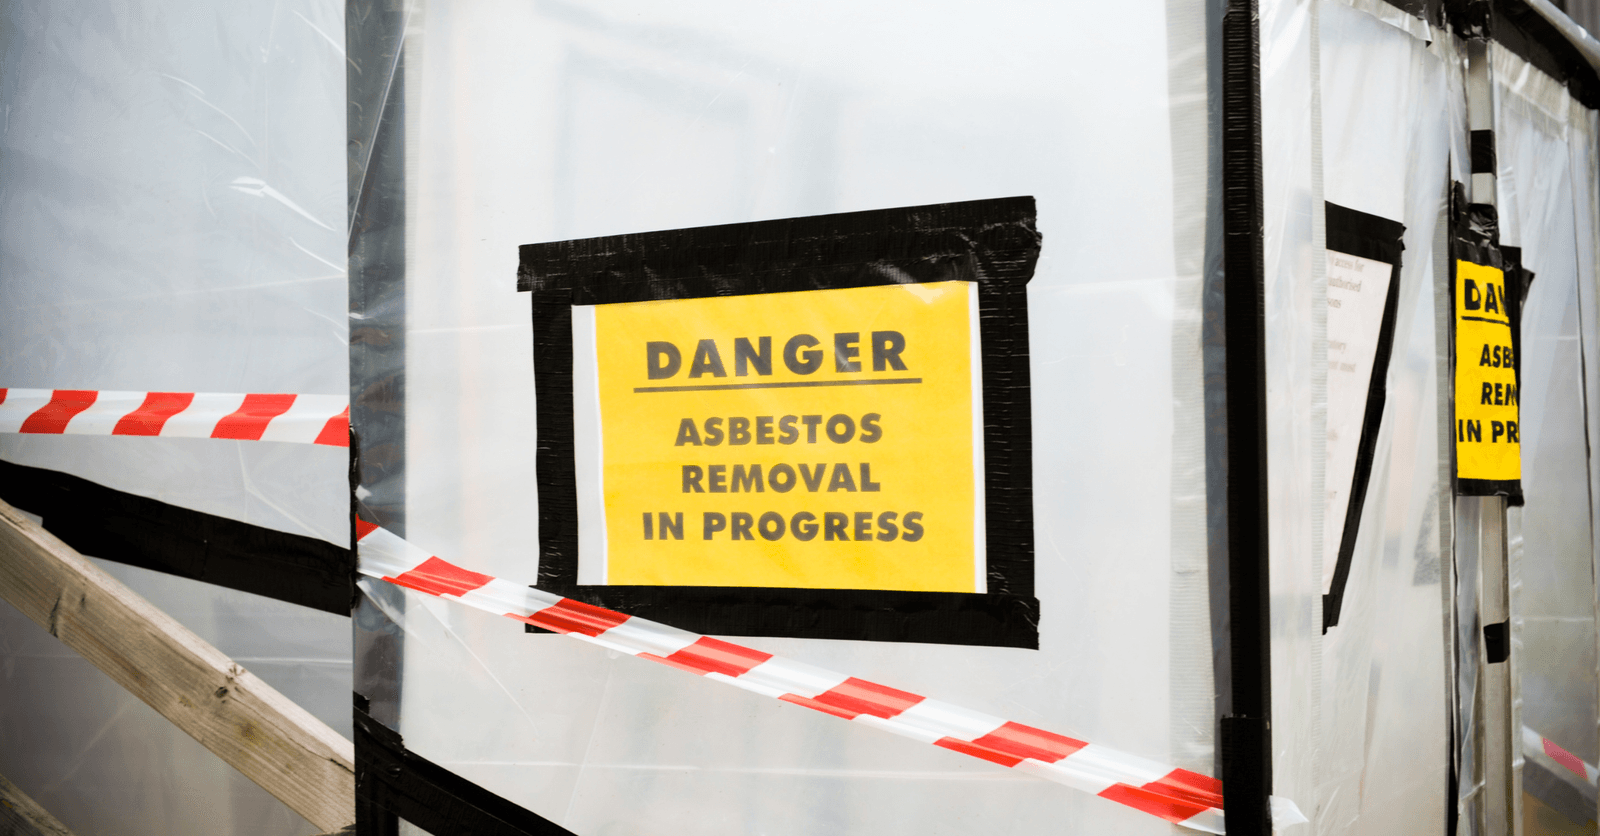
Ever wondered if there's asbestos in your home? Asbestos is a mineral fibre found and used worldwide from the late 1800s to the early 1990s. It was commonly used in building materials and insulation, since it doesn't catch fire easily, making it the perfect fire prevention material.
Editorial Team
•12 Jun 2024
Learn all about turfstone pavers, an eco-friendly and modern solution for your landscaping needs. Whether made of concrete or recycled plastic, these permeable pavers, which were inspired by European innovations, can transform any and all outdoor spaces into genuine works of art. Turfstone pavers make for a sustainable alternative to traditional paving methods, allowing water to seep right through, nourishing the ground. Furthermore, these pavers are super easy to install and are retailed at an affordable price.
Editorial Team
•08 Nov 2023
During wintertime, it’s only natural to feel a bit of a chill. But what happens if you’re already inside your home and can’t shake that frigid feeling? If your heating system is blowing cold air, or if one room feels oddly chilly, then you could have a problem! To have a constant flow of comfortable air, it is important to have your heating system checked roughly once a year for issues, making sure everything is in good working order.
Cynthia Pigeon
•25 Jun 2026
Bathrooms are one of the most important rooms in a home, but it is also one of the areas where household accidents are most likely to happen. With humidity, slippery surfaces and often limited space, the risk of falls is especially high for seniors and people with reduced mobility.