
Want to install a laminate floor but not sure where to start? Here you’ll find all the key information and step-by-step instructions to install a floating laminate floor under the best conditions, even if you’re a beginner. We’ll guide you through choosing materials, preparing the surface, and share tips to ensure a durable and attractive installation.
Get Your Project Started Today
Submit your details and receive three free quotes from trusted contractors.
Installation Process for a Floating Laminate Floor
Source: Soumission Rénovation
Step 1: Check the Subfloor
Make sure the surface is flat, stable, and appropriate for the room’s conditions (humidity and temperature).
Tolerances: Maximum 5 mm over 2 m, or 2 mm over 20 cm.
If these tolerances aren’t met, level the floor with a self-levelling compound (a cement-water mix that fills dips and smooths the surface).
Step 2: Prepare the Flooring
Store the laminate planks in the room for at least 48 hours before installation so they can adjust to the room’s temperature and humidity.
Step 3: Plan Your Layout
Choose your starting wall—ideally the longest or most visible one.Decide on the direction of the planks; in most cases, laying them lengthwise is the most visually appealing.
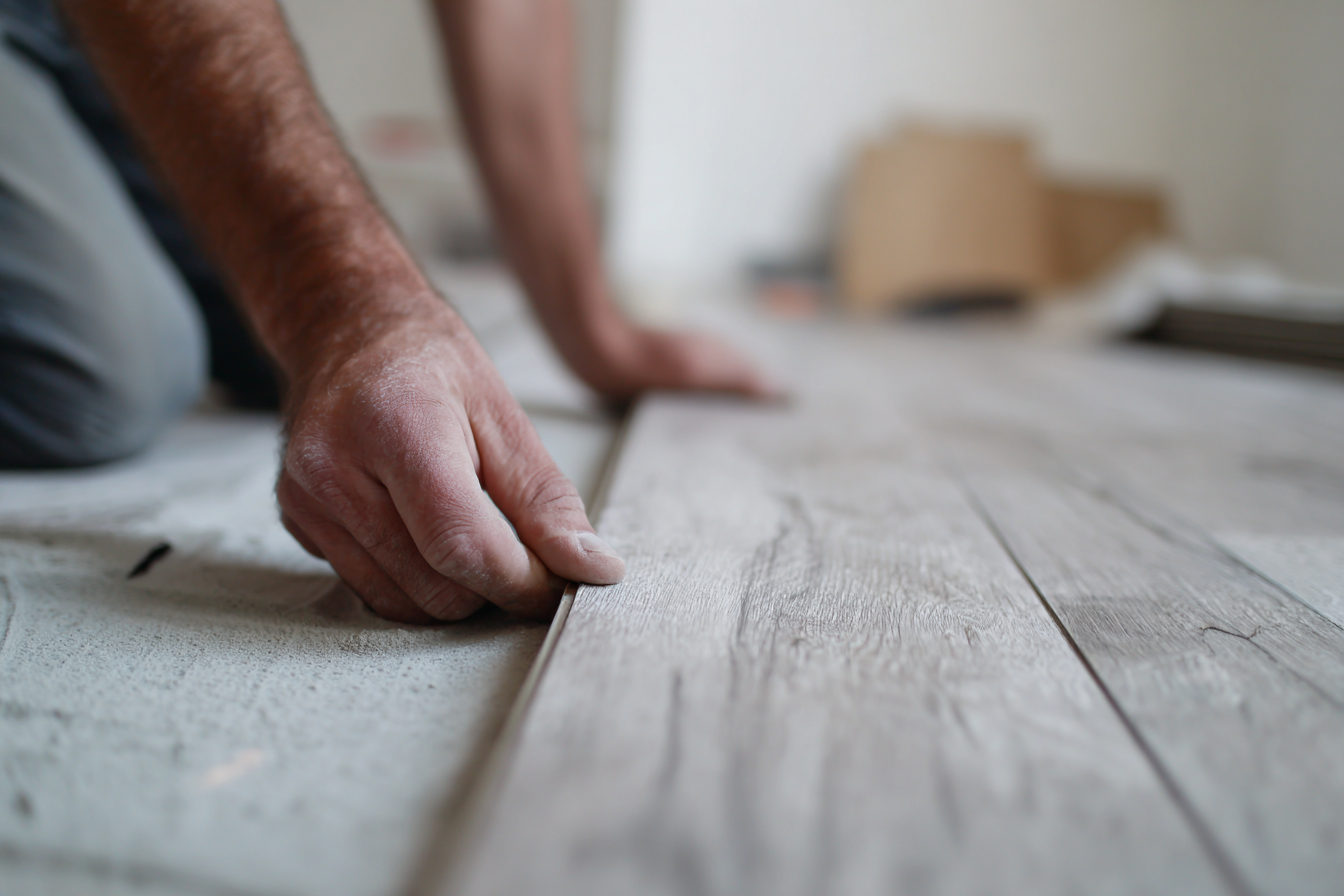
Step 4: Start the Installation
Lay the first row along your chosen wall.
Leave an expansion gap of 5 to 8 mm using spacers.
Trim and fit planks to accommodate any irregularities in the wall.
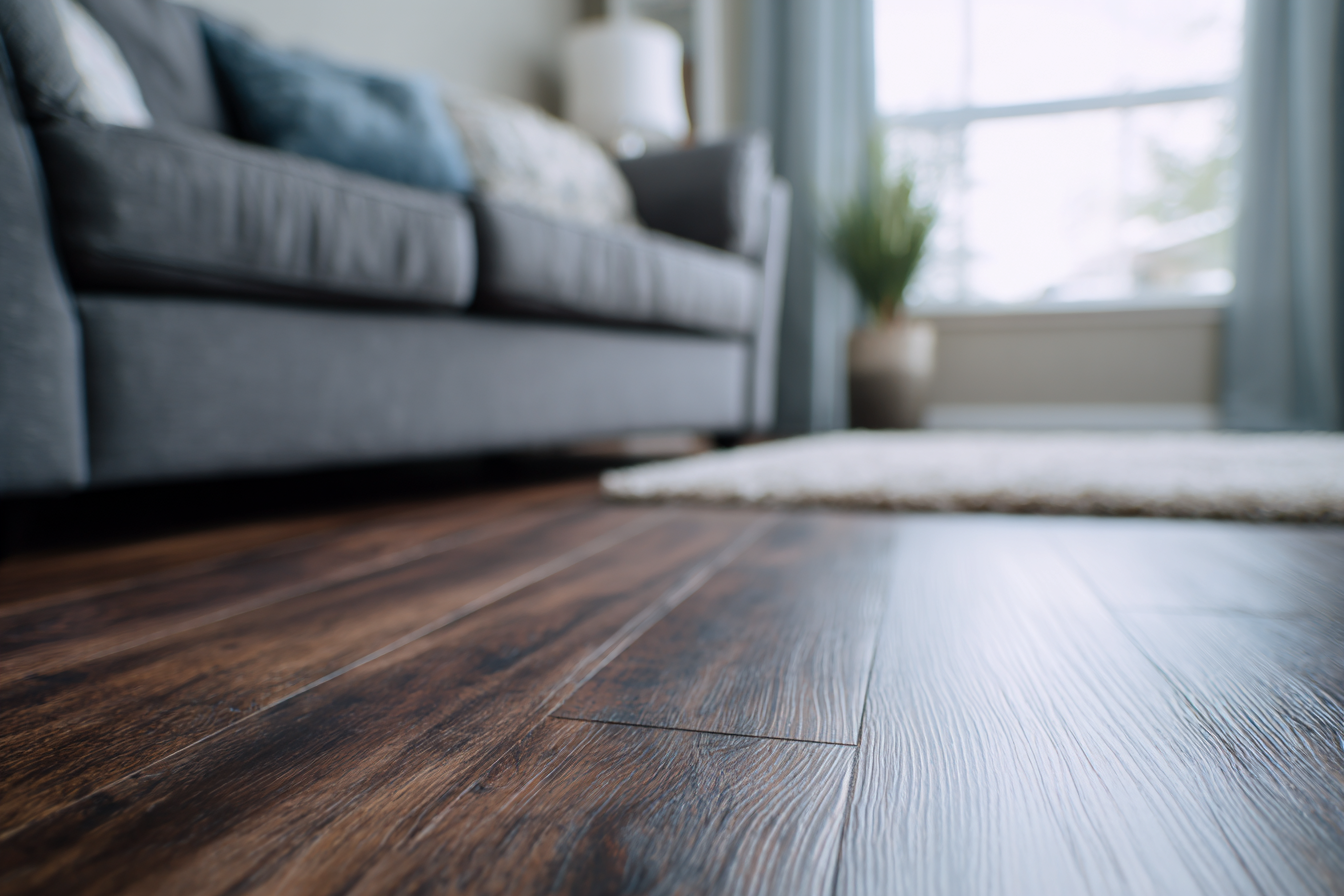
Finishing and Final Touches
Installing the Final Row
When you reach the last row, measure the remaining gap between the installed flooring and the wall. Cut the planks to fit, making sure to leave a 5–8 mm expansion gap along the wall. Use a pull bar to carefully tap the final row into place, ensuring the joints are tight and there are no visible gaps.
Removing Spacers and Adding Trim
After all planks are installed, remove the spacers from around the room’s perimeter. Cover the expansion gap by installing baseboards or quarter-round molding along the walls. Where your new laminate meets other types of flooring, add transition strips for a smooth and professional-looking finish.
This placement keeps the flow logical, guiding readers from installation patterns through to the final steps, and ensures the article fully covers the Finishing and Final Touches topic.
Compatible Subfloors
Floating laminate flooring can be installed over:
A screed (lightweight mortar between the slab and floor covering)
A concrete slab
A wooden subfloor (joists and particleboard panels)
Possible Installation Patterns
Depending on your desired look, you can choose:
Random staggered (English bond)
Staggered over joists
Stone-cut pattern
Herringbone (straight chevrons)
Chevron (45° angled chevrons)
English Bond (Random Staggered)
Start along your chosen wall. Join three rows of planks together, fit them to the wall, and continue the installation, trimming as needed.
Herringbone and Chevron
There are two variants:
Herringbone: Planks fit together at right angles to form a zigzag.
Chevron: Plank ends are cut at 45° and fit together to form a “V” shape.
Procedure:
Install an underlay if your planks don’t have one built in.
Mark the centre of your starting wall and snap a chalk line.
Form the first “V” with two planks.
Continue the row, following your guideline.
Trim rows to keep them parallel to the starting wall.
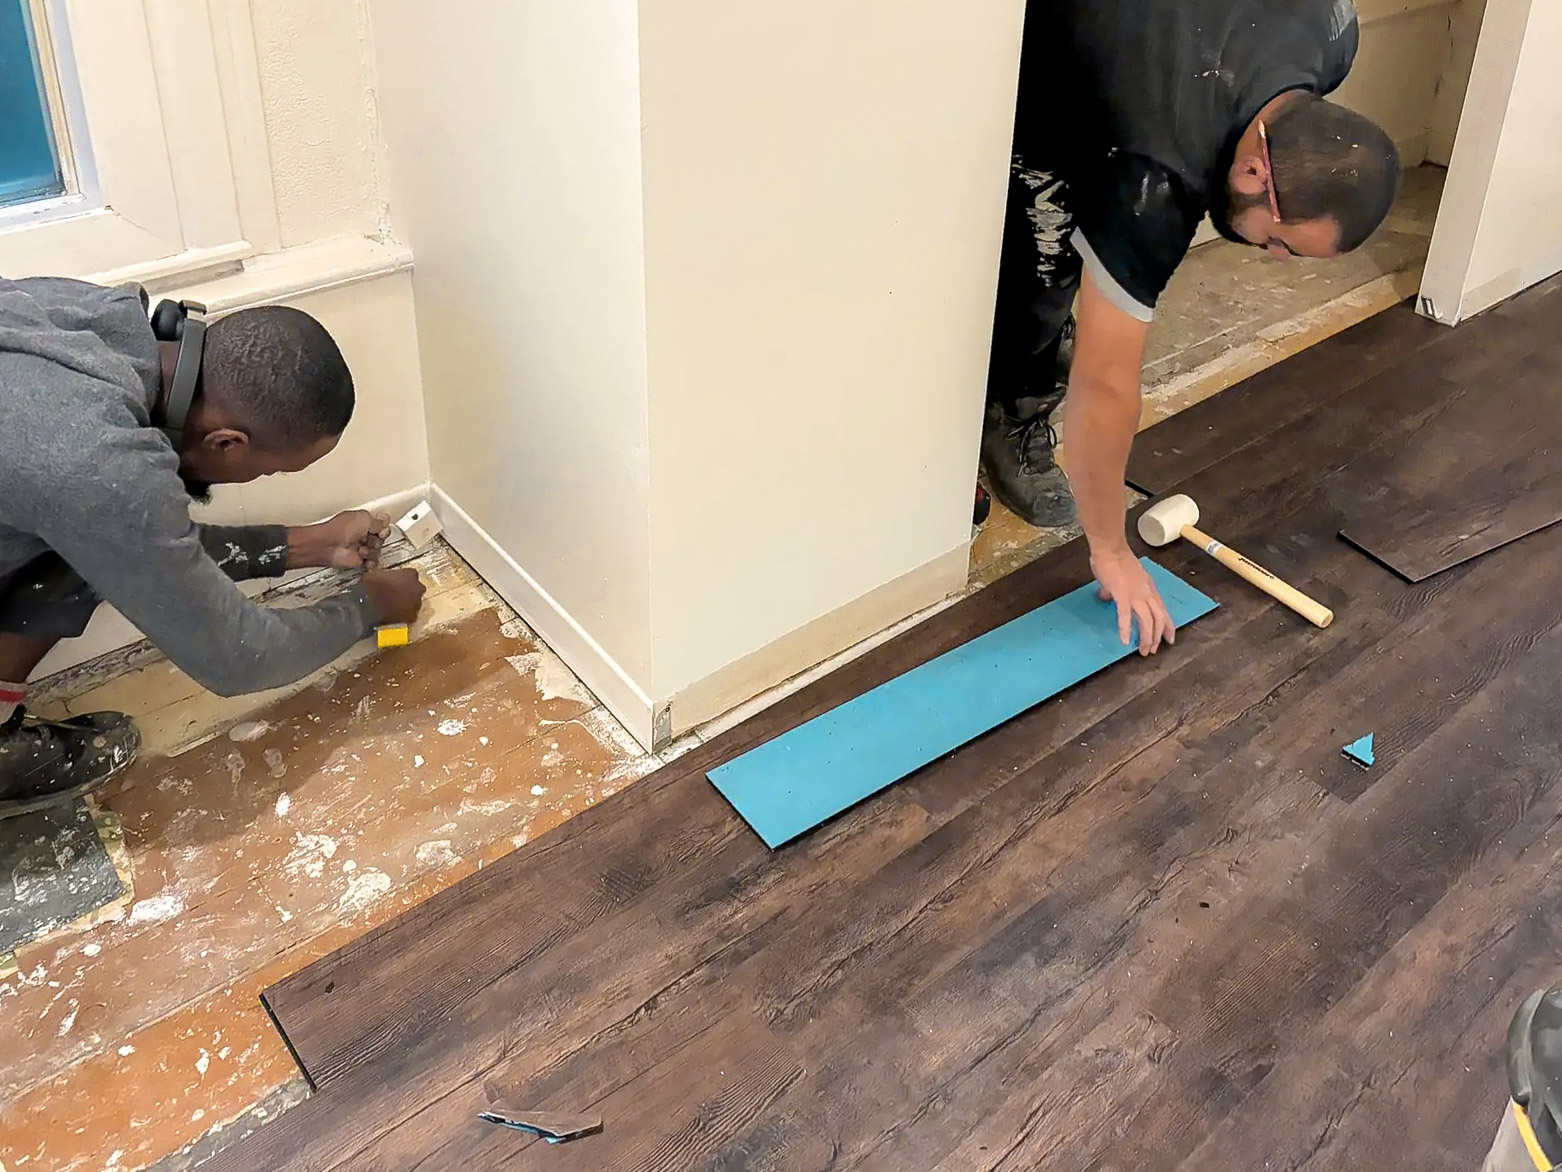
Tools Needed to Install Floating Laminate Flooring

Source: Windy Peaks Contracting and Renovations INC
According to Windy Peaks Contracting and Renovations INC, you’ll need:
Gloves
Mask
Safety glasses
Utility knife
Square
Tape measure
Pencil
Spacers
Fast-drying wood glue
Handsaw
Multi-tool
Caulking gun
Drill
Bevel gauge
Circular saw
What’s the Difference Between Laminate and Floating Hardwood Flooring?
Source: 9512-2123 quebec inc Construction LYG
Laminate flooring is part of the flooring family (e.g., hardwood, vinyl, carpet, tile) but isn’t technically classified as hardwood.
To be called hardwood, a floor must have a renewable wear layer: at least 2.5 mm (0.07 in.) of real hardwood on top (usually oak). This allows it to be sanded and refinished twice in its life. Laminate, on the other hand, is made from engineered wood with a decorative, protective laminate layer—a kind of hard plastic—for durability.
A floating laminate floor is installed without glue or nails and features a protective laminate surface. Unlike hardwood, it can’t be sanded or refinished—once it’s worn out, it needs to be replaced.Laminate floors typically last up to 10 years, or as little as 5 years if you have pets that scratch or soil the floor.
A hardwood floor is described as “floating” based on how it’s installed. There are three main installation methods for hardwood:
Glued down
Nailed down
Floating
The floating method means the floor is laid over the subfloor without being attached by glue or nails. It simply rests on the surface, allowing for natural movement.
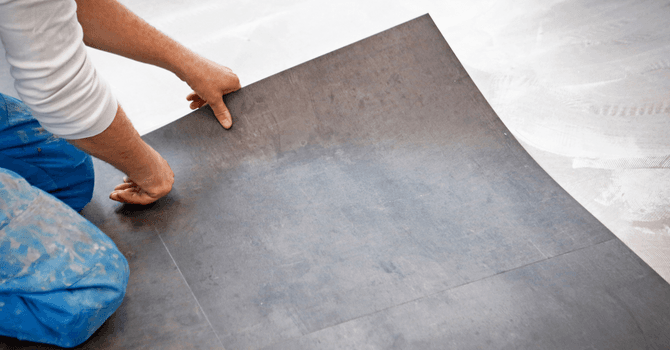
Laminate Flooring with Underlay for Soundproofing
Some laminate planks come with an integrated underlay to reduce noise. If not, you’ll need to add a polyethylene or plastic underlay.
Your underlay should be:
Compressible
Durable (able to withstand up to 50°C/122°F)
It can also help:
Reduce moisture transfer
Distribute weight (e.g., from furniture)
Improve acoustic performance
FAQ: Floating Laminate Flooring
Source: Soumission Rénovation
Which direction should i install floating laminate flooring?
Traditionally, floors were laid perpendicular to the main window to minimize visible joints in the light. With today’s precision manufacturing, you can also lay planks parallel to the window to make a narrow room look longer.
What’s the recommended room temperature for installation?
Check your manufacturer’s guidelines, but generally, install at a temperature close to the room’s normal use. Fibreboard materials are sensitive to temperature and humidity changes. Installing when it’s too cold/humid can cause the floor to shrink and gap once heated. Too hot and dry, and it may absorb moisture and swell later. Ideal humidity is 40–60%.
How long should I acclimate the planks before installation?
At least 48 hours, or 72 hours if the manufacturer recommends it. Store planks in the room where they’ll be installed, under normal living conditions.
How to install floating laminate flooring on a wall?
The process is simple: glue the planks to the wall, or nail them through the groove at an angle. Start at a bottom corner and assemble the planks, making sure to glue every fourth row.
How to install floating laminate flooring in a basement?
Check that temperature and humidity are within 15–20°C (59–68°F) and 40–60% humidity. In damp environments, consider vinyl instead of laminate, as laminate—even water-resistant types—can warp with water damage.
How to replace a damaged plank in floating laminate flooring?
You’ll need to disassemble the floor back to the damaged plank, replace it, then reassemble. Floating floors use a click-lock system, so you can’t just remove a single plank from the middle.
How to install click vinyl floating flooring?
The process is the same as laminate. The only difference is the surface material—vinyl is more flexible and water-resistant, so it’s better for damp areas.
If you’d like any further adjustments for tone, structure, or Canadian-specific details, just let me know!
Looking for something else?
Related articles
The latest industry news, interviews, technologies, and resources.
Editorial Team
•07 Jul 2026
Made with plastic, vinyl first made its way onto the market in the shape of records (the infamous LP) or even as shiny items of clothing. During the 80s, this material became a popular, cushiony flooring option, vinyl sheets, or loose lay vinyl, which was also known as “cushion flooring.”

Cynthia Pigeon
•17 Apr 2026
In 2026, wall soundproofing in a Canadian condo typically costs between $15 and $25 per square foot, including labour and specialized materials. For materials alone, expect to pay between $1 and $10 per sq. ft. An effective system usually combines mineral wool insulation, resilient channels, and acoustic drywall (around $40 per sheet). Beyond comfort, soundproofing can also increase your property’s resale value by achieving a higher STC (Sound Transmission Class) than the minimum building code requirements.

Cynthia Pigeon
•08 Nov 2023
Techniseal® is a Canadian company that has for the past four years served the construction industry. They offer a range of products for elastomeric roof coatings. Not only are they one of the leading partners in roof repairs and maintenance, but their products are highly regarded by professionals in Quebec.
Editorial Team
•22 Jan 2026
Choosing a Lennox heat pump means investing in a balance of energy efficiency, durability, and year-round quiet comfort, whether you live in Ontario, the Prairies, Atlantic Canada or British Columbia. This American brand is well established across the Canadian market and is known for the reliability of its systems, the quality of its components, and strong performance in a wide range of climates.

Amanda Harvey
•08 Nov 2023
A fence protects the exterior of your home, and when well maintained, can add some serious curb appeal to any property. Since this structure is left outside day and night, it comes up against some severe conditions: snow, rain, sleet, heat, both freezing and melting water. Therefore, it's only natural that the paint on an outdoor fence should easily wear and fade.