What are the best practices for resurfacing a concrete floor?
By Editorial Team
Updated on July 25, 2025
If you have a concrete floor that needs a new finish or you’re wanting to change the look of your floors and looking for an alternative to hardwood or ceramic, floor resurfacing could be of interest to you.
Concrete floor resurfacing
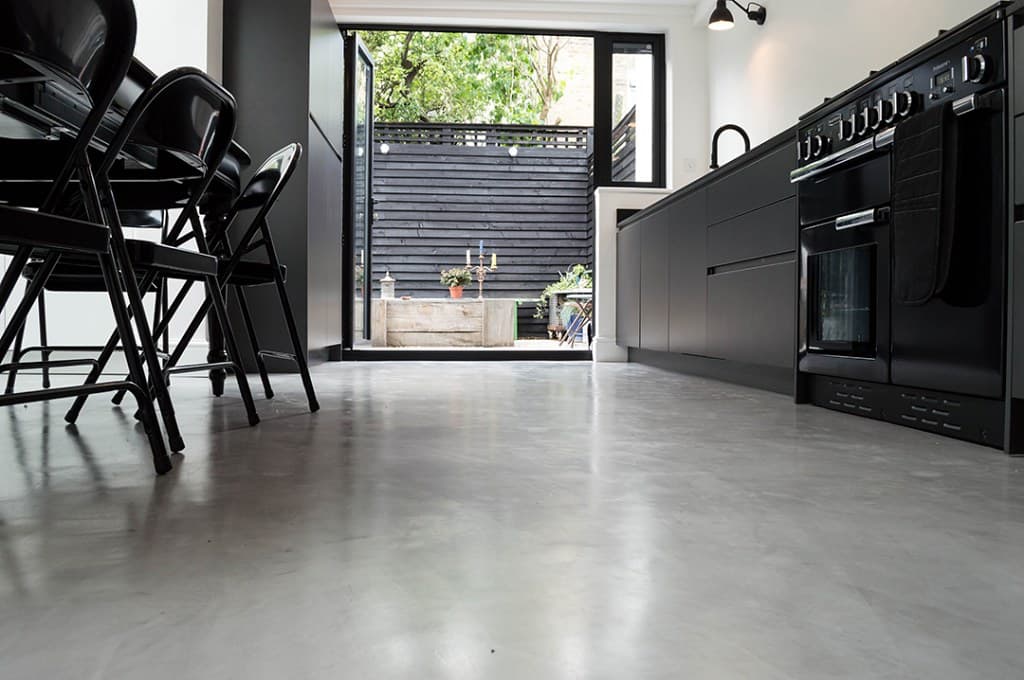
Floor resurfacing refers to the set of practices adopted to apply a floor covering directly on previously treated concrete. This practice is very common in commercial and residential garages, but it’s starting to become more popular to work with any interior, depending on the finish, the environment and the decor of the room itself.
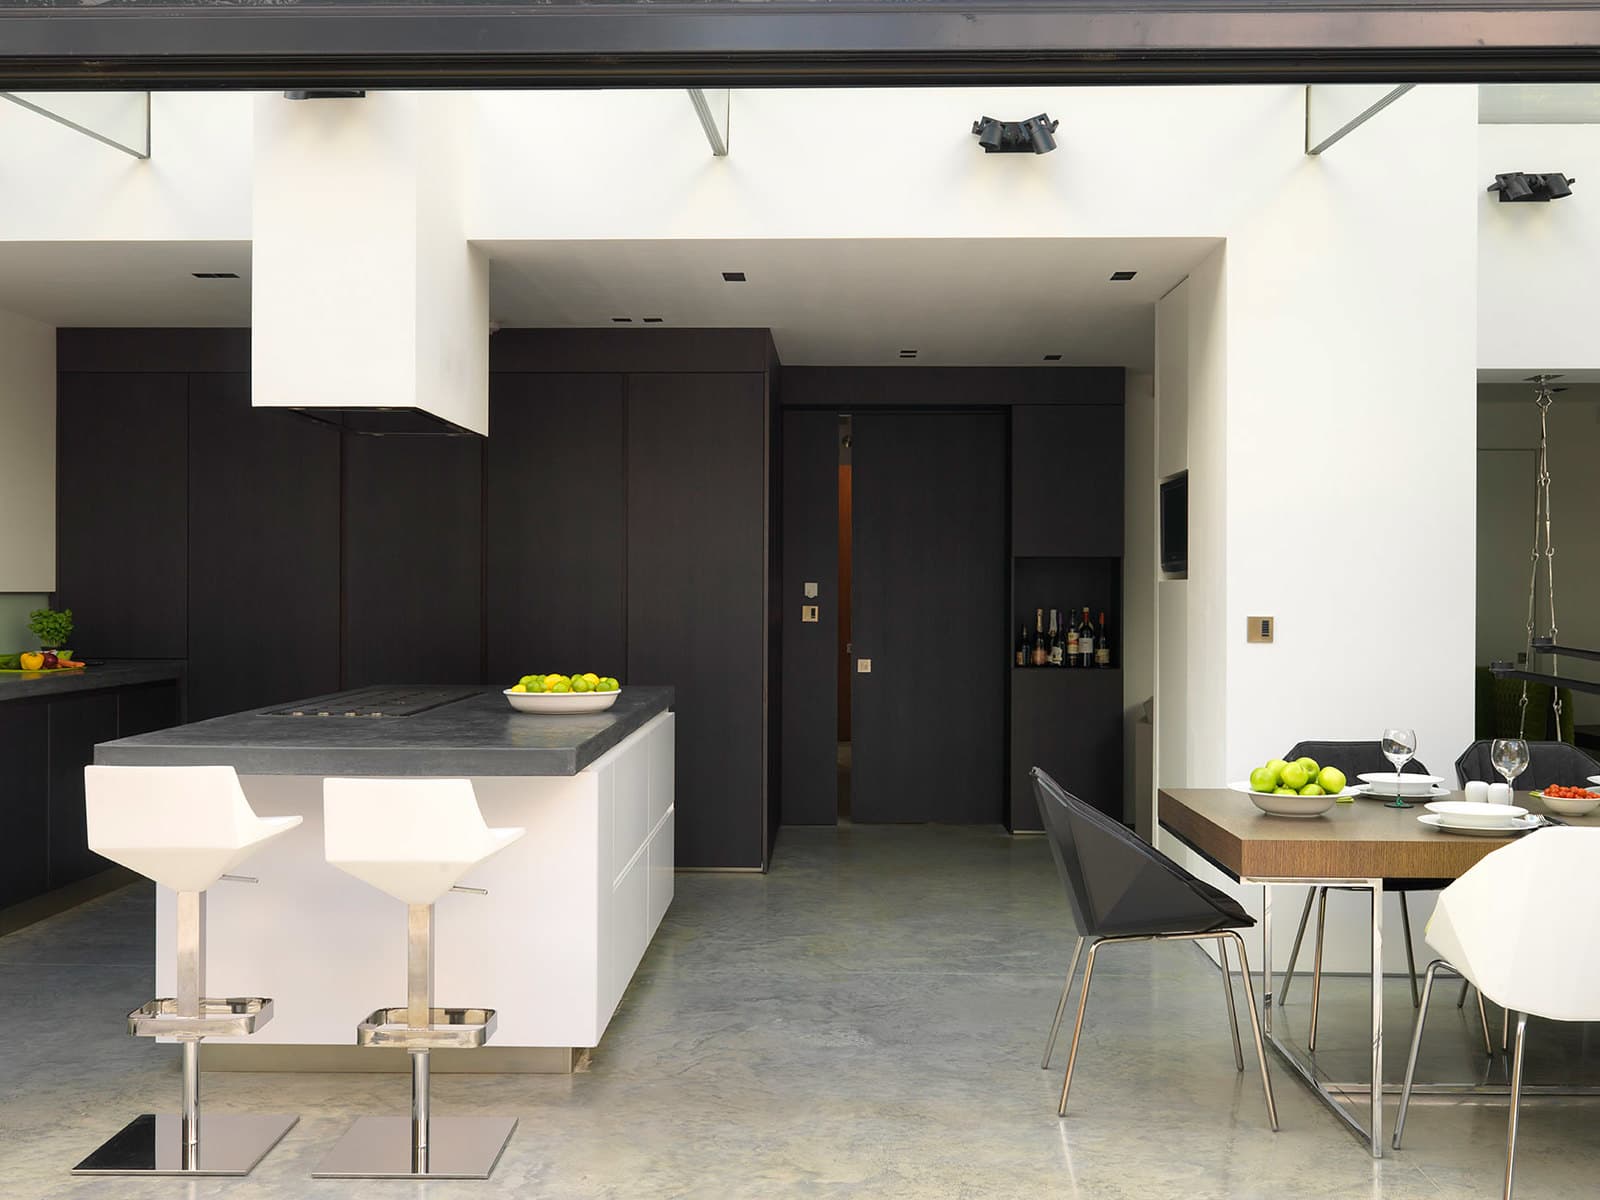
The advantages of resurfacing are numerous: a concrete floor will be very durable and give a room a modern look, in addition to being perfectly smooth and showing no imperfections, provided it is properly treated! The different flooring options will adapt to everyone's tastes, needs and budgets. We will also discuss them in this article.
Concrete resurfacing practices
Check concrete moisture
Resurfacing implies that if one removed the wood or ceramic flooring as well as the adhesive that secured it to the concrete subflooring was completely removed. For the ways to remove flooring or sub-flooring, consult our article about it!
Before beginning the preparation for resurfacing, it’s recommended that you complete a concrete humidity test. The concrete must be dry for at least 72 hours before the test and kept above 15 degrees Celsius, at the risk of distorting the final result. The humidity test consists of a paste of polythene film placed on four or five places along the concrete surface applied using masking tape.
If after 24 hours, the concrete is damp or droplets are present on the polythene, this means that the concrete is humid. In this case, you should get in touch with a concrete resurfacing professional who can advise you on exactly what to do and if resurfacing is your best option.
Treat concrete before resurfacing
There’s nothing to prevent a floor coating from being applied directly to a concrete surface without treatment. On the other hand, a well-treated concrete floor will be completely free of imperfections, smooth and straight, in addition to allowing better adhesion of the floor covering.
Cleaning it properly with a vacuum cleaner and a push broom is enough to remove dust as well as fine particles that may have surfaced over time.
Once this step is completed, it’s advisable to thoroughly clean the cement with a solution of hydrochloric acid specifically designated for concrete. Hydrochloric acid has the effect of dislodging oily or solid residues that may have accumulated in the cement.
When it comes to corrosive chemicals, safety gear should be worn at all times. Safety boots whose sole will help to prevent acid burns, rubber gloves, protective goggles and a mask must be worn when handling this type of product.
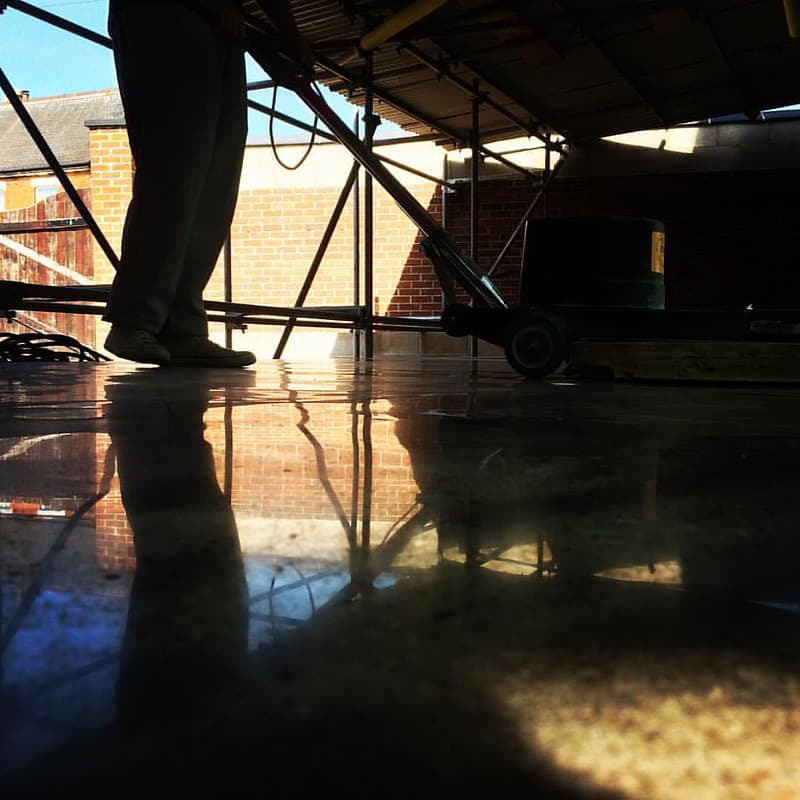
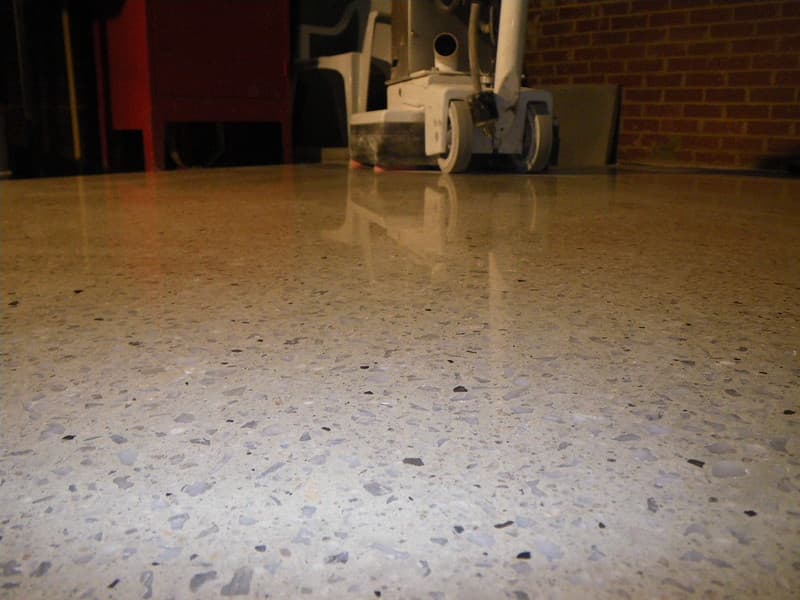
Between cleaning and acid treatment, it’ll be necessary to ensure that the concrete is dry. Once the floor is dry and properly treated, grinding may be necessary if the concrete surface has imperfections.
Grinding is a smoothing technique that uses a concrete grinder equipped with diamond blades. Concretely, a grinder makes a concrete surface completely flat. This is a process that can create a lot of dust, but luckily, most grinders come with vacuums.
Once the floor has been cleaned, treated and the work with the grinder is complete, you should have a raw concrete surface that’s ready for the application of a floor covering.
If the use of concrete in residential renovation interests you, check out our article on the 5 things to know about architectural concrete!
Flooring: which to choose?
Three products are most often used in resurfacing concrete floors: colourless epoxy, polyaspartic and polyurea. Let's take a look at the particularities of these three-floor coverings.
Clear epoxy is an economical solution that can be used for interior spaces as its glossy finish gives it a beautiful sheen. However, it’s rather poorly resistant to UV rays. But a polyaspartic-based protective coating can be applied afterward to give it permanent protection against discoloration due to UV rays.
The polyaspartic coating dries very quickly and can be applied regardless of the season. As we mentioned earlier, it’s perfectly resistant to UV rays, so it won’t yellow over time. It is also highly resistant to weathering, temperature changes as well as scratches and shocks, making it an ideal choice for exterior cladding.
On the other hand, polyurea coating is mainly used for garage floors. Polyurea-based flooring resists abrasion that might take place from granular materials caused by tire rubber from time to time. This coating is also resistant to road salt, gasoline, oil, and impacts caused by accidents, such as a tool falling on the surface.
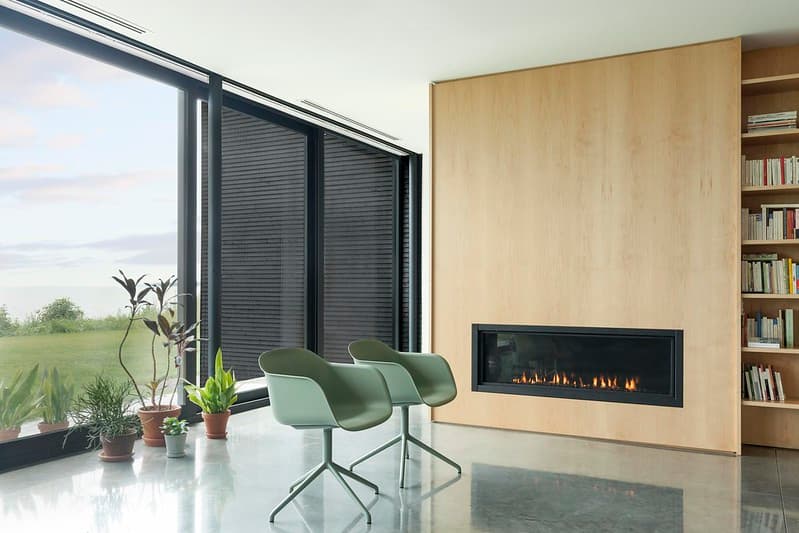
It’s also possible, regardless of the coating, to add decorative vinyl flakes if you wish to have a particular finish as shown in the example photo below. Non-slip materials can be added to the flooring if it needs to meet this requirement.
Once the coating is applied, it must dry for the period indicated by the retailer. Note that a minimum of 12 hours must be respected for the initial drying. In addition, it’s advisable to wait 24 hours to drive on the surface and 48 hours to park a vehicle (in the case of a garage).
In summary
Concrete is strong, but needs to be treated well: more than half of the resurfacing preparation is done before even applying a floor covering!
The resurfacing steps can be as simple as cleaning the concrete surface, treating it with an acid solution formulated specifically for concrete, smoothing (if necessary) with a concrete grinder, and applying the flooring of your choice.
Whether it's clear epoxy, polyurea, or polyaspartic, be sure to select a coating suitable for the activities that will take place in the designated space and to respect the drying times.
Would you like to know about the steps to take to complete a floor renovation project? Check out our Floor Renovation Project: Checklist of the Steps to Follow.
Would you like an estimate of the cost of your flooring project? Try our price calculator!
Photo source: Flickr
Get 3 quotes for your flooring project
RenoQuotes.com will put you in contact with 3 reliable contractors for your floor renovation project. Fill in the form on our homepage (it only takes a few minutes), and you will receive quotes from trusted professionals.
Dial 1-844 828-1588 to speak with one of our customer service representatives
Looking for something else?
Related articles
The latest industry news, interviews, technologies, and resources.

Cynthia Pigeon
•22 Apr 2026
For a basement apartment (often referred to as a secondary suite) to be considered compliant in Canada in 2026, several requirements must generally be met, including those based on the National Building Code of Canada and applicable municipal bylaws. Common criteria typically include a minimum ceiling height of around 1.95 m (6 ft 5 in), egress windows providing a minimum unobstructed opening of approximately 0.35 m² per bedroom, and proper fire separation between units. That said, requirements can vary significantly depending on the province, municipality, and type of building. Failing to comply may lead to serious consequences, such as fines, insurance limitations, or restrictions on renting out the unit.

Editorial Team
•17 Sep 2024
Engineered wood floors are most certainly the type of flooring you need. To ensure you’re choosing the best type of flooring for your interior living spaces, here are flooring-specific must-haves to stand the test of time, as well as installation tips.

Editorial Team
•07 Aug 2025
The demand for reliable and skilled roofers in Quebec City remains strong heading into 2025. With aging residential infrastructure, seasonal extremes, and increasing awareness of energy efficiency, property owners continue to seek expert roofing services. Whether you’re a self-employed roofer in Quebec or run a growing team, now is the time to position your business for expansion. Here’s how to find new contracts, attract clients, and build a sustainable roofing business in Quebec City.

Amanda Harvey
•22 Apr 2024
Classic style doesn’t have to mean being outdated or entering into a traditional time warp. Although this style is rooted in tradition, classic home decor incorporates fine architectural details with sophistication. It enlivens the timeless elements of the past while remaining contemporary and in touch with current trends.

Amanda Harvey
•08 Nov 2023
With the advancement of technology, and with many jobs becoming digitized, it's growing more common for people to work from the comfort of their home. Whether you’re a new mother raising a baby while trying to meet deadlines or a person who has decided to branch out and bring that new business venture to life, having an efficient and relaxing home office will allow you to maintain productivity and get the most out of life.