
Bathroom renovations are always an excellent investment, as they tend to offer the best return. Not to mention, the bathroom is a fairly integral room in the home. This space is used on a daily basis for many essential activities, and this includes washing up in the morning as well as before bed, getting ready for work, taking care of overall hygiene and so forth. Even though it’s a small space, storage is essential.
This is why bathroom cabinets need to be in good working order. If you’re taking on a bathroom renovation or installing new cabinets, the process can be challenging for the novice but doesn’t require professional skills. Luckily, we’re here to help with the basic steps!
Here's how to install bathroom cabinets!

source: pixabay
Getting started
As mentioned, this DIY project is fairly straightforward. As a novice, it may be difficult to know where to start, but with the right tools and materials it shouldn’t take more than a weekend. Here are a list of things you will require for the installation:
Drill with screwdriver bits
Stud finder
Level (24” or 48”)
Manual coping saw
Pencil
Tape measure
Wallboard screws
Silicone caulk/sealant
Caulk gun
Your first step will be to locate the studs in the wall using your stud finder. Most bathroom cabinets are very heavy and thus, securing them correctly into the wall is essential. Grab your stud finder and locate at least one stud on the wall where you plan on placing your cabinets. Look for a second stud, which should be located between 12 to 16 inches from the first. If you’re securing the cabinets to an adjacent wall as well, make sure to locate studs there as well.
Prepare the surface for the cabinets
Using your pencil, begin by marking the height of the cabinets as they would sit against the back wall where they will be installed. If you’re working with a side wall as well, mark this too. The dimensions of your cabinets should be located inside the instructions. However, if you’re unable to find them, just go ahead and measure the cabinets yourself. Using your level, mark the height of the cabinets along the wall.
Once the height has been marked, you can place your cabinets into their desired position. If you are only attaching the cabinets to a single wall, make sure that they are positioned in such a way that the vanity top has an equal overhang. Again, if there is a side wall that you’re working with, make sure the cabinets' countertop is touching it. It’s recommended that you take the time to test fit the countertop in place.
You may need a friend or family member to help you hold it in place, but once the vanity is in position, grab that level and make sure it’s level in all ways: side-to-side and front-to-back. Now, it’s time to secure the cabinet in place. Wallboard screws should be driven into the mounting strip located at the back of the cabinet, driving them into the previously marked wall studs.
Secure the cabinet in place
If the cabinet is positioned against a sidewall, there is likely a gap present. This will need to be filled in using a filler strip that can be cut and installed yourself. Measure the gap and cut a piece of filler strip so that it can fit around the baseboard. Before attaching it, it will be necessary for you to scribe the profile of the baseboard onto the strip itself, as this will help it to fit perfectly into the space.
Make sure to trim the strip to be in line with the width of the gap. Test out the filler strip to make sure it fits snuggly in place, and once you’ve found the perfect fit, sand it down and stain it to be certain it matches. In some cases, filler strips may come with your cabinetry and therefore, will not require you to measure and cut them out.
Finish the installation of your bathroom cabinets

source: unsplash
If you are securing your cabinets to the side wall, there will likely be a gap between the cabinet and the wall itself. For this reason, you will need to shim out the gap for support. Cut two wood blocks that can be used as spacers. They should be 1/8th an inch shorter than the distance between the vanity and the wall. Next, place wood shims between the spacer blocks making sure that they fit perfectly in place.
You’ll need to drive them in place with screws that should be long enough to fit through all of the pieces. Of course, if you’re not working with a side wall, this step can be completely omitted.
The next step will be installing the top of the vanity, or the sink. Not all cabinets will require you to install the sink separately, as some will come with it already in place. This will need to be attached before you install the countertop, including the faucet and other sink hardware pieces.
To install the countertop, place a tiny amount of sealant on its bottom surface, then set it in place. This should be enough to secure the countertop firmly. Also worth mentioning is that your counter should have an equal overhang on either side, and the back should be pressed firmly against the back wall.
Connect the plumbing and install the backsplash
This is definitely one of the more crucial steps. Once everything is neatly set in place, hook up the water supply. The process for this part will be dependant on the manufacturer of your faucet. The same goes for the installation process of your backsplash. In the majority of cases, you should apply caulk or sealant on the back of a backsplash, pressing it firmly in place on the wall. This will need to cure for at least 24 hours before you begin washing your face and brushing your teeth.
Get quotes for your bathroom cabinet renovation or installation project
RenoQuotes.com can help you get quotes for your bathroom cabinet renovation. If you submit your project to us, we’ll put you in contact with top-rated contractors. Fill out the form on the homepage (it only takes a few minutes), and you will receive quotes from companies that are specialized in home renovations.
Dial 1-844 828-1588 to speak with one of our customer service representatives
Looking for something else?
Related articles
The latest industry news, interviews, technologies, and resources.
Editorial Team
•19 Aug 2025
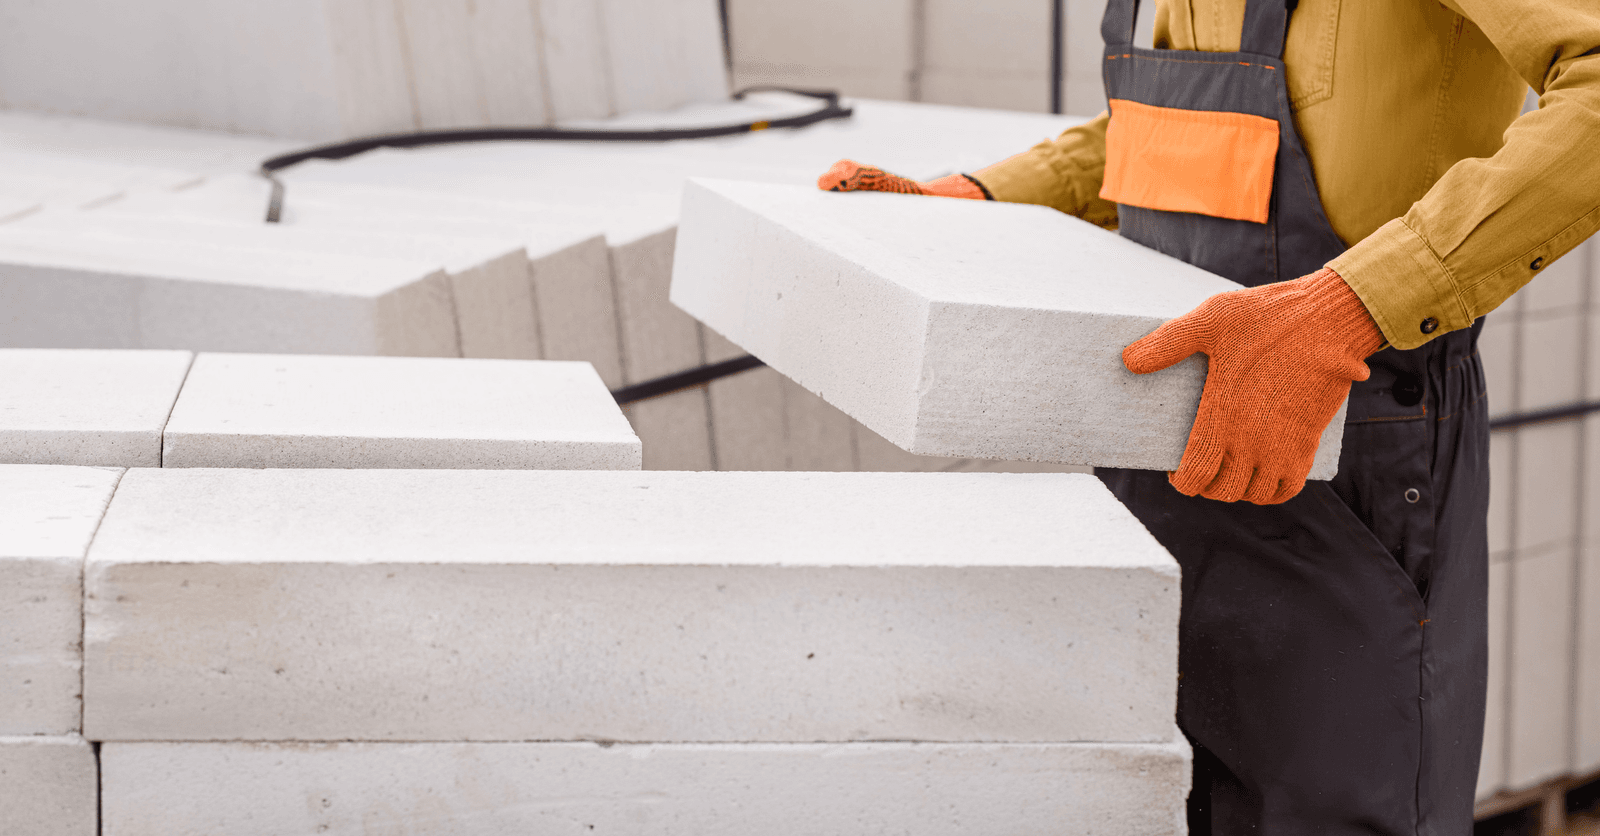
It was in 1923 that cellular concrete, developed by Swedish architect and researcher J.A. Eriksson, first appeared. Albeit it isn’t ground-breaking technology, it’s still considered innovative as it has contributed to building extremely energy-efficient, modern-day single-detached homes.

Editorial Team
•08 Nov 2023
We previously touched on the wonderful world of recessed lighting, but what areas of your home can benefit the most from such a great lighting style? Kitchens are becoming the focal point of a home, acting as a hub of sorts.

Editorial Team
•08 Feb 2025
Are you drawn to the minimalist movement and dreaming of a cozy and sleek sanctuary in the shape of a tiny house? A tiny prefabricated house is much more than a small house, it guarantees reduced monthly mortgage payments and electricity bills. However, getting as much information regarding purchase-related costs and tiny house financing options is paramount. So, how much does a tiny house actually cost?

Léa Plourde-Archer
•08 Nov 2023
Ceramics look beautiful in almost any home, whether used as a material for the kitchen backsplash or as a beautiful mosaic accent piece on a wall. This material is versatile, low-maintenance, sturdy and with an excellent lifespan if looked after correctly. Another place a tile floor is commonly found is in the bathroom. If you already have one installed, then you’re one step ahead of us.
Editorial Team
•13 Sep 2024
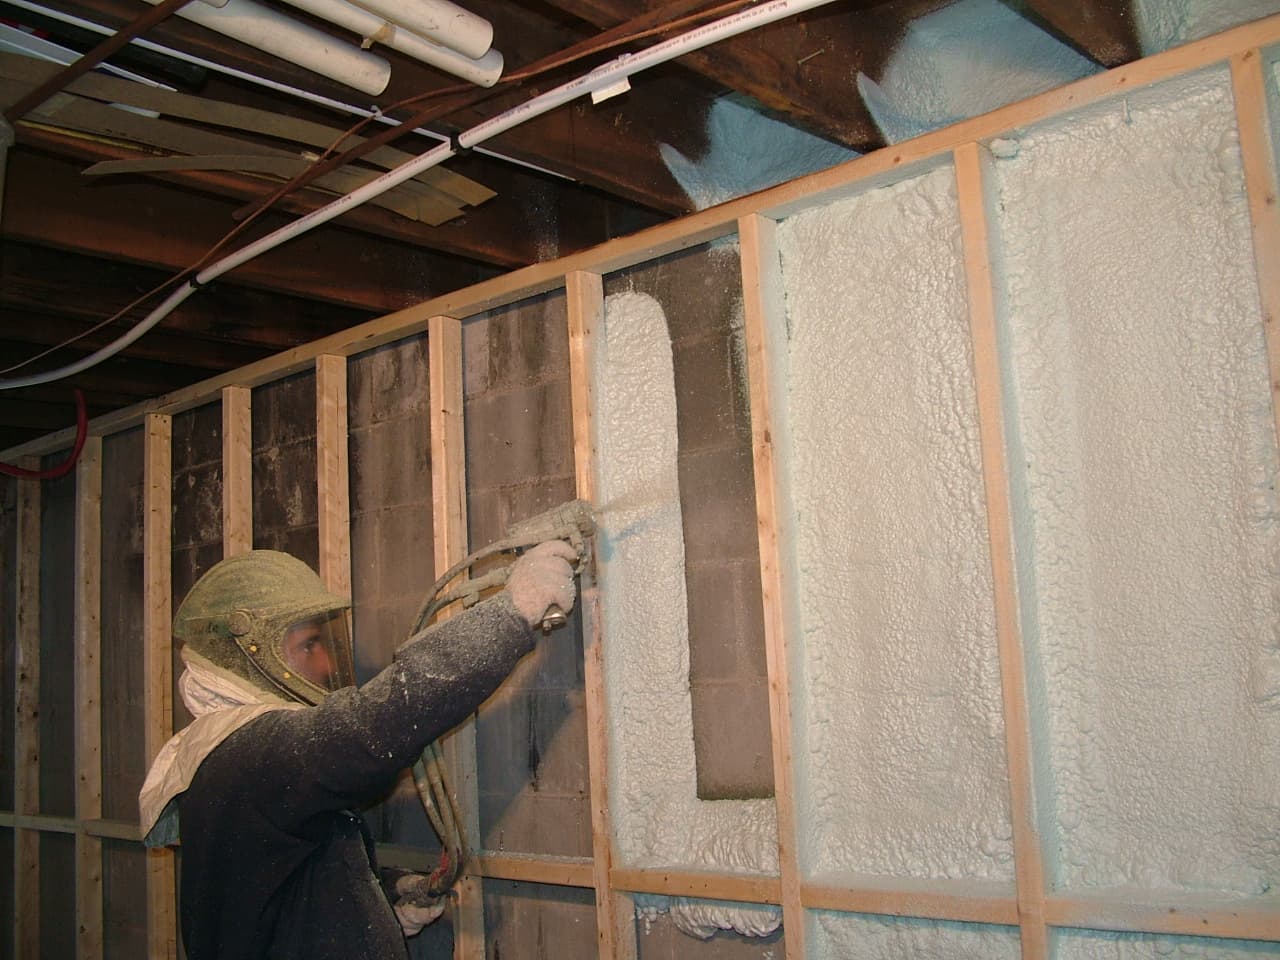
Synthetic insulation is some of the best you can buy to help insulate your home. Derived from petrochemicals, the popularity of synthetic insulation is explained by a high degree of efficient insulation and very affordable prices. Here at RenoQuotes.com, we’ve prepared this article to help you break down the different varieties of synthetic insulation on the market today.