Epoxy Basement Floor: Benefits, Installation Guide, and More
By Editorial Team
Updated on May 13, 2026
Epoxy basement floors offer Canadian homeowners a durable, easy-to-clean, and finished surface. Made by mixing resin and hardener, epoxy forms a tough layer over concrete. It is known for strong adhesion, chemical resistance, and low maintenance. Contractors can promote epoxy projects in summer to secure steady work for the fall, even as competitors slow down during vacation season.
That said, epoxy is not a solution for every basement. Moisture remains the biggest concern because concrete slabs below grade can absorb or transmit water from the ground. If the basement has moisture problems, cracks, efflorescence or active water infiltration, epoxy may blister, peel or fail over time. Rust-Oleum states that its basement epoxy coating is not intended for floors with a moisture problem. This makes pre-fall planning especially important, giving homeowners time to evaluate basement conditions, complete repairs if needed and reserve installation dates before the autumn renovation rush.
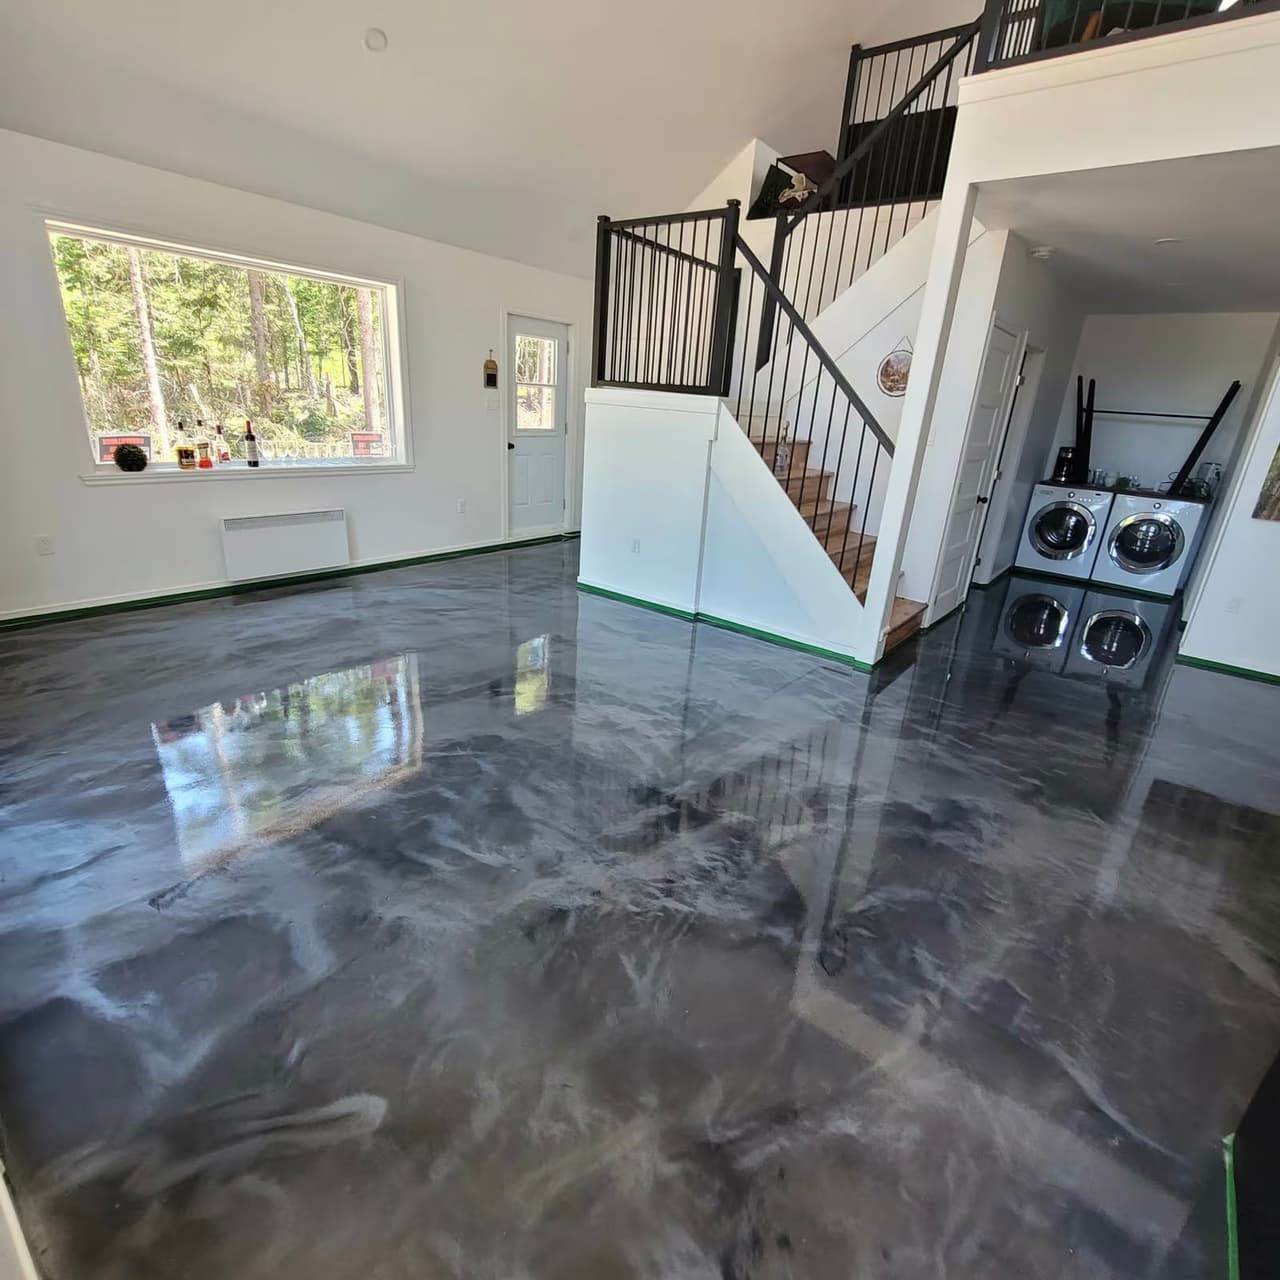
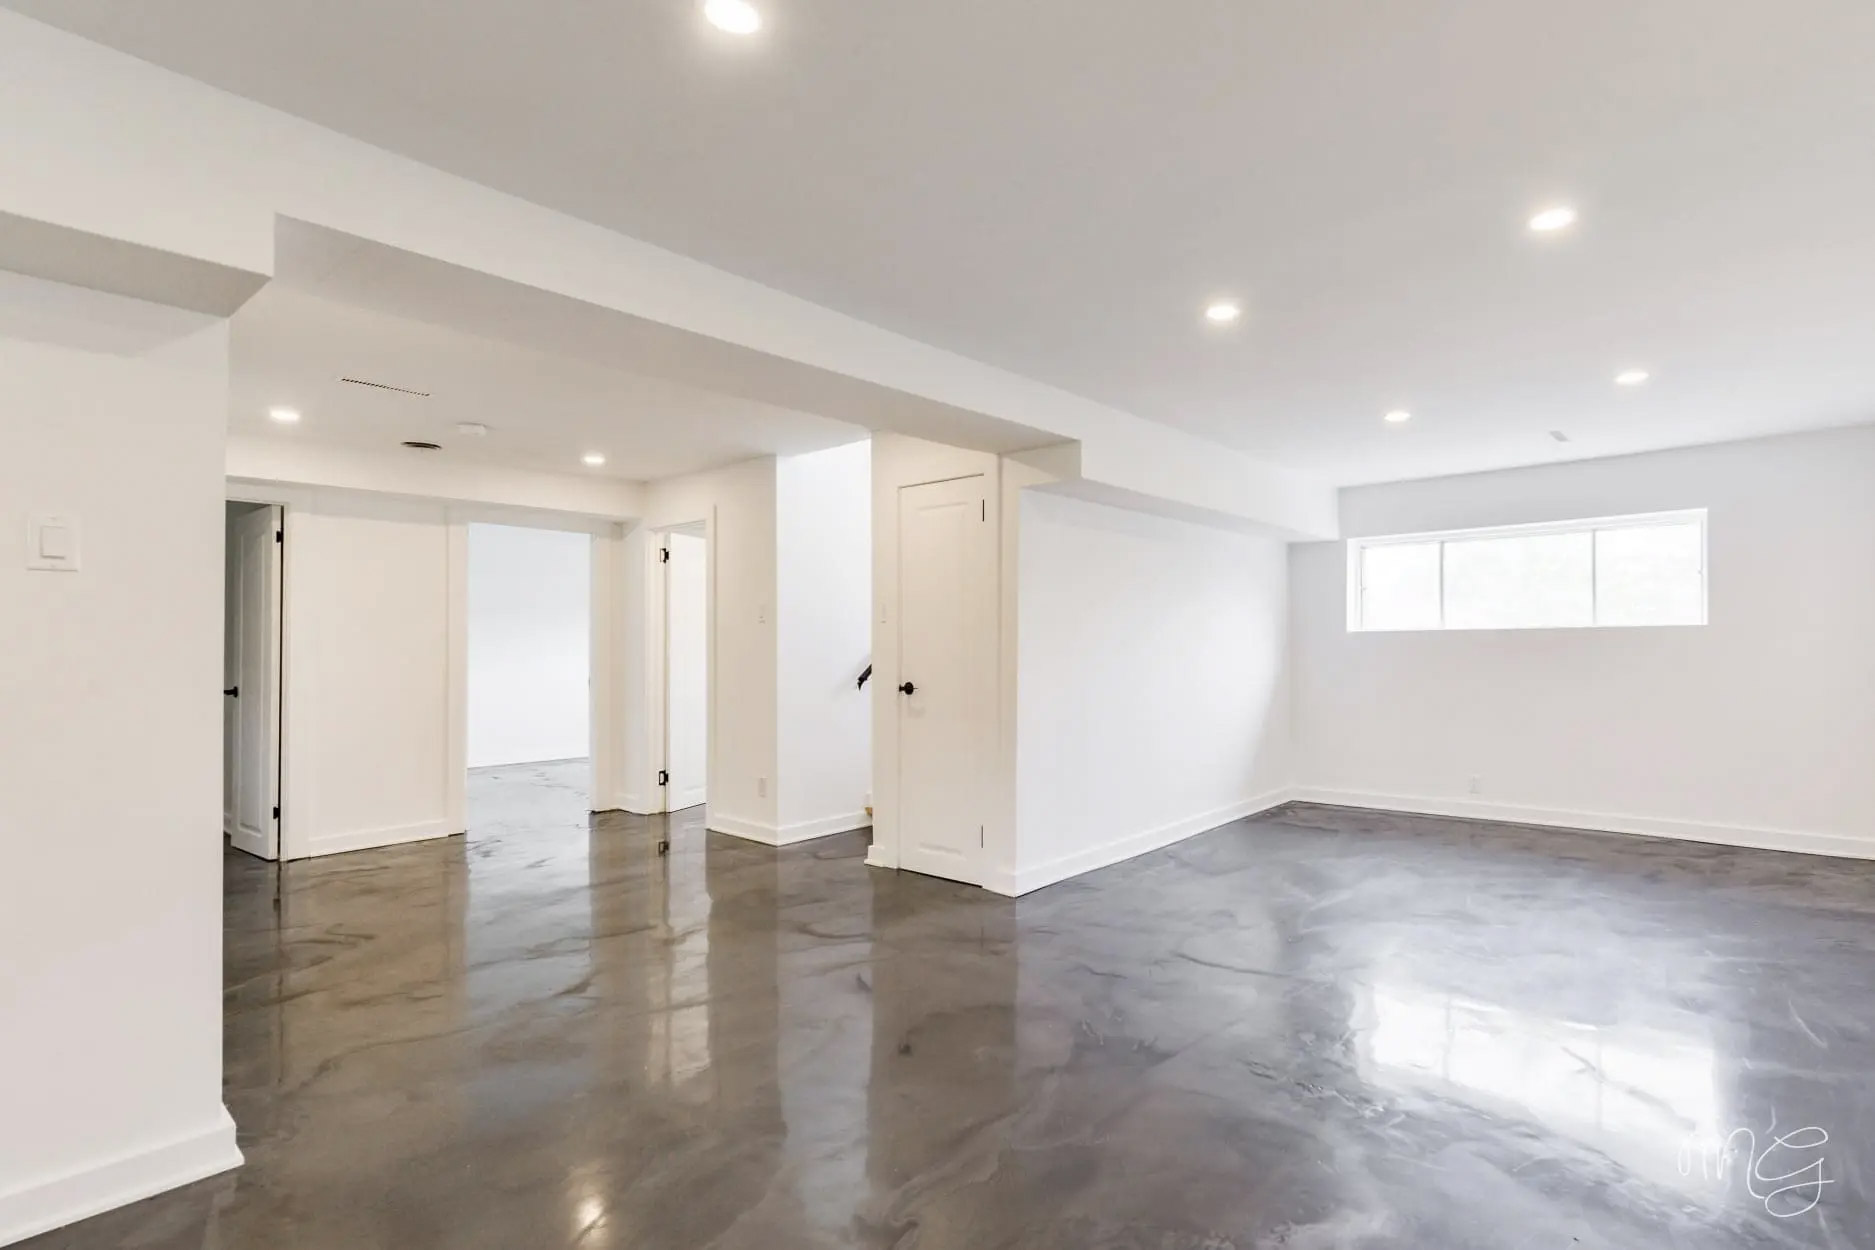
Why Choose an Epoxy Basement Floor?
Source: POLY Epoxy G. inc
It Creates a Durable Surface
A properly installed epoxy coating can be much tougher than standard concrete paint. Once the resin and hardener react, they create a hard plastic-like film that bonds to the concrete slab. This helps protect the surface from regular foot traffic, stains and some chemical spills. Sherwin-Williams notes that resinous floor coatings can protect substrates from chemicals and wear, improve aesthetics and resist staining.
This makes epoxy useful for basements used as a rec room, workshop, home gym, storage room, laundry area or playroom. It is not indestructible, but it is usually more durable than a thin coat of floor paint when the concrete is properly prepared.
It Is Easy to Clean
Epoxy basement floors are popular because they create a smooth, sealed surface. Unlike tile, there are no grout lines to scrub. Basic maintenance usually involves sweeping, vacuuming or mopping with water and a mild or pH-neutral cleaner. Sherwin-Williams says water and occasional pH-neutral cleaner are usually enough for regular epoxy floor maintenance.
This is especially useful in basements where dust, tracked-in dirt and humidity can make unfinished concrete harder to keep clean.
It Can Help Limit Surface Moisture Absorption
Epoxy creates a sealed, non-porous surface on top of concrete. This can help reduce surface absorption and make the floor easier to clean after minor spills. However, epoxy should not be treated as a complete waterproofing system for a basement. If water is coming through the slab, foundation wall, cracks or joints, that problem must be corrected before coating the floor.
Moisture testing is important because even a basement that looks dry can still have moisture vapour moving through the concrete. Several coating professionals point to efflorescence, dark patches, water stains and peeling coatings as warning signs before applying epoxy.
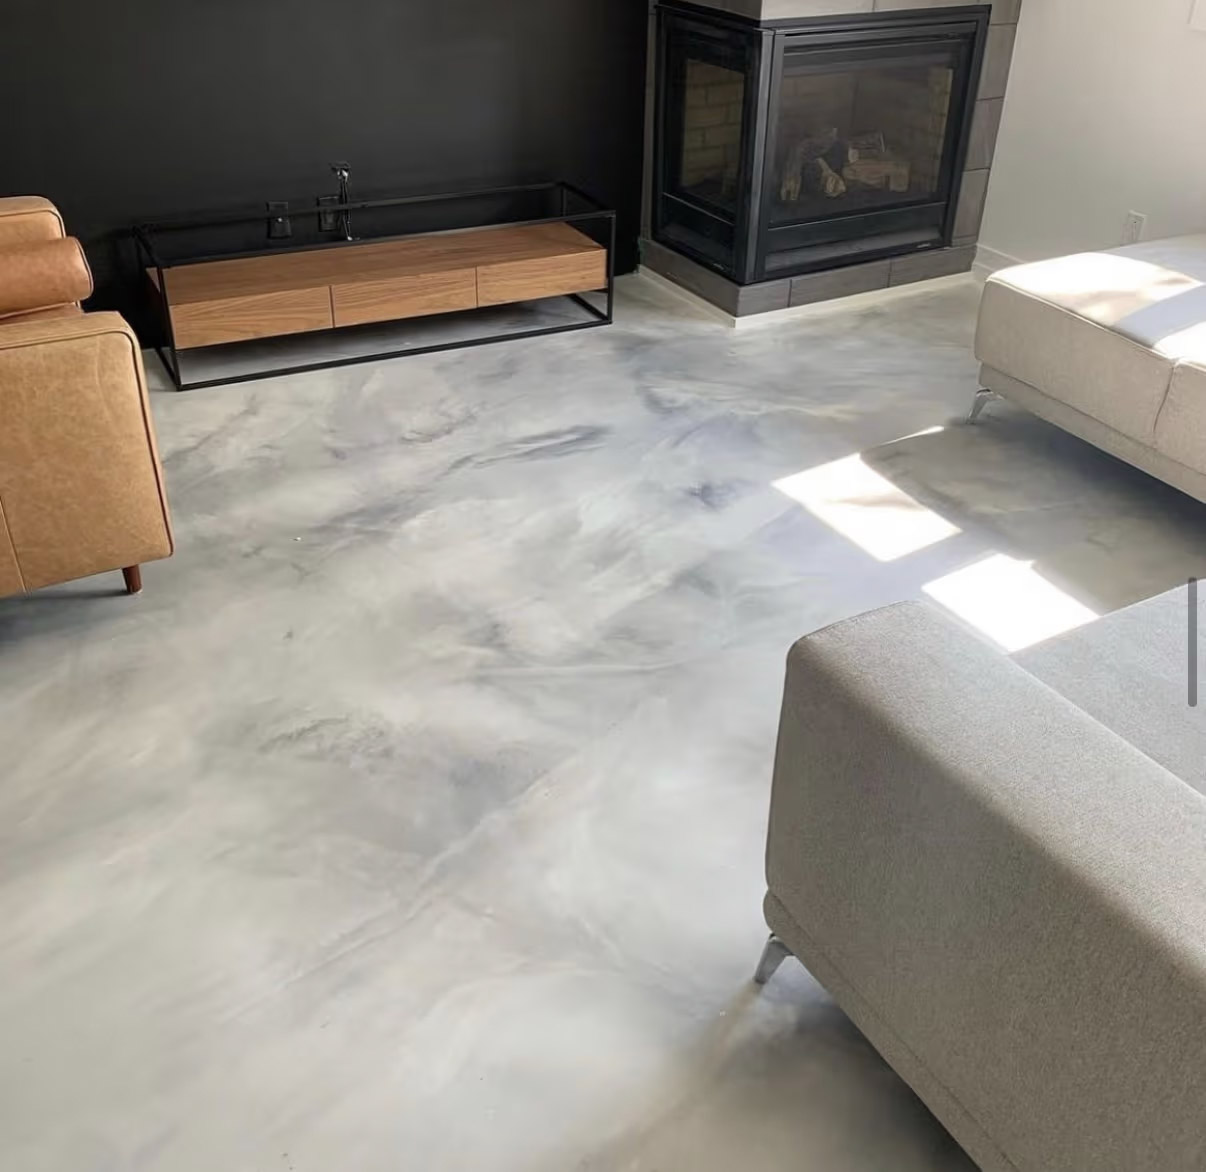
It Can Improve the Look of the Basement
An epoxy floor can make a basement feel more finished without installing carpet, laminate or tile. Homeowners can choose a solid colour, satin epoxy finish, glossy finish, flake epoxy flooring, quartz epoxy flooring or metallic epoxy flooring. Decorative chips or flakes can also help hide small imperfections and make the surface look less plain.
For a simple basement renovation, a solid finish may be enough. For a rec room or home gym, a flake system can give the space a more polished look. Metallic epoxy can create dramatic patterns, but it is usually more difficult to install well and may be better handled by a professional.
Is Epoxy Flooring a Good Choice for Canadian Basements?
Source: Epoxy 360
Epoxy can work well in Canadian basements when the concrete is dry, stable and properly prepared. It is especially useful in finished or semi-finished basements where homeowners want a durable floor for daily use. It can also be a good option for utility spaces, storage rooms or workshops.
However, Canadian basements often face humidity, snowmelt, freeze-thaw cycles, foundation cracks and moisture pressure from the soil. These conditions make preparation and moisture testing especially important. If the basement has musty smells, efflorescence, active water infiltration or recurring damp spots, the moisture source should be fixed before installing epoxy.
Health and Environmental Considerations
Choose low-VOC or VOC-free epoxy products to minimize indoor air pollution and strong odours—especially important in basements with limited ventilation. Chemical-resistant epoxy not only protects your floor but also prevents spills from soaking into concrete, reducing lingering odours and exposure to harmful substances.
During installation, ventilate well and use protective gear, as fumes can be strong. Once fully cured, modern epoxy floors are safe and inert. Epoxy’s long lifespan also means less frequent replacement, making it a more sustainable choice compared to alternatives like carpet or vinyl.
Epoxy Basement Floor: Pros and Cons
Pros | Cons |
Durable surface for rec rooms, workshops and home gyms | Requires careful surface preparation |
Easier to clean than bare concrete | Can fail if the slab has moisture problems |
No grout lines | DIY mistakes can lead to peeling |
Decorative options such as flakes, quartz and metallic finishes | Some products have odours or VOC concerns |
Can resist stains and some spills | Cracks in the concrete may show through |
Can make a basement look more finished | Professional installation can be costly |
Main Obstacles Before Installing Epoxy in a Basement
Moisture Problems
Moisture is the biggest risk. If water vapour moves through the slab, the epoxy may lose adhesion. This can cause bubbles, blisters, peeling or white deposits under the coating. Rust-Oleum states that its basement epoxy floor coating is for concrete basement floors in good, sound condition and not for floors with moisture problems.
Before installation, check for efflorescence, damp spots, musty smells, previous coating failure, visible cracks and water stains. If these signs are present, do not simply coat over them.
Poor Surface Preparation
Surface prep is one of the most common reasons epoxy fails. Sherwin-Williams notes that improper or missing surface preparation is a major cause of resinous floor coating failure.
The concrete must be clean, dry and rough enough for the epoxy to bond. Dust, old paint, curing compounds, oil, sealers and laitance can all reduce adhesion. Professional installers commonly use diamond grinding or shot blasting, while DIY projects often rely on sanding or acid etching.
Cracks and Slab Movement
Epoxy follows the condition of the concrete underneath. If the slab cracks or moves, the coating can crack too. Small, stable cracks can often be repaired before coating, but active structural movement or recurring water infiltration needs a deeper fix.
Temperature and Humidity
Epoxy products have specific temperature and humidity requirements. Some coating guides recommend applying epoxy only within suitable slab and air temperature ranges, and avoiding high humidity or wet conditions. One basement epoxy source notes that epoxy coating should be applied between about 10°C and 30°C, with the substrate also at 10°C or higher.
Always follow the exact product label, because cure time, pot life and adhesion depend on the product.
DIY vs. Professional Installation
When Epoxy Flooring Is DIY-Able
An epoxy basement floor can be DIY-able if the basement is dry, the slab is sound, the area is small and the homeowner is comfortable with surface preparation. A simple solid colour kit may be realistic for a storage room, laundry area, small workshop or unfinished rec room.
DIY installation can reduce labour costs, but the homeowner must be willing to clean, repair, sand or etch the floor properly. Skipping preparation is the main way to waste the product and end up with peeling.
When to Hire a Professional
Professional installation is usually the better choice if the basement has moisture concerns, old coatings, large cracks, uneven concrete, a large floor area or a more decorative finish. It is also wise to hire a professional for metallic epoxy flooring, quartz systems, heavy flake systems or floors that need grinding.
Professional installers often use concrete grinding, moisture testing, crack repair products and protective topcoats that are harder to manage in a basic DIY project. Mechanical diamond grinding or shot blasting is commonly considered the professional standard for coating prep.
Epoxy Basement Floor Installation Guide
Source: AK Conception Époxy
Step 1: Inspect the Basement
Start by checking the concrete slab carefully. Look for cracks, damp spots, efflorescence, musty smells, peeling paint, oil stains, old sealer and soft or crumbling concrete. If water is entering the basement, fix that issue before thinking about epoxy.
Step 2: Test for Moisture
A basement floor can look dry and still have moisture vapour moving through the slab. At minimum, homeowners should look for visible signs of moisture and follow the moisture test recommended by the product manufacturer. For more reliable results, especially before a professional-grade system, installers may use concrete moisture testing methods. Wagner Meters notes that slab moisture and surface preparation both affect epoxy adhesion and coating performance.
Step 3: Clean and Degrease the Concrete
Remove everything from the basement floor. Sweep and vacuum thoroughly. Then clean the slab with a suitable degreaser to remove oils, dirt and residues. Any contaminant left on the concrete can weaken the bond.
Step 4: Repair Cracks and Surface Damage
Fill stable cracks and small holes with a compatible concrete repair product. Do not ignore cracks that show signs of active movement or water infiltration. If the floor is badly damaged, crumbling or uneven, get professional advice before coating it.
Step 5: Grind, Sand or Etch the Surface
Epoxy needs a surface profile to grip. This usually means grinding, shot blasting, sanding or acid etching, depending on the product and project size. Professional installers often use diamond grinding or shot blasting. DIYers may use a floor buffer with a diamond-grit sanding screen or a product-approved etching method.
After preparation, remove all dust. A dusty floor will reduce epoxy adherence.
Step 6: Apply Primer if Required
Some systems use a primer, especially when the slab is porous or when the product manufacturer recommends it. In moisture-prone areas, a moisture-resistant primer or vapour barrier product may be considered, but only when appropriate for the slab conditions and coating system.
Step 7: Mix the Two-Part Epoxy
Epoxy products usually include resin and hardener. These must be mixed at the correct ratio. Once mixed, the product has a limited working time. Sherwin-Williams notes that epoxy’s final chemical reaction happens on site when Part A and Part B are mixed, and mixing errors can create problems.
Do not guess the ratio. Follow the product instructions exactly.
Step 8: Apply the Epoxy Coating
Apply the epoxy with the recommended roller, squeegee or brush. Work in sections and keep a wet edge. If using decorative flakes, broadcast them while the epoxy is still wet. Avoid applying the coating if the basement is too cold, too humid or poorly ventilated.
Step 9: Add a Protective Topcoat
A protective topcoat can improve scratch resistance, UV resistance and wear resistance, depending on the product. This is especially useful in a workshop, home gym or rec room. Sherwin-Williams notes that harder epoxy resins can scratch, and that finish coats with higher abrasion resistance can improve scratch resistance.
Step 10: Let the Floor Cure
Do not rush the cure time. The floor may be dry to the touch before it is ready for furniture, gym equipment or heavy use. Follow the manufacturer’s instructions for foot traffic, furniture placement and full cure.
Aesthetic Options for Basement Epoxy Floors
Source: Epoxy 360
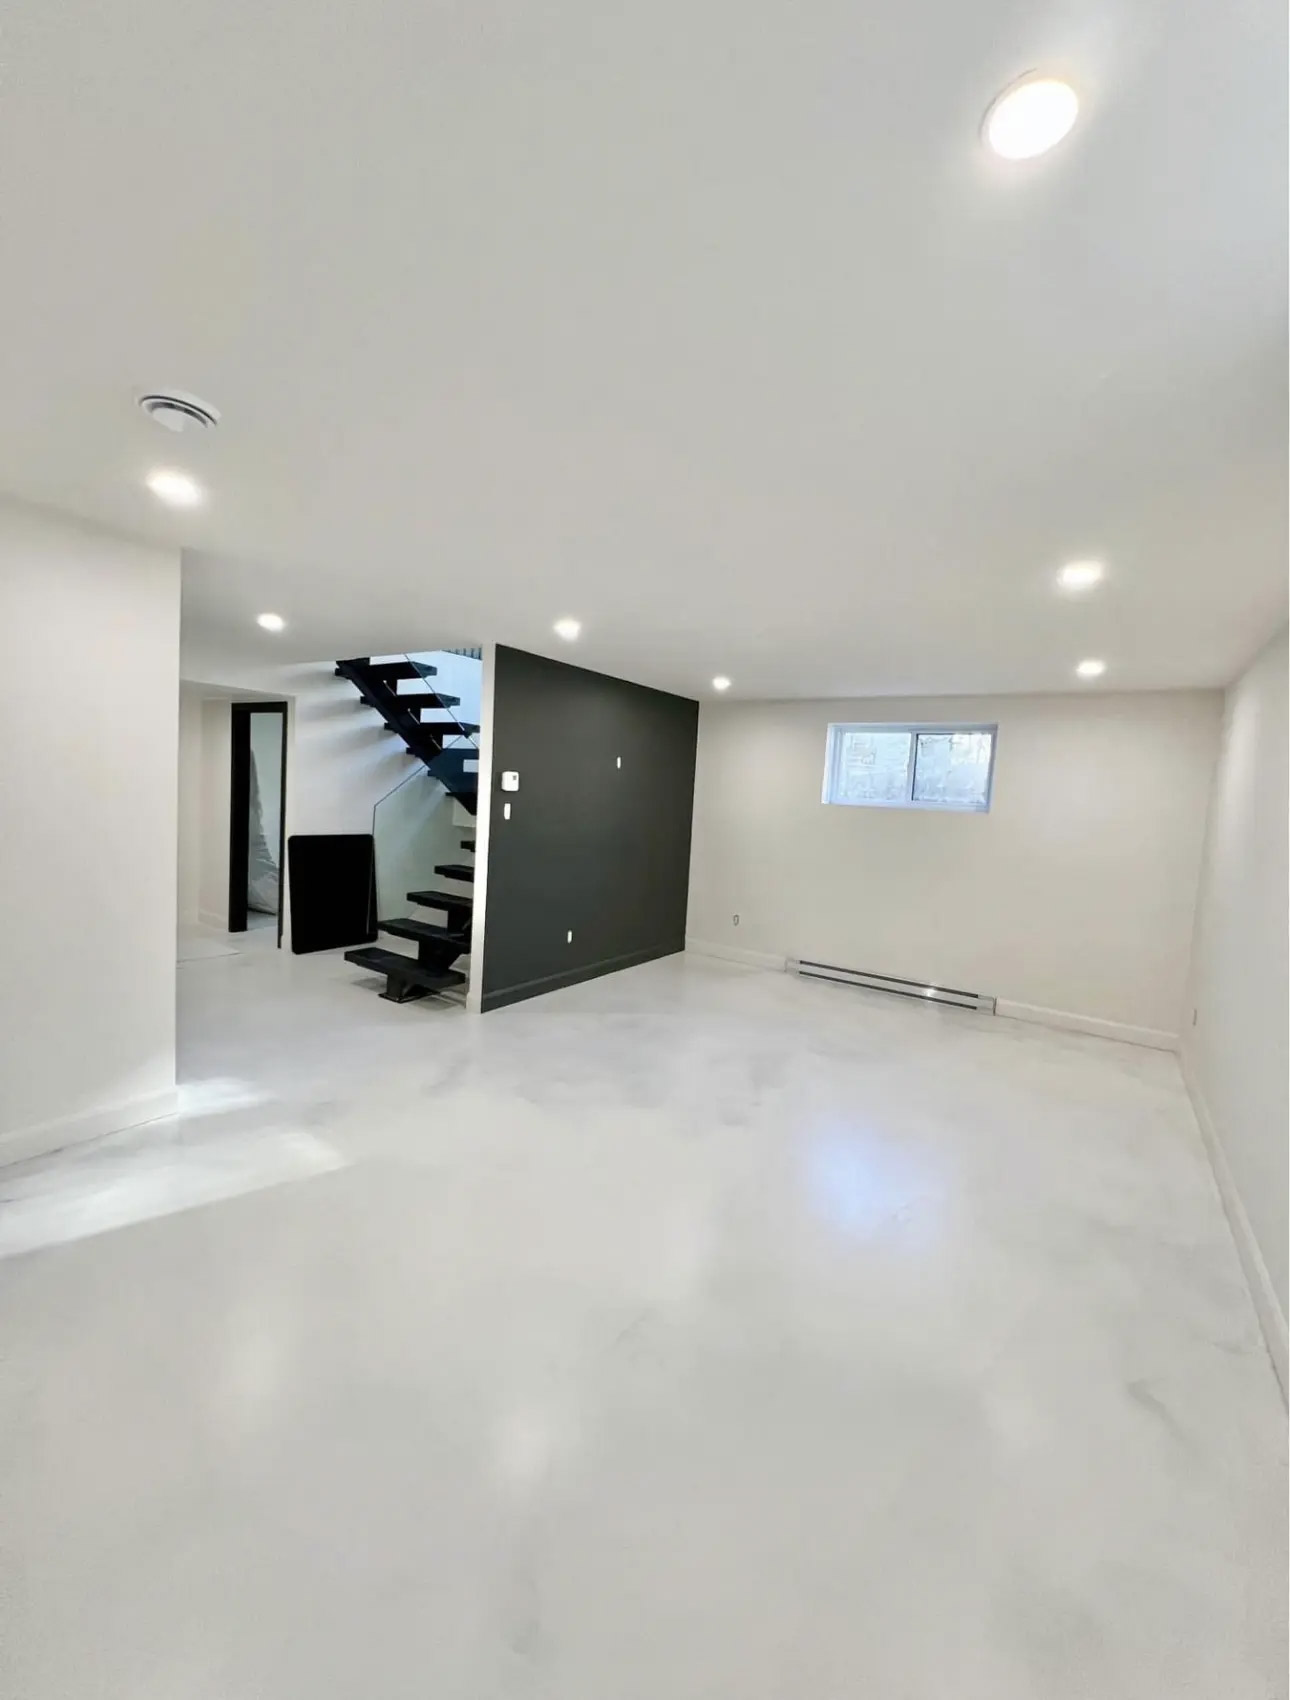
Solid Colour Epoxy
A solid colour epoxy floor is the simplest option. It works well for utility rooms, laundry rooms, storage areas and workshops. A grey or neutral tone can make the basement look cleaner without drawing too much attention.
Flake Epoxy Flooring
Flake epoxy flooring uses decorative chips or flakes broadcast into the wet coating. This creates texture, helps hide minor imperfections and gives the floor a more finished look. It is a popular choice for rec rooms, home gyms and family spaces.
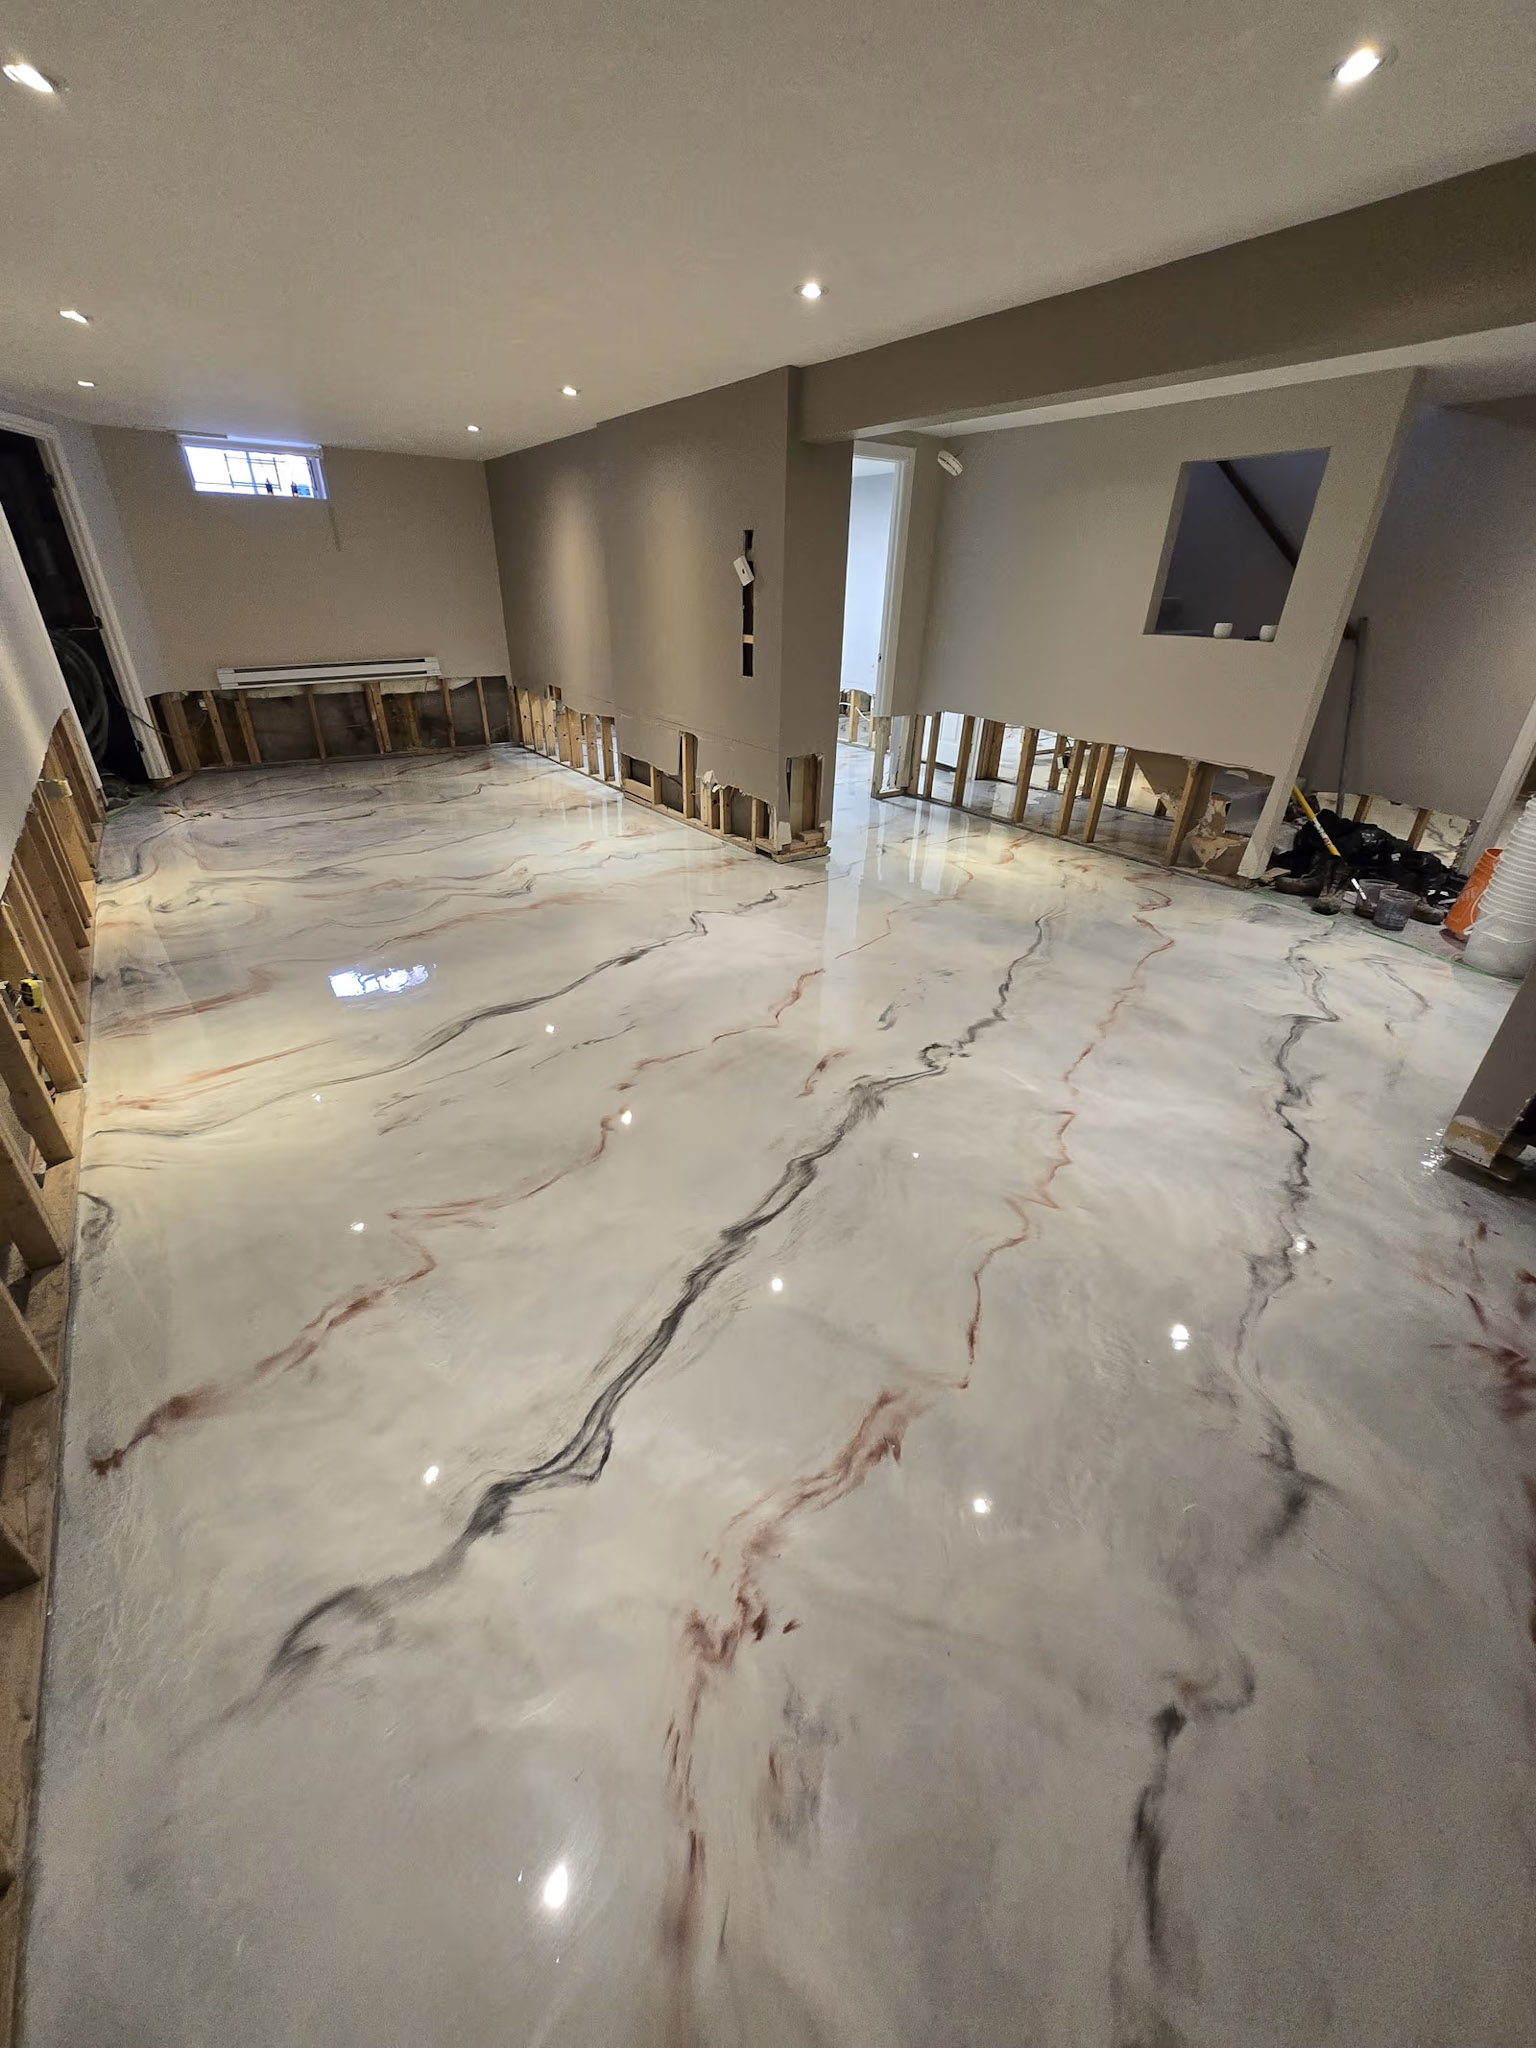
Metallic Epoxy Flooring
Metallic epoxy flooring creates swirling, reflective patterns. It can look dramatic and high-end, but it is harder to install consistently. For most homeowners, this is better handled by a professional.
Quartz Epoxy Flooring
Quartz epoxy flooring uses coloured quartz aggregate for a more textured and durable finish. It can improve slip resistance and is often used in heavier-duty settings. In a basement, it may be useful for workshops, utility areas or spaces where durability matters more than a smooth decorative finish.
Satin vs. Glossy Finish
A glossy finish can make a basement feel brighter because it reflects more light. A satin epoxy finish can look softer and may show scratches or dust less obviously. Reflective surfaces can be attractive, but they may also highlight imperfections in the slab.
Maintenance Tips for Epoxy Basement Floors
Sweep and Mop Regularly
Basic maintenance is simple. Sweep or vacuum dust and grit, then mop with mild soap or a pH-neutral cleaner when needed. Avoid harsh cleaners unless the coating manufacturer allows them.
Protect the Surface from Scratches
Use pads under heavy furniture, gym equipment or storage racks. Dragging sharp or heavy objects can scratch the finish, especially if there is no protective topcoat.
Clean Spills Quickly
Epoxy resists many stains, but it is still better to clean spills quickly. This is especially true for oil spills, chemical spills or anything that may sit on the surface for a long time.
Watch for Moisture Signs
After installation, keep an eye out for blisters, peeling, musty smells or white powdery deposits. These can indicate moisture pressure under the coating.
In Conclusion
An epoxy basement floor can be a smart upgrade for Canadian homeowners who want a durable, easy-to-clean and more finished basement surface. It works especially well in dry basements with a stable concrete slab and a clear purpose, such as a rec room, home gym, workshop or playroom.
The most important factor is preparation. Epoxy is only as good as the concrete below it. Before installing, check for moisture, repair cracks, clean and profile the slab properly, and choose a coating system that fits the basement conditions. If there is water infiltration, efflorescence, major cracking or uncertainty about the slab, get professional advice before coating the floor.
Looking for something else?
Related articles
The latest industry news, interviews, technologies, and resources.

Cynthia Pigeon
•28 May 2026
Planning home renovation work in Quebec requires rigour and a strong understanding of the local economic reality. Whether you own an older duplex in Montréal, a modern condo in Québec City, or a single-family home in Estrie, using price benchmarks adapted to the Quebec market is essential.

Editorial Team
•08 Nov 2023
A demolition project isn’t just about destroying a home from the ground up. In fact, there is a lot of careful preparation and planning involved. Demolishing a home or part of a house takes time and effort, and workers performing demolitions are exposed to many potential hazards. Therefore, it is especially important for demolition contractors to take extra care when undergoing this type of project.

Editorial Team
•13 Jun 2025
A house’s exterior siding or cladding plays a crucial part in its durability and overall appearance. It’s not solely a question of aesthetics; it’s the perfect shield against all weather-caused deterioration, including rainfall, wind, and sun. A decent siding can improve your home’s thermal insulation, reduce energy bills, and increase property value.
Amanda Harvey
•09 Sep 2024
Are you looking at your kitchen cabinets thinking about how they're old and outdated but still intact? Maybe you aren’t quite ready to replace them because the frames and doors are structurally sound, or a whole new cabinet renovation just isn't in your budget. Whatever the case, for a quick kitchen update, all that cabinets require is a fresh coat of paint!

Editorial Team
•05 Dec 2023
A pergola is a great alternative to a traditional patio umbrella. Not only does this sunshade provide a more aesthetic appeal compared to the latter, but it also offers a wide range of options in terms of materials and sizes. On top of that, it doubles as a permanent patio lounge area, while still shielding you from the elements. Despite being exposed to Canada's harsh East Coast climate and other elements, preserving its condition for many years to come requires meticulous care and maintenance.