
The luxury of having a bathtub in the home is wonderful: It can help relieve stress, restore balance, and enable you to truly relax. Of course, not every single home has a bathtub. Thus, if you’re looking to have one installed, you may want to consider a drop-in tub. As opposed to claw-foot tubs, drop-in bathtubs are easy to clean and conceal all plumbing elements. These tubs will give your bathroom a modern, classic finish.
So, how difficult is this installation project? Well, lucky for you, we’ve detailed a list of the steps involved. This’ll come down to more than simply connecting plumbing to the tub, so it might be good to ask a friend for a helping hand or hire a professional to do the work for you.
Here’s How to Install a Drop-In Bathtub

Source: Canva
What's a Drop-In Bathtub?
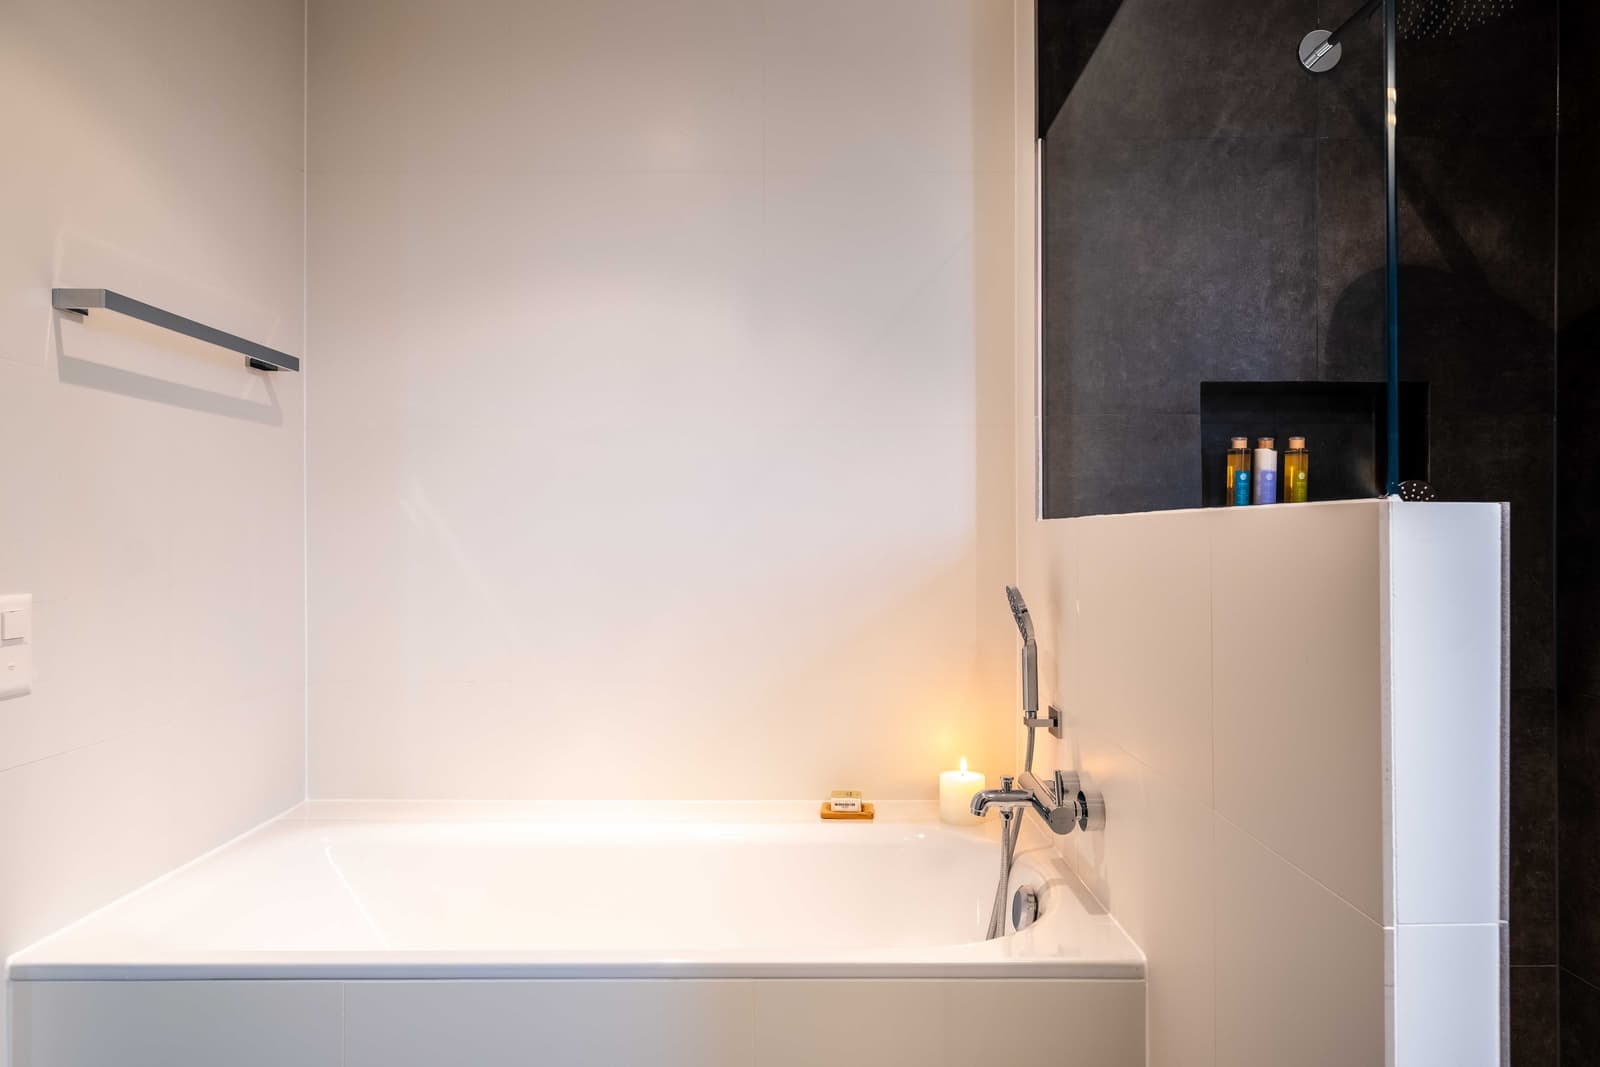
A drop-in bath is designed for an installation strategy that is inherent in its name. This type of tub has a self-rimming edge, and this edge rests on a frame or structure that surrounds the tub. The surrounding material is usually made of tile or stone, but of course, will come down to your bathroom decor. As we mentioned in our introduction, the beautiful thing about these tubs is that they conceal all of the plumbing beneath the structure, leaving only the rim visible to the eye. This type of tub is popular for a number of reasons, including their low cost, variety of shapes, sizes, and design versatility.
The surrounding part of the tub should be located alongside a wall, in an alcove, corner, or even freestanding depending on the layout and space available in your bathroom. Another appealing quality of drop-in bathtubs is that they can be easily replaced and thus are great for homeowners who are forever changing their minds!
Permits and Regulations
First things first, you need to do some research and find out which permits are required for this type of renovation project. This is a very important step if you intend on making any changes to your plumbing as well as taking on any major renovations to the walls or floors. Large-scale renovations almost always require a permit, and if you’re planning on moving a wall to fit your bathtub, then you’ll most likely need one.
When it comes to moving the pipes around or changing the plumbing in your bathroom, you’ll need to work with a professional. In most North American cities, undergoing any plumbing work without a professional is illegal. Once you’ve applied for the correct permits in accordance with your municipality and, if necessary, hired a plumber, you’ll be able to get your project started!
Drop-In Bathtub Plumbing
Source: Unsplash
If you plan on moving or reconnecting any plumbing, that’ll need to be done prior to any other steps involved in this project. If this is a necessary step for you, then the specifics of it will come down to your current plumbing as well as the layout of your bathroom. The only plumbing work you should have left to do once the tub is in place is to connect drain pipes, faucets, as well as shower heads.
Measure and Build
Start off by carefully measuring the area where you’re hoping to position your new bathtub. You’ll need to know these measurements to properly craft or purchase a frame which will secure your tub. Once you know how large of a frame you need, you can start building. The frame will need to mimic the height and width of the bathtub all the way up to the ledge, which will rest on and overlap the top surface of the tub.
There are two types of drop-in tubs, and the dimensions of the frame will be determined by the style: those with three walls surrounding them (alcove) and those with no walls (island). This aside, the frame will need to be sturdy and able to withstand the weight of the tub. Once the frame is built, custom-made or purchased, you can start installing it.
Install the Frame and Mortar Base
If you’re positioning your drop-in tub in an alcove, then it should be affixed to wall studs wherever possible. If your tub is to be positioned as an island, then the same rules applied to house formwork, meaning that nails need to be at 16-inch intervals, should be followed.
Although the frame supports most of the weight, it won’t be enough once it's filled with water and the weight of a grown human being. Therefore, the tub will require a mortar base before it’s installed. You’ll want to put 4 to 6 shovel-fulls worth of the mortar where the tub will sit. Before putting any mortar down, add an underlayment to the subfloor and underneath the tub, as well as directly on top of the mortar. The plastic will allow you to easily remove the tub at a later date if necessary.
Position and Affix the Bathtub

Source: Canva
In most cases, holes for plumbing fixtures will be made before the bathtub is affixed. You can temporarily put the bathtub in place to outline the holes dedicated for the plumbing fixtures, and then remove it to then drill the holes. Once this is complete, place the bathtub into the frame. We’d recommend doing this while the mortar is still wet so that it’ll cure and mould around the base of your tub.
Again, once positioned, make sure that the edges of your bathtub are level. Insert screws in the holes you’ve predrilled to secure it to the frame. When completed, the frame of the tub can be finished with tiles or other materials to match your bathroom decor. Check the faucets and enjoy a long hot soak once everything is dry and in working order.
By: Amanda Harvey
Get 3 quotes for your bathtub installation project
RenoQuotes.com can help you find a trustworthy contractor for your bathroom renovation project. By submitting your project, we’ll be able to put you in contact with the best companies in our network. Fill in the form on the homepage (it only takes a few minutes) and you will be contacted by trusted professionals.
Dial 1-844 828-1588 to speak with one of our customer service representatives
Looking for something else?
Related articles
The latest industry news, interviews, technologies, and resources.
Editorial Team
•08 Nov 2023
Water is one of the most prevalent resources available in Quebec, and it allows us to carry out most of our daily tasks. From gardening to showering, by way of drinking water and for cooking purposes, quality water is of utmost importance, need I say more?

Editorial Team
•08 Nov 2023
Thermally insulating your roof is absolutely necessary to prevent temperature variations. Since the roof makes up the largest enclosure that’s in direct contact with the outside, thermal losses can reach up to 30% in the event of poor insulation.

Editorial Team
•08 Nov 2023
While a laundry room is, first and foremost, a space designed for practical use, and its aesthetic aspect is often neglected, one shouldn’t overlook the overall appearance of the often-forgotten space to fine-tune it to the rest of the house. With this in mind, here are décor suggestions for your new laundry room.

Cynthia Pigeon
•19 May 2026
In Canada, the cost of interlocking paver installation generally ranges from $150 to $350 per square metre, or about $15 to $35 per square foot. In Quebec, prices often fall within the same range, especially for turnkey residential projects that include excavation, granular base preparation, paver installation, and labour.

Editorial Team
•09 Sep 2024
Are you looking for an electric heating system, but aren't sure which brand to turn to? Well, look no further, Chromalox is the answer! With over 100 years of expertise, Chromalox is a full-service technology-based company that provides a complete line of electric heaters to customers worldwide. Read on to find out everything there's to know about its various heating systems, their prices, and features.