Concrete panels are durable, cost-effective, and viable options for both indoor and outdoor walls. Their list of attributes doesn’t end here: they're also easy to install, especially aesthetic-looking, thermal insulators, and soundproof. We’ll delve into why and how these panels should be installed.
Characteristics of Lightweight Concrete Outdoor Wall Panels
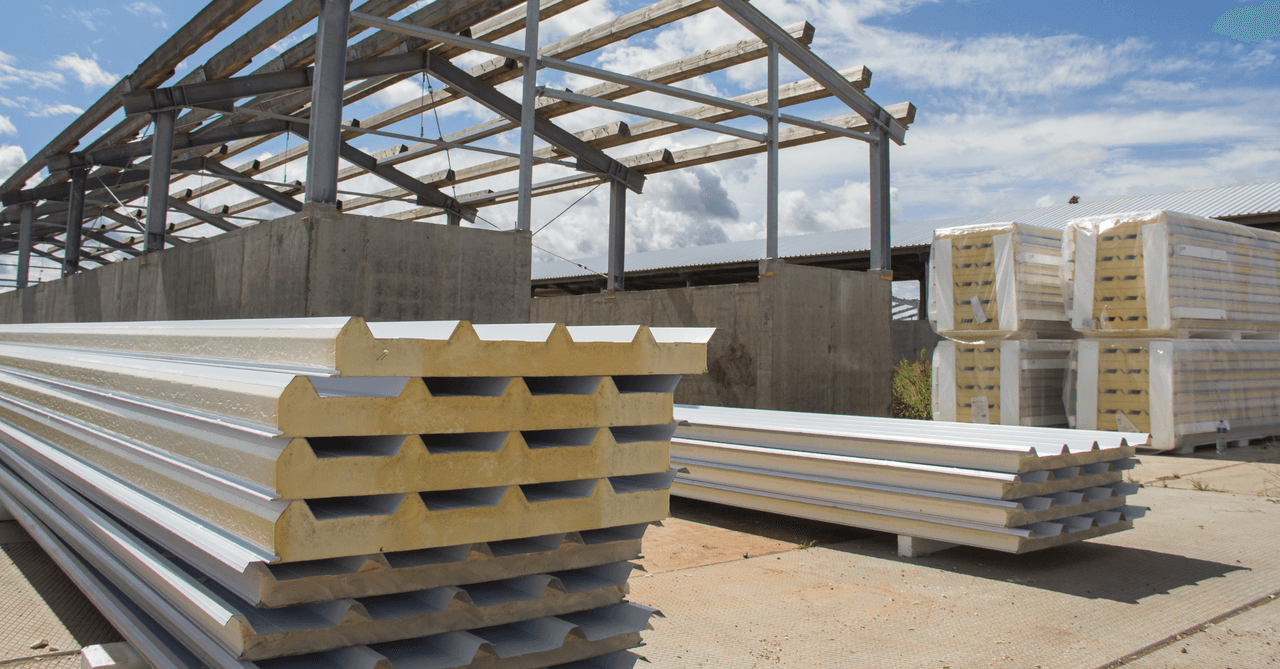
Source: Canva
Concrete panels are considered lightweight when their density is between 90 to 115 lb/ft³, as opposed to regular concrete’s 140 to 150 lb/ft³. As such, they weigh roughly forty pounds (20 to 30 kilos) apiece and have:
low thermal conductivity;
high thermal resistance;
reduced likelihood of shrinkage;
increased ability to withstand rotting.
Variations are made using different types of aggregates. With lightweight concrete, it can be:
Slate
Ash
Schist
Pumice
Clay
Perlite
Introducing New Aggregates
Over the last few years, materials from agricultural waste have made their way into the manufacturing process of lightweight concrete panels, OPS (oil palm shell) concrete being one of them.
Furthermore, innovations aren’t curbed yet, as experiments are carried out to manufacture concrete panels sourced from the slag generated by gasification processes and fly ash issued from petrochemical incineration.
These products, stemming from an integrated gasification combined cycle (IGCC), are used to produce glass-ceramic, and with lightweight concrete, exhibit compressive strength exceeding the requirements established by the international standards organization ASTM International (formerly known as American Society for Testing and Materials).
PCSP
Also available are PCSPs—precast concrete sandwich panels—which are rightfully named for their 3 layers (concrete - insulation - concrete), and have valuable characteristics:
withstand compression load;
lightweight;
energy efficient;
durable, safe, and comfortable.
Specifically, it’s a mix of 3 mm expanded polystyrene beads and cement, to achieve a density equalling 9 kN/m³.
Why is lightweight concrete cheaper than regular concrete?
Simply because regular concrete, being heavier than its lightweight counterpart, requires rebar (structural reinforcements), like framing, steel beams, etc. As such, the total cost of a project will be higher using regular concrete as opposed to lightweight concrete.
Easily find clients starting today
Get started today and connect with the projects that suit you best!
How to Install Fibre Cement Panels

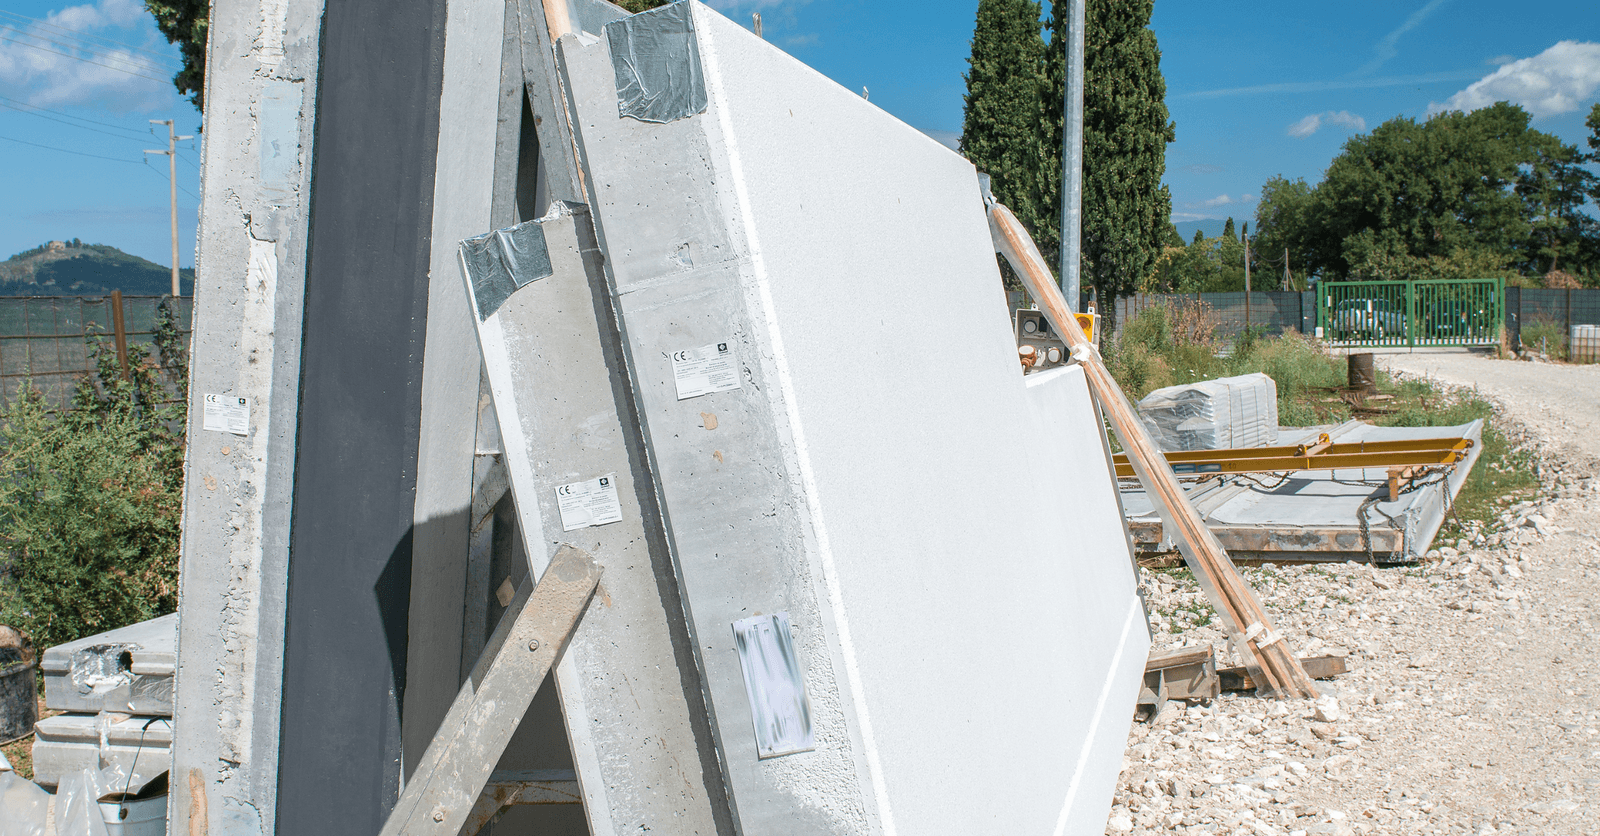
Source: Canva
Fibre cement panels can just as well be installed inside as outside since they’re fit for roofing. They’re used as a thermal barrier coating, and reinforced with a fibreglass mesh to withstand UV rays.
Here’s a 9-step guide for installing fibre cement indoor wall panels:
Step 1: Gather materials
Here’s everything you need to secure fibre cement wall panels:
Low-expansion construction foam
Caulking gun
Electric drill
Hammer
Compressor with 16-gauge nailer
1 ¾ inch finishing nails
Wood shims
Laser level or 4-inch line level
Tape measure
Grinder or mechanical saw with a diamond blade
Step 2: Inspect plywood
Once installed, lightweight concrete is just as resilient as plywood. However, if the plywood isn’t properly installed, or isn’t sturdy enough, the lightweight concrete panels will mirror the former’s characteristics.
Step 3: Unbox and store panels
Upon delivery, your panels will be boxed in protective packaging. To remove the panels from their packaging, lay the panels sideways, vertically on their edge. If laid horizontally, they risk breaking.
The same concept applies during transportation. Always transport concrete panels vertically rather than horizontally, to prevent breakage.
Step 4: Mark the wall
To install concrete panels, always start with the first row, meaning at the bottom of the wall. Make a mark to indicate the wall’s midpoint as well as to indicate the height of the first concrete panel.
Based on the height of the concrete panel, you can then set your laser level or use your line level.
Step 5: Prepare panels
Once you’re certain of where the first concrete panel should be secured (centre fit at the bottom of the wall), you can go ahead and apply the low-expansion construction foam on the back of the panel.
You can apply the product in a sinuous-like wave pattern, from top to bottom, over the panel’s entire back surface.
Step 6: Wedge the panel
Should you not want the panel to sit directly on the floor, especially if the latter isn’t level, you can wedge a wood shim beneath it. Otherwise, you can simply hold it in place for a few seconds until it adheres to the wall.
You can then nail them in place using a nail gun. The concrete’s texture will conceal the nails.
Step 7: Cut panels accordingly
The last panel in each row will most likely need to be cut. To do so, you can use a grinder or mechanical saw fitted with a diamond blade.
Step 8: Check level and thickness
This is a crucial step. The first row must be completely level, otherwise, the subsequent rows will also be crooked.
Once the panels have all been installed, you may notice a discrepancy between one panel to the next. Should this be the case, use a wood shim to adjust the panels accordingly. This will allow you to have a perfectly flat and levelled wall.
You can also drive a screw into a panel in question and use it as an anchor point to then pull the concrete panel toward you to adjust it accordingly.
Keep in mind that you only have about 5 to 10 minutes to make any necessary adjustments before the adhesive cures.
Step 9: Caulk the edges
Caulk the panels’ edges with an adhesive, while using a trimming tool to apply the silicone. You can remove any excess product using a putty knife.
Lastly, sand the surface of every concrete panel with a fine-grit sandpaper. Doing so will effectively remove any and all fingerprints, as well as accumulated dirt resulting from the installation.
Types of Panels

Source: Canva
Concrete panels have made their way into all construction-related fields:
Architecture
Interior use
Décor
Fireplace walls
Flooring
Architecture
Lightweight panels are available in an array of colours and are more often than not the sought-after choice amongst architects. So much so that it resulted in the inception of a new trend: photo-engraved façades. This involves using patterned concrete to depict a grooved image. When it comes to pre-fabricated concrete, the image is moulded and positioned at the bottom of a mould.
There are two other techniques:
Graphic Concrete
Béton picturalⓇ
Both methods are distinct. The first method involves using a retarder to delay the concrete’s curing process in certain areas, thereby allowing aggregates to show through. This is achieved using a special membrane with a retarder. On the other hand, the second technique entails digitally printing an image onto a concrete slab.
Therefore, concrete panels are the perfect canvas for a new, vector graphic-based architectural art.
For Indoor Use
Walls aren’t the sole surface to accommodate concrete panels. They’ve permeated every corner of the home:
Floors
Behind fireplaces
Bathrooms
etc.
They’re just as used in single-family homes as in administrative and commercial buildings.
Decorative Concrete
Although lightweight concrete panels are designed to withstand loads, they’re, first and foremost, thought of as decorative pieces when used indoors in their ultra-lightweight versions, weighing roughly forty pounds (20 to 30 kilograms).
Concrete panels are available in various shades of grey and are particularly valued for instilling modern-looking interior designs. They exude a sophisticated ambience that combines elegance and charm.
For Fireplace Walls
If you’re looking for fireplace wall cladding, fibre cement panels are perfect for that, given that they can be positioned around and behind fireplaces.
Panels are retailed as 4-, 8-, or 10-feet high boards, with thicknesses ranging from ¼ to ½ inches, as provided by manufacturers.
As Flooring
Concrete panels can be glued onto subflooring, whether the latter is made of plywood or OSB. Concrete panels and subfloors are adhered together by mortar or using an adhesive.
When proceeding with installation, avoid overlapping the panels’ joints with those of the subfloor.
Get 3 quotes for your concrete-related project
RenoQuotes.com can help you get quotes from a general contractor. By submitting your project, you'll be connected to top-rated contractors. Fill in the form on the homepage (it only takes a few minutes) and get estimates from trusted professionals.
Dial 1-844 828-1588 to speak with one of our customer service representatives.
Looking for something else?
Related articles
The latest industry news, interviews, technologies, and resources.

Editorial Team
•02 Dec 2023
Have you ever thought about hiring labourers from foreign countries to offset the labour shortage, acquire new talent, or diversify your team? If so, it could be a great entrepreneurial strategy.

Editorial Team
•19 Jun 2024
Nowadays, from foundations to floors, with footings in between, reinforced concrete is spread far and wide on construction sites. Provided it can withstand compression and tensile stress, it’s where it belongs. Rebar, or steel reinforcements, are the turning point.

Editorial Team
•08 Oct 2025
Several construction trades offer great professional prospects, whether for workers who wish to reorient themselves and change course or for those who wish to improve their skills. Here’s an overview of some of these promising professions!

Editorial Team
•28 Jan 2026
Interior decoration trends are taking a turn for "the sustainable," shaped by consumer preference for newfound, innovative materials. While design trends are a revolving door of change, one that has kept coming back over these last few years is one that’s closely linked to environmental awareness in consumers.

Editorial Team
•21 May 2026
A bedroom renovation gives you a blank canvas that most rooms never offer. Fresh walls, new flooring, a clean ceiling - everything stripped back and ready to be considered from the beginning. The challenge is that a renovated room can look startlingly bare, revealing just how much work good styling actually does. The furniture goes in, the bed gets made, and something still feels unfinished. What is usually missing is the layering and intentionality that interior designers apply almost instinctively.