Preparing Your Home Before a New Flooring Installation
By Collaboration
Updated on August 10, 2026

A new floor lives or dies on the prep work that comes before it. Subfloor condition, indoor humidity, and the order trades work in all decide whether planks sit flat and stay put, or cup, gap, and lift within a season. A weekend of groundwork protects the money you spend on the boards themselves.
The list below covers what to sort out before the delivery truck arrives, working from the surface underneath up to the air around it.
Match the Prep to the Material
Source: Pexels
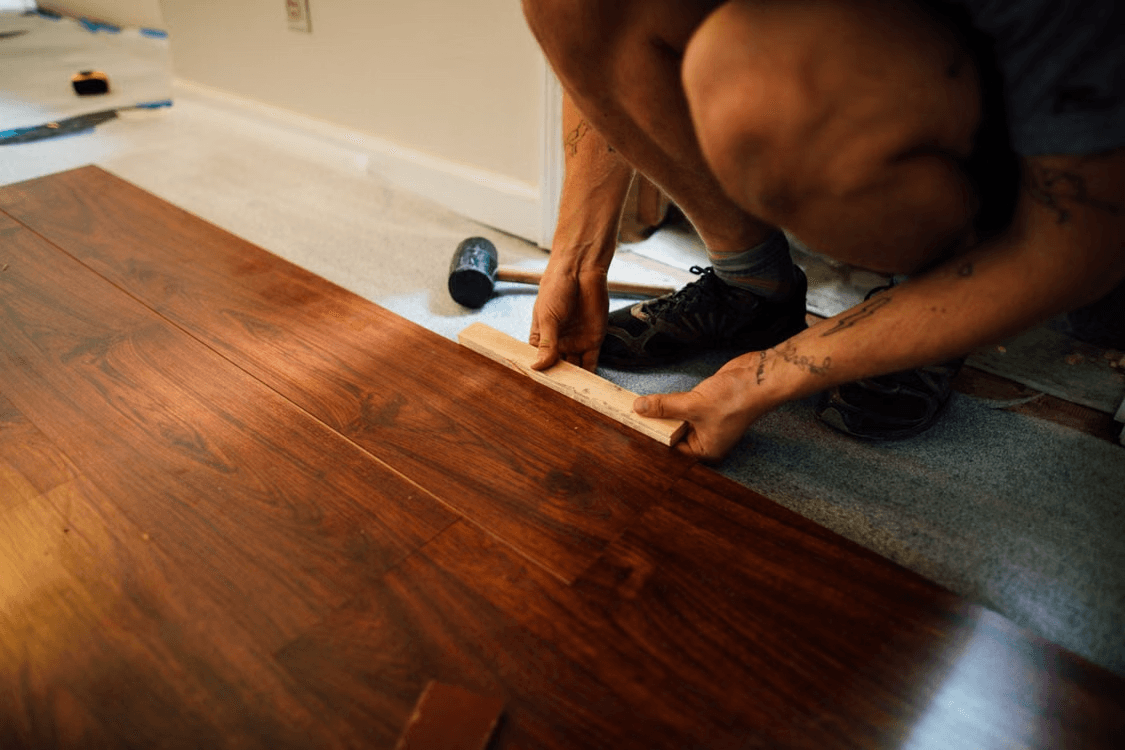
Hardwood, engineered wood, laminate, and luxury vinyl each ask for different groundwork, so settle on the material before you touch the subfloor. If you are still weighing your living room floor options, factor in where the room sits: solid hardwood cannot go below grade, since moisture creeps up through concrete slabs and swells the wood, which pushes most basement projects toward engineered wood or vinyl.
Flatness counts across the board; hardwood and laminate want a subfloor within 3/16 inch over a ten-foot span, and a dip larger than that leaves the planks flexing over a hollow with every step. Grind down the ridges and fill the valleys with a cement-based compound before anything goes down.
Luxury vinyl handles busy households well, though a rigid core plank laid over concrete still needs a 6-mil poly vapour barrier beneath it to keep moisture from collecting and feeding mould.
Cleaning Comes Before Everything Else
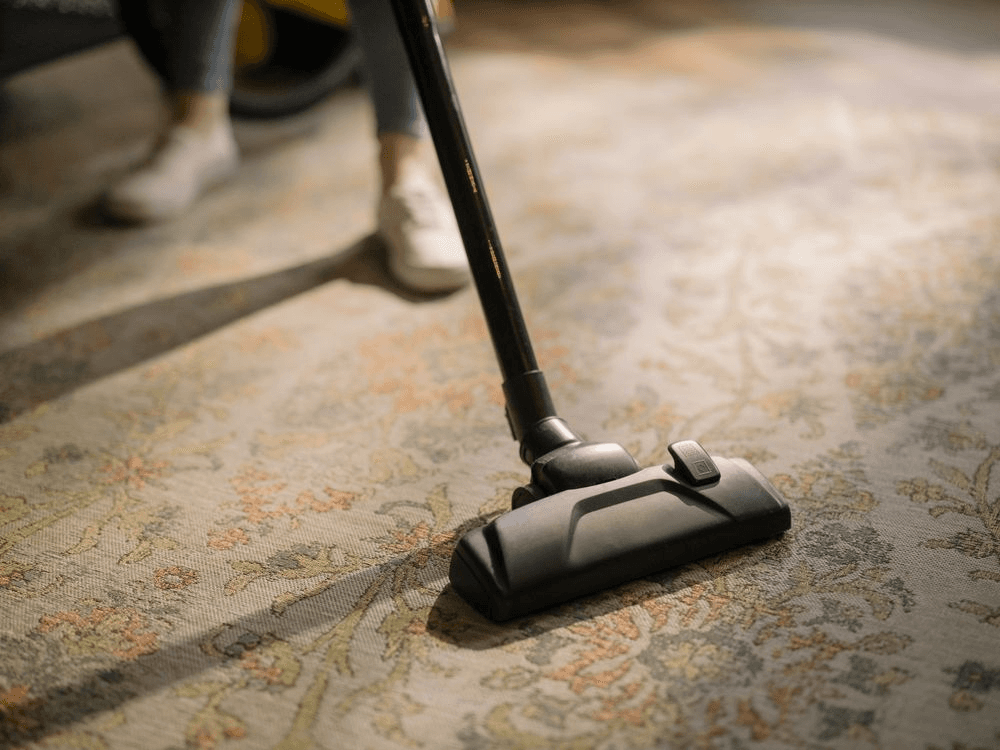
Old carpet and area rugs hold years of grit that turns airborne the moment tear-out starts. Send anything you plan to keep out for a proper clean before the crew arrives. Households across the region lean on carpet cleaners in Brampton to lift years of dust from delicate fibres without stressing the weave.
Carpet cleaning before flooring replacement guards the new surface too, because a soiled rug keeps shedding fine particles that grind underfoot and dull a fresh finish. When you plan to reuse an existing broadloom through the renovation, deep cleaning carpets before installation day stops loose fibres and dust from drifting into the work zone and settling on tools and trim.
A Short Prep Timeline
Preparing your home for flooring installation follows a rough order that keeps the messy work clear of the finished result. Health Canada warns against sanding or scraping older resilient floors until a lab has confirmed they hold no asbestos, a real risk in houses built before 1980.
Read the outline below as a working flooring installation checklist rather than a fixed schedule, since older homes tend to surface a few surprises once demolition starts.
Stage | Key Task | Why It Belongs Here |
Seven Days Out | Run the HVAC continuously and log humidity | Wood and vinyl react sharply to swings in temperature and moisture |
Before Tear-Out | Test old adhesives and backings for asbestos | Pre-1980 resilient floors often hide hazardous fibres |
Demolition | Seal air returns and vacuum with a HEPA unit | Fine dust travels through ductwork into rooms you are not touching |
Acclimation | Rest materials on site for two to three days | Planks equalize with the room before anyone fixes them down |
Install Day | Lock the thermostat and confirm expansion gaps | Wood that expands without room to move will buckle |
Clearing and Moving Things Out
Source: Pexels
An empty room speeds the crew and shields your belongings from harm. Moving furniture before flooring installation is the step most people underestimate, because sofas, cabinets, and shelving all need somewhere else to sit for a few days. The cost of a new floor covering climbs when installers spend the first morning hauling boxes instead of laying planks, so hand them a clear space from the start.
Empty each room wall to wall, including lamps, floor plants, trash cans, and small electronics.
Clear closet floors and raise hanging clothes at least four feet off the ground so fabric stays clean.
Take down mirrors, framed art, and wall clocks, since pneumatic nailers send vibration straight up through the studs.
Unplug the major appliances and have a licensed professional disconnect any gas, water, and drain lines.
Handling this early also spares the crew from working around clutter, which shows up in tighter seams and cleaner cuts.
Getting the Climate Right
Wood behaves like a living material long after it leaves the mill, drawing in and releasing moisture until it settles at equilibrium. The National Wood Flooring Association sets tight indoor humidity limits for the days on either side of delivery, and staying inside them keeps planks from cupping or gapping down the road. Knowing how to prepare for new flooring means treating the air in the room as part of the job.
Hold solid wood rooms between 30 and 50 percent relative humidity at 18°C to 27°C.
Keep laminate and rigid vinyl spaces between 35 and 65 percent humidity.
Set a digital thermo-hygrometer in the centre of the room a week early and log the daily readings.
Skip unvented propane or kerosene heaters, which pump moisture into the air and saturate the subfloor.
A stable week of readings before delivery is worth more than any last-minute change on the morning the crew arrives.
The Final Checks Before Day One
Walk the space with the crew leader on the morning of the install, before any boxes are opened. Clear the entry path of mud and clutter, and lay temporary protection over any flooring the team crosses. Confirm the thermostat is locked at the manufacturer's setting, usually 18°C to 24°C, with the system running through the day.
Open a few cartons and check the colour, pattern, and lot number against the order, then mix planks from several boxes for natural variation. Settle the expansion gap, 1/4 to 3/4 inch depending on the material, so the floor can move once the seasons turn. A short walkthrough now catches the small problems a finished floor would only lock in place.
Looking for something else?
Related articles
The latest industry news, interviews, technologies, and resources.

Amanda Harvey
•08 Nov 2023
Skylights are a wonderful feature, adding natural light and dimension to even the dullest of rooms. Though skylights are becoming popular once again, they aren’t so common in modern homes.

Editorial Team
•08 Nov 2023
A renovation project can quickly lead to astronomical spending. If we do not monitor the amounts that tend to accumulate, we can quickly end up exceeding the original budget.

Cynthia Pigeon
•21 May 2026
In Canada, the installation of a residential or commercial alarm system should be planned carefully. Security rules vary by province, and Quebec has its own framework through the Bureau de la sécurité privée (BSP) for certain private security activities, such as installing or maintaining alarm systems, cameras or access control systems. When the project involves wiring, electrical connections or systems integrated into the building, provincial contractor licensing requirements may also apply, including RBQ requirements in Quebec.

Cynthia Pigeon
•13 May 2026
To install a Level 2 charging station, 240 V, at your home in Quebec, the electrical work must be carried out by an electrical contractor holding an RBQ licence, generally a master electrician who is a member of the CMEQ, to ensure compliance with the Quebec Construction Code. This professional installation is essential to ensure a safe, code-compliant setup and to qualify for the $600 financial assistance. By entrusting the work to an expert, you reduce the risk of non-compliance, streamline your insurance process, and better protect your investment.

Editorial Team
•08 Nov 2023
It shouldn’t be a surprise that environmental awareness is trending. On the homefront, many are looking for ways to reduce energy use and increase efficiency. Not only this, but others are interested in alternative ways of living, investing in homes off the beaten path such as tiny homes, trailers, and houseboats.