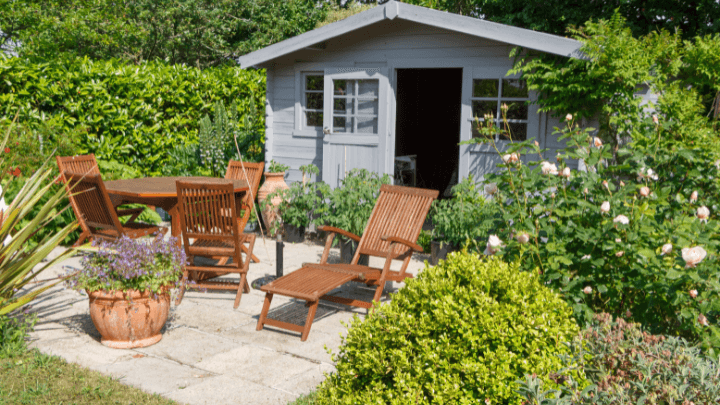
An outdoor shed offers durability and extra storage to a property. Your shed affords a place to store outdoor items, garden tools, garbage bins, lawnmowers, bicycles as well as camping gear.
Your shed can serve strictly functional purposes, or if you’re not the outdoorsy type, it can be built as a backyard hideaway. Place a comfy chair, a stylish rug and a stack of books inside and you’ve got yourself a home away from home.
Building a shed is simple and requires basic carpentry skills. Regardless of how you intend on using it, we’ve created a step-by-step guide to building your very own shed into your backyard!
Follow our shed building guidelines below!
Build the Shed Base
Source; Canva
First, it is important to make sure that the ground underneath your shed is level. As well, consider an area of your yard that drains well, as you don’t want water to collect and deteriorate the shed’s surface. For smaller sheds, only a top-soil foundation is required. You can use precast concrete deck blocks for this job, placing a deck block at each corner as well as two more blocks resting at equal spaces and one in the center. These blocks will eliminate the need for any kind of floor beams.
If you plan on storing heavier items in your shed, make sure to install extra blocks to accommodate the weight. Most deck blocks include a central pocket that is made to fit the standard 4-by-4 vertical post for holding up a deck. However, when building a shed, pressure-treated wood should be considered in the style dimensions that you have devised, but in a shorter length. Cut pressure-treated wood pieces to fit vertically into each corner concrete block.
Begin by setting the deck block on the ground. The ground underneath each block should be level. To orient, the blocks in a straight line, place some beams into the top grooves of each block. Next, arrange the blocks parallel to each other, creating two long walls. Then, measure diagonally to determine the shape of the area. If all measurements are equal, then each corner is sitting at a 90-degree angle.
In place of deck blocks, deck piers can also be installed. This method will allow you to string support beams beneath the floor of the shed. The measurements of piers will be dependant on the size of the shed you plan on building. When installing the grid of piers, make sure they are evenly spaced to correctly support the shed. String your support beams across the deck piers, attaching them with metal straps that come equipped with built-in nail holes.
Next, secure joists to the support beams, attaching along the outer edge of each support beam. These will obviously need to be the same length as the support beam. Afterwards, the floor joists will need to be installed, making these the same length as the distance between two rim joists. To keep these pieces from moving, install a piece of blocking between each pair.
Install the Shed Floor
Source: Canva
Next, nail plywood sheeting to the joists to form the floor of your shed. If you think additional structural support is necessary, consider using H-clips as well as nails when installing the plywood. H-clips will fit and lock together between two pieces of plywood.
The size of the sheets of plywood will depend on the size of the shed you’ve built. Also, if the spacing of the piers, support beams and joists has been executed correctly, then no additional adjustments should be necessary. The plywood should be installed in an intentionally misaligned fashion. This way, the floor will not have a single seam running across, which would be a structural weakness. Screw plywood down with 3-inch deck screws for best results, making sure pieces are flush and secure.
Build the Shed Walls

source: Canva
Building the walls of a shed happens in a similar fashion to the way the walls of a full-sized home are built. The front and back wall frames will vary, as the front must accommodate a door. Further, the sidewalls should be sloped to prevent rain from collecting on the roof. With all of this in mind, each of these walls must be done differently.
To build the framework for the back wall
Start by making the top and bottom beams the same length as the floor of your shed. Also, make the spacing between vertical studs to match the spacing between the floor joists. Another thing to remember is that the back wall should sit lower than the front wall to direct rain away from the door located at the front of the shed.
To construct the front wall
Follow the same method as building the back except this wall should be built slightly taller, and incorporate a door frame where a door will be added later.
Now, move on to building the side walls
The bottom plates of both sidewalls should be the same length as the distance between the bottom plates of the front and back wall. This is so that the sidewalls will fit between them. Most importantly, make sure that the top plate is angled so that the roof will slope. If you are having trouble devising the size of each vertical stud, start by making the two outermost studs first and then cutting the rest individually based on the distance between the top and bottom plate locations.
Once all the independent walls have been built, you can nail them to the underlying support from the bottom up. However, the installation method will greatly depend on the design that you’ve chosen. You might need to employ a few friends to help you nail in the walls and attach them to one another, so bear that in mind when beginning this project.
Build Rafters and Form the Roof
Rafters will need to be built next, and these should overhang the walls of your shed for an increase in weather protection. This process will be easiest if you measure rafters in the same way in which you spaced floor joints. Again, attach pieces of blocking between each pair of rafters along with the top plates. Following this, you can attach plywood sheeting to the rafters, nailing them down in the same fashion as the construction of the floor.
Finish the Job!
Source: Canva
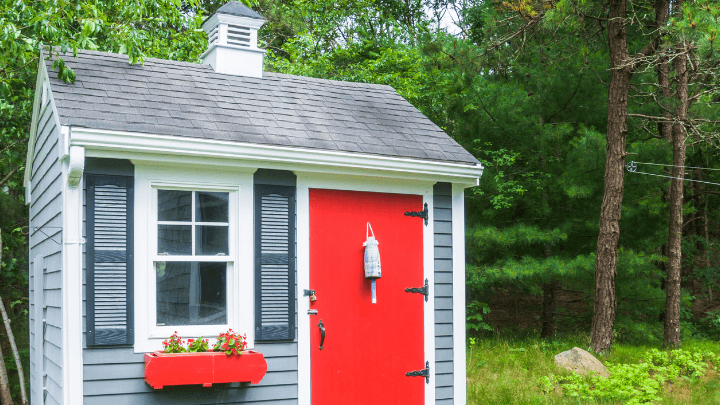
Now, the structure of the shed has been built, and we’ve reached the final stages of construction. Cover the walls with your material of choice, using aluminum, textured plywood or any other material that suits your style. Keep in mind that the material that you choose should come equipped with a finish that is weather resistant so that your shed will survive through both winter and spring. It is recommended that you add tar paper to the roof to further protect from the elements. Over this, install shingles or roofing material of choice for a sleek finish.
Get 3 renovation quotes for your backyard shed project
RenoQuotes.com can help you get quotes for your backyard shed project. If you submit your project to us, we’ll put you in contact with top-rated contractors. Fill in the form on the homepage (it only takes a few minutes), and you will get estimates from trusted professionals.
Dial 1-844 828-1588 to speak with one of our customer service representatives
Looking for something else?
Related articles
The latest industry news, interviews, technologies, and resources.

Editorial Team
•16 Aug 2024
Stress, anxiety, insomnia, budget overruns, extended schedules: renovation projects can cause many problems if you’re not properly prepared. The work-family balance is already a challenge, so imagine having to manage renovations and live in a house under construction.

Editorial Team
•08 Nov 2023
Regardless of the scale or size of a home renovation project, before getting started, it’s common to ask yourself how much you’re actually capable of doing. Of course, you’re going to come with your own set of skills and previous renovation experience and thus, you’ll know how much you can do. But have you ever thought about the legal repercussions of renovation projects?

Editorial Team
•08 Nov 2023
The sets of your favourite films can sometimes serve as an inspiration to transform your interior decor. Whether a period piece, a 1960s inspired environment or a more modern layout, there is always room to draw inspiration from these much-loved stories.
Editorial Team
•25 Jun 2025
Whether you’re brushing your teeth in the morning before work or finishing your day with a quick face wash, it’s easy to overlook how much time you actually spend in the bathroom.
Léa Plourde-Archer
•17 Feb 2025
Are you planning on renovating your kitchen? This process can be long and complicated, as it involves several steps as well as a number of factors that can affect the price, the duration of the work and the durability of the materials.