How to Lay Vinyl Tiles: Step by Step Instructions
By Editorial Team
Updated on November 8, 2023

When vinyl comes to mind, you might immediately think of music and the classic record player. However, in this case, we're talking about the floor. If you’re considering renovating your floor and looking for a versatile, easy to clean and crack-resistant flooring option, maybe you’d be interested in vinyl tile? Vinyl tile is a popular choice for the kitchen, bathroom, laundry or mudroom.
Not only is it inexpensive, but the variety of colours, patterns and textures makes it extremely versatile for almost any home décor style. If we’ve piqued your curiosity and you’re interested in incorporating this tile into your home, then look no further!
How to lay and install vinyl tiles
Choosing the right vinyl tile for your home

Source: Unsplash
There are two different types of vinyl tiles, and they are glue-down and self-adhesive. Glue-down tiles involve a messy process, as they are set in a bed of mastic. Self-adhesive tiles are much easier to lay and install for the novice or the DIYer, as they are simply "peel and stick".
For the sake of this article, we are going to focus on how to install self-adhesive tiles. However, you could choose the ones best suited to your skillset as well as your home décor. If you’re having trouble installing either, remember you can always work with a renovation professional!
When it comes to planning for the tile installation, start by measuring the dimensions of the room you’ll be working on. Look to lay tiles out in such a way to maximize the number of whole tiles and the size of cut tiles. Of course, there will be situations where an awkward tile cannot be avoided, but try to place these somewhere out of sight, such as under-shelving units or anywhere aside from the main sightlines.
First steps to installing a vinyl floor
The first thing you’ll need to do before laying the vinyl is to prepare an underlayment for the flooring. For this step, start by prying up any shoe moulding in place around the edges of the room.
Next, you’ll have to lay a plywood surface and this will be in the form of underlayment. Cover the entire room and secure the underlayment in place using 1 ¼ inch underlayment nails, making sure to stagger the joints.
Following this, spread a thin layer of levelling compound along all visible seams. This can be completed using a drywall knife. Before moving on, you’ll need to let the compound dry completely, and this should take between 30 minutes to an hour. Once dry, sand down the seams with 100-grit sandpaper.
Next, trim down the area around the door opening so that tiles will be able to fit snuggly underneath. To do this, place a tile upside down in front of one of the door jambs. This will act as a height guide.
Using an undercut saw, lay it flat and cut through the jamb working as carefully as possible. Once complete, move the tile to cut it in the same manner. Move through the casing, and repeat this step on the other side of the door frame.
Plan your vinyl tile layout

Source: Canva
Measure the width of the room and mark the exact centre of the floor. Using a piece of chalk, draw a wall-to-wall line to indicate all of the points you’ve marked, and measure these to indicate the centre of the room.
Grab a framing square and line it up along the chalk line at the centre point, making a line along with the square's tongue so that it’s perpendicular to the chalk link. Repeat this on the other side of the chalk link. You’re wanting to divide the room into quadrants, so snap another line that goes from wall to wall and divides the room in the opposite manner.
Begin laying the tiles

Source: Canva
Now, it’s time to begin laying the tiles. This method may vary depending on the type of tiles you’ve decided to work with. Make sure to do a good sweep of the floor before you start this part of the job, as laying tiles on a dusty floor can compromise how long they last.
Since we're working with peel and stick vinyl tiles, you'll begin by peeling off the backing sheet in the first tile and set it into the corner that you’ve formed with intersecting chalk lines.
Since the floor has been sectioned into four quadrants, you’ll want to work on one at a time. Work outwards in a step pattern, working slowly and meticulously to make sure the tiles lay flat.
Work first along the chalk line and then fill in the section. As mentioned, fill in a full section and then move on to the next one.
Once completed, take one of the tiles and lay it on top of an already installed tile closest to the wall. This uninstalled tile should line up directly with the tile beneath. Now, take an additional tile, placing this one directly flush with the wall and laying flat atop the uninstalled tile.
Outline the top tile onto the tile below; this mark will be an indicator of where to cut so that a tile can be fitted to the wall. To make your cuts as clean as possible, you might consider working with a vinyl tile cutter. You should be able to rent one from your local hardware store. If it’s not available, you can use a strong utility knife. If you’re working with a knife, the tile will need to be heated with a heating gun before you begin.
Make sure to trim around any vents in the floor, though these should be accounted for in your initial measurements of the room. Test fit tiles surrounding vents before sticking them down permanently.
Finishes touches
Now that the tile has been completely laid, you should make sure it’s smooth and flat. Roll a regular baker's rolling pin (or anything cylindrical) over the floor. This will make sure that all tiles are firmly in place. Either go ahead with reinstalling the shoe moulding you removed at the beginning of the job or install some fresh moulding. This can be secured in place with finishing nails.
Lastly, leave your newly installed vinyl tiles unwashed for at least 5 days. This will allow the adhesive time to cure fully and will help preserve the longevity of your tiles.
Cover image source: iStock Photo
Get 3 renovation quotes for your vinyl tile floor project
RenoQuotes.com can help you get quotes for your vinyl flooring renovation. If you submit your project to us, we’ll put you in contact with top-rated contractors. Fill in the form on the homepage (it only takes a few minutes), and you will get estimates from trusted professionals.
Dial 1-844 828-1588 to speak with one of our customer service representatives
Looking for something else?
Related articles
The latest industry news, interviews, technologies, and resources.

Léa Plourde-Archer
•08 Nov 2023
Epoxy is a popular floor covering material for garages, department stores and warehouses. Although this product is known for being durable and resistant to daily wear-and-tear, epoxy must be kept clean and maintained on a regular basis in order to keep its smooth and homogenous appearance.

Cynthia Pigeon
•22 Apr 2026
For a basement apartment (often referred to as a secondary suite) to be considered compliant in Canada in 2026, several requirements must generally be met, including those based on the National Building Code of Canada and applicable municipal bylaws. Common criteria typically include a minimum ceiling height of around 1.95 m (6 ft 5 in), egress windows providing a minimum unobstructed opening of approximately 0.35 m² per bedroom, and proper fire separation between units. That said, requirements can vary significantly depending on the province, municipality, and type of building. Failing to comply may lead to serious consequences, such as fines, insurance limitations, or restrictions on renting out the unit.
Editorial Team
•10 Feb 2026
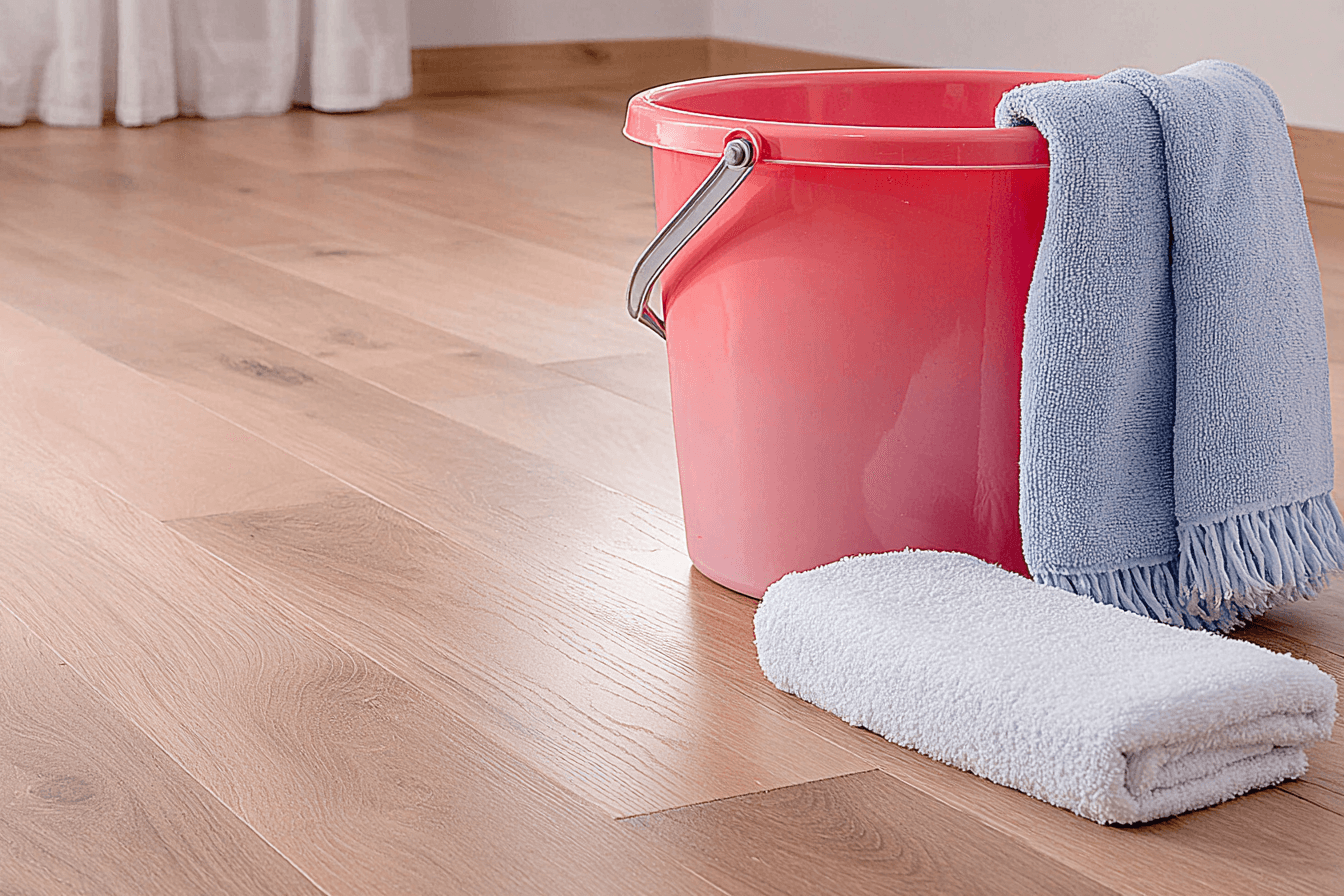
Renovations promise a fresh start, yet the dust and debris they leave behind can make a finished space feel anything but livable. Proper post renovation cleaning removes the hidden grit, the fine particles and the lingering mess so your home finally feels complete and ready to enjoy without another round of hard work.
Editorial Team
•27 Aug 2025
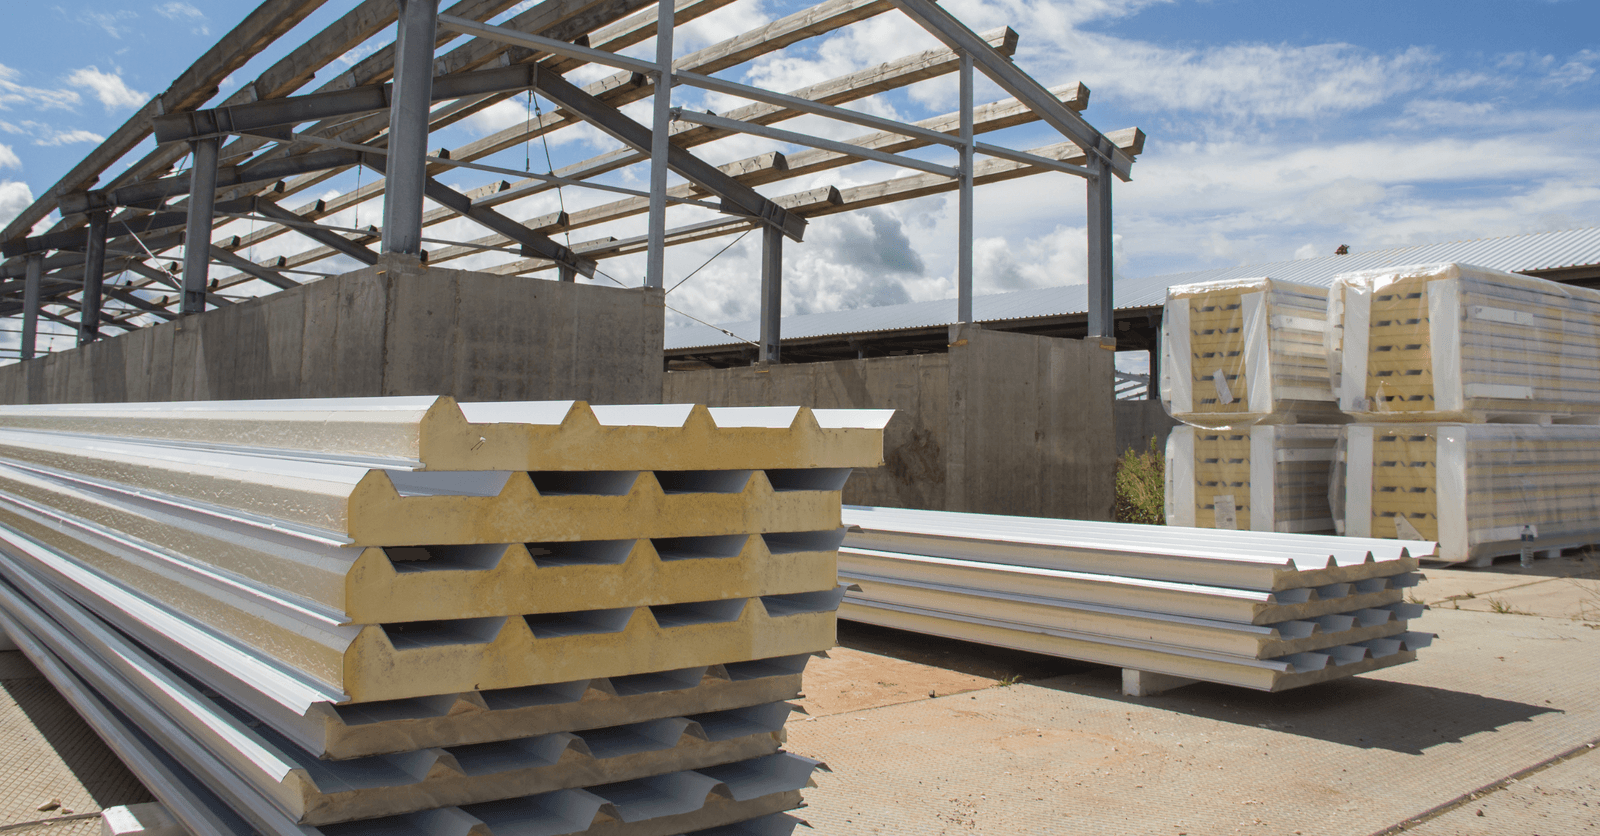
Concrete panels are durable, cost-effective, and viable options for both indoor and outdoor walls. Their list of attributes doesn’t end here: they're also easy to install, especially aesthetic-looking, thermal insulators, and soundproof. We’ll delve into why and how these panels should be installed.
Editorial Team
•08 Nov 2023
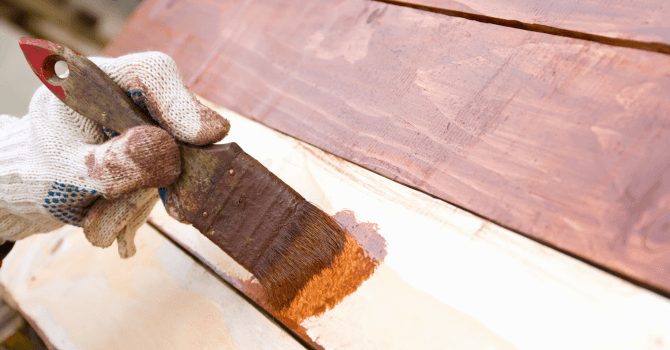
Let’s be real, wood isn’t easily replaceable. We can all agree that wood’s warmth and versatility are especially valued. We like that it’s easily worked and offered in a variety of essences to suit all preferences. Both authentic and malleable, wood works wonders no matter what.