
A sheet metal roof might sound absurd to some, but this material is quite popular for those searching for a long-lasting and strong overhead cover. In recent years, sheet metal roofing has been recognized for its durability and longevity. Unlike asphalt, which has a lifespan of between 20 and 30 years, sheet metal can last up to 50 years. Therefore, installing this roofing material is a worthwhile, lifetime investment!
But how difficult is the installation process? Of course, finding your way onto the roof is one thing but getting sheet metal to stay in place is another. Luckily, you’ve come to the right place for all the tips, tricks and steps to installing a sheet metal roof. Read on to discover everything you need to know about installing the right sheet metal roofing for your home!
Preparation

source: Pixabay
Installing a sheet metal roof is not the easiest project, but for those interested in taking it on themselves, we can help guide you. You’ll need a few familiar tools for this project, including a drill, hammer, rubber mallet, tape measure, a ladder, roof stripping tools (if necessary), specific sheet metal screws and nails, as well as a roof underlayment material such as felt.
Before beginning this installation, you’ll need to measure your roof to determine the distance that exists between the ridge and eave of the roof. When measuring, make sure to determine the amount of overhang you want from the sheet metal roofing itself. Further, measure the width of the roof, and divide this number by 3 as the results will give the number of panels that you’ll need.
If you haven’t done so already, order your steel roofing panels by giving your roofing measurements to the manufacturer or distributor. The panels themselves are often called standing seam metal roofing, and these can come in a variety of colours.
Initial steps
Most experts recommend applying a radiant barrier of insulation for improved energy-efficiency or another form of roofing underlayment such as a breathable synthetic or felt. Start by installing this to help keep moisture out. This layer will also help to avoid mould or mildew from growing beneath the sheet metal, potentially causing serious problems later.
If you have old shingles on the roof, you can leave these in place and install sheet metal roofing overtop of them. Next, lay batten boards, or pine boards, over the roofing felt. The boards should run parallel with the ridge and the eaves, and a drill can be used to screw the board into the roof.
Now, you’ll want to install the eave flashing, as this will help to control the flow of water from the roof to the ground. You can use a hammer and nails to simply attach eave flashing to the eaves. Install the flashing along the entire width of the roof. Further, if the roof has gutters, the eave flushing should cover over each of the gutter's sides.
Finally, apply closure strips to the eave flashing. These will work to close gaps between the sheet metal roofing panels and the underlayment, as animals and pests can find their way inside and cause serious havoc.
Installing the sheet metal roofing

source: Pixabay
Now that all the initial prep work has been completed, it is time to install the roof pieces themselves. Start with the first panel and place it along the edge of the roof, allowing the bottom edge of the panel to hang ¾ of an inch over the side of the roof. Screw the panel down onto each board. Lay the second panel alongside the first panel, making sure that the high ridges running along the length of the second panel overlap the ridges on the first panel.
You can secure the second panel into place by screwing it into the first panel. Repeat this process with all remaining panels until the entire roof has been covered. Following the installation of the panels, set up the gable trim, giving the roof's edges a smooth appearance. Apply a thin line of butyl tape, and this sealant should be applied along the side edges of the roof.
Screw the gable trim over the side edge of the roof, and continue this installation on all edges. Lastly, the ridge cap will need to be applied. Again, use butyl tape applied in a thin line along the ridge of the roof and place foam closures over this. Apply a second layer of butyl tape, this time over the edges of the foam. Now, you’ll attack the ridge cap, placing it over the roof and secure it in with evenly spaces screws.
Get 3 renovation quotes for your sheet metal roofing project
RenoQuotes.com can help you get quotes for. By submitting your sheet metal roofing project to us, we’ll put you in contact with top-rated contractors. Fill in the form on the homepage (it only takes a few minutes), and you will get estimates from trusted professionals
Dial 1-844 828-1588 to speak with one of our customer service representatives
Looking for something else?
Related articles
The latest industry news, interviews, technologies, and resources.

Editorial Team
•08 Nov 2023
Converting your roof to capture the power of the sun’s energy can benefit your home and wallet depending on how you go about it. Over the years, solar panels have become the go-to option for producing renewable energy.

Editorial Team
•08 Nov 2023
Building a house involves a series of steps, the first one being earthwork, which consists of cleaning and preparing the land on which the structure will be built. Next up, pouring the foundation, which is a crucial step that ensures the solidity of the structure and the house’s structural strength through the years.
Editorial Team
•13 Sep 2024
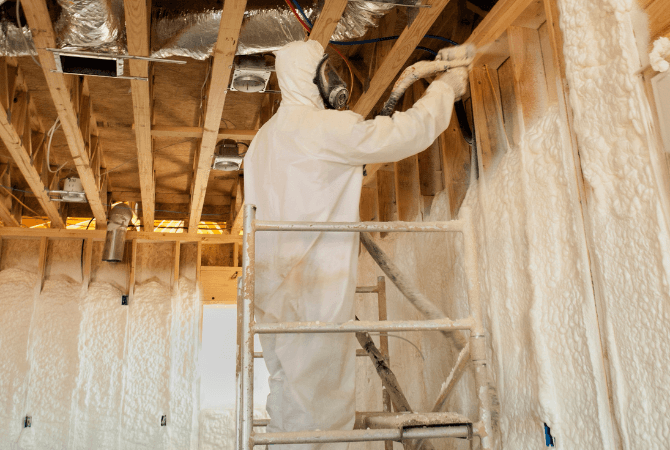
Foam insulation is a valuable product, especially since it’s lightweight and easy to install. It’s also an effective way to insulate walls and floors in your home. However little known, polyurethane foam is an amazing product that can very likely be a solution to many a problem. Since it’s particularly adhesive and effectively insulates, every year, this product enables Canadians to shield their residences from the harsh winter cold.

Editorial Team
•08 Nov 2023
Wood window frames add a naturally beautiful element to both the interior and exterior of your home. However, as with everything of natural beauty, wood needs to be carefully looked after so that it can continue to have pure charm and appeal. You can easily extend the life of wood frames by making sure they are properly inspected and maintained, saving time and money in the long run.

Cynthia Pigeon
•29 Apr 2026
To repair a foundation crack in Canada in 2026, the most reliable long-term solution is exterior waterproofing with an elastomeric membrane—specifically designed to withstand the country’s harsh freeze-thaw cycles and diverse soil conditions. When exterior access isn’t feasible, interior injection using polyurethane or epoxy offers a fast, clean, and watertight fix for non-structural cracks. However, if there are signs of structural movement, carbon fibre reinforcement has emerged as the industry standard, providing a durable way to stabilize foundations without the need for extensive excavation.