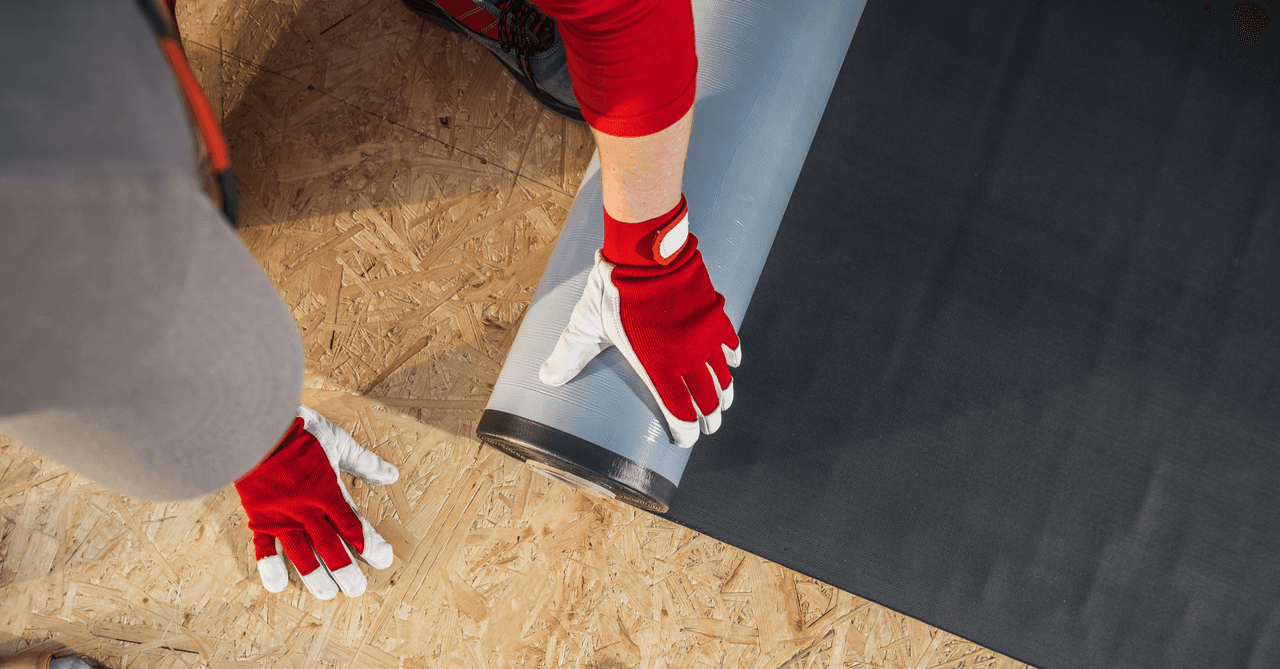
When building a new home, air barriers are not always part of the equation. However, air barriers are crucial structures that assist in aiding with energy efficiency as well as maintaining a comfortable and cozy home environment.
So what is the role of an air barrier?
Source : Canva
Unlike the vapour barrier, which aims to prevent cold surfaces from coming into contact with moisture within the same structure and to limit the diffusion of steam inside of it, the objective of the air barrier is quite different. Rather, it aims to divide the air-conditioned spaces of non-air-conditioned spaces in order to avoid any unwanted heat leakage.
If you're looking to optimize the energy efficiency of your home or have noticed the presence of heat leaks, it's time to take action and install an air barrier in your walls.
Here are the ways to install air barriers in your home!
Source : Canva
Step 1- Choose your Materials
Concerning more specifically the purchase of an air barrier, know that it is available in many materials including:
0.15 mm thick polyethylene ;
extruded rigid insulation panels (with a film with air-damaged properties on its surface) ;
polyisocyanurate panel ;
fibre cardboard (covered with air-walled properties on its outer surface) ;
polyurethane ;
extruded rigid insulation panels (type 3 or 4).
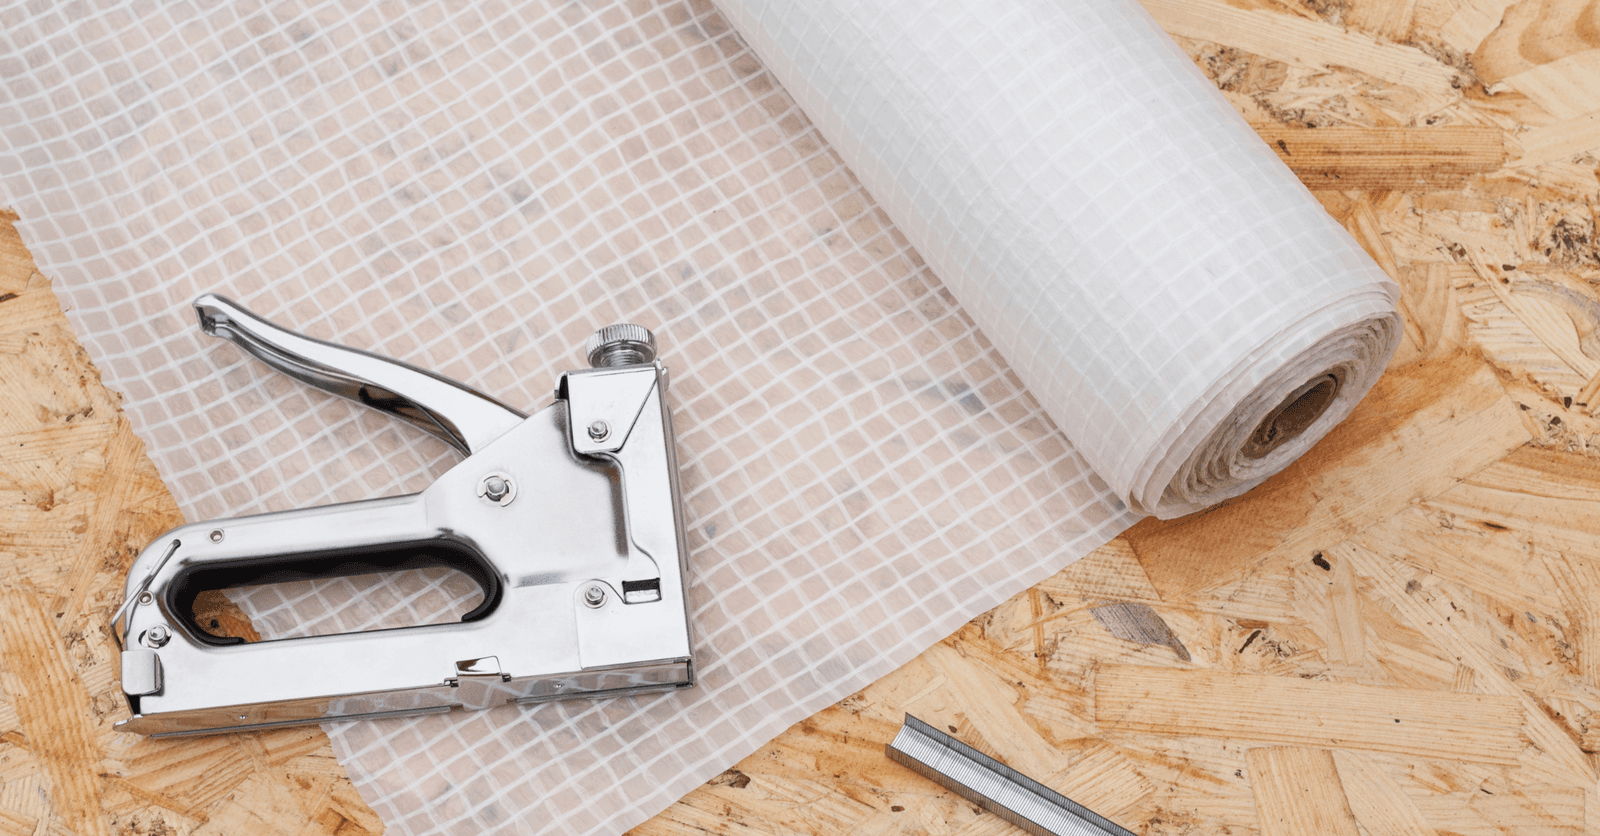
The installation process for firm materials is slightly more complicated but will follow the same principals as the wrapping. For the installation of a plastic air barrier wrapping, you'll need the following elements to complete your project:
an air barrier ;
some chalks ;
a stapler ;
staples ;
a nailer ;
a strip of coating tape (sealing tape).
These materials are chosen because of their air impermeability, their ability to withstand pressure differences and their high durability.
Step 2- Choose a Location in Your Home for the Air Barrier
Choosing an area of your home to add an air barrier will depend on where air might be escaping. Attics and crawlspaces are prime spots for leakage, but the seams between floors and walls is another.
At first glance, it is specified that it is possible to install an air cover on the outside as well as on the inside. The most important thing about the installation process is how the joints are made. It is essential that the joints are sealed at the junctions.
Step 3- Install the Air Barrier
Source : Canva
The installation of a plastic air barrier wrapping
To install plastic air barrier wrapping, start at the corner of the room or surface you are working on. Make sure that the material you choose for your air barrier has no unnecessary cuts in it, as these will obviously allow air to escape. The only time this material should be cut is to make way for doors or windows, pipes, electrical outlets or anything else jutting out of the wall.
Make sure that your air barrier begins at the sill plate and runs along the wall as high as it can possibly go. If the barrier cannot reach the top plate, you must apply an extra layer. When installing the second layer, make sure that it is properly shingled to allow for water to run off instead of into the walls. If this step is done incorrectly, you will risk trapping water beneath the air barrier material. Make sure to have a minimum of a 6 -inch overlap between layers.
As you move along the wall, fasten the air barrier material in place. Only use enough fasteners, nails or staples to hold the house wrapping tight, as you don’t want to put any unnecessary holes into the surface. Further, make sure that if you are cutting a section of wrapping out to accommodate doors, windows or outlets, that you go back over these sections with vertical pieces of wrapping.
Using your seam tape, tape any openings closed and pay special attention to the footing, as the space between the walls and floors is one of the leakiest areas of the home. Make sure that this installation process is completed carefully! If you're unsure about the intricacies of this project, remember you can always consult a professional to help you get the job done. Soon enough, you'll have an airtight and comfortable home.
Get 3 renovation quotes for your air barrier renovation project
RenoQuotes.com can help you get quotes for. By submitting your air barrier renovation to us, we’ll put you in contact with top-rated contractors. Fill in the form on the homepage (it only takes a few minutes), and you will get estimates from trusted professionals.
Dial 1-844 828-1588 to speak with one of our customer service representatives
Looking for something else?
Related articles
The latest industry news, interviews, technologies, and resources.
Editorial Team
•08 Nov 2023
Concrete sawing is a highly technical practice, which requires the expertise of a specialized company. Across Canada, numerous companies offer a wide range of services to the public, including concrete sawing, drilling, or demolition.

Editorial Team
•08 Nov 2023
In Montréal alone, it’s estimated that approximately 300,000 residents are affected by a high level of lead in their water, in particular, due to the pipe connecting their home to the city’s water system. In 2007, the City of Montréal, therefore, committed to changing all of its lead water pipes in the public sector, totalling around 48,000 by 2030, recently investing about $557 million to accelerate the project.
Cynthia Pigeon
•22 Apr 2026
For a basement apartment (often referred to as a secondary suite) to be considered compliant in Canada in 2026, several requirements must generally be met, including those based on the National Building Code of Canada and applicable municipal bylaws. Common criteria typically include a minimum ceiling height of around 1.95 m (6 ft 5 in), egress windows providing a minimum unobstructed opening of approximately 0.35 m² per bedroom, and proper fire separation between units. That said, requirements can vary significantly depending on the province, municipality, and type of building. Failing to comply may lead to serious consequences, such as fines, insurance limitations, or restrictions on renting out the unit.
Cynthia Pigeon
•08 Nov 2023
A building's structure is either made of wood, concrete, or steel. To finish this structure and give a business, facility, or home an eye-catching look, opting for masonry siding is a definite possibility. And, a bricklayer-mason hired by a contractor will be qualified to carry out this type of project.
Editorial Team
•08 Nov 2023
Electrical work is extremely intricate and complex, as various wires and connections must be in their rightful place for electricity to run successfully. Electricians are trained to know exactly how these connections work, completing electrical work correctly and efficiently. Although there are several renovation projects that homeowners can attempt to DIY, electrical work should be left up to the professionals.