Painting Tips and Supplies for an Interior Brick Wall
By Editorial Team
Updated on November 8, 2023

Are you looking to give your interior brick wall a new coat of paint to offer a more modern look or integrate it into your brand-new decor? Here are the steps to follow to make this project successful.
A Step-by-Step Guide to Painting a Brick Wall
1- Protect nearby surfaces
As it’ll be necessary to first clean your brick wall, be sure to protect the surrounding surfaces by installing a drop cloth on the floor. To prevent it from moving, secure it to the floor with tape. Remember to protect nearby walls by applying painter's tape around the edges.
2- Clean the brick

Before painting your brick wall, you’ll need to clean it correctly to make sure it’s in the proper condition for painting. To do this, there are two options on offer. As a first step, you may decide to get a powdered trisodium phosphate (T.S.P.) cleaning product, being careful to choose a liquid, no-rinse formula. Note that this product is also recommended for cleaning garage floors, asphalt driveways, paintbrushes and surfaces coated with grease or wax.
Secondly, note that it’s possible to make your own cleaning solution consisting of equal parts of water and vinegar. Now if this option is more suitable for you, note that you’ll need to rinse the surface following the application of this solution.
Regardless of which option you choose, make sure it’s completely dry before you start. Note that the use of a stiff bristle brush is recommended so that all the dirt is removed.
As a tip, we’d recommend cleaning a few days before your project begins. This will ensure that your wall is completely dry when you apply primer. Finally, keep in mind that you should wash from top to bottom, to prevent streaks from appearing.
3- Apply a coat of primer
Now’s the time to apply a primer coat to your brick wall. To do this, purchase a 100% acrylic latex primer and equip yourself with a brush and roller. For the roller, be aware that it’s preferable to choose a roller whose size is at least 20 millimetres in length.
Also, it’s preferable to use a brush to cover particularly hollow joints (and go over them with the roller afterward), as well as for the wall edges. When it comes to applying the primer, alternate strokes in both directions (horizontal and vertical). Finally, be sure to let everything dry for 24 hours before going ahead with your first coat of paint.
4- Apply a coat of paint to brick wall

It's finally time to paint your brick wall! Following our recommendation for selecting a primer, know that 100% acrylic latex interior paint is your best option. Now when it comes to choosing the type of finish, it will all depend on your desired result. In this regard, you should know that matte finish paint is less effective at hiding imperfections, which can be a disadvantage if your brick wall is damaged at all.
If you’d like to preserve the natural appearance of the brick as much as possible, we’d recommend a paint with a velvety or satin finish. Moreover, it should be noted that this type of paint tolerates cleaning with soapy water.
Of course, it’s preferable to apply a second coat of paint as well as respect the drying time recommended by the manufacturer to ensure the best result.
Finally, remember that the painter’s tape must be removed before the paint is completely dry. Otherwise, the edges of the wall may be damaged, which would be very disappointing!
Would you like more information about brick walls? See our article Interior Brick Walls: Installation and Maintenance Costs and Tips.
Get 3 renovation quotes for your interior brick wall project
RenoQuotes.com can help you get quotes from qualified masons and renovation contractors for your interior brick wall. If you submit your project to us, we’ll put you in contact with the best masons in our contractor network. Fill in the form (it only takes a few minutes), and you will receive quotes from qualified masons and home renovation companies.
Dial 1-844 828-1588 to speak with one of our customer service representatives.
Looking for something else?
Related articles
The latest industry news, interviews, technologies, and resources.
Editorial Team
•03 Nov 2025
Water is essential to the wellbeing of humans, but as we know, this natural element can be both a blessing and a curse. Flooding is common in regions with high rainfall levels and proximity to large bodies of water.
Karine Dutemple
•08 Nov 2023
Appreciated for its incomparable beauty and elegance, white marble is a material that is suitable both for bathrooms and kitchens, used as a surface on a kitchen island, as a countertop or as flooring.
Cynthia Pigeon
•06 May 2026
In 2026, installing a sunroom in Canada generally costs between $15,000 and $30,000 for a basic 3-season model, while a 4-season sunroom designed for year-round use can easily reach $45,000 to more than $75,000, depending on the size, foundation, glazing, insulation, finishes, and local labour costs. In most municipalities, a building permit is required before work begins, since a sunroom is usually considered a home addition or a permanent structural modification. The structure must also meet the applicable building code requirements in your province or territory, especially when it comes to frost protection, wind resistance, and snow loads.

Editorial Team
•08 Nov 2023
Converting your roof to capture the power of the sun’s energy can benefit your home and wallet depending on how you go about it. Over the years, solar panels have become the go-to option for producing renewable energy.
Cynthia Pigeon
•01 Oct 2026
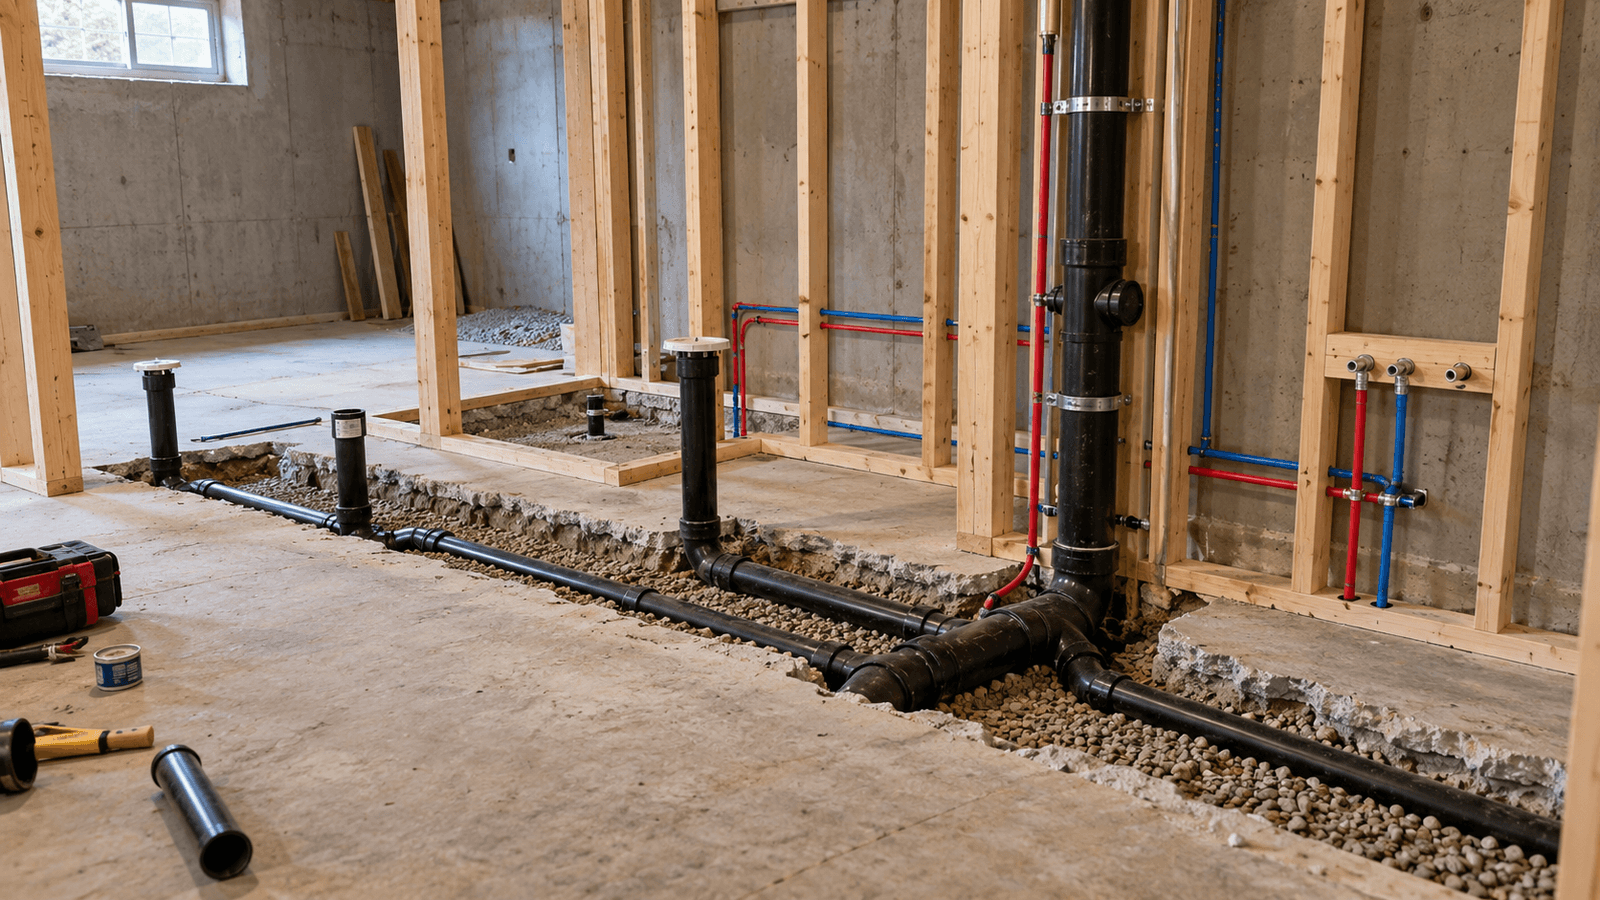
Finishing or renovating a basement can be one of the most valuable residential renovation projects in Quebec. Whether you're adding a second bathroom for your family, creating a functional laundry room, or installing a kitchenette in a secondary suite, rough-in plumbing forms the hidden but essential foundation of the project.