
Showering, bathing, hair drying and moist towels hanging from every fixture; all the activities that take place in the bathroom breed humidity.
As a result, for homes with paint jobs that were completed years before, peeling paint is a common problem.
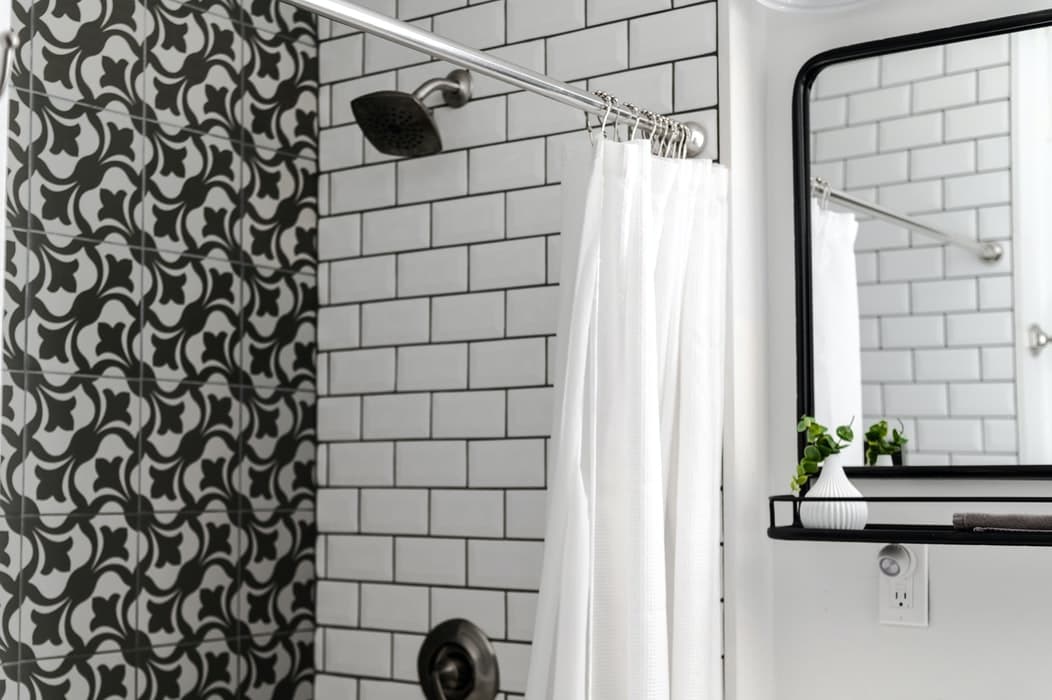
Problems that can be caused by peeling paint

Source: Canva
Not only is the chipping colour unsightly, but those open wounds in the wall can aid in the unsightly production of mildew and bacteria. It isn't overly complicated to repair peeling paint, but extra caution should be taken in cases of older homes where lead paint could have been used. If your home was built before 1979, please consult a professional before moving forward with at-home repairs.
In all other instances, it only takes a few simple steps to revamp your bathroom's coat of paint and take care of that breeding ground of mildew.
What causes paint to peel?

While taking a look at the peeling paint on your bathroom walls, you’re probably asking yourself: but why? Many reasons can explain such a situation.
First of all, it’s worth knowing that insufficient preparation of the surface to be paid such as a bad cleaning is a factor often implicated.
Also, the use of paint that is not antifungal and therefore unable to withstand a high level of humidity can contribute to this problem. Keep in mind that paints with matte finishes are generally more vulnerable to mould. Let's specify that it's still possible to opt for this type of finish if the paint is antifungal.
Lastly, let’s remember that choosing poor-quality paint can also contribute to its peeling.
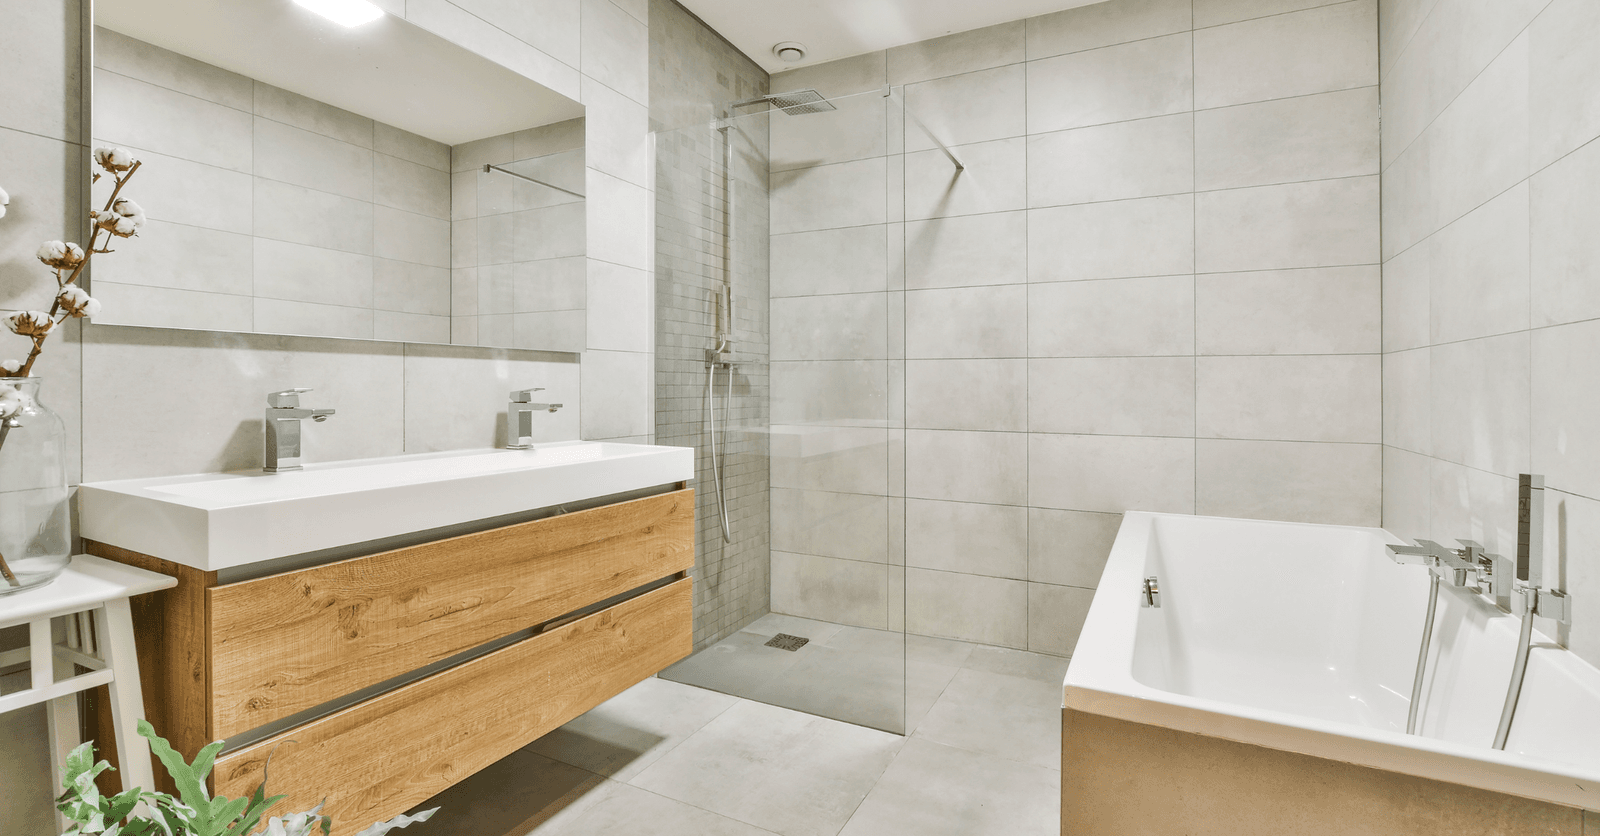
Ways to Fix Peeling Paint in the Bathroom

Source: Canva
Begin by removing existing paint chips from the walls
Work carefully and precisely to remove hanging or unadhered paint from ceilings and walls, making sure that only tightly fastened paint is left standing. This job can be done with a paint scraper or flat surfaced knife such as a putty knife. It's recommended that the job be done while wearing protective eyewear and a dust mask or ventilator, as tiny flakes of paint may circulate in the surrounding air and can easily be inhaled.
Now you're making smooth moves towards a restored bathroom!
With the removal of layers of paint in only certain sections of the wall, uneven, broken spots will now be found. An important step is smoothing out the surface you're repairing. This process can be done using fine-grain sandpaper or an electric sander. As you complete the sanding process, don't forget to dust off those surfaces so that they'll be as flat and polished as possible moving forward.
Patch up rough, uneven spots with a patching compound
A patching compound can be found at your local hardware store. Apply the compound carefully, making sure to level it out as much as possible. After the first coat has dried, apply a second coat and leave it alone overnight. The following day, wake up revived and continue with your dream bathroom DIY.
With the patched areas dry, grab the sandpaper, your eyewear and dust mask again and have another go at those newly crafted uneven surfaces. You'll want to spend some time sanding down the patching compound so that the walls and ceiling are unwrinkled and even. It is sometimes recommended that a vacuum be used following this step, as dust particles will be present.
Prime the walls to avoid future problems
Priming the walls and ceiling is a very important step, as most paint peels due to a lack of primer. Be sure to use a moisture-resistant primer, as this will stand up against the humidity of most bathrooms. Using a small brush or roller, prime the areas you will be painting and allow the primer to dry fully.
Ready to paint
Hopefully, you've been left with a baby-smooth surface so the paint can be applied easily. Make sure to choose a paint that will stand up to the heat of the bathroom, such as gloss or semi-gloss paint, as well as a colour that will keep the space tranquil.
Looking for something else?
Related articles
The latest industry news, interviews, technologies, and resources.
Editorial Team
•08 Nov 2023
Thinking of replacing your shower to offer your bathroom a little extra flair? There are plenty of options! Here are some of the possibilities available for you to carry out a new renovation project.

Amanda Harvey
•25 Sep 2024
The purchase of a heat pump is often done with the aim of saving energy and watching heating and air conditioning bills plummet.

Editorial Team
•08 Nov 2023
Although the integration of light colours brings a much-appreciated light into a room and tends to visually enlarge the perception of space, some of us prefer dark colours.

Editorial Team
•09 Mar 2024
Aside from the shower, the toilet consumes the most water out of all household appliances. Households with multiple toilets consume gallons of water every day, watching it literally wash down the drain.
Léa Plourde-Archer
•16 Jun 2025
Thinking about laying tiles as a wall covering? Learn more about the different characteristics of this material that’s both durable and customizable, as well as maintenance tips, and the average cost of tiles.