How to Update Your Home's Facade Using Paint
By Editorial Team
Updated on December 5, 2025

Paint is the cheapest and easiest way to improve the look of any house while improving curb appeal. Not only does painting help your home to look its best, but it also helps to protect it from the climate and various elements. But, let's get real for a second, painting the entire exterior of a home is a huge job to take on.
Get Your Project Started Today
Submit your details and receive three free quotes from trusted contractors.
The difficulty of the job depends on how many layers of paint are on the facade as well as how much the home has been painted over time.
Also, for homes painted before the 1980s, beware of the possibility that your home’s exterior paint may contain lead, which is highly toxic. Regardless, if you notice that the exterior of your home could use a new coat, here are RenoQuotes.com's steps to gaining the most success from the job!

Follow our guide to painting the outside of your home!
If you're moving forward with an exterior painting project, there are a few things to consider before starting. Firstly, keep your colour palette simple, as anything overly complicated or out-there may age in style over the next few years. Also, this could hold back new buyers if you plan to put your home up for sale in a few years.
Use colours to emphasize the greater parts of your house, drawing the eye away from negative features. Accent colours should be darkest, whereas the overall facade should be kept fairly light, as to avoid conducting heat.
Wash Walls
For the best coverage possible, you must pressure wash the walls of your home, as any form of dirt or dust buildup with leave you with an uneven coat of paint. Work your way from the top of the exterior to the bottom, displaying a smooth and controlled manner throughout while overlapping strokes.
Once the walls have been thoroughly washed, check the entire perimeter of the house and fix any damaged surfaces, looking for cracks in wood, siding and stucco. Apply epoxy filler to cracks or holes. Once this is dry, sand these areas down using a medium grit sanding block.
Remove Excess Paint
Remove any loose paint that you find on the façade. Place drop cloths around your home, and then go ahead with the removal. This can be done with a paint scraper or, as with the epoxy, you can use a medium grit sanding block. Make sure to complete this job carefully, as any leftover paint will interfere with the new coat.

Repair and Seal
It is vital to seal off any cracks or gaps found on your home exterior, as these could lead to potential problems including mould growth.
Look for any gaps left between the exterior and the trim, and fill these gaps in with exterior caulk and a caulking gun. If your house is made of a mixture of materials, add caulk along surfaces where different materials meet for extra protection. If your house's exterior material is wood, examine for any wood knots.
Apply a coat of stain-blocking primer to these using a small paintbrush. Next, protect any doors, windows and outdoor light fixtures using plastic sheeting and painters tape, as you don’t want these items to get damaged or ruined in the process.
The question that arises now is the type of primer and paint you should use for your façade renovation project. So here's the answer to this very important question in the following table:
Type of material | Type of primer | Type of paint |
Concrete | None | Acrylic latex exterior paint |
Cement | None | Acrylic latex exterior paint |
Stone | None | Acrylic latex exterior paint |
Wood | With alkyd or acrylic latex (for outdoor wood) | Exterior paint with acrylic latex or alkyd paint (semi-gloss finish ideally) |
Aluminum | None | Exterior paint with acrylic latex or alkyd paint |
Vinyl | None | Exterior paint with acrylic latex or alkyd paint |
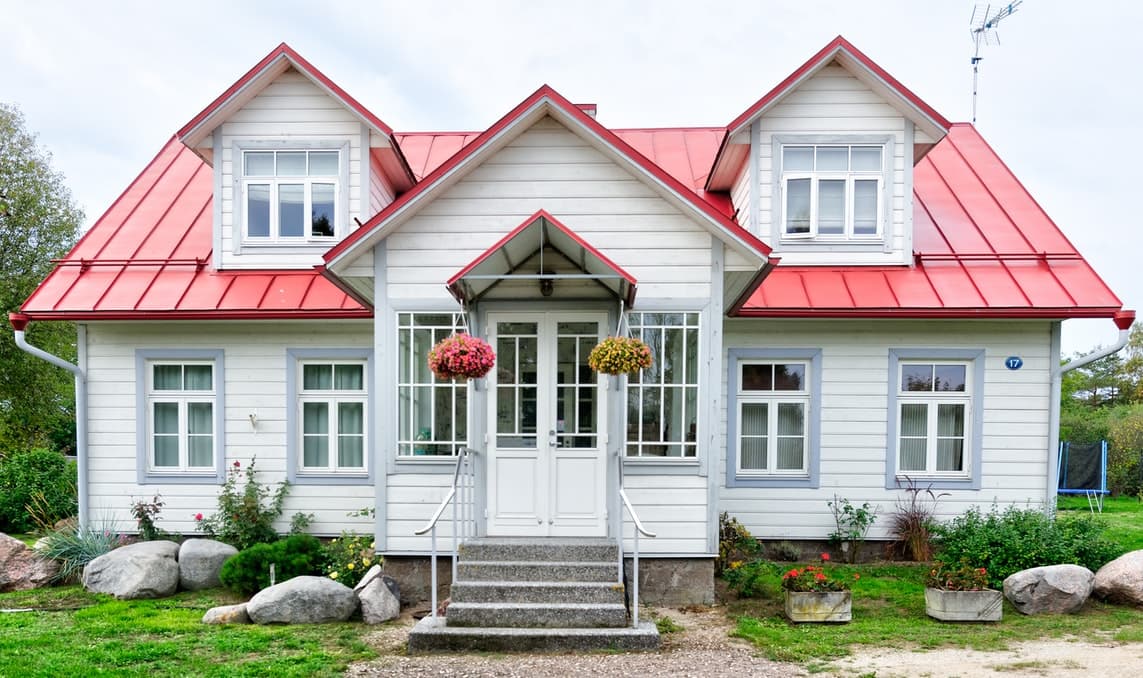
Time to Paint!

source: Pixabay, yg9301270
So, you’ve covered all your basis and now it’s time to get down to business. It is recommended that you start by applying a flat or eggshell exterior paint with a paint sprayer to the entire house. If the hue is intense, you can stick with just one coat. If you notice any patchiness, it’s best to do 2 coats rather than one.
Work from top to bottom in a controlled manner and overlapping strokes of paint. Remember, primer is not necessary when a fresh coat of the same colour is applied. Next, move onto trimmings and finishing.
At this point, you can remove the plastic from doors, windows and light fixtures. Start with two coats of semi-gloss paint, covering woodwork using a small paintbrush. If the colour differs from the rest of the exterior, make sure to be extra careful!
Looking for something else?
Related articles
The latest industry news, interviews, technologies, and resources.
Editorial Team
•08 Nov 2023
Do you need to redo your exterior staircase soon? We’d say it’s a safe bet that you may have some doubts about the material choices. So what’s the best option for this type of project? In order to determine which material is right for you, we’re here to offer some things to think about.

Editorial Team
•08 Nov 2023
The garage is a multipurpose room that has the potential to serve several functions. With lots of homeowners using this space to hold items that aren't exactly necessary for everyday use, it's important to think about how storage can be created to maximize the potential of this room.

Christine Simard
•08 Nov 2023
Choosing a paint colour can sometimes turn out to be demanding and complicated. Whatever the brand, there are thousands of shades from which you can choose. Because of this, it is easy to get lost during this process.

Editorial Team
•07 May 2026
We’re accustomed to seeing two classic types of wardrobes: the small cluttered closet or the huge walk-in wardrobe reserved for upscale homes. Of course, to limit yourself to these two options is to forget a multitude of closet arrangements that exist and that can be easily adapted to your needs.

Cynthia Pigeon
•05 Dec 2025
Are your floors no longer up to par? Time does take its toll on hardwood floors, oftentimes resulting in a dull finish and scratches that are difficult to hide.