Cost to Waterproof a Curbless Walk-In Shower in Quebec in 2026
By Cynthia Pigeon
Updated on September 16, 2026
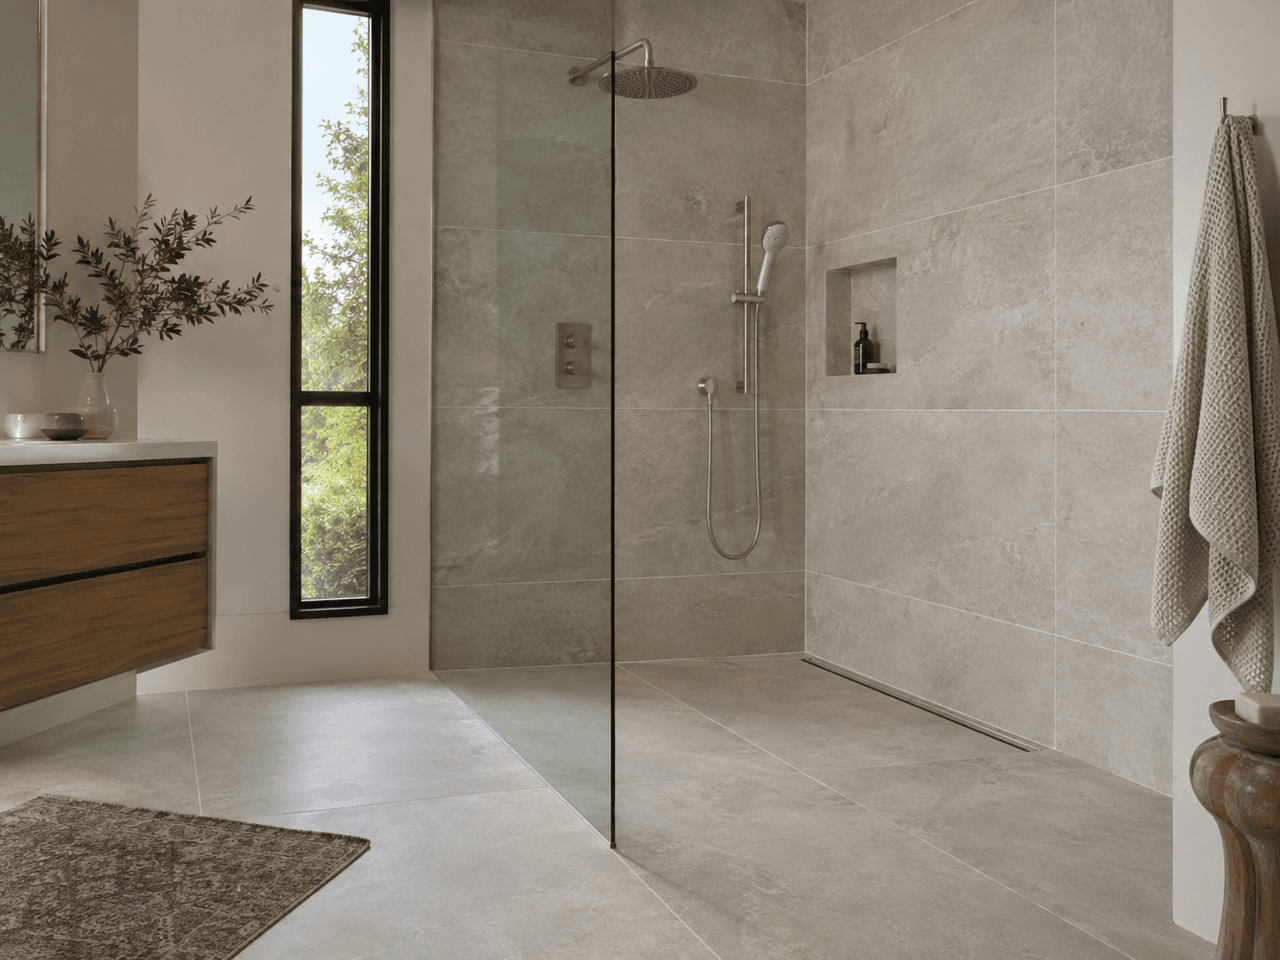
Curbless showers (also known as barrier-free or walk-in showers) have become increasingly popular in bathroom renovation projects in Quebec. Appreciated for their sleek design, ease of maintenance, and improved accessibility, they can transform an ordinary residential bathroom into a spa-like space.
Unlike a traditional shower with a raised curb or moulded acrylic base, a curbless shower eliminates the physical barrier that helps contain water. In a typical Quebec home with wood floor framing that could warp and face seasonal humidity variations, a curbless design leaves little room for installation errors.
According to the Insurance Bureau of Canada (IBC), water damage is the leading cause of home insurance claims in Quebec. A failed waterproofing system beneath the tile can damage the wood structure, promote mould growth, and lead to significant repairs. Understanding the costs, technical constraints, and installation requirements is the first step toward completing your project with confidence.
How Much Does It Cost to Waterproof and Install a Curbless Shower?
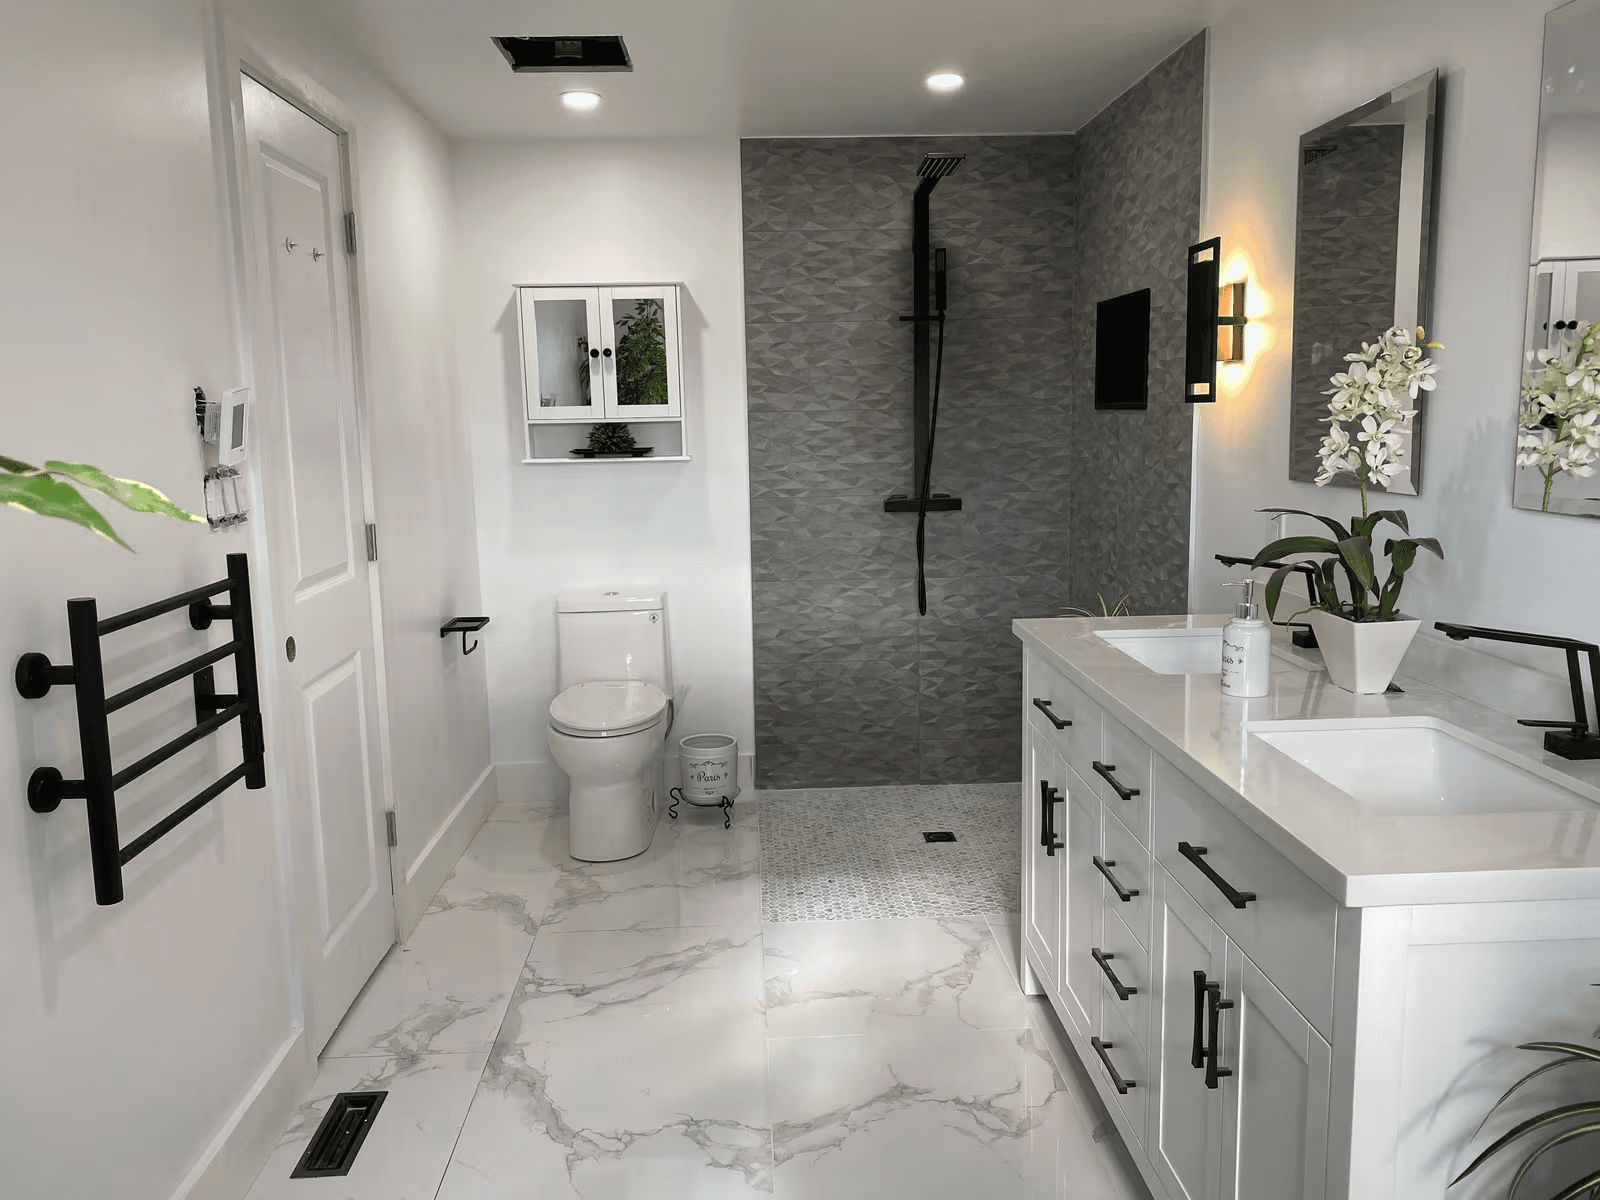
Source: VIA Dezigns Inc.
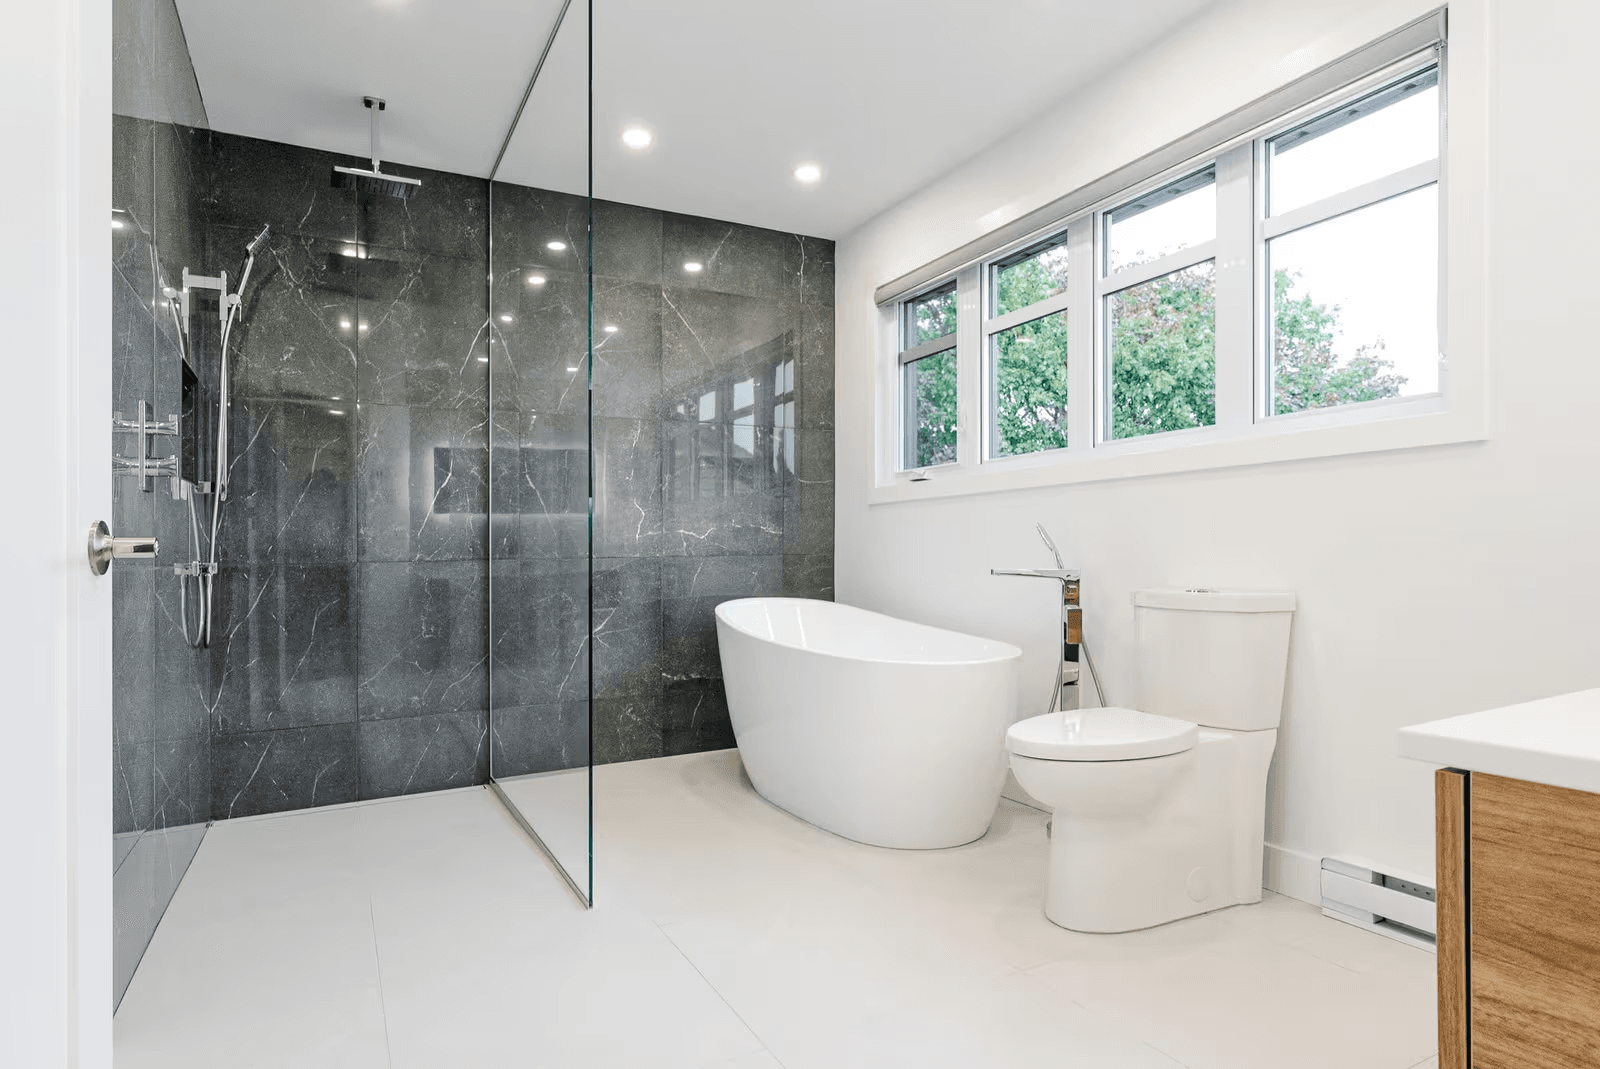
The cost of a curbless shower falls into two main categories: preparing and waterproofing the underlying structure (framing, membrane, drain, and slope) and the finishes (tile, glass doors, and fixtures).
On average, a turnkey curbless shower installation in Quebec costs $4,500 to $10,000 before tax. Structural preparation and the waterproofing system alone generally account for $1,500 to $3,500.
Average budget for a 3 x 5 ft. curbless shower (15 sq. ft.):
Structural and Floor Framing Preparation
Lowering or modifying the floor: $500 to $1,200
Waterproofing System and Recessed Drain
Membranes, preformed shower base, linear drain: $600 to $1,300
Specialized Labour (RBQ Contractor + CMMTQ Plumbing Contractor)
Waterproofing and plumbing connections: $800 to $1,500
Finishes and Tile (Tilework, Grout, Glass)
Finish materials and installation: $1,600 to $4,000
If you want a more accurate estimate of how these costs will affect your renovation budget, it can be useful to get quotes for your bathroom renovation from experienced professionals in your municipality.
Cost of Waterproofing Systems (Schluter-KERDI, Wedi, Liquid Membranes)
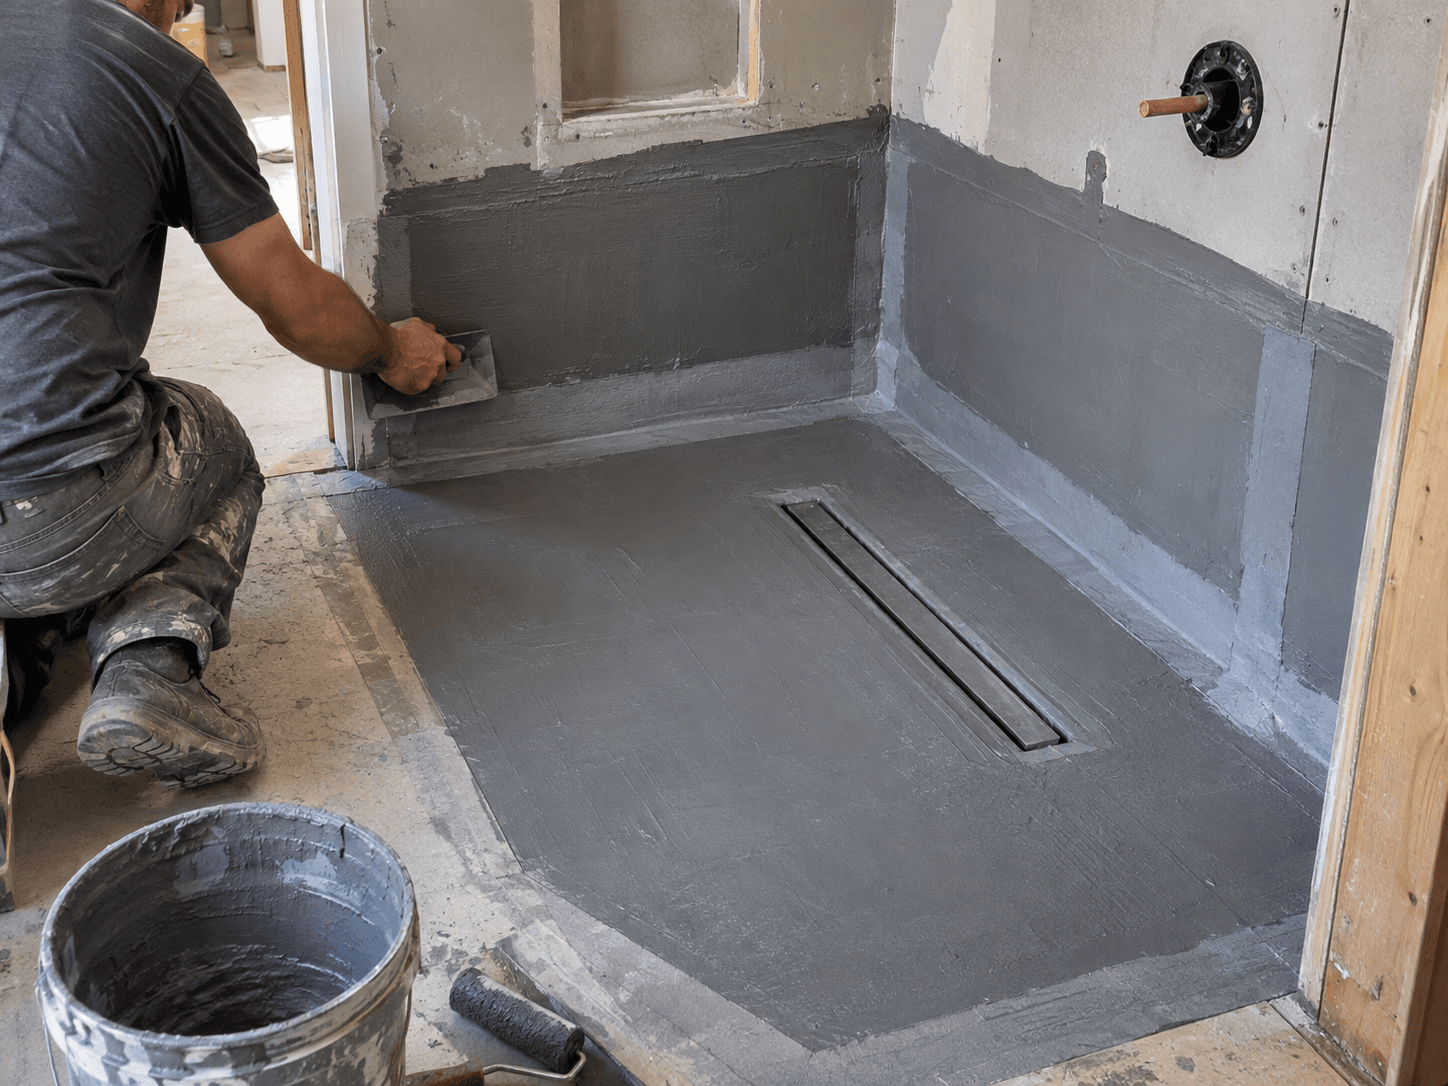
Source: RenoQuotes
In a tiled shower, a suitable waterproofing system must be installed behind or beneath the tile to protect moisture-sensitive materials. Three main waterproofing technologies are commonly used in Quebec, each with different characteristics and costs.
Comparison of waterproofing systems:
Sheet membranes (Schluter-KERDI, Flextile): $2.50 to $4.50/sq. ft.
Waterproof building panels (Wedi, GoBoard): $5.00 to $9.00/sq. ft.
Liquid-applied membranes (RedGard, Mapelastic): $1.50 to $3.00/sq. ft.
1. Polyethylene Sheet Membranes (Schluter-KERDI)
Schluter-KERDI is one of the most widely recognized waterproofing systems in Quebec. It consists of a flexible polyethylene membrane covered with synthetic fleece on both sides to provide strong mechanical bonding with thin-set mortar.
Material cost: Approximately $2.50 to $4.50 per square foot.
Advantages: Consistent 0.2 mm thickness, ability to bridge minor cracks in the substrate, and a wide range of preformed components, including inside and outside corners, waterproofing strips, and pipe seals.
Consideration: Requires careful installation to prevent air pockets from forming when the membrane is embedded in mortar.
2. Waterproof Foam Building Panels (Wedi)
Some waterproof building panels use a foam core with a surface designed to receive tile. For example, wedi panels use an extruded polystyrene (XPS) core covered with fibreglass mesh embedded in a cementitious coating, while GoBoard uses a polyisocyanurate foam core.
Material cost: Approximately $5.00 to $9.00 per square foot.
Advantages: Significant installation time savings, good rigidity, lightweight construction, and excellent insulating properties.
Consideration: Higher upfront material cost, which may be offset by reduced labour time.
3. Liquid-Applied Elastomeric Membranes
Applied with a roller or brush in several coats, these membranes form a continuous, seamless waterproof layer once dry.
Material cost: Approximately $1.50 to $3.00 per square foot.
Advantages: Low material cost and well-suited to complex or irregular shapes.
Consideration: The required wet-film thickness must be followed carefully, making these systems more sensitive to installation errors.
Cost of Structural Preparation and Lowering the Floor
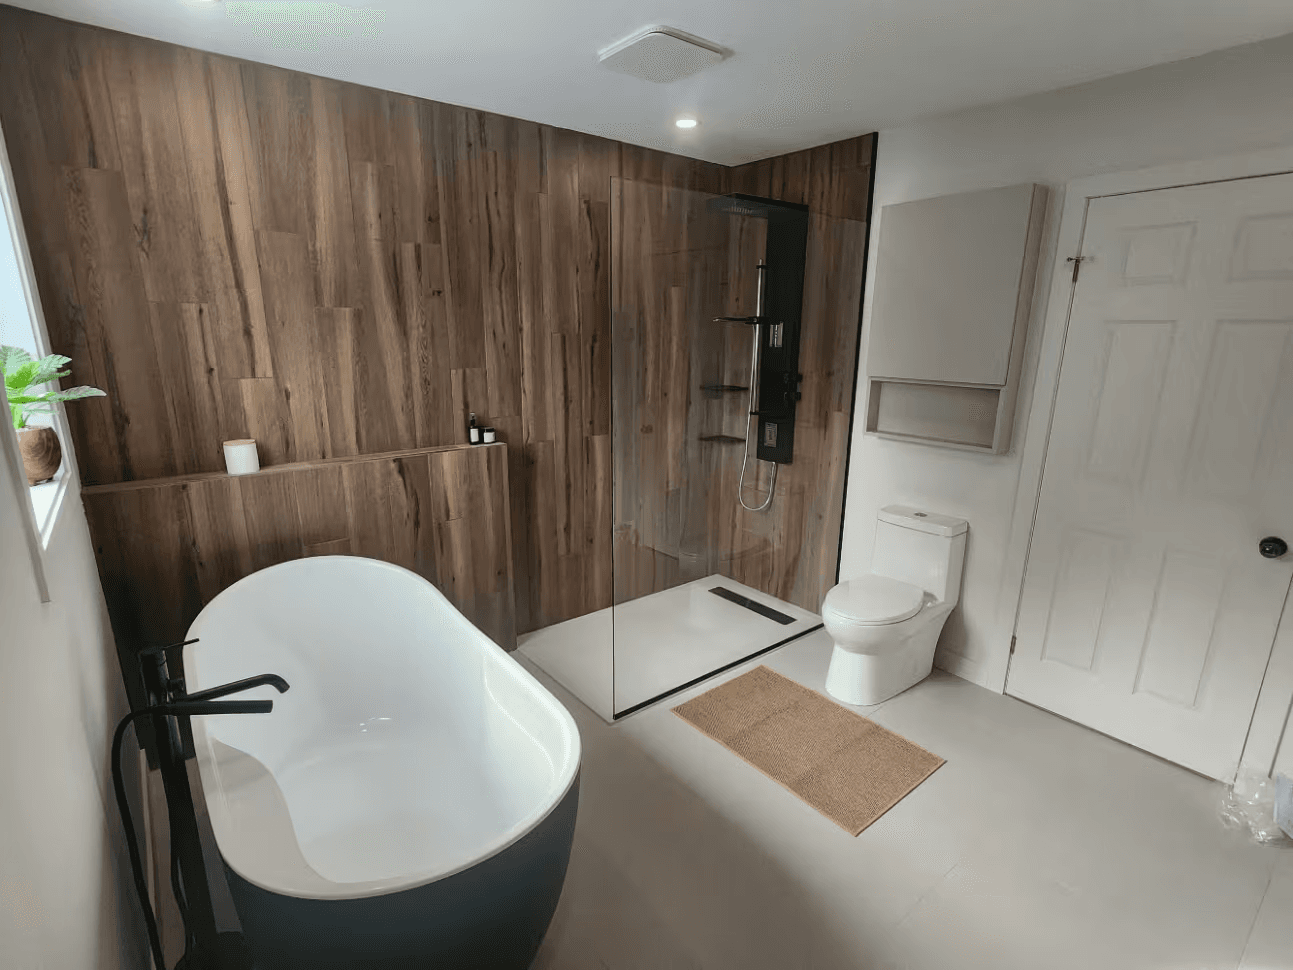
Source: Signature Alex Aubut
In new construction or renovations over a concrete slab, incorporating a curbless shower is relatively straightforward. In a typical Quebec single-family home built with wood joists (2x8s, 2x10s, or engineered wood joists), however, the shower drain and base must be accommodated below the finished floor level.
To create a completely flush transition without a step, two main structural approaches can be used:
Option A: Lowering the floor
Depending on the existing structure, this approach may require removing the subfloor and creating a recessed floor between the joists, with reinforcement added where necessary. Joists should not be cut or notched without structural approval.
Additional cost: $800 to $1,800
Option B: Raising the Bathroom Floor
Rebuilding the entire bathroom floor to match the height required for the shower slope, creating a gradual transition into the shower.
Additional cost: $500 to $1,200
Any modification to wood joists must comply with the requirements of the Régie du bâtiment du Québec (RBQ) and the Quebec Construction Code. Cutting, drilling, or notching joists outside permitted limits or without the required reinforcement can compromise the structural integrity of the building.
To have this critical stage properly assessed and priced, you can request estimates for structural and flooring work.
Key Steps for Properly Waterproofing a Curbless Shower
Source: Solutions Futées
Installing a curbless shower leaves little room for improvised work. A careful installation process is essential to maintaining long-term waterproofing performance.
Typical curbless shower installation sequence:
Adapt the floor framing
Connect the recessed drain
Create the 2% slope
Install the waterproofing membrane
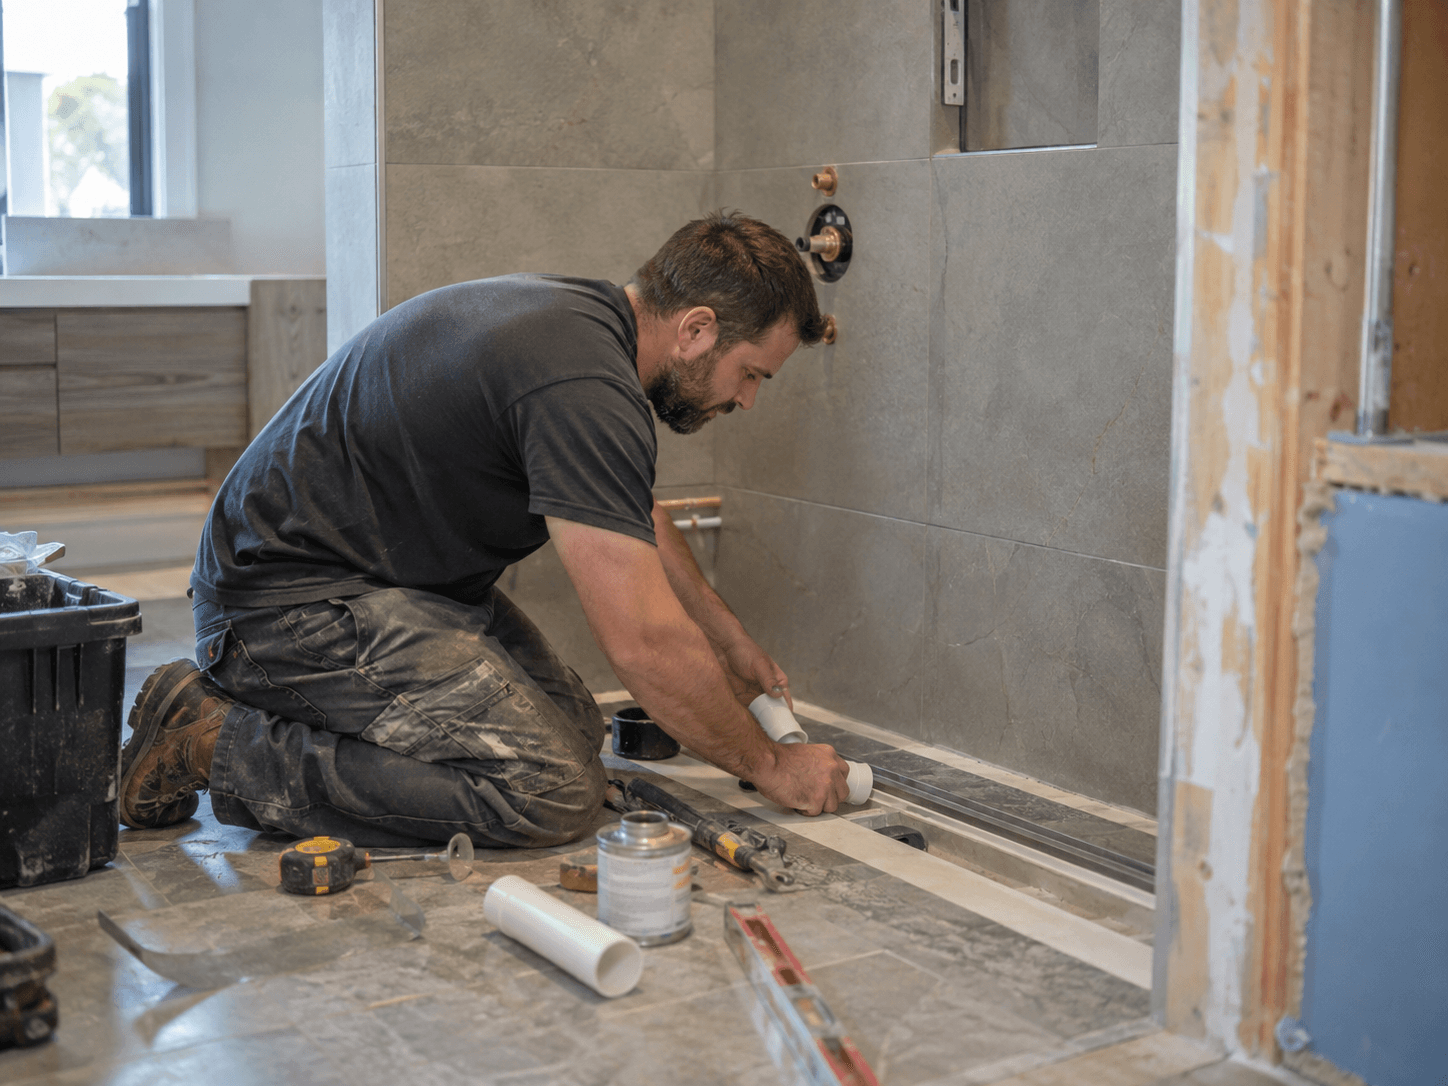
Choosing and Installing the Drain: Linear vs. Point Drain
The drain is one of the most important technical components of a curbless shower. Without a raised curb to contain water, the drainage system must be able to handle a flow rate equal to or greater than that of the showerhead, which is generally 2.0 to 2.5 gallons per minute.
Point drain (centre drain): Requires the floor to slope toward the drain from four directions, creating a diamond-shaped drainage plane. This generally makes smaller tiles, such as 2 x 2 in. mosaics, easier to install because they can follow the changing slopes.
Linear drain: Installed along a wall or at the shower entrance, a linear drain allows the floor to slope in a single direction. This makes it possible to use larger-format tiles, such as 12 x 24 in. or 24 x 24 in., without diagonal cuts.
Comparison of curbless shower drain types:
Point Drain
Component cost: $80 to $200
Required slope: 4 directions
Generally best suited to small-format tile
Linear Drain
Component cost: $350 to $850
Required slope: 1 direction
Generally allows the use of large-format tile
The shower base must have enough slope toward the drain to allow water to flow properly. A slope of approximately 2% (1/4 in. per foot) is commonly used and recommended in tiled shower systems.
Extending Waterproofing Beyond the Shower Area
One of the most common mistakes when installing a curbless shower is stopping the waterproofing membrane exactly at the theoretical edge of the shower enclosure.
Without a physical curb, water can travel beyond the shower area through splashing, runoff, or while the glass is being cleaned. Water can also migrate beneath the tile through the grout and by capillary action.
Key principles for maintaining continuous waterproofing:
Membrane Extension
In a curbless shower, waterproofing should extend beyond the immediate shower area wherever surfaces may be exposed to water. Industry recommendations generally call for waterproofing at least 1 ft. (30 cm) beyond the shower area, while some manufacturers recommend waterproofing the entire bathroom floor where practical.
Adjoining Wall Protection
Floor-to-wall transitions should be waterproofed in accordance with the waterproofing system manufacturer's instructions, using compatible waterproofing strips or components.
Compatible Waterproofing Strips
Use the joint strips and mortar or sealant recommended by the waterproofing-system manufacturer.
Extending the waterproofing in this way creates a continuous watertight area that helps protect the plywood subfloor from accidental water overflow.
Why Hire a CMMTQ Plumbing Contractor and an RBQ Contractor?
Source: RenoQuotes
In Quebec, bathroom renovations involving modifications to concealed plumbing and the building structure are subject to strict legal requirements.
When a homeowner hires a third party to perform plumbing work covered by the Loi sur les maîtres mécaniciens en tuyauterie, the work must be entrusted to a contractor who is a member of the CMMTQ and holds the appropriate licence.
Why professional licences and qualifications matter:
CMMTQ Plumbing Contractor
Must carry out the work in accordance with the applicable requirements of the Quebec Construction Code and accepted trade practices.
Allows the work to be entrusted to a contractor who has demonstrated the required qualifications and is subject to the professional obligations applicable to CMMTQ members.
General or Specialized RBQ Contractor
Must hold a valid RBQ licence appropriate for the work being performed.
Should carry adequate liability insurance for the project.
In the event of a major water leak that damages the home's structure or the ceiling below, the home insurer will carefully review the circumstances surrounding the loss. Non-compliant work or work carried out by someone who did not hold the required qualifications may complicate a claim and raise questions about the cause of the damage or applicable insurance coverage. Coverage and compensation ultimately depend on the insurance policy and the circumstances of the loss.
To make sure you are working with qualified professionals who hold the appropriate licences, you can find an RBQ-certified contractor for your bathroom.
Factors That Can Affect the Final Cost of Your Shower
Beyond the basic components, several design choices and technical constraints can affect the final amount on your quote.
Factors that can affect the cost include:
Size of the shower area (e.g., 3 x 4 ft. vs. 4 x 6 ft.)
Type of finish (standard ceramic tile vs. marble or natural stone)
Built-in niches or a tiled bench
Type of glass enclosure (custom fixed panels vs. sliding doors)
Addition of an in-floor heating system compatible with the waterproofing system
Customization | Estimated Budget Impact (CAD) |
Built-in shower niche (with preformed waterproofing) | $250 to $500 each |
Waterproof tiled bench | $400 to $900 |
In-floor heating beneath the membrane (such as Ditra-Heat-DUO) | $600 to $1,500 |
Custom frameless glass enclosure (10 mm tempered glass) | $1,200 to $2,800 |
Glass tile or natural stone mosaic | +30% to 60% in installation time |
* Prices shown are 2026 estimates and may vary by region, existing conditions, material selection, and contractor rates. Taxes are extra unless otherwise indicated.
In-floor heating beneath the waterproofing membrane is particularly appreciated during Quebec winters. Modern systems combine a waterproof uncoupling membrane with heating cables, providing added thermal comfort while helping the tile surface dry more quickly after a shower.
To get a clearer picture of the total cost of your project, it is a good idea to compare several quotes from RBQ contractors before starting the work.
How Much Should You Budget for a Curbless Shower in Quebec?
Source: Primero Construction inc
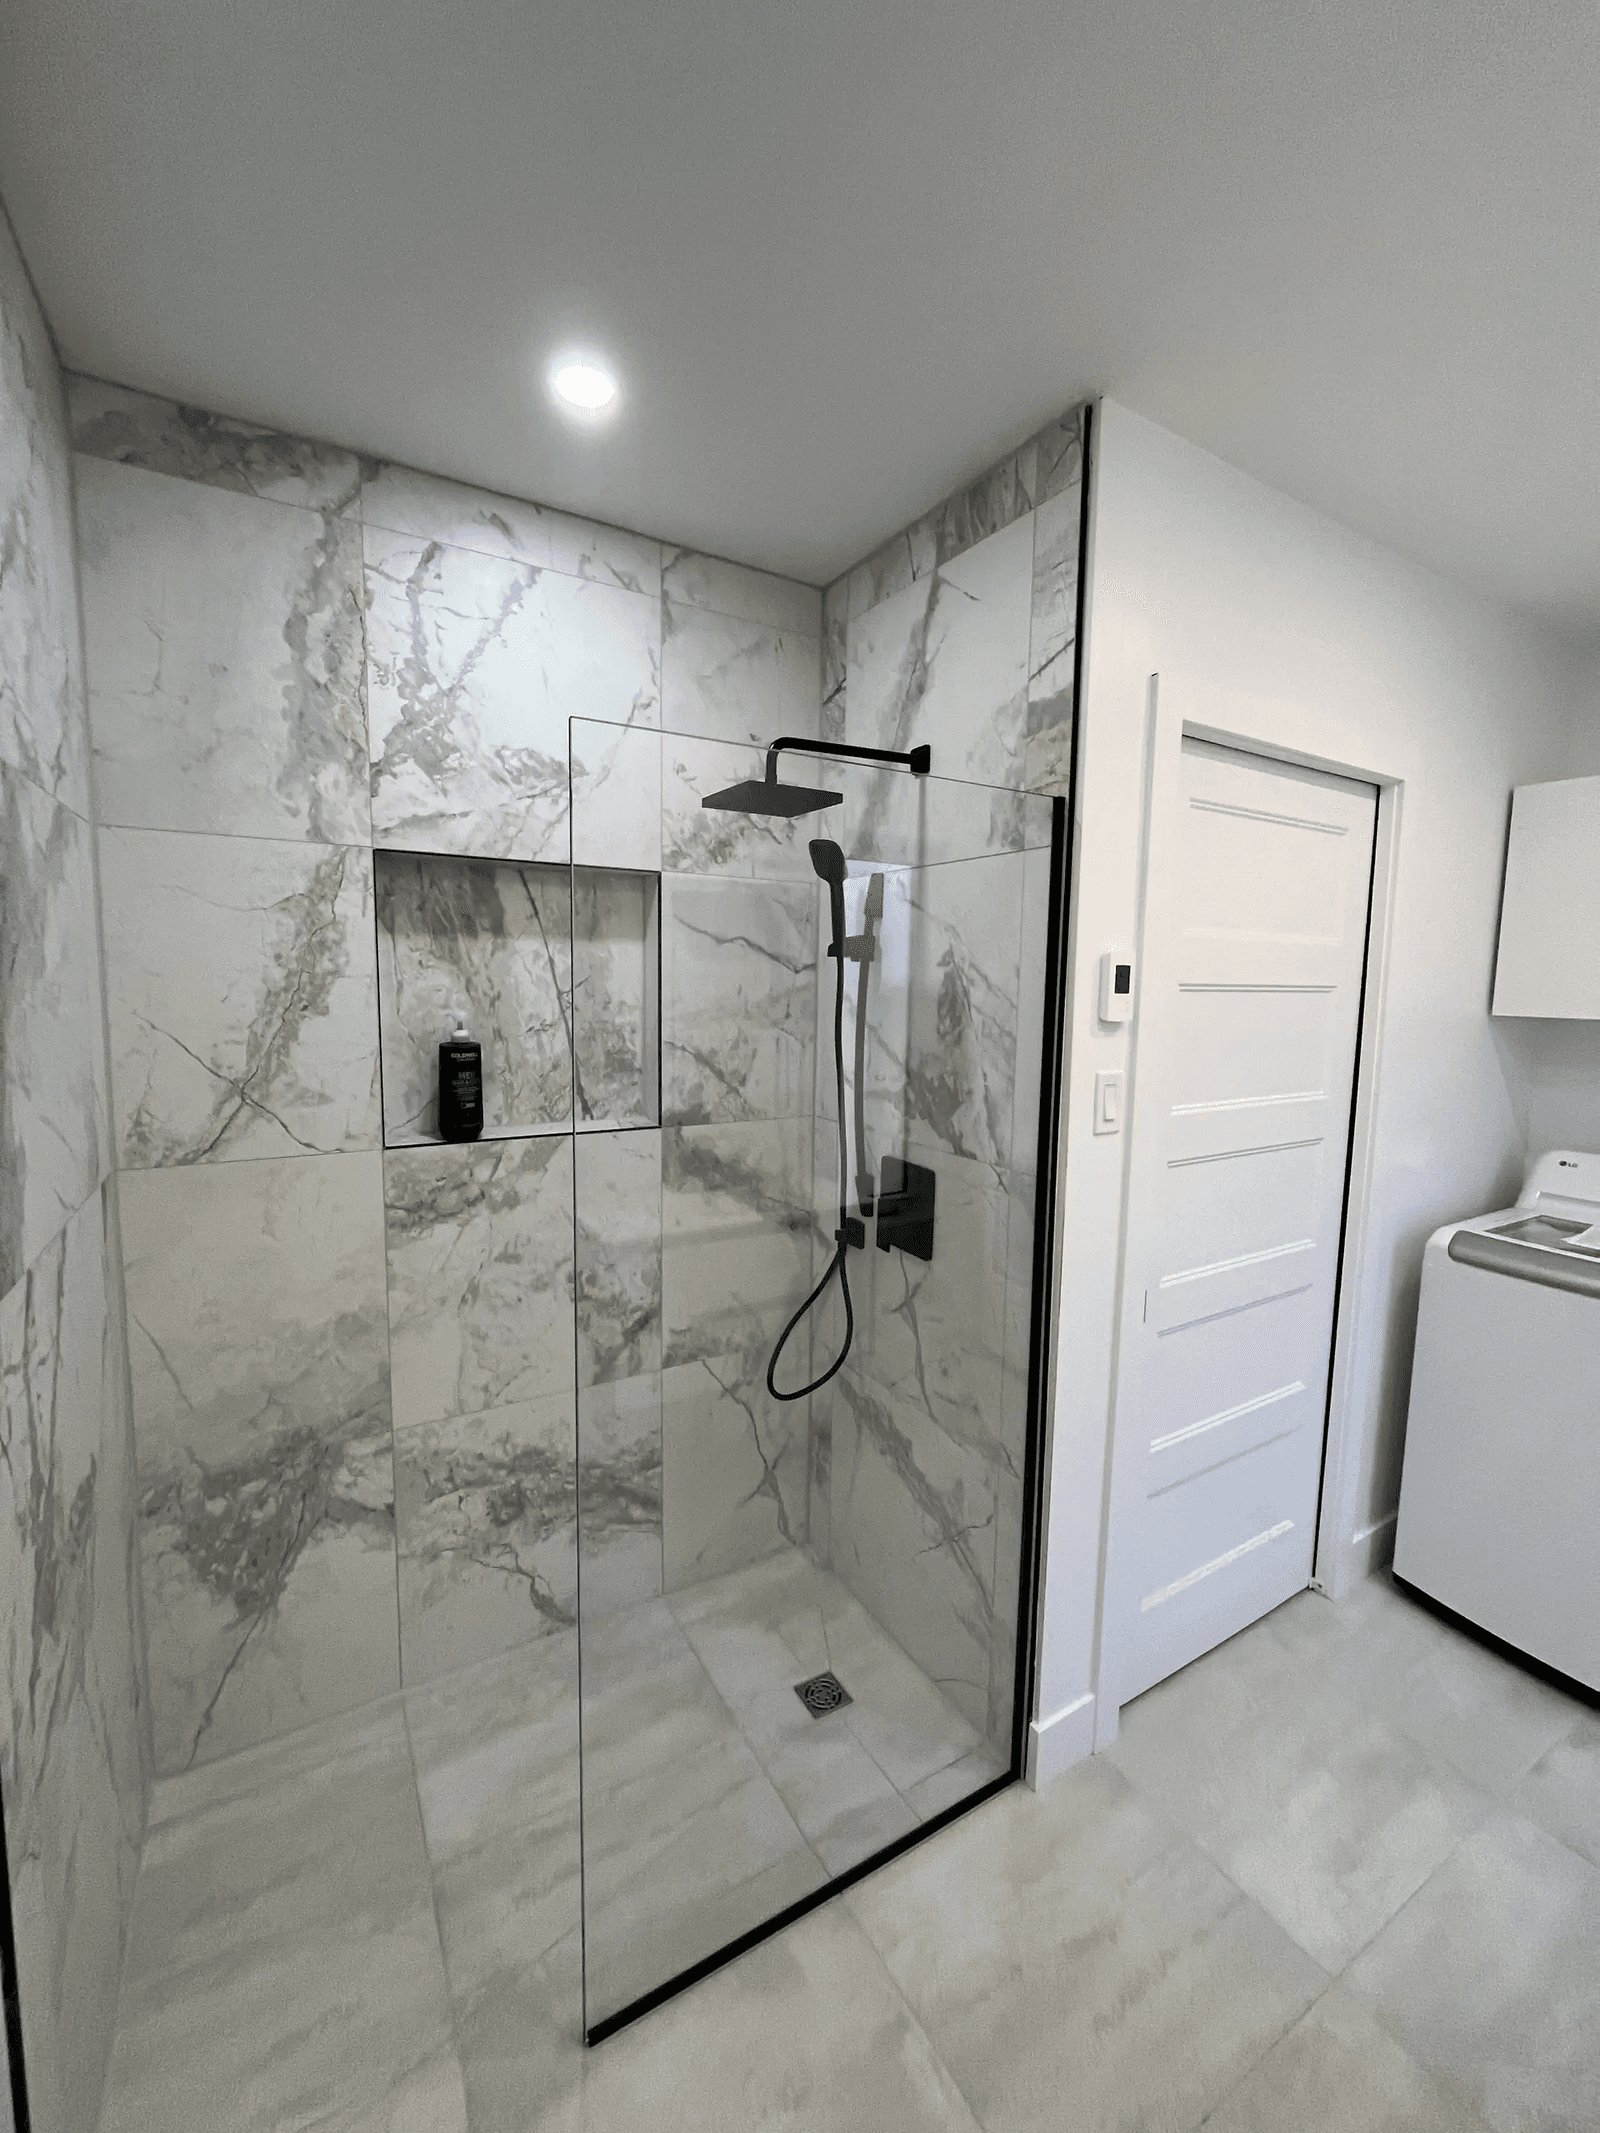
A curbless shower can provide a modern, accessible, and durable result, but its success depends largely on proper structural preparation and reliable waterproofing. With an average turnkey installation budget of $4,500 to $10,000 in Quebec, having the project assessed by qualified professionals can help reduce the risk of water infiltration and costly repairs.
Comparing several quotes can also help you better understand the cost of your project based on your bathroom layout, drain type, chosen materials, and any structural work required.
Looking for something else?
Related articles
The latest industry news, interviews, technologies, and resources.
Léa Plourde-Archer
•04 Feb 2025
The bathroom plays a crucial role in our homes, serving as both a serene retreat and a space for quick, everyday routines. As you plan a bathroom renovation, you might wonder: What changes will enhance both functionality and aesthetics? How can you create a layout that maximizes space? With a plethora of options, the first step is identifying what needs improvement, followed by thoughtful design and decor choices.
Amanda Harvey
•08 Nov 2023
Whether going to work in the morning or finishing your day with a quick wash of your face, you might not realize how much time we spend in our bathrooms. When it comes to the lighting, many homeowners may ignore their bathroom, thinking this small space isn’t as important as others. If you identify as one of these homeowners, chances are you may need to reconsider the lighting in your bathroom.

Editorial Team
•27 Jan 2026
Have you thought about adding a dedicated space to store garden tools, outdoor equipment, or all those extra items that clutter your home? Maybe you’re dreaming of a backyard playroom, craft area, or hobby space for your kids. A garden shed can be a practical and cost-effective solution, giving you extra space while enhancing the functionality and appeal of your outdoor area.

Cynthia Pigeon
•27 Jul 2026
Renovating a home or building a new house is an exciting undertaking, but it also represents a major financial commitment. Whether you are reroofing before winter, repairing a foundation, or modernizing a rental property, managing the contractors, subcontractors, and suppliers involved requires careful administrative oversight.