What Is the Cost of a Bathroom Renovation in 2026?
By Léa Plourde-Archer
Updated on March 3, 2026

If there is one question that concerns homeowners from the onset of a bathroom renovation project, it’s definitely the price tag. This figure is essential to determine the quality range of the material you can afford and the extent of the project.
To help you plan your bathroom renovation budget, here are some examples of projects done by contractors in our network along with the asking price for each concept.
How Much to Budget on Average for a Complete Bathroom Renovation in Canada?
Fixture | Average Cost |
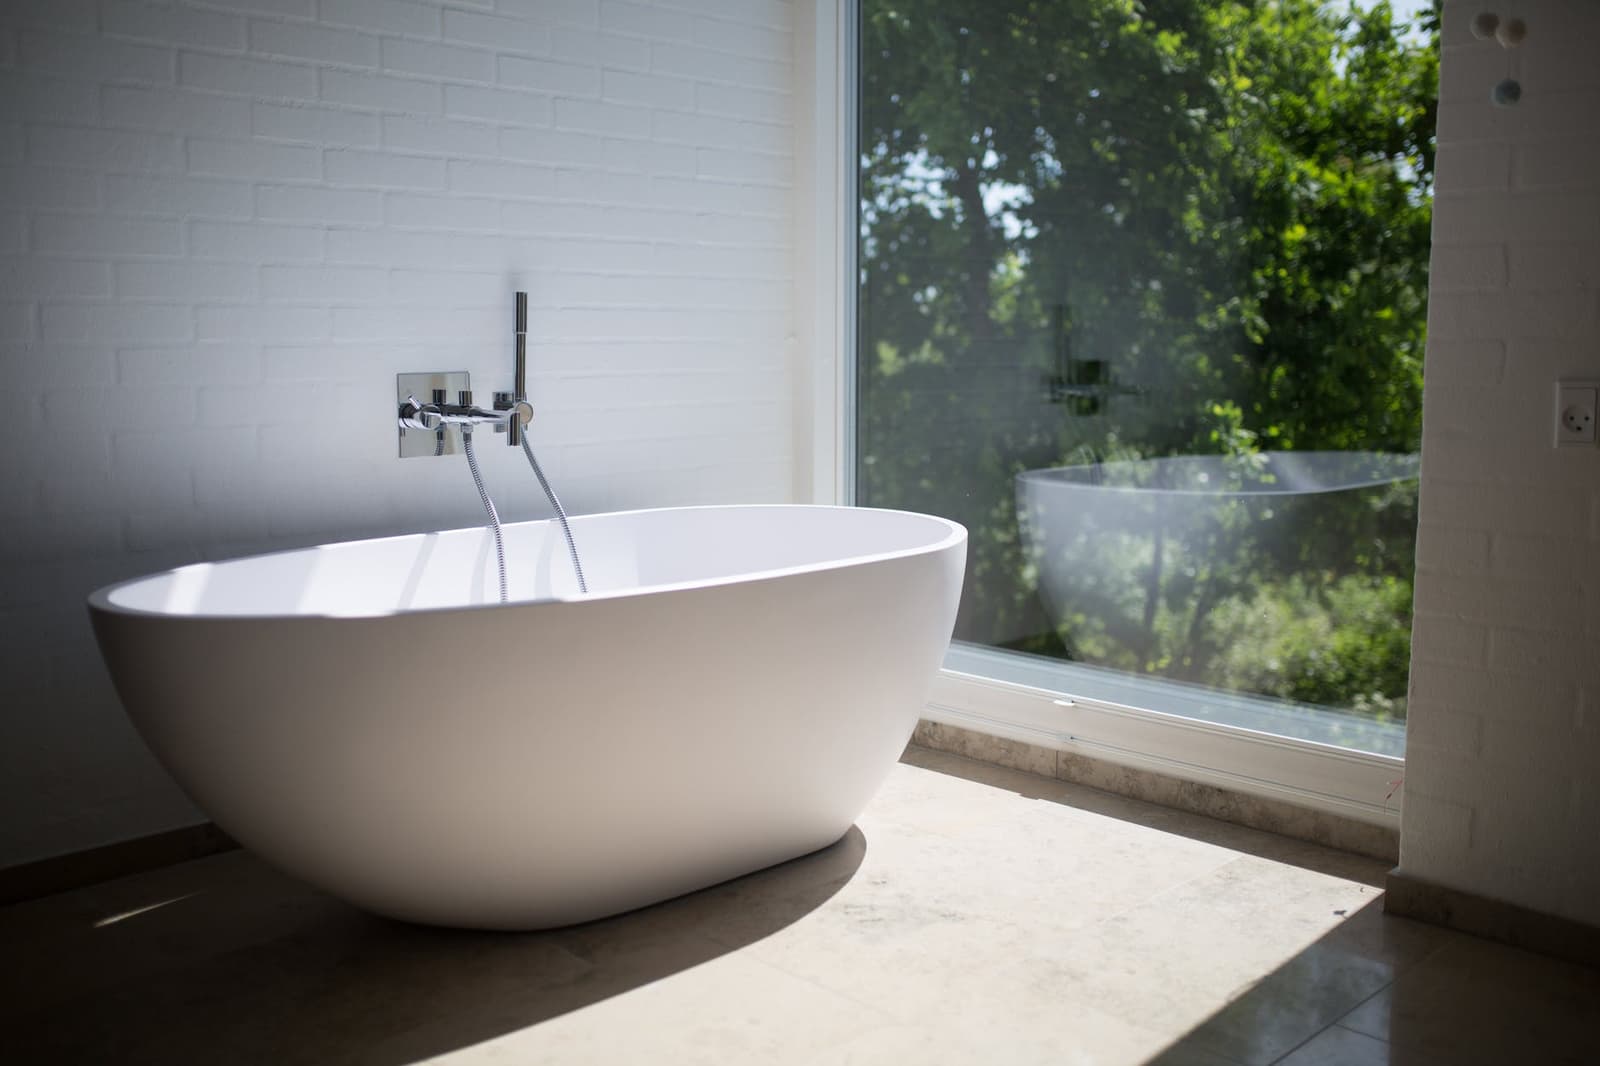
Bathtub | - Low-end: roughly $200 |
Shower | - Low-end: $200 |
Toilet | - Low-end: $100–$150 |
Sink | - Single drop-in sink: $30–$60 |
Faucet | - Low-end: $40–$60 |
Cabinets and drawers | - Medicine cabinet: $40–$220 |
Counter | - Ceramic: $0.50–$30/square foot |
Flooring | - Vinyl: $4–$12/square foot |
Wall covering | - Natural stone: roughly $10/square foot |
Paint | See our paint guide |
Ventilation | - Bathroom fan installation: $300–$500 |
Lighting | - Sconces: $30–$90/unit |
Accessories & decor | - Towel rack: $10–$90/unit |
Electrical | $100/hour and up—check out our electrical work cost guide |
Plumbing | $100/hour and up—check out our plumbing cost guide |
Insulation | - Rockwool: $1/square foot/inch |
For more information about the different aspects and characteristics of a bathroom renovation project, check out our Price Guide 2024: Bathroom Renovation Project.
Examples of Bathroom Renovations
Full Bathroom Remodel

Source: RenoQuotes.com contractor
Job details: The bathroom was completely demolished and rebuilt as seen in the picture.
Price range: $15,000–$20,000 materials and labour
Partial Bathroom Reno #1

Source: RenoQuotes.com contractor
Job details: Bathtub and ceramic tile renovation.
Potential complications: Changes made to the bathtub structure, drain, and faucet hook-ups.
Price range: $2,000–$3,500 materials and labour
Partial Bathroom Reno #2

Source: RenoQuotes.com contractor
Job details: Floor, toilet, and sink renovation
Potential complications: Changes to the sink drain and faucet stop valves hinge on the new type of sink installed.
Price range: $3,000–$4,000 materials and labour
Partial Bathroom Reno #3

Source: RenoQuotes.com contractor
Job details: The shower was demolished or removed to build the one depicted above. Costs vary depending on the size of the tiles.
Price range: $3,500–$4,500 materials and labour
For a sneak peek at other bathroom renovation projects done by RenoQuotes.com affiliated contractors, check out our article 10 Examples of Bathroom Renovation Projects.
FAQ Bathroom Renovation Cost
How much does it cost to remodel a bathroom?
For a full bathroom reno, budget between $15,000 to $50,000, based on the size of the space, chosen materials, and selected fixtures. It’s also best to plan for some leeway in your budget in case of unexpected circumstances.
How can I repair or upgrade my bathroom on a low budget?
Renovating a bathroom on a limited budget calls for careful planning, especially when it comes to choosing materials and fixtures. Here are some tips and tricks to give your bathroom a functional and aesthetic makeover without breaking the bank:
Focus on essential renovations: Replace damaged or outdated features, freshen up the paint, and regrout tile joints for a new look.
Opt for affordable yet durable materials: Choose budget-friendly alternatives like ceramic tiles or laminate countertops.
Keep items in good condition: Keep cabinets and other items that have aged well, revamping them with a fresh coat of paint, new covering, or modern cabinet hardware.
Bargain shop or buy online: Take advantage of discounts or clearance sales to get quality materials and equipment at a low cost.
Embrace your inner DIYer: If you’re somewhat handy, consider doing simple tasks yourself, such as tiling or painting.
Save on plumbing: Keep all the plumbing as is (toilet, shower, sink) to avoid spending money on a licensed plumber.
With good planning and strategic choices, even a budget-friendly bathroom renovation can achieve stunning aesthetics and functionality.
Want more information to help plan a bathroom renovation project? Discover our Bathroom Renovation Guide.
We also suggest using our bathroom renovation reference guide, featuring a handy checklist.
Looking for something else?
Related articles
The latest industry news, interviews, technologies, and resources.

Collaboration
•28 Apr 2026
Your toilet is one of the most-used fixtures in your home, so when something goes wrong, it’s not just inconvenient – it can be downright frustrating.
Cynthia Pigeon
•25 Jul 2025
Is your bathtub no longer making you want to bask in its glory? If the idea of replacing it has crossed your mind, take a look at these bathtub models, and maybe you’ll find just the right one for you.

Editorial Team
•06 Sep 2024
The foundation of your home may not be visible, but it is one of the most important aspects of a house, as it supports the weight of everything, including family, friends and furniture. Although newer homes may have a solid foundation, older ones may require some extra tender love and care. Unfortunately, older foundations can suffer from a lack of drainage as well as adequate support from their materials.

Editorial Team
•06 May 2024
Knocking down the walls of your home might seem like an exciting project to take on. However, don’t get hammer happy just yet! Breaking down interior walls is a delicate process that must be completed carefully. Improper removal could cause the ceiling or roof to collapse, or lead to problems including issues with plumbing, electricity, gas and ventilation.

Editorial Team
•25 Mar 2026
Finding your dream home can take years, particularly as neighbourhoods grow and become more crowded. Perhaps you've discovered the ideal location, but the house doesn't match your vision. Have you thought about demolition? Tearing down an entire home or sections of its interior lets you use the land you desire to create your dream residence. Naturally, such projects involve expenses—but what are they?