How to Maintain and Repair an Awning: A Practical Guide
By Editorial Team
Updated on October 20, 2026

Is your awning starting to lose its appeal? Mould stains, tears, or accumulated dirt can quickly affect its appearance and durability. Fortunately, regular maintenance and a few targeted repairs can often extend its lifespan without having to replace it.
Whether your awning is made of fabric, vinyl, acrylic, or plastic, cleaning and repair methods vary depending on the material. Learn how to maintain and repair your awning, remove stubborn stains, and protect its fabric against the elements.
How to Clean and Maintain an Awning
Source: Espace Terrasse inc.
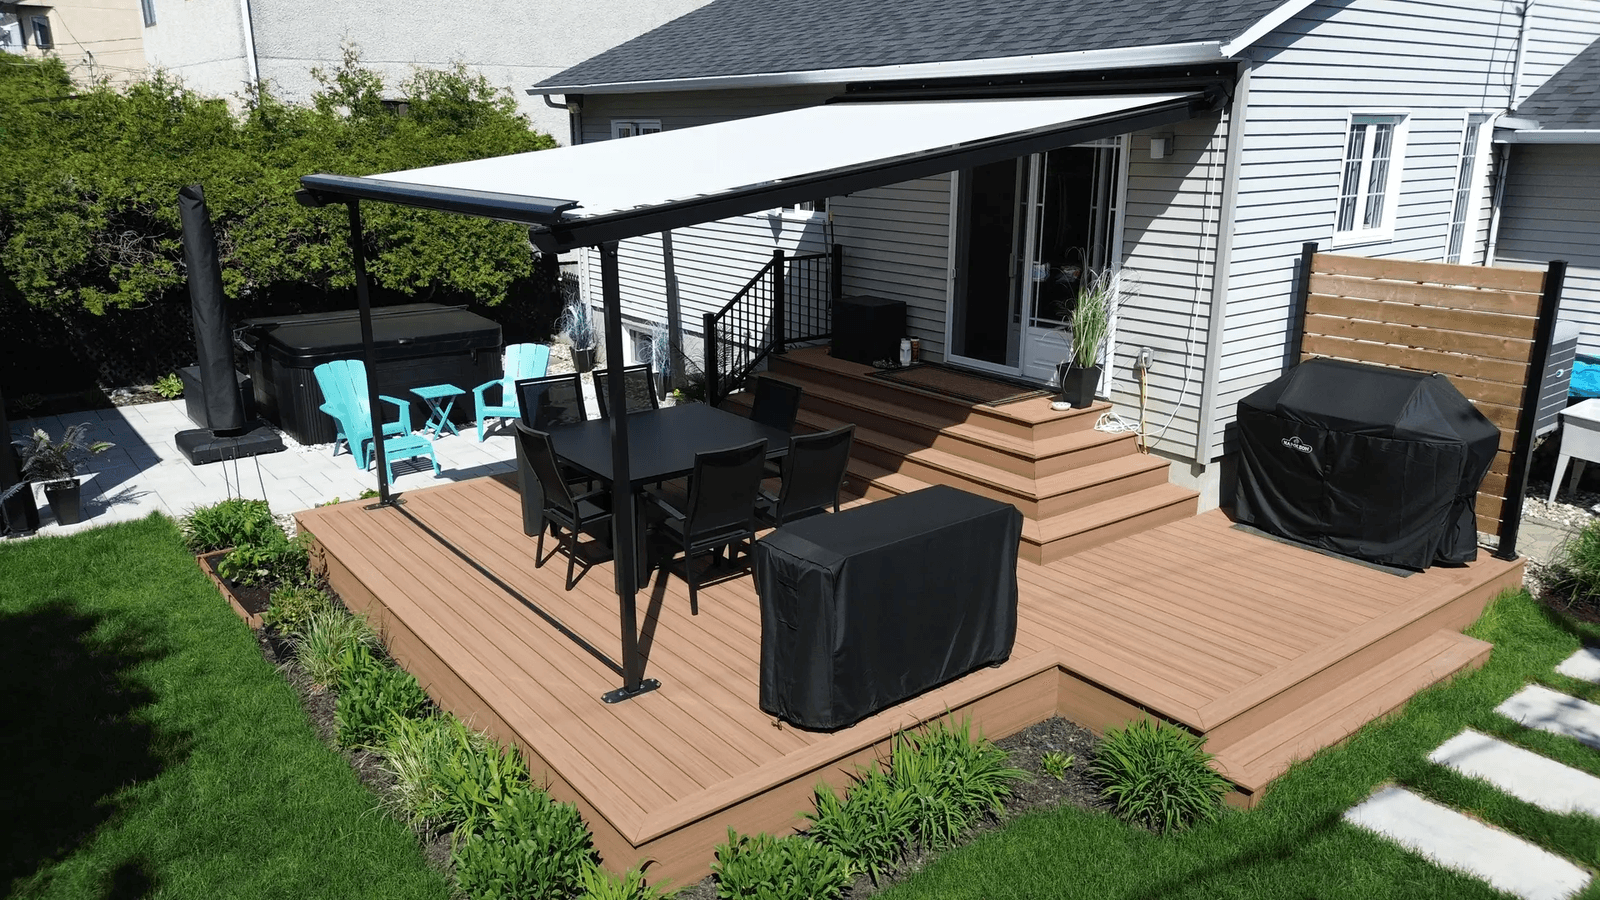
An awning is constantly exposed to sunlight, rain, wind, and temperature fluctuations. In Quebec and elsewhere in Canada, weather conditions can also accelerate wear and tear, particularly when the fabric remains damp for extended periods.
To protect your awning, regularly remove leaves, dust, and other debris using a soft-bristled broom. More thorough cleaning, ideally in the spring and fall, helps prevent dirt buildup and mould growth.
Before getting started, always check the manufacturer's recommendations. Some materials require specific cleaning products and can be damaged by overly aggressive cleaning methods.
Cleaning a Fabric or Vinyl Awning
Fabric and vinyl awnings are relatively easy to maintain, provided you use the right cleaning methods.
Start by removing surface dirt with a long-handled broom or soft brush. Then, clean both sides of the fabric using a mixture of warm water and mild soap.
To remove stains, gently scrub the affected areas, then rinse thoroughly using a garden hose at low pressure. Allow the fabric to dry completely before retracting or storing it.
Some removable awning fabrics can be machine-washed on a delicate cycle, but only if the manufacturer allows it. Avoid using a dryer, as the heat could damage the fibres or protective coating.
You can also apply a UV protection product, provided it is compatible with the material. This treatment can help reduce fading caused by prolonged sun exposure.
Cleaning an Acrylic Awning
Acrylic awnings are valued for their UV resistance and ability to retain their colour. However, the fabric can accumulate dust and develop stains over time.
To clean an acrylic awning, start by gently brushing the surface to remove debris. Then, use a mixture of warm water and mild soap, scrubbing lightly with a soft-bristled brush.
Rinse thoroughly with clean water and allow the fabric to air-dry.
If some stains remain, you can use a stain remover specifically designed for outdoor acrylic fabrics. Follow the manufacturer's instructions and always test the product on a small, inconspicuous area before treating the entire fabric.
Cleaning a Plastic Awning
Plastic awnings can also accumulate dust, leaves, and other debris.
To clean them, use a mixture of warm water and mild soap. A sponge or soft-bristled brush is generally sufficient to remove residue without damaging the surface. If certain areas are difficult to reach, a long-handled brush can make cleaning easier.
You can then rinse the awning with a garden hose at low pressure. Avoid abrasive products and powerful water jets, which can scratch or weaken the plastic.
Maintaining Awning Accessories and the Frame
Awning maintenance involves more than just cleaning the fabric. Accessories and structural components should also be cleaned and inspected regularly.
For glass panels, use an appropriate cleaner or a mixture of warm water and vinegar, if permitted by the manufacturer. Wind screens can generally be cleaned with warm water and a pH-neutral cleaning product.
Aluminum profiles also require maintenance. Use a soft cloth or sponge with a pH-neutral cleaner diluted in water. Cleaning every six months, or at least once a year, helps maintain their appearance. Take this opportunity to inspect the fasteners, joints, retractable arms, and other mechanical components.
If you notice loose screws, signs of corrosion, or a mechanism that does not operate smoothly, make the necessary adjustments according to the manufacturer's instructions or contact a professional.
How to Remove Mould From an Awning
Source: UTNR Renovation
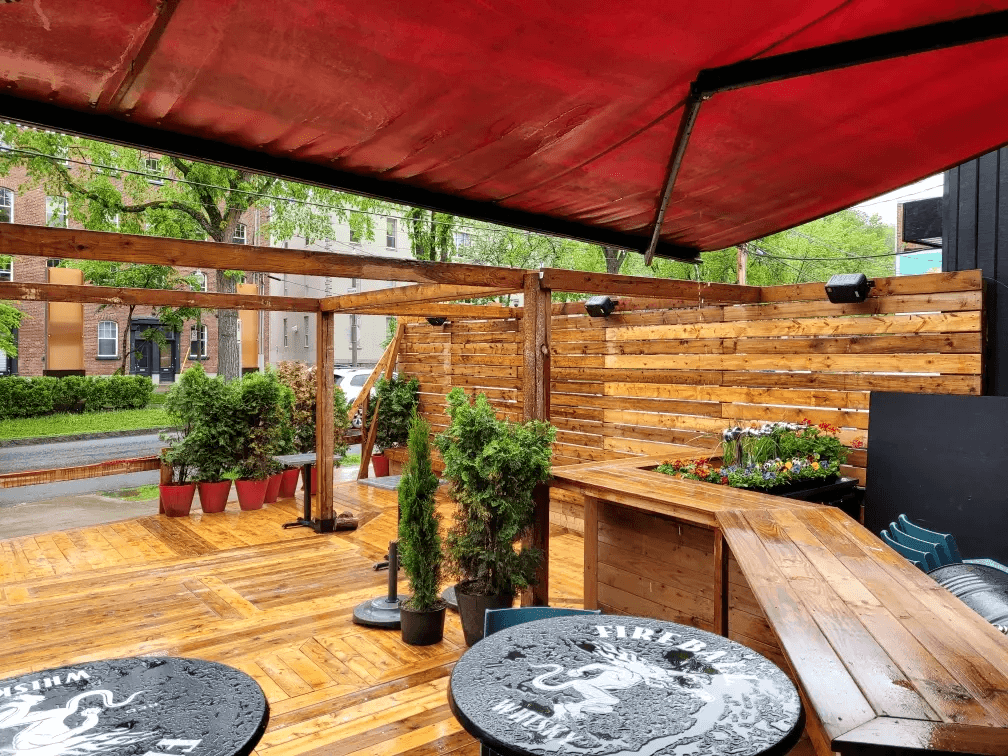
Mould stains can develop when awning fabric remains damp for an extended period. This problem is particularly common in shaded or poorly ventilated areas.
Fortunately, surface mould stains can often be removed without replacing the fabric.
To clean an awning affected by mould:
Remove dust and debris using a soft brush.
Apply a cleaner specifically designed for your awning's material.
Allow the product to sit for the amount of time recommended by the manufacturer.
Gently scrub the affected areas with a soft-bristled brush.
Rinse the fabric thoroughly with clean water.
Allow it to dry completely before retracting the awning.
If the stains remain, repeat the cleaning process using a product compatible with the fabric's coating.
Some manufacturers allow the use of a diluted bleach solution on specific materials. However, this treatment is not suitable for all fabrics and may cause discolouration or damage their protective coating. Only use this type of product if the manufacturer's instructions permit it.
If the mould is deeply embedded or the material appears weakened, professional cleaning or fabric replacement may be necessary.
How to Prevent Mould Growth
The best way to prevent mould is to limit prolonged moisture exposure.
To do this, adopt a few simple habits:
Allow the awning to dry completely after rainfall before retracting it for an extended period.
Regularly remove leaves and debris that trap moisture.
Clean the fabric at least twice a year, or more frequently if it gets dirty quickly.
Make sure rainwater can drain properly.
Store removable awning fabrics in a dry, well-ventilated location.
If your awning is retractable, follow the manufacturer's recommendations regarding use during rainy or windy weather. If you retract it while damp, extend it again as soon as conditions allow so it can dry.
How to Repair a Damaged Awning
Source: RenoQuotes
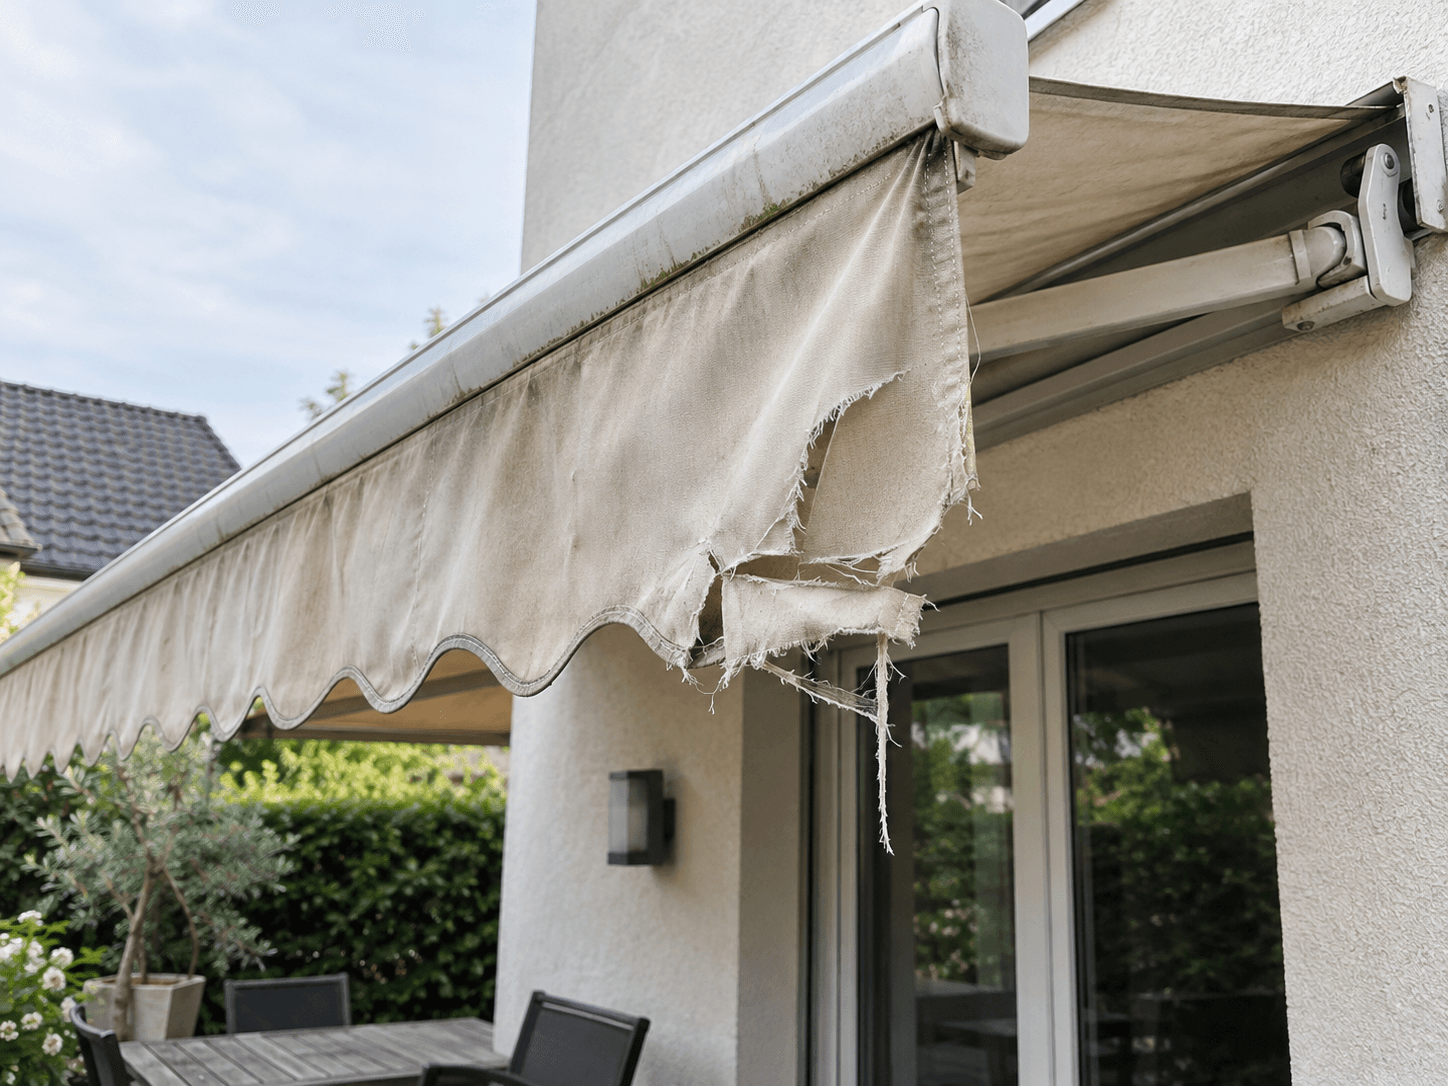
A tear, hole, or damaged seam does not necessarily mean you need to replace your awning.
In many cases, minor repairs can extend its lifespan. However, the appropriate repair method depends on the material, the extent of the damage, and its location.
Before starting, carefully inspect the fabric and frame. A small tear in otherwise good-condition fabric can generally be repaired, while significant damage to seams, stress points, or mechanical components may require professional assistance.
Preparing the Awning Before Repairs
Proper surface preparation is essential to ensure repair products adhere effectively.
Start by removing dust, leaves, and cobwebs using a long-handled broom. Clean both the top and underside of the awning, particularly around the damaged area.
Next, wash the surface with soapy water and a soft brush, then rinse thoroughly. Before applying a repair patch, adhesive tape, or sealant, allow the fabric to dry completely. Also, make sure the product you choose is compatible with your awning's material and designed to withstand outdoor conditions.
Repairing a Fabric Awning
Small tears and holes in a fabric awning can often be repaired using a patch specifically designed for outdoor textiles.
Choose a weather-resistant fabric patch, ideally one that matches your awning's colour or pattern.
To repair a hole:
Thoroughly clean the damaged area and let it dry.
Cut a repair patch that extends approximately 2.5 cm beyond each side of the hole.
Position the patch over the tear according to the manufacturer's instructions.
Press firmly to ensure proper adhesion.
If the product allows it, reinforce the repair on the other side of the fabric.
Some patches are self-adhesive, while others require glue or heat application. Iron-on patches are not suitable for all awning fabrics, particularly those with heat-sensitive coatings.
If the tear affects a seam, it may be preferable to resew it using UV-resistant, weather-resistant thread. For structural seams or areas subjected to significant tension, professional repair is recommended.
Repairing a Vinyl Awning with Adhesive Tape
To repair a tear in a vinyl awning, use adhesive tape or a repair patch specifically designed for this material. To ensure greater durability, choose a UV-resistant, weatherproof product.
Start by cleaning the surface and, if present, trimming any frayed threads around the tear. Next, cut a piece of repair tape large enough to cover the entire damaged area, leaving a margin around the tear. Apply the tape to the clean, dry surface, then press evenly to remove air bubbles. For larger tears, you can use a vinyl-compatible adhesive patch on both sides of the fabric, if the product allows it.
Liquid adhesives specifically designed to repair certain vinyl materials are also available. Before using one, make sure it is compatible with your awning's composition and coating. When the fabric is severely damaged or weakened by sun exposure, replacing it may offer a more durable solution.
Repairing a Plastic Awning with Glue
Cracks and small cuts in certain plastic awnings can be repaired using an adhesive or repair product compatible with the material.
Before beginning any repairs, identify the type of plastic used. Some products do not adhere well to certain surfaces and require special preparation. Thoroughly clean the damaged area and allow it to dry. Then, apply the product according to the manufacturer's instructions. For a flexible plastic fabric or membrane, an appropriate repair patch may help reinforce the damaged area.
However, if your awning has rigid panels that are cracked, warped, or have become brittle, replacing the panel may be preferable to a temporary repair.
How to Waterproof Awning Fabric
Source: Decktech Construction Rénovation
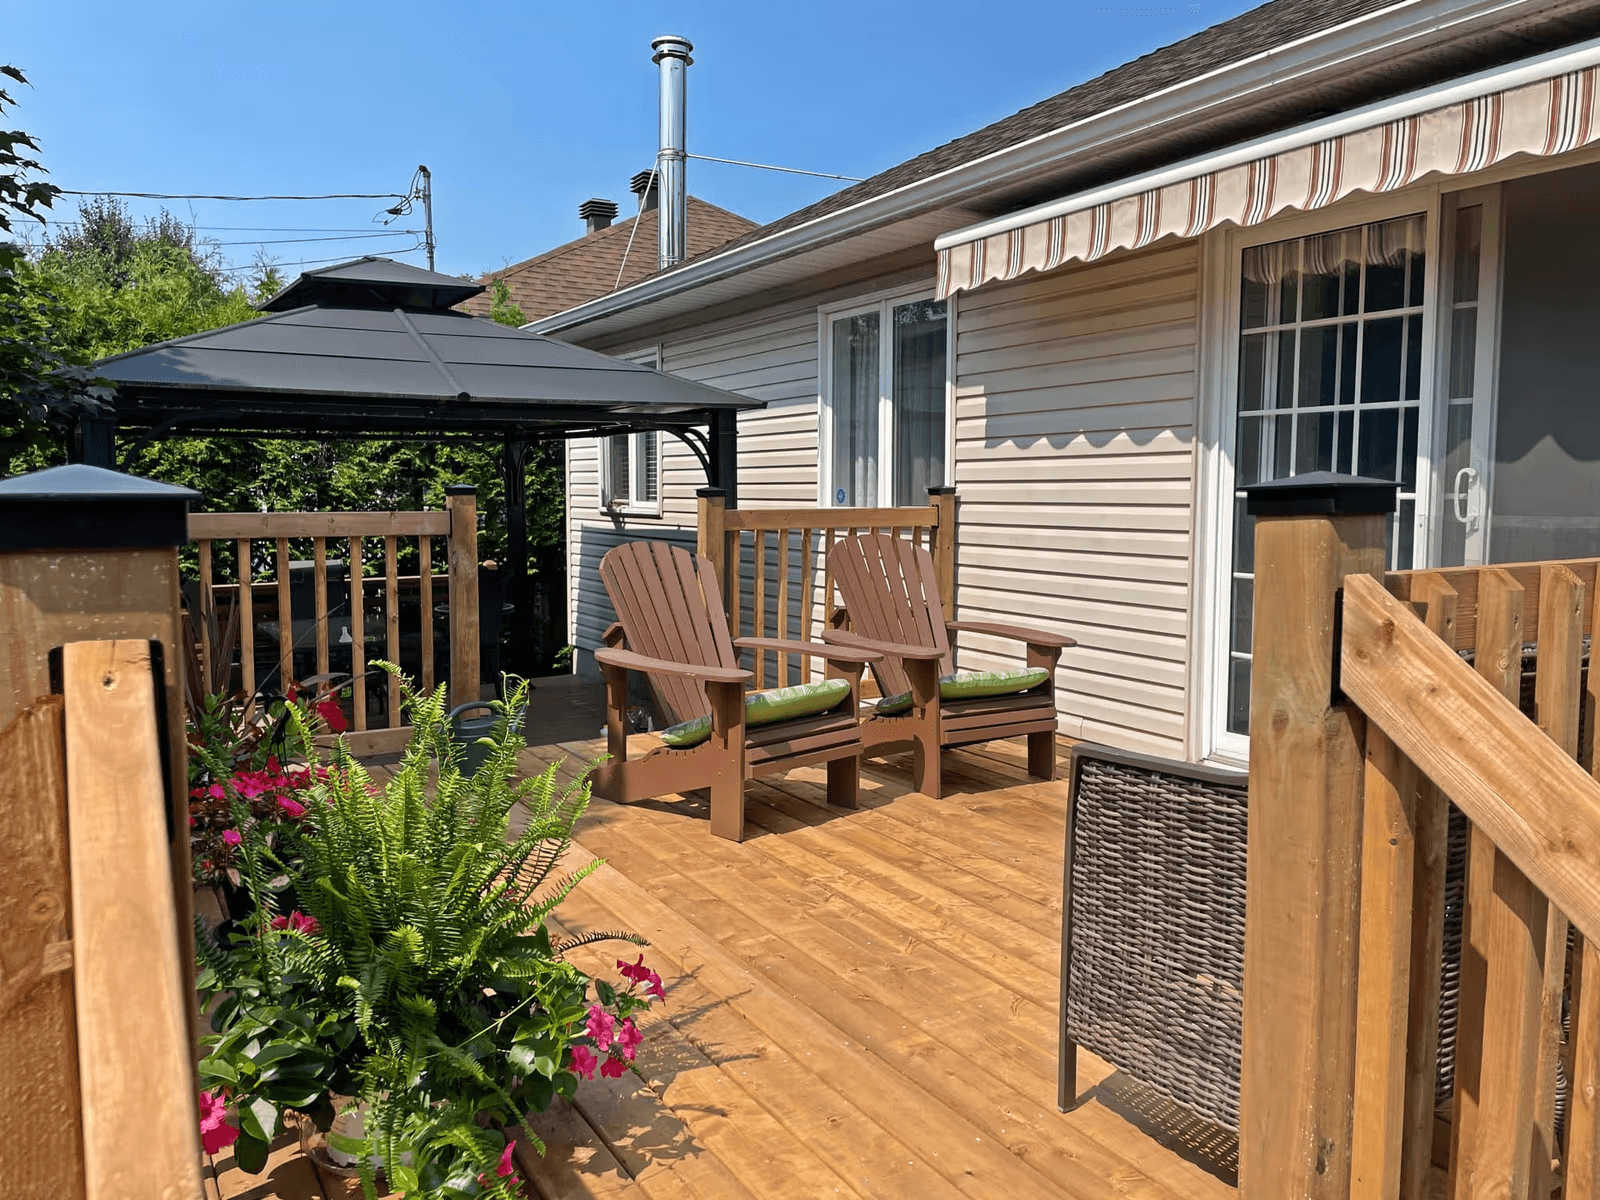
Waterproofing can improve certain awning fabrics' resistance to moisture and rain. Over time, exposure to sunlight, precipitation, and repeated cleaning can reduce the effectiveness of the fabric's water-repellent treatment. When water no longer beads on the surface and begins soaking into the fibres, you may need to renew the treatment.
Here are the steps to follow when waterproofing awning fabric.
1. Choose the Right Waterproofing Product
Select a product compatible with your awning's material, whether cotton, polyester, or acrylic. Some waterproofing treatments also provide UV protection, which can help reduce fading.
Check the manufacturer's recommendations before applying any treatment. Some fabrics already have a protective coating that does not require additional waterproofing.
2. Thoroughly Clean the Fabric
Before applying the product, remove dust, dirt, and any mould stains. Use a mild cleaner suitable for the material and avoid abrasive products. Rinse thoroughly, then allow the fabric to dry completely. A clean, dry surface helps ensure an even application of the waterproofing product.
3. Apply the Waterproofing Treatment
Apply the product evenly across the entire fabric surface, following the application method indicated on the packaging. Pay particular attention to seams and areas frequently exposed to rain. Depending on the product, applying a second coat may be needed for optimal protection. Apply the treatment in a well-ventilated area and follow all safety precautions provided by the manufacturer.
4. Allow the Fabric to Dry Completely
Drying time varies depending on the product used, the material, and weather conditions. Consult the manufacturer's instructions to determine how long you should wait before using the awning again. Avoid retracting the fabric or exposing it to rain until the treatment is completely dry.
5. Check the Effectiveness of the Treatment
Once the waterproofing product has dried, lightly spray the fabric surface with water. If the treatment is effective, water should form droplets and run off the fabric rather than soaking into the fibres. If certain areas still absorb water, check whether a second application is recommended.
The frequency of renewing the waterproofing treatment depends on the material, its exposure to weather conditions, and the manufacturer's recommendations. An annual inspection can help determine whether another treatment is necessary.
When Should You Replace an Awning Instead of Repairing It?
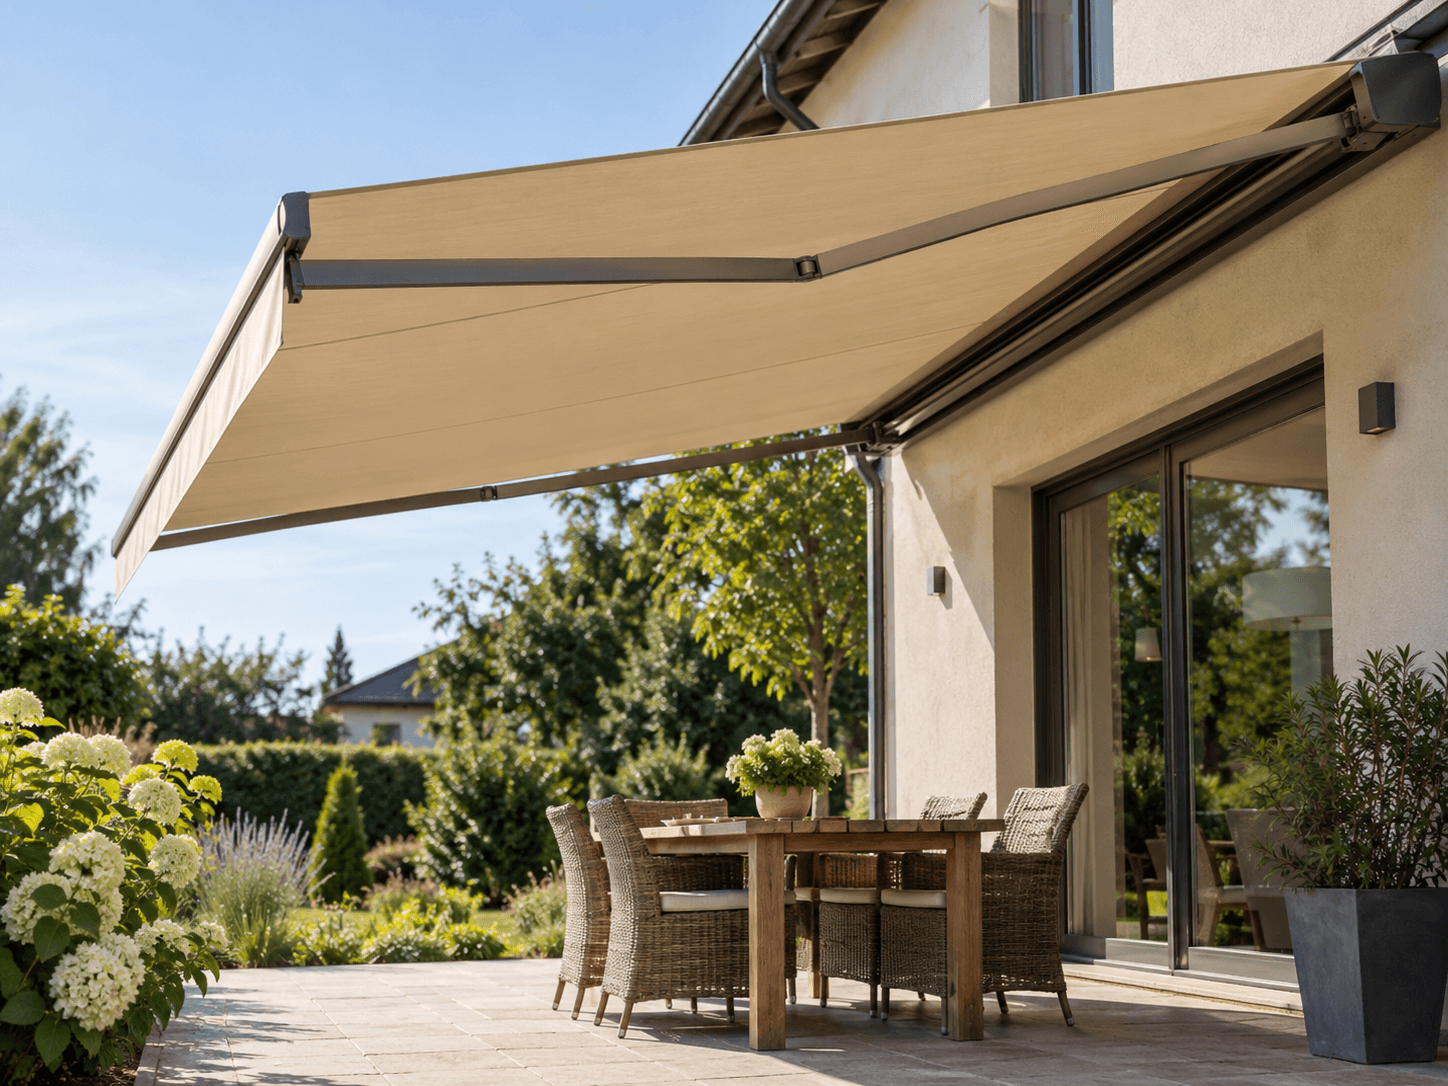
Source: RenoQuotes
Although many types of damage can be repaired, certain situations justify replacing the fabric or the entire awning.
This is particularly true when:
The fabric has several large tears or significant holes.
The fabric has become weak, brittle, or severely faded.
Seams are deteriorating in several areas.
Previous repairs are no longer holding.
The metal frame is warped, unstable, or severely corroded.
The mechanism of a retractable awning has significant defects.
If only the fabric is damaged and the frame remains in good condition, it may be possible to replace just the covering.
Before making a decision, compare the cost of repairs with the cost of replacement. A professional can assess your awning's condition and determine the most appropriate solution.
Extend the Lifespan of Your Awning With Proper Maintenance
A well-maintained awning can retain its appearance and functionality for many years. By regularly cleaning the fabric, preventing mould growth, and promptly repairing small tears, you can reduce the risk of more significant damage.
Whether you want to clean your awning, repair damaged fabric, or replace an aging structure, it is important to choose a solution suited to the material and condition of your installation.
For more complex projects, RenoQuotes can help you find qualified contractors. Fill out our free form to compare up to three quotes and choose a solution that suits your project and budget.
Looking for something else?
Related articles
The latest industry news, interviews, technologies, and resources.

Editorial Team
•08 Nov 2023
More and more people are foregoing the services of a general contractor and building their homes themselves. It’s a long-term project that requires one to partake in training and be properly informed in regard to everything related to home building.

Editorial Team
•24 Aug 2026
A backyard fire pit is one of the more approachable weekend builds a homeowner can take on. With the right materials, a level base, and some attention to the fire codes in your area, you can have a working fire pit built in a single weekend, no contractor required.
Léa Plourde-Archer
•10 Sep 2026
Replacing the exterior siding of a house in Canada is a major project that raises just as many aesthetic as technical questions. Across the country, Canadians live in some of the most demanding climates in the world for building materials. Between humid and scorching summers, autumn winds, and winters where the temperature can drop below -30°C, our home facades are subjected to constant stress.

Christine Simard
•19 Apr 2024
When living in the city, the option of having an outdoor courtyard at home is often minimal, even more so if you are a tenant. However, if you are lucky to own a home in the city and it comes with a backyard, the dimensions available to you may be restrictive.
Editorial Team
•11 May 2026
There are many reasons why you might want to consider using methods other than heat pumps, baseboard heaters, or electric furnaces to warm up your home: winter’s afoot and you're already dreading the fact that your Hydro bills are going to skyrocket; your home has a number of back rooms that aren't properly heated by a central heating system; you live in an area that’s prone to power outages, high winds, and freezing rain. Perhaps the time has come to change your heating appliances and you still haven't decided on what type of system to replace them with, or you'd simply like to embrace an eco-friendly, energy-self-sufficient lifestyle…