
Rain gutters aren’t the most glamorous part of your home's exterior. They work hard to collect and carry rainwater away from the roof of your home but most homeowners pay little mind to these important structures. Gutters, also known as eavestroughs, work to keep basements or crawl spaces from collecting water. Therefore, they’re crucial in maintaining the structure and both the interior and exterior surfaces of your home.
If gutters break and water collects around your foundation, it’s likely that this liquid will find its way inside your home, causing damage and destruction wherever it goes. For this reason, gutters should be in proper condition. Thus, repairing a broken gutter as soon as the problem is detected is very important. Luckily, we’ve got the step-by-step guide to get this problem under control, making sure to preserve the foundation, exterior, and interior of your home.
Here’s how to fix a broken rain gutter
Source: Canva
PVC rain gutters: a note
Before starting, please note that PVC eavestroughs are nearly impossible to repair and will probably have to be completed replaced if they are damaged. Therefore, the instructions in this article mostly pertain to metal eavestroughs. Also worth noting is that throughout this article, we will be using both words to refer to the same thing.
Common rain gutter problems
Rain gutters work to collect and carry rainwater away from the foundation of your home. If they’re damaged, this water will instead run off your roof, erode the earth below, stain your siding and cause interior surface deterioration. Rain gutters in good working order take initial control of if water finds its way into your basement or crawlspace. As we briefly mentioned in our introduction, allowing water to sit around your foundation will cause hydrostatic pressure and lead water to find its way into your home. In some cases, this will cause interior mould and mildew growth and have detrimental effects on the health of your loved ones.
Let’s start by reviewing some of the common problems that occur with rain gutters. Holes can easily form along the body of the eavestrough and this defeats the purpose of them altogether. Leaky corner joints as well as further securing an eavestrough that’s pulled away or fallen from the house are two other commonly dealt with issues. As stated, fixing these problems as soon as they’re recognized will greatly improve the longevity of your home!
How to Patch Rain Gutter Holes
Source: Canva
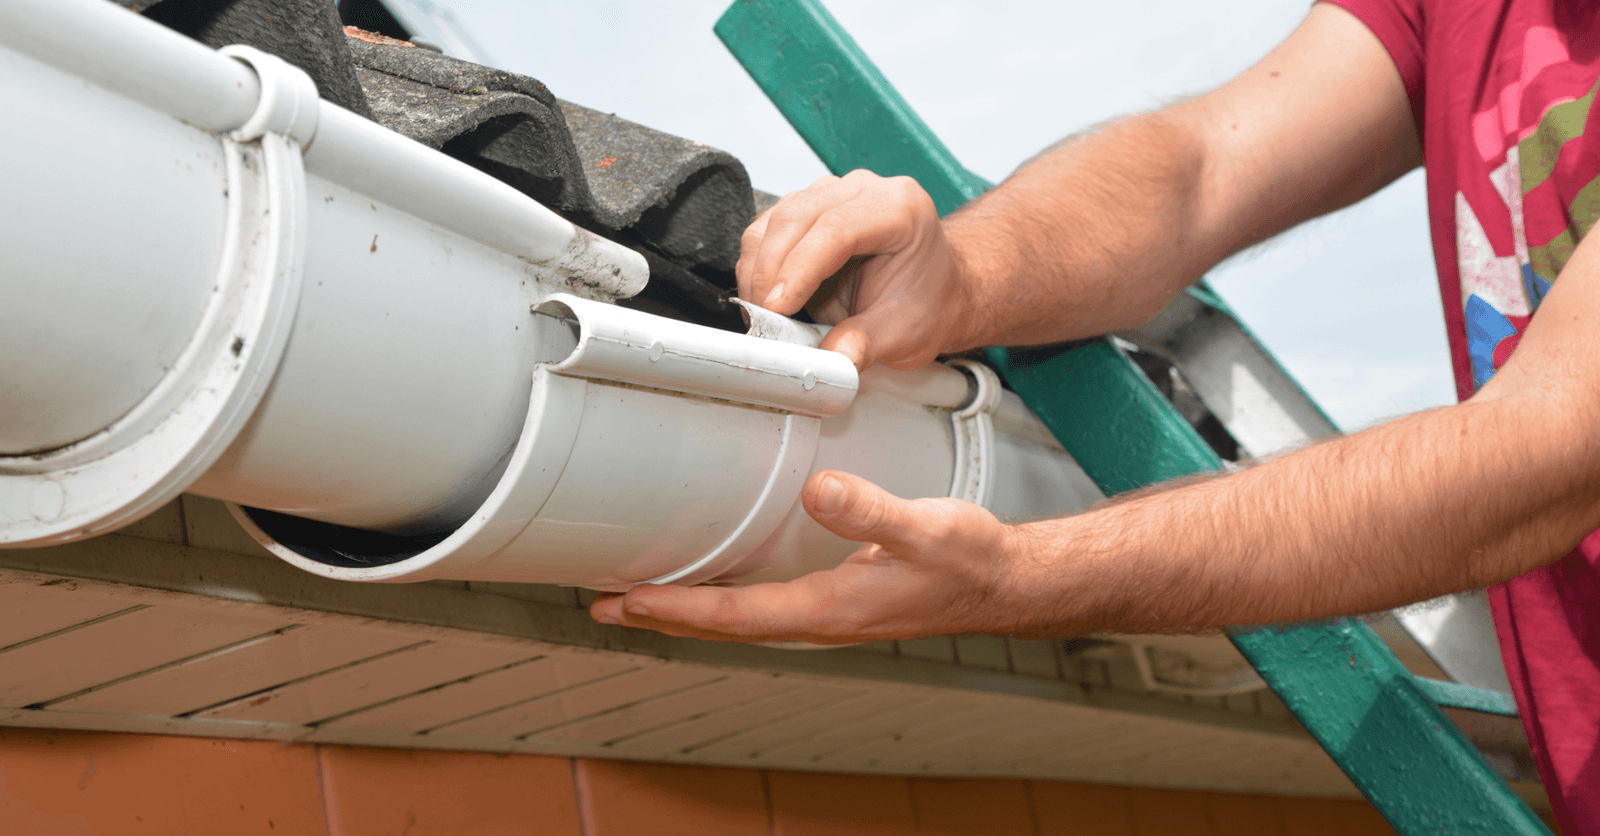
Rain gutters develop holes for numerous reasons. Since they are in charge of collecting water, rust easily develops and this will eat through steel. In other instances, softer gutter materials, such as aluminum, can be easily damaged by outdoor debris flying into and puncturing the surface. This could be anything from branches and twigs to sharp objects. Patching a hole as soon as its detected is important because the hole will continue to grow larger as rainwater collects and falls through it.
To patch a hole, find roofing cement alongside a metal-repair patch. Make sure the one you choose is much larger than the damaged area. Bear in mind that the patch material should match the gutter material, as working with two separate materials may cause electrolytic corrosion. This is when metal starts to deteriorate due to a reaction with the other material, only worsening the issue.
Begin this project by cleaning the gutters of debris and scraping off anything that has caked on with a putty knife or a specifically designed tool for cleaning rain gutters. Next, grab some work gloves made of a tough material and scrub the area where the hole has been found, using a stiff wire-bristle brush in a back and forwards motion. Finally, if any rust has accumulated, make sure to take care of this by cutting it out with aviation snips. Once the area is clean, patch the hole according to the manufacturer's instructions.
What to do about leaking joints
Over time, gutters collect plenty of heavy rain and this causes the joints between to weaken and fail. Even new gutters don’t necessarily come equipped with seamless corners for their downpour or downspout outlets. For this reason, gutters can easily leak and cause water to collect around the foundation of your home. First, check all gutter seals to find the culprit and then you can begin this repair project.
Once you’ve located the leaking seal, you should use a seal seamer to add strength to the joint. When you’re searching for a seal seamer, we’d recommend looking for one which is self-levelling. This is because a self-levelling seamer will last longer and make a smoother connection between joints. If you aren’t able to locate a sealant of this nature, apply a silicone-rubber caulking compound along the seams on both the inside and outside of gutters.
Before re-sealing joints, make sure that you’ve removed any old sealer. Next, completely dry the area you’ll be sealing, as water will damage the connection. Lastly, follow the manufacturer's instructions to apply sealant. Of course, pick a day to complete this project when rain isn’t in the forecast.
Water behind the gutter
Water finding its way behind your gutter means that the gutter has been installed without flashing, also known as a gutter apron. A gutter apron will tuck behind your shingles and as well as over the gutter. You can find these at home improvement or renovation stores, and they generally come in 10-foot long sections. A gutter apron is simple to install and will be fastened in place with sheet metal screws. Remember, if your gutters are made of steel, you’ll need to buy steel flashing as aluminum will corrode this material.
How to Secure a Gutter
First, check to see if your gutters have standing water in them, as this could point to a sag in the gutter themselves. As we mentioned, standing water will rust steel and damage aluminum. Most gutters are held in place by way of large spikes that pass through tubular sleeves. Sometimes weather conditions cause gutters to pull free, come loose or be pulled completely from the side of your home.
If the gutter is sagging, the repair job will likely come down to replacing the spike. Spikes aren’t as commonly used to secure the modern gutter, and nowadays homeowners are installing fascia hanger brackets to keep gutters in place.
The installation process can be completed by the novice DIYer, hook the bracket under the front lip of the gutter, and screw the other side into the fascia. If your gutters were originally secured by spikes, leave these in place as there will be visible holes otherwise.
Click here to learn more about cleaning your rain gutters.
To learn more about materials and their average prices, check out our Gutter installation cost guide.
Get 3 renovation quotes for your rain gutter repair project
RenoQuotes.com will put you in contact with 3 reliable contractors for your eavestrough repair project. Fill in the form on our homepage (it only takes a few minutes), and you will receive quotes from trusted professionals.
Dial 1-844 828-1588 to speak with one of our customer service representatives
Looking for something else?
Related articles
The latest industry news, interviews, technologies, and resources.

Editorial Team
•03 Jun 2024
Every few years, the exterior walls of your house may need a fresh coat of paint to give the house a new look. Learn more about the ins and outs of exterior wall painting with RenoQuotes.com's easy-to-follow advice and instructions.

Editorial Team
•20 May 2025
What wine lover hasn’t dreamed of having their own wine cellar to keep fine bottles within easy reach? To make this dream a reality, several rules must be followed. But what are the key principles that should guide you through this project?

Editorial Team
•27 Nov 2024
At one point, chimneys were the focal point in any dwelling, providing heat and gathering the family around a wood-burning fire. While modern heating systems are much more common nowadays, fireplaces are still appealing, given their aesthetic and comfort. However, chimneys need regular maintenance and repairs to function safely and optimally.

Cynthia Pigeon
•03 Aug 2026
In high-end homes and condos across Canada, interior design often emphasizes clean lines, natural light, and premium materials. However, integrating entertainment equipment creates a recurring dilemma: how can you enjoy a large, state-of-the-art screen without permanently turning your living room into a home theatre? A large black rectangle mounted above a fireplace or placed in the middle of an architectural feature wall can disrupt the harmony of a carefully designed room.

Cynthia Pigeon
•10 Sep 2026
The cost of kitchen cabinet refacing in Canada in 2026 generally ranges from $2,500 to $8,500, including installation, for an average-sized kitchen. This option can save homeowners approximately 30% to 50% compared to a full cabinet replacement, while still giving the kitchen a fresh, modern look. The final price depends mainly on the material selected, the number of cabinet doors and drawers, the condition of the existing cabinet boxes, and the complexity of the hardware and installation.