Cardboard-backed gypsum boards quickly became a staple in construction due to their ease of use. However, their most well-known downside remains a certain fragility and lack of impact resistance. Fortunately, there are many products available to repair damaged surfaces with a flawless finish.
Filling a crack is essential before applying a new coat of paint to your wall—especially if there are holes or the area to be patched is quite large. That said, this task is relatively simple and within reach for most DIYers. Just make sure to follow the product instructions carefully and take your time, because plastering is an art!
Before getting started, cover the floor with a tarp and tape it down with painter’s tape. Move any furniture out of the way, as the drywall dust could scratch it. If possible, ventilate the room and wear a mask during sanding.
Looking to Repair a Drywall Surface? Follow Our Tips:
1. How to Prepare Plaster
Preparing plaster (also known as mixing plaster) is a relatively simple task, but it requires focus, as proper measuring is key. The only way to achieve high-quality plaster is to correctly measure the amounts of water and plaster.
Generally, the recommendation is to use 50 cl of water for 1 kg of plaster when sealing, and 75 cl of water for 1 kg when filling a surface. However, avoid mixing more than 1 kg at a time, or you risk wasting your batch. And if you do need more than 1 kg, be sure to rinse your mixing container between batches.
Pour the water into the container and sprinkle the plaster evenly across the surface. Gently stir with a trowel to prevent lumps, then let the mixture sit for a few seconds to absorb. Stir again, this time reaching down to the bottom of the container to ensure an even texture. Like pancake batter, let it rest for a few minutes so it thickens slightly. Your plaster is ready—use it right away!
2. Getting the Filler to Adhere

Photo: Pixabay
For cracks, you’ll need to use a filler compound. Before applying it, don’t forget to clean the area thoroughly to help the product stick to the surface. For narrow cracks, you’ll need to widen the opening using a triangular scraper. Gently carve it into a V-shape and remove any loose material, then brush the area vigorously to get rid of dust.
It’s important that the surface is perfectly flat, so remove any old wall anchors. Our trick is to insert a hook in the shape of a question mark and pull it out. Once the surface is fully ready, dampen the edges of the crack with a sponge or spray bottle. Wait a few moments to allow the water to soak in, then start filling.
3. Spreading Over a Wider Area
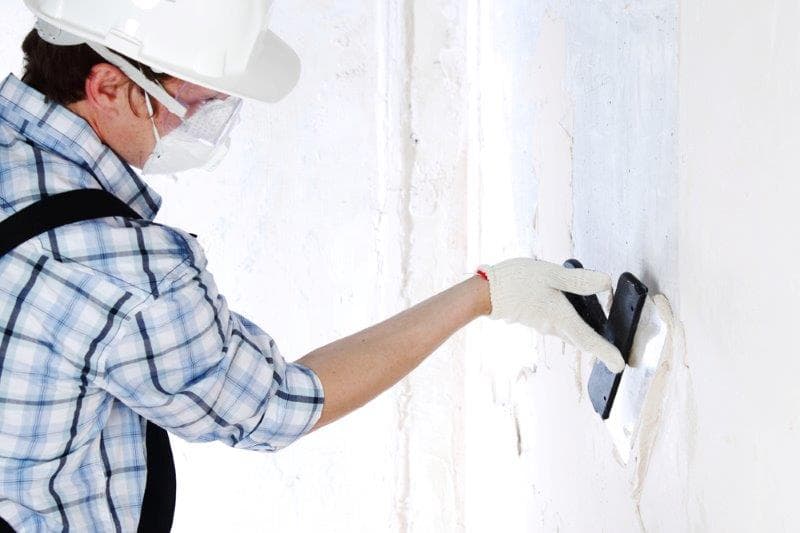
To achieve a professional result, apply the filler perpendicular to the crack using a painter’s knife. Work in alternating directions to push the compound deep into the crack, then smooth it out with a wide putty knife.
The crack should be completely invisible once you’re done, so be sure to spread the compound over a slightly larger area than the crack itself to blend the surface. We recommend applying three coats of filler, using a larger spatula with each coat. Once done, sand the repair with plaster sanding paper.
4. Apply Multiple Layers to Prevent New Cracks
Instead of applying one thick layer of compound, it's better to apply several thin layers. Otherwise, the product will take longer to dry and may crack as it hardens.
After filling the crack, we recommend using drywall tape (also called joint tape) to help the compound stick better. Drywall tape is a woven cotton fabric often used to join drywall panels. Easy to install, it doesn’t require advanced DIY skills.
Before applying the tape, spread a fresh layer of compound. Then, press the top of the tape with your putty knife and lightly smooth it down. Using the same method, apply a second layer of tape to reinforce the structure.
5. Let the Surface Dry

Photo: Pixabay
When it comes to drywall repairs, patience isn’t just a virtue—it’s a must, so let it dry!
After patching your wall, you might be eager to get the job done. But keep in mind that painting over filler that hasn’t fully dried will often leave visible marks where the repairs were made, even after applying paint.
Also note that plaster-based filler kept in humid conditions may encourage mould growth. This can appear just a few weeks after the work is done, undoing all your efforts. For this reason, we recommend letting the surface dry overnight so it has time to harden properly. Then, lightly sand the area before painting to ensure a smooth finish.
If you’re worried you haven’t let it dry long enough, you’ll be glad to know that some stores sell plaster with a built-in drying indicator. It goes on pink and turns white once it’s fully dry and ready to be sanded and painted.
6. How to Repair Drywall (Gypsum Board Walls)
Some homes have walls made of drywall (also known as gypsum board), which can easily be identified by their smoother, more uniform finish. Drywall walls consist of gypsum panels mounted to wall studs. Between the studs is a hollow space, which is why these are often called hollow walls.
To repair a drywall section, mark out the area to be replaced by adding 4 or 5 cm on each side, then cut it out using a keyhole saw. Glue two scrap pieces of plywood to the inside backing of the cutout. Next, apply a layer of adhesive mortar along the edges of the opening and smooth it out with a spatula.
To reinforce the repair, apply a strip of self-adhesive mesh tape, making sure not to overlap the edges as that would create a bump. Spread the compound past the repair edges to blend the surface. Finally, sand the seam with fine-grit sanding paper.
Looking for something else?
Related articles
The latest industry news, interviews, technologies, and resources.

Editorial Team
•08 Nov 2023
Renovating a kitchen can be expensive, and depending on the changes made, your budget can quickly increase. Of course, you don’t have to tear down your cabinets or demolish a wall in order to tastefully renovate and offer your kitchen a new look.

Editorial Team
•29 Feb 2024
If your home is slightly cramped or your family is expanding, you’re likely looking for a way to add more space to your home without starting from the ground up. Have you ever considered an addition above your garage? Many homeowners may overlook this area, but in fact, the space above your carport or garage is an excellent and cost-effective way to gain an extra bedroom, home office or otherwise.

Amanda Harvey
•08 Nov 2023
Kitchens are the single most important room in the home when it comes to valuation. As a social space that is well-loved and well-used, the location of the kitchen is of the utmost importance. However, from time to time the kitchen rests in an awkward place, potentially lacking light, space or just isn’t ideally located. You might feel as though moving your kitchen proves impossible, but this job can be easily completed and lead you to the kitchen of your dreams.

Editorial Team
•08 Nov 2023
Homeownership almost always entails ongoing repairs, renovations, or upgrades. Note that on average, Quebecers allocate 64% of their residential energy expenditures to heating, and the costs can amount to $1,200 for an average-sized home. Surely, upgrading a heating system is a significant investment, but a wise decision in terms of energy conservation and minimizing consumption costs.

Editorial Team
•22 Apr 2026
Installing a septic system for a chalet in Quebec is rarely a “catalog purchase.” Two homeowners may choose a similar system and pay very different amounts simply because their land, site access, and municipal requirements don’t tell the same story. Before even talking about concrete, polyethylene, or capacity, one thing must be understood: the price depends primarily on the treatment solution your land allows, and what will be required to install it properly.