How to Give Your House an Exterior Makeover with Parging
By Editorial Team
Updated on April 1, 2025

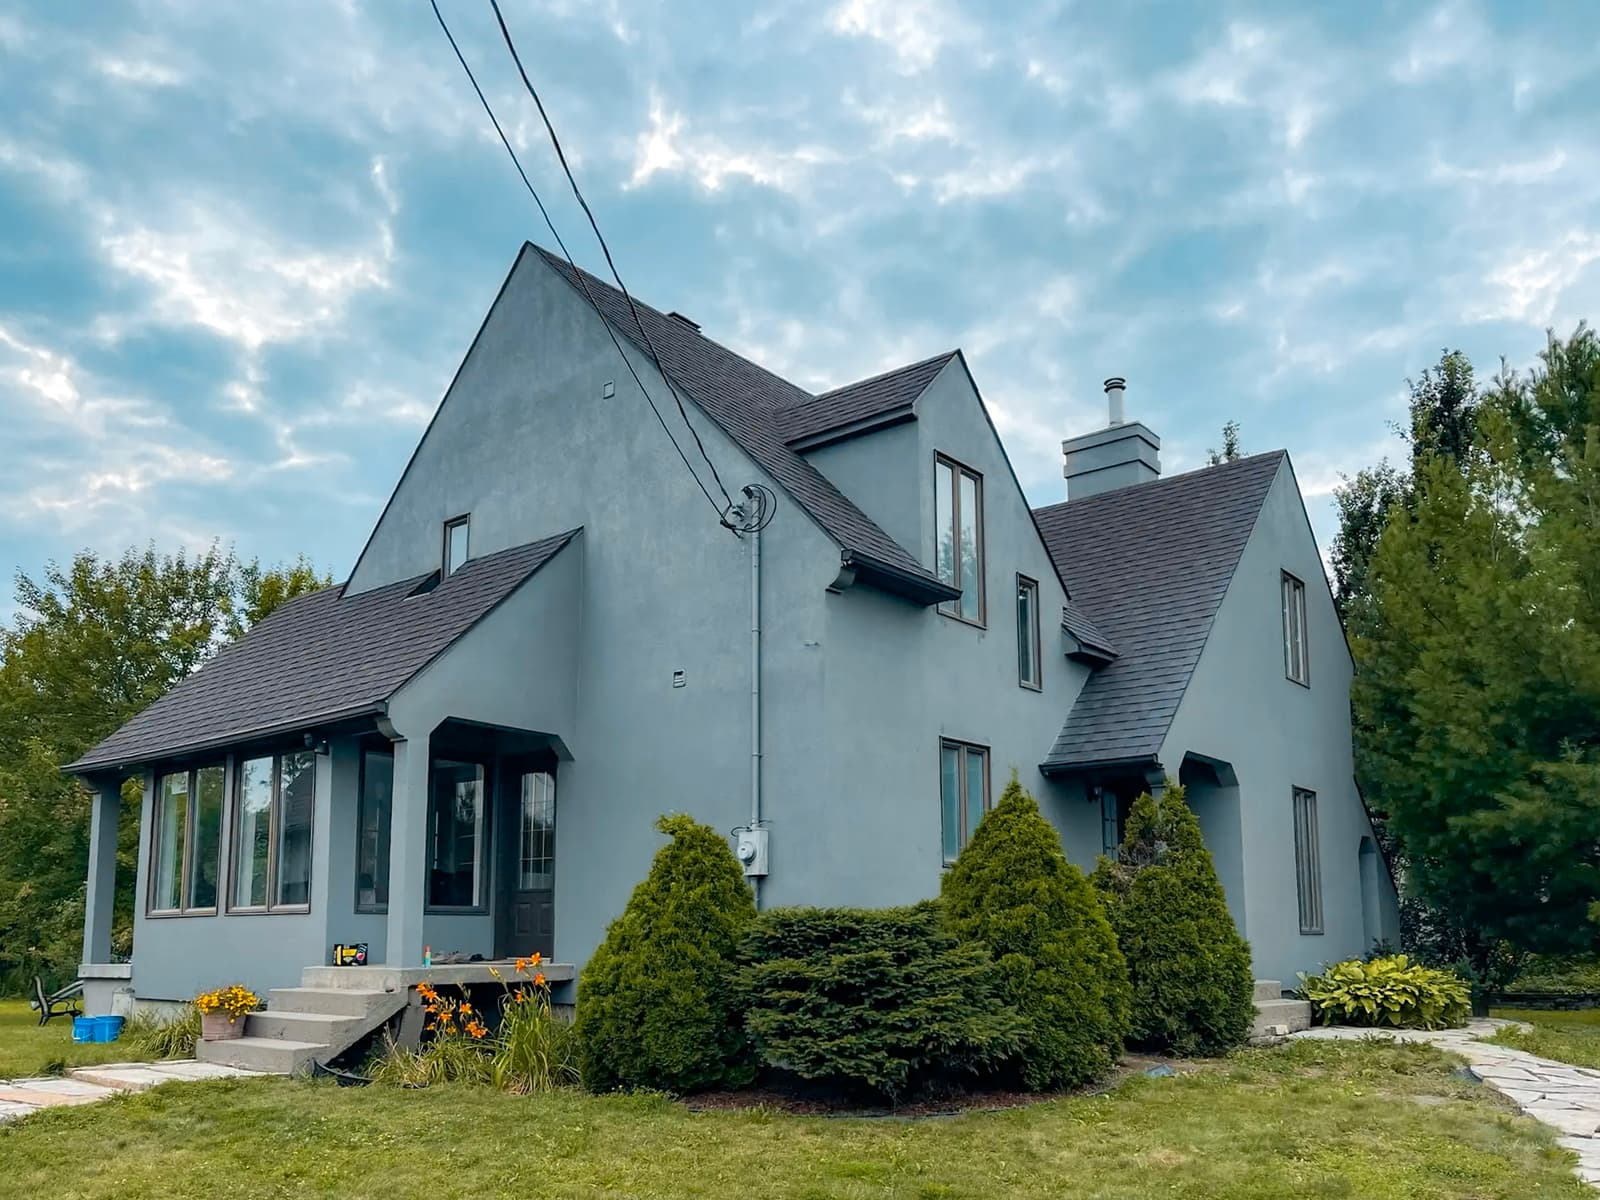
Exterior parging is an above-grade coating commonly used on houses and buildings with exposed concrete foundations. Renowned for its durability and aesthetic, parging has many benefits. Learn about the different kinds of parging and how to use it for flawless results.
What Is the Difference Between Stucco and Parging?

Stucco is a render applied to a building’s façade, which serves the following functions:
Protect
Decorate
Waterproof
Insulate
If you're familiar with parging, then you already know that it has similar functions. So, what is the difference between parging and stucco? The method of application. Stucco is applied on bare walls, whereas parging is always applied atop a basecoat, which is also a render.
Why Is Parging a Must for Your House’s Foundation?

The Construction Code doesn’t mandate the application of parging on the foundation walls of residential structures. Therefore, parging isn’t a must-have coating for maintaining decent foundation walls.
Consequently, parging is, first and foremost, an aesthetic add-on. It serves the following purposes:
Conceal formwork lines
Coat surface-level imperfections
Revamp the foundation walls
However, when a home is insulated from the outside, parging, fitted with a mesh product, ensures the insulation is safeguarded against physical shocks, UV rays, temperature fluctuations, as well as pollution and adverse weather conditions.
How to Parge a Foundation Wall the Right Way

What Type of Parging to Use? Choosing the Right Parge Coat for Your Project
In order to choose the right parging for your house, you first have to understand the difference between the different parging retailed and the available finishes. As such, note that there are two types of parging:
Cement (mineral)
Acrylic (synthetic)
And five finishes to achieve the desired aesthetic:
Popcorn finish (retro, mid-century modern aesthetic)
Orange peel finish (subtle and sleek)
Sand finish (rustic-looking)
Lace finish (often used for high-end homes and historic restorations)
Knockdown finish (textured look for exterior walls)
Cement vs. Acrylic Parging
Mineral parging, made with sand, lime, and cement, to which colourants are also added, is applied in thick layers. As such, it’s favoured for repairing cracks and imperfections on exterior walls of older homes.
Synthetic (acrylic) parging is much thinner, but also more elastic. It’s used as a finish coat, applied in layers, and limits the risks of cracking.
Consequently, choosing between cement or acrylic parging really comes down to the surface to cover. Acrylic parging is the best solution for insulating an exterior wall, whereas cement parging is ideal for restoring older surfaces.
Popcorn Finish
The popcorn finish parging is very mid-century modern, making for a unique aesthetic that gained traction back in the day and is now trending again. It offers great insulation properties and is especially decent to conceal imperfections on exterior walls. Also, it’s especially suitable for regions with harsh weather, providing both protection and panache.
Orange Peel Finish
The orange peel finish, mainly inspired by the texture and look of an orange peel, reflects modern and minimalist aesthetics, striving for a subtle and sleek finish. This type of coating is durable, stands the test of time, and is ideal to conceal surface-level imperfections. It’s a versatile option used to coat ceilings, foundations, and walls.
Sand Finish
The sand finish is very reminiscent of European architecture and is much smoother than the previously mentioned finishes. Said finish is known for its resistance to wear and tear, and can withstand harsh weather. It’s also favoured by those seeking a rustic, yet classic appearance.
Lace Finish
The lace finish is extremely European, too, yet more Renaissance-inspired. Its intricate pattern is reminiscent of a lace fabric. This type of finish is rather labour-intensive and mostly used on high-end homes or to restore historic buildings.
Knockdown Finish
The knockdown finish first came about in the 1990s in the wake of the popcorn finish and is still very sought-after by homeowners. Said finish is relatively easy to clean and maintain over the years on account of the texture’s balance. The knockdown finish is versatile and is just as stunning whether used indoors or on exterior walls.
Application Method
Each finish has a unique application technique. As such, we will focus on the most sought-after and used finish, the orange peel finish, also known as “splatter” or “eggshell.”
To do so, the parging contractor will start by shielding the house and erecting scaffolding. Then, they will spray the first layer using a specially designed tool. Next, using a smaller nozzle, the hired professional will spray fine plaster splatters onto the surface to design the orange peel pattern that’s typical of said finish.
To cure, the ambient temperature should be between 10°C and 30°C. At 20°C, you need about 6 to 20 hours for the parging to cure.
How Much Can Parging Cost?
When it comes to parging your house’s exterior walls, costs are typically somewhere in the vicinity of $15 to $17/sq.ft.
Parging Maintenance Tips

How to Clean Exterior Parging Wall Effectively
Façades coated in parging may be cleaned every year or every other year, based on said façades exposure to the elements. To avoid damaging the parging, it’s best to clean the exterior walls of your house with the following:
Soft-bristled brush
Sodium carbonate and bleach
Pressure washer
By pressure wash, we mean between 580 and 870 PSI (40-60 bar) of pressure from at least 16 inches away (40 cm).
If pressure washing doesn’t do the trick, and your façade is still coated in a film of micro-organisms, use a biocide.
Repairing Damaged Parging: Acrylic Render
When parging is damaged, moisture can seep through and deteriorate the insulation. To repair it, you have to hire an industry professional, unless you’re dealing with superficial cracks.
To repair your parging, it’s best to use an acrylic render. Prior to applying it over the walls of your house, clean them, ensuring the parging doesn’t crumble and break apart. To make sure your parging still holds up where cracked, use a triangular scraper. Should that be the case, apply an anti-fungal product and use a trowel to spread out the acrylic coating.
Apply the render in thin coats. If you deem a second coat necessary to fill in the cracks properly, adhere to the 24-hour drying time rule between coats.
Naturally, avoid working if the forecast calls for rain.
How to Remove Exterior Parging
Start by softening the parging using a pressure washer. Once wet, wait 24 hours. This isn’t so the parging dries, but for the water to seep into the cracks.
To remove it, strike the surface with a hammer and chisel. If you have a small breaker hammer or an air hammer, you can also choose to use either one. However, the process of doing so is rather delicate, as you can’t weaken the bricks, stones, or mortar joints encompassing the structure on which parging is applied.
Once the parging is removed, the only thing left to do is smooth and clean out the mortar joints using a power sander. However, if damaged, proceed by refilling the joints with this mixture:
Air lime
Sand
Water
Exterior Parging: Versatile and Aesthetic Solution
Exterior parging is a versatile option that protects the walls of your house while revamping its aesthetic. By adhering to proper application methods, you will be guaranteed a durable and weather-resistant finish. Don’t overlook choosing materials that are suitable for your project to optimize the end results. With a bit of preparation and care, exterior parging can completely transform the appearance of your home. So, take your time and weigh your options carefully!
Get 3 quotes for your renovation project
RenoQuotes.com can help you get quotes from a general contractor. By submitting your project, we’ll put you in contact with top-rated contractors. Fill in the form on the homepage (it only takes a few minutes) and get estimates from trusted professionals.
Dial 1-844 828-1588 to speak with one of our customer service representatives.
Looking for something else?
Related articles
The latest industry news, interviews, technologies, and resources.

Editorial Team
•22 Jun 2026
Patios are no longer just extensions of our homes. They’ve evolved into cozy places that combine functionality, aesthetics, and comfort. Many homeowners are in search of ways to make their outdoor zones as comfortable as their interiors. Moreover, they wish to create a stylish, eco-conscious, and versatile place. Here are some must-have features for patios in 2026.
Léa Plourde-Archer
•24 Apr 2026
Canada’s architectural landscape has changed dramatically in recent decades. Gone are the days when traditional stucco, rigid and prone to cracking, was the only option for a smooth finish. In 2026, acrylic exterior cladding has become the standard for contemporary construction and high-end renovations.

Editorial Team
•08 Nov 2023
With its trendy materials, refined look, multi-functionality, and welcoming vibe, the contemporary kitchen has everything to please, even when it comes to the pickiest of them all. Are you considering embracing a contemporary look in your new kitchen? Here are a few pointers that’ll allow you to create a kitchen with sleek, modern lines for unique and high-quality style.

Editorial Team
•04 Feb 2025
Before, artificial lighting was the product of a light bulb screwed into a socket, then came along neons, halogen bulbs, and spiral-shaped compact fluorescent lights (CFL). Nowadays, the price-quality ratio and energy efficiency of light-emitting diodes (LED), make this type of lighting a must-have.

Editorial Team
•08 Nov 2023
Tankless water heaters warm up water on demand rather than ahead of time and storing it in a tank. Chances are that you might not have heard about this option, or are a wee bit familiar with it, so we’ll outline the pros and cons of this type of system for you.