Tearing down a chimney is a large-scale demolition project, requiring the help of an experienced professional. Prior to carrying out such a project, you first have to inquire regarding the proper steps and procedure for removing said structure to prevent possible damage or technical defects.
In this guide, we’ll uncover everything you should know before getting started on your chimney removal project in this article.
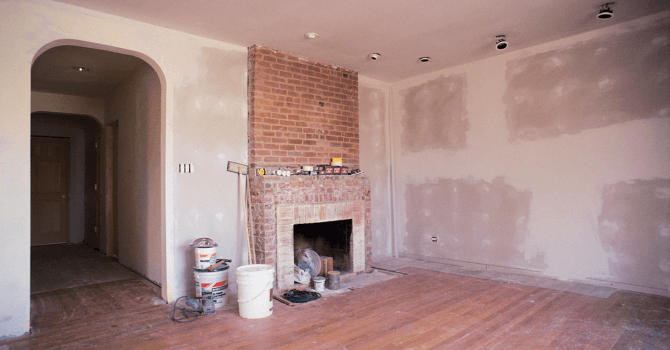
The Upsides of Removing an Old Chimney
Source: Canva
Space Gain
Should you have an old fireplace and chimney in your house that’s been out of use for a while, removing it can have several upsides. Indeed, if you’re working with a space-restricted room, removing a cumbersome fireplace and chimney can result in additional space. Furthermore, in some cases, removing the flue pipe that runs through the attic can mean setting up a living room or a kids’ playroom up there.
Money-Saving
When the costs of renovating an old chimney are too steep, tearing it all down might be the most beneficial option for homeowners. Also, you can tear down your old chimney to replace it with another, more effective, model, thus benefiting from improved thermal comfort.
Style Revamp
Another advantage of removing a fireplace and chimney is the possibility of choosing a model that’s better suited to your aesthetic. If the look of your current fireplace and chimney just isn’t doing it for you anymore, you can remove the visible part of it (i.e. the fireplace) and opt for another style.
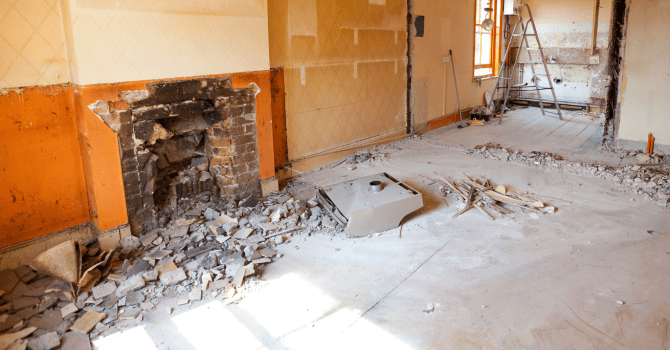
How to Remove a Chimney Safely
Source: Canva
Chimney removal work shouldn’t be taken lightly. Such a project includes guidelines that must be painstakingly followed to complete the process in a time-efficient manner but also without endangering the safety of others living under your roof.
Steps for Removing a Chimney
Step 1: Remove the top part of the fireplace
Start by clearing the perimeter around the flue using a hammer and chisel. Proceed carefully, ensuring the flue doesn’t crumple onto itself, and make sure to work from the top down.
If your chimney is ground-level (meaning that the bricks aren’t embedded into the wall), uphold the chimney with metal jack posts. Then, lay framing wood planks between the joists and the jack posts.
However, if your chimney is embedded into a load-bearing wall, you can go through the fireplace instead.
Step 2: Remove the fireplace
Here, too, use your hammer and chisel to clear the fireplace. Remove the fireplace’s insert and get ahold of a dolly cart to move it without straining yourself. After that, tear down the mantel. While doing so, be careful to not damage the flooring with the rubble. Remember to remove the chimney’s flue and smoke shelf.
Don’t forget to dispose of all rubble as you tear down the chimney. You can consider setting up a rubble chute to help you dispose of the debris.
Step 3: Finishes
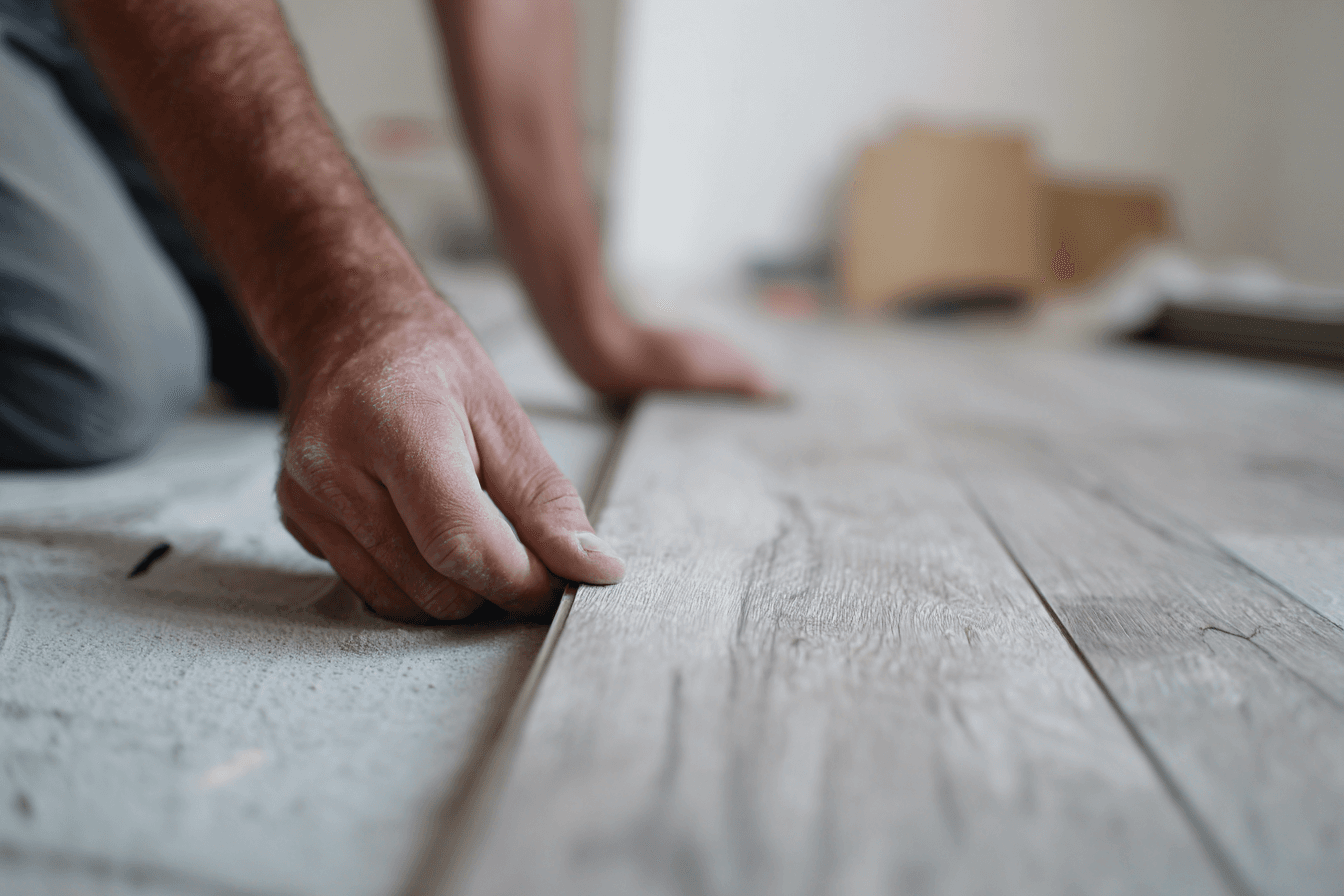
When it comes to this step, make sure to seal the hole left behind by the flue to prevent drafts. Then, clean the area around the rooftop and former fireplace, disposing of all waste and rubble. If need be, build a partition to close off the hole left behind and apply a coating over it to fully conceal what’s left of your former fireplace. At some point down the line, you may need to level the flooring.
Why hire a company specializing in chimney removal services?
Even though we’ve just detailed how to tear down a chimney, bear in mind that hiring a specialized service to do so comes highly recommended.
Indeed, chimney removal work is complex and may be hazardous. Note that chimneys are typically built into load-bearing walls. As such, removing a chimney can weaken your home’s structural integrity. If your chimney opens up into an open fireplace, poorly carried out work may result in your chimney flue and roof tumbling down, as well as other serious damages.
Here are other reasons why you should hire a professional for chimney removal services:
Professional Results
Hiring a company to tear down a chimney means benefiting from all the expertise and know-how to carry out such a project. As such, you’re guaranteed a flawless, professional and safe result.
Access to Necessary Demolition Tools
If you’re especially handy, you can start the demolition project yourself, but the lack of project-specific equipment will soon catch up to you. It’s best to hire a specialist as they will have the necessary tools and the expertise to use them to obtain flawless results. Furthermore, they have the necessary gear to protect your furnishings, flooring, and any other items found nearby during the process.
Effective and Swift Process
Chimney removal experts are trained with the latest and the best demolition techniques, allowing them to carry out the work swiftly and effectively compared to a weekend DIYer.
Rubble Removal
Note that such work leads to a build-up of rubble and dust. When hiring out the project to a qualified services company, they will handle waste removal at the end of the project. As such, it’s one less thing for you to worry about post-demolition.
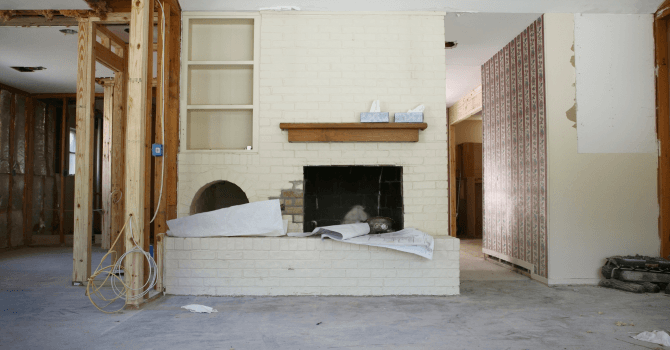
Pointers for Sealing Your Chimney Flue from the Inside
Source: Canva
Prior to insulating your chimney from the outside, we suggest proceeding with a final sweep. Then, seal off the chimney flue using removable insulation, such as mineral wool, rock wool, or glass wool. Make sure the flue line’s bottom and top parts are sealed. Next, use galvanized caps to block the chimney from the inside.
Moreover, we recommend using four wood planks to build the framework that will support the plywood sheet sitting against the former fireplace. Should the fireplace opening be over 60 cm wide, add a few crossbars to the frame. Lastly, add a plaster coating over the plywood panel and paint over it.
FAQ
Should I ask a professional or local expert before removing a chimney?
Yes. A chimney can hide structural, ventilation, or safety issues that aren’t obvious at first glance, so getting a professional opinion or advice from an experienced local builder is a smart first step. They can help confirm whether the chimney is independent, whether it supports any framing, and what hidden repairs or code-related concerns might come up before demolition starts.
Should I remove the whole chimney or only the part above the roof?
If the chimney is no longer needed, partial removal is often enough. Taking down only the section above the roof can stop leaks, reduce drafts, and simplify roof repairs. Full removal makes sense if you want to reclaim interior space or eliminate the chimney entirely, but it usually requires more structural support, floor patching, and finishing work.
Looking for something else?
Related articles
The latest industry news, interviews, technologies, and resources.
Cynthia Pigeon
•01 Jul 2026
Having your own home gym is the dream of many fitness enthusiasts in Quebec. Imagine no longer having to face January snowstorms or look for parking after a long workday just to lift weights. Your space is there whenever you need it, set up exactly the way you want it. It’s an exciting project that adds undeniable value to your quality of life and your property.

Editorial Team
•14 Jan 2025
Basement windows are often small and so they can easily be neglected. However, this doesn’t stop them from being the frontline barrier to keeping your home warm and protected against the outdoor conditions.
Cynthia Pigeon
•05 Dec 2025
Granted, you are not reading this out of interest, but out of necessity. Let’s face it, replacing a toilet is not an exciting renovation project... Nevertheless, if your toilet is in need of an upgrade, and even your guests can tell, you have no other choice but to buy a new one. But, how much is that going to cost and what options are available to you?

Léa Plourde-Archer
•08 Nov 2023
In an ideal world, each home would be equipped with at least one big and bright bathroom. However, such is not the case in most dwellings. Some homes only have the ability to contain a small bathroom, and in these instances, it’s important to work with what you’ve got. Of course, this doesn’t mean that renovating your small bathroom won’t lead to spectacular results. In fact, a small bathroom renovation can have a huge impact on comfort and design.

Amanda Harvey
•08 Nov 2023
Industrial style is excellent for the homeowner who is looking for a concept that lacks any sort of pretentiousness. The visual appeal and charm of industrial style lie in its ability to showcase utilitarian surfaces, stripped-back architecture and salvaged objects. If you’re looking to celebrate humble materials, then this is the home decor option worth considering!