What Type of Paint to Choose for Exterior Brick?
By Editorial Team
Updated on November 8, 2023
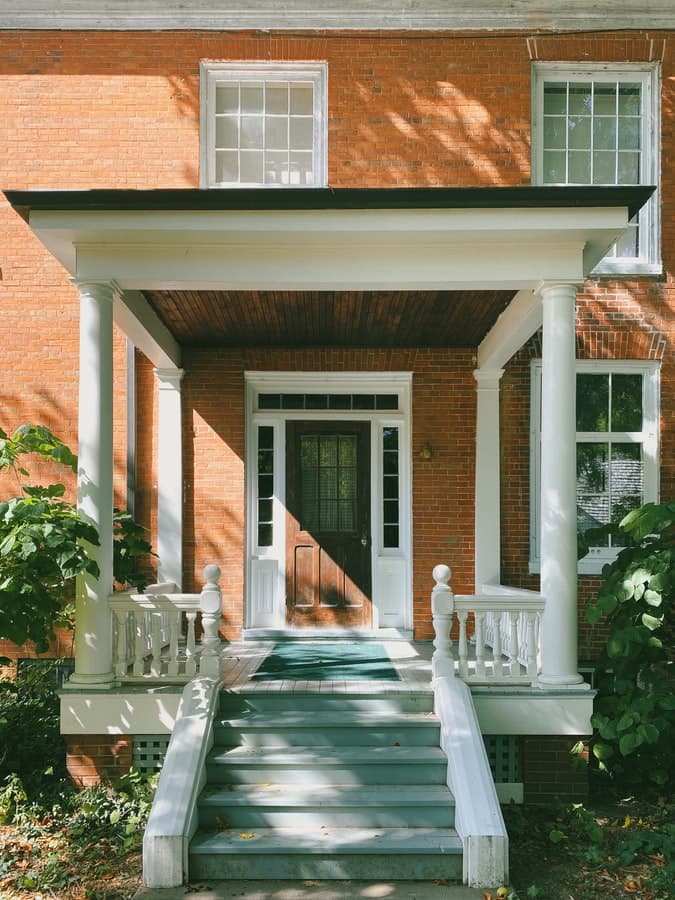
Is the exterior siding of your brick house starting to look a little worn? If the idea of bringing it back to its former beauty by restoring it has crossed your mind, you may have considered painting as an option.
Even though this is an effective way to improve the appearance of your exterior, you’ll still need to know the right products to use to do so. Here’s everything you need to know about it to make your project successful!
Painting your exterior brick siding
Before starting this project
Before starting your exterior painting project, it’s important to remove any peeling paint that’s already on the surface. Also, it’s essential to clean the coating well. Indeed, we must always keep in mind that brick is a porous material. Thus, it tends to accumulate a certain amount of dirt on its surface. For the paint to adhere well to your exterior, it will therefore be essential to clean it thoroughly and allow it to dry well before starting.
For the actual cleaning, it’s recommended that you use trisodium phosphate (P.T.S). This solution can be applied in many ways, whether using a brush or a roller. If you want to apply faster, purchasing a sprayer with a tank is an excellent idea.
In either case, you’ll need to devote a certain number of hours to cleaning due to the area to be covered and the necessity to brush the brick surface. At the end of the cleaning process, don't forget to rinse the exterior with a garden hose.
Painting exterior brick
A primer: is it necessary?

It should be noted that the answer to this question depends on the current brick colour. If it’s pale, you can apply the paint directly to your exterior. However, if the brick colour of the brick is rather dark, it’ll be better to cover it with a primer beforehand. Otherwise, it may be necessary to apply a very large number of coats to conceal it.
It should also be mentioned that brick that is a few years old could be more porous, making it exceptionally vulnerable to water infiltration. To improve the brick’s waterproofing and to reduce the chances of it prematurely deteriorating, it’s recommended to apply a water-based primer (Block Filler or a similar product) directly to the wall. The brick will be better protected and will thus benefit from a better chance at longevity.
Choose paint and tools
When it is finally time to paint your exterior siding, it’s recommended that you choose 100% acrylic latex paint designed specifically for exterior projects. This is a good choice because of the greater flexibility of this paint, which will allow it to adhere adequately to the brick as well as to the joints that run throughout the siding.
The question which now arises is what technique to use? Since you need to cover a large area, it might be tempting to consider spray painting. Nevertheless, it seems this method poses several problems. First of all, it should be noted that the majority of homeowners may not have the skills required to use it properly, which can lead to unsatisfactory results.
Instead, the traditional soft-bristled brush or a 15 or 20-millimeter long-haired roller should be used. Keep in mind that a roller with a shorter pile length than that previously mentioned may not be able to cover your joints well.
Secondly, we should mention that using a one-inch wide brush can be of great help if your joints are very hollow. Whether you select either of these options, be sure to choose quality products to maximize your chances of getting a quality result.
Regarding the type of finish, it’s advisable to choose a paint with a matte finish. This helps maintain the natural appearance of the brick and is better protected against humidity.
Applying paint to your brick wall
Once your exterior siding is ready to be painted, note that it’s best to apply two coats and allow each coat to dry for at least 4 hours. Regardless of the paint application recommendations, you should choose an appropriate temperature for your project.
Be aware that working in very hot weather is not ideal, as the paint may dry too quickly and not adhere properly to your siding. Moreover, working in very hot weather can make this project rather strenuous, which is even more severe when you take into account that the area to be painted is large.
Ideally, be sure to paint at a temperature of around 10 degrees Celsius and allow at least two consecutive days without rain. In fact, your exterior should not be exposed to rain for less than 12 hours after applying a coat of paint, especially since unseasoned latex paint is liable to be altered by water.
Let's go on to say that windy days will make it harder for you, as the wind can cause splashing in unwanted places such as soffits or window mouldings.
Do you need to make some repairs to your exterior before starting your painting project? Check out these articles:
How to replace a damaged brick
How to repair damaged mortar joints
Would you like to have an estimation of the cost of your next painting project? Try our cost estimator!
Get 3 renovation quotes from painting contractors
RenoQuotes.com can help you get quotes from qualified painting and renovation contractors for your interior brick wall. If you submit your project to us, we’ll put you in contact with the best masons in our contractor network. Fill in the form (it only takes a few minutes), and you will receive quotes from qualified masons and home renovation companies.
Dial 1-844 828-1588 to speak with one of our customer service representatives
Looking for something else?
Related articles
The latest industry news, interviews, technologies, and resources.

Editorial Team
•06 Feb 2024
Air spaces or cavities aren’t limited to double-glazing, they’re also found between the walls of your home. More specifically, air spaces are found between the walls that make up the structural envelope of your home.

Editorial Team
•08 Nov 2023
Albeit we rarely hear about potential sewer pipe issues that can hinder the proper use of sanitary facilities, those with older homes will, sooner or later, have to deal with such problems.

Amanda Harvey
•08 Nov 2023
When you think about your bathroom, you may not consider it a space with futuristic potential. The possibilities of our world have expanded as a result of technology, and of course, your home is the next logical step when it comes to enhancing your lifestyle.
Équipe éditoriale
•05 Dec 2025
A bathtub can be a serious luxury and a beautiful addition to any bathroom. But when a bathroom is outfitted with an older bathtub and you’d rather have a modern, walk-in shower, it can be an eyesore. In this case, you may be looking to transform your bathtub into a shower and wondering if this is possible.

Editorial Team
•28 May 2024
No one is above making a bad decision, hence why it’s so important to gain the necessary knowledge before carrying out a renovation project. Note that every municipality has a unique regulation, one that must be respected, otherwise, you risk exposing yourself to fines. A city also has the authority to halt any worksite or rescind any changes carried out post-construction.