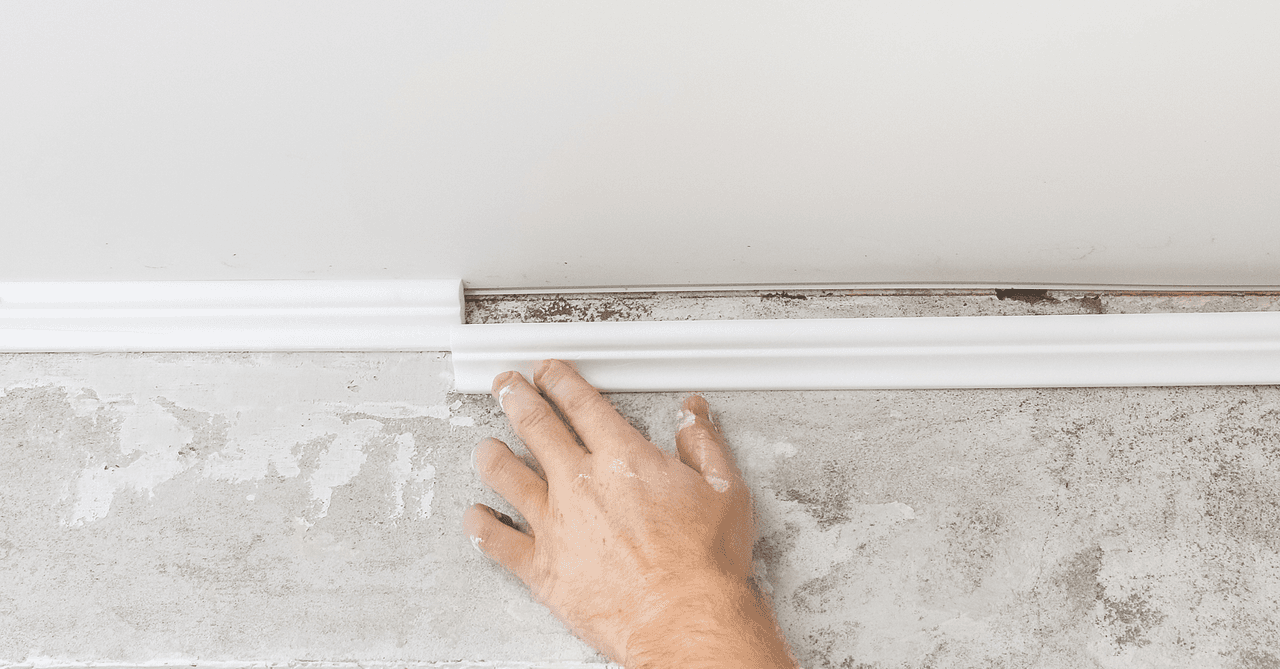
Are you in the process of renovating a part of your home and would like to create an impeccable finish? Adding moulding, like quarter rounds, is indispensable in this regard and will surely add a lot in terms of aesthetics. Want to know more about this type of moulding? Keep reading!
Quarter Rounds: A Quick Definition
Source: Canva
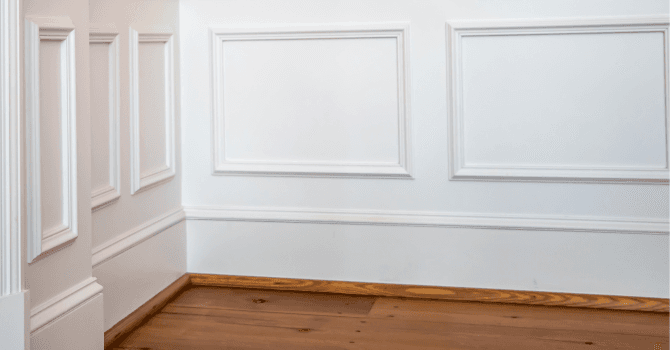
As its name implies, quarter rounds are mouldings that are shaped like a quarter circle. It’s usually affixed to the bottom section of walls, directly to it or on baseboards. It’s worth knowing that quarter rounds are also known as “trimming” or “shoe moulding.”
This type of trimming allows for concealing tiny imperfections that are often seen at the bottom of walls, given that flooring is often cut to suit the room’s dimensions. Even when the tiny imperfections are barely visible, quarter rounds make for a more refined finish and are a definite asset, aesthetically speaking.
Types of Quarter Rounds
When it comes to purchasing quarter rounds or trimming, you can choose between MDF or wood models. Keep in mind that if you opt for wood quarter rounds, you’ll have the option to choose between several essences. Obviously, the decision you’re faced with here really depends on the type of wood used for the flooring. Fun fact: For the less crafty individuals, peel-and-stick moulding does exist, which really makes the installation process that much simpler.
Installing Quarter Rounds
Source; Canva
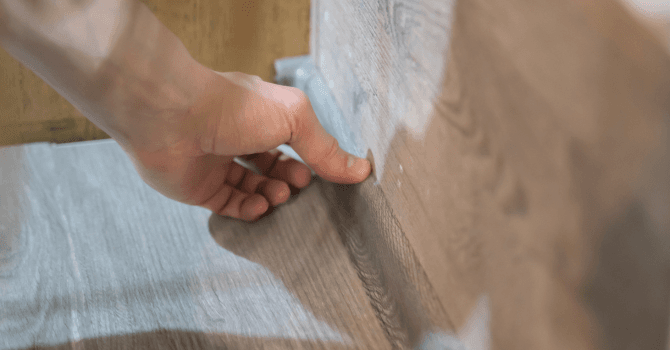
The installation process for quarter rounds is relatively easy. First off, you’ll have to determine the length required to trim the entire room. Note that it’s always best to purchase more moulding than the amount you actually need to avoid being inconvenienced in the event that one is incorrectly trimmed for a specific section of the wall. The next step consists of affixing them.
In case you’ve purchased unfinished quarter rounds, you may want to paint over the wood with a colour that matches that of the baseboards. Ideally, you’ll have to go through that step prior to installing them. That way, you won’t have to lay down some painter’s tape on the floor and wall to prevent paint from splattering or spilling onto either.
The next step will be to put the trimming in place. If they’re peel-and-stick models, you’ll simply need to affix them to the bottom of the wall. You’d rather nail them in place? In that case, you’ll need to have headless pin nails, which are as imperceptible as can be.
If you plan on nailing the trim directly into the wall, make sure that the nails are 5 cm long so that the moulding is solidly affixed to the bottom section of the framework. Before nailing the trim, as a precautionary measure, make sure that it’s correctly trimmed.
Lastly, if you opt to affix them with glue, choose neoprene glue or have a glue gun on hand. Note that it’s really important that the quarter rounds not be glued to the floor, but solely to the baseboards or walls.
To ensure a pleasing final result in regard to your wall trimming project, you'll need to cut the trimming at a 45-degree angle where the walls meet, creating inside and outside corners. This step excludes doorway edging. To prevent the latter from being too sharp, you have to trim them at a 15- to a 20-degree angle.
Need information about the various types of interior trimming and moulding? Check out our article all about it; you’ll find all the information you’re looking for! (French only)
Quarter Rounds: An Outdated Trend?
Some might say that adding trimming along the bottom of your wall is an outdated trend when it comes to residential renovations and that it’s best avoided. However, as we’ve briefly mentioned earlier, seeing imperfections at the bottom of walls is a far cry from an asset when it comes to a room's aesthetics.
Moreover, when laying the laminate flooring, you have to leave a gap (about 5/16 of an inch of space) between the planks and the wall's edge. In doing so, you may need to conceal this gap with a quarter round if there’s no baseboard already in place.
Want a few tips on how best to highlight your mouldings? Check out our article on the subject matter! (French only)
Get 3 quotes for your home moulding project
RenoQuotes.com can help you get quotes for your home moulding project. By submitting your project, we’ll put you in contact with top-rated contractors. Fill in the form on the homepage (it only takes a few minutes), and you will get estimates from trusted professionals.
Dial 1-844 828-1588 to speak with one of our customer service representatives.
Looking for something else?
Related articles
The latest industry news, interviews, technologies, and resources.

Editorial Team
•08 Nov 2023
Do you need to redo your exterior staircase soon? We’d say it’s a safe bet that you may have some doubts about the material choices. So what’s the best option for this type of project? In order to determine which material is right for you, we’re here to offer some things to think about.

Editorial Team
•15 Nov 2024
Have you heard about heat pumps? These innovative and energy-efficient systems are not only environmentally friendly, but they require little maintenance to provide long-lasting heating and cooling to your home.

Amanda Harvey
•08 Nov 2023
If you’re walking from one room to another and notice a slant in your floor that falls to the left or right, don’t panic. Although feeling a dip or a sag in your floor might initially bring anxiety, don’t get too bent out of shape about it. Chances are an uneven floor is pointing to a deeper problem, yet although there might not be a quick fix or solution, there are still some methods you can take to deal with the issue.

Léa Plourde-Archer
•08 Nov 2023
With the new year starting and the wind of renewal that is blowing in, paint companies are currently announcing their colour of the year. These companies are offering eclectic and creative palettes, which perfectly follow the trends of the coming year.

Editorial Team
•13 Aug 2025
Plenty of industries and various fields are adapting and evolving by introducing new technologies to their production procedures. Even in the construction sector, we’ve been noticing the rise of 2.0 methods, such as virtual or augmented reality, as well as robots working their way around construction sites.