Foundation Crack Repair: Methods, Costs and Advice in Canada
By Cynthia Pigeon
Updated on October 21, 2026

Have you spotted a crack in your home's concrete foundation and want to repair it before it gets worse? The good news is that most cracks can be repaired from the inside by injecting either a filler, cement, sealer, or resin, usually within a few hours and without excavation. The key is identifying what type of crack you are dealing with, since the diagnosis determines the repair method, product and cost.
This guide explains how to identify a foundation crack, when a DIY repair is in the cards, when the work should be left to a professional, and how to help prevent new cracks from appearing.
Types of Foundation Cracks
Source: Reno Quotes
Active Cracks
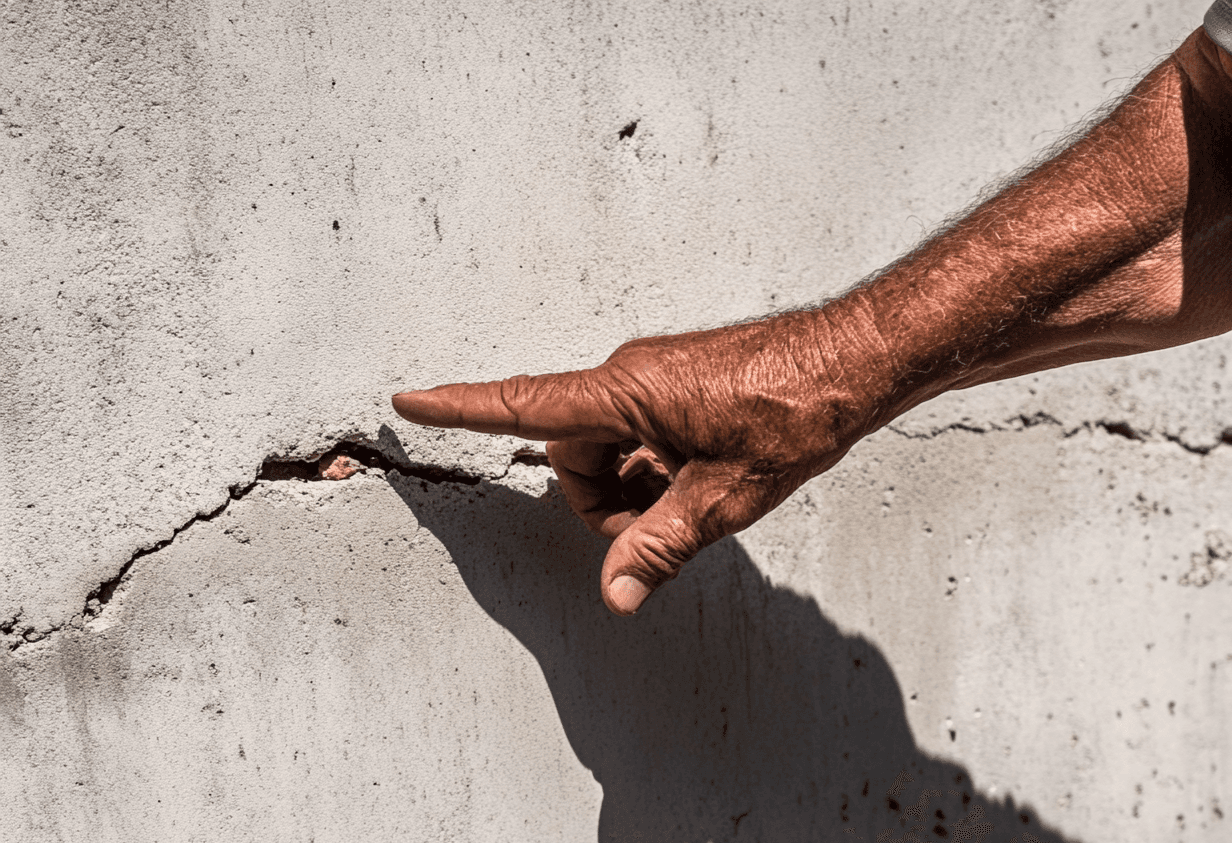
There are two main types of foundation cracks: active and passive. Active cracks tend to change over time and may continue to widen. They can be caused by soil settlement, frost or poor drainage. Because they may affect the stability of your home, they require close attention.
Foundation expert Sébastien Déry explains that there are several types of foundation cracks, including vertical, horizontal, star-shaped, and structural cracks.
How can you tell whether a crack is active? One recognized method is to measure its width during the summer, then mark the foundation directly or install crack-monitoring strips. A crack gauge, available at hardware stores, provides more precise monitoring. Check again the following spring after a complete freeze-thaw cycle. If the crack has widened noticeably, it is active.
Passive Cracks in a Foundation
If the crack you are monitoring has not changed, it is probably passive. This type of crack is less likely to expand over time. It is relatively stable and may be caused by concrete shrinkage during curing or poor material compaction during construction.
Because these cracks do not continue to widen once the foundation has stabilized, usually after the first or second year of the home's life, they do not necessarily need to be repaired immediately. However, they should be sealed if they allow water to enter.
Reading a Crack: Shape, Width and Location
The shape of a crack can reveal a great deal about its cause and urgency.
Type of Crack | Possible Diagnosis | Priority Level |
Fine vertical crack | Concrete shrinkage during curing, the most common situation | Low |
Diagonal crack | Differential settlement at one corner of the foundation | Moderate to high |
Stair-step crack in concrete blocks | Soil movement or settlement | High |
Horizontal crack | Lateral soil pressure against the wall | High, prompt intervention required |
Star-shaped crack | Localized impact or weak point | Variable |
Width matters just as much. A crack wider than 3 mm, or approximately 1/8 inch, is no longer a straightforward injection repair and should be professionally assessed. A horizontal crack, regardless of width, deserves immediate attention because it may indicate that the wall is being subjected to excessive pressure.
Location also matters. A crack below grade may allow water to enter, while a crack above grade is often primarily cosmetic.
Causes of Foundation Cracks
Source: Déneigement Gendron inc.
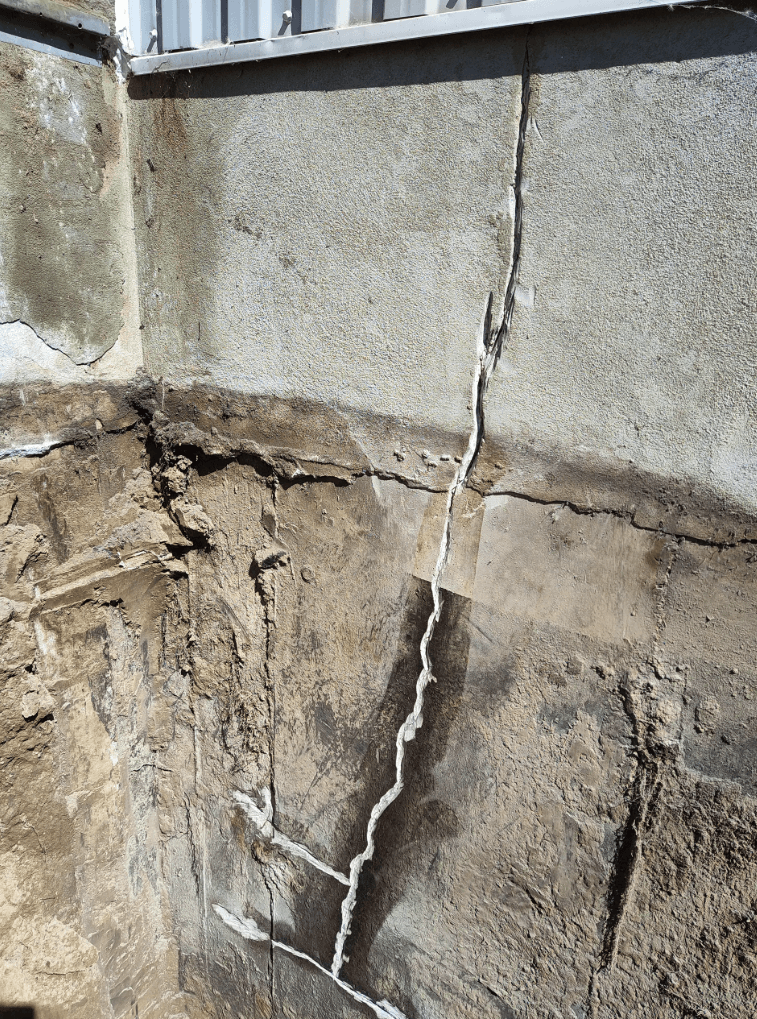
Understanding the source of the problem helps prevent you from having to repair the same crack twice.
Freeze-thaw cycles: Quebec and many other Canadian regions experience repeated freeze-thaw cycles. Water in the soil expands when it freezes, placing pressure on foundation walls.
Soil movement: Clay soil expands and contracts as its moisture content changes. Uneven distribution of the home's weight can make the problem worse.
Water infiltration and drainage: A clogged French drain, also known as weeping tile in much of Canada, or grading that directs water toward the house can create constant hydrostatic pressure against the foundation.
Tree roots: A mature tree planted too close to the house can dry the soil unevenly, potentially contributing to differential settlement.
Concrete properties: Poor-quality concrete or concrete poured under unsuitable hot or cold weather conditions may develop more shrinkage cracks.
Construction defects: Poorly compacted backfill or an inadequately sized footing can lead to problems that often become visible during the home's first few years.
Groundwater movement: A high or fluctuating water table can create changing pressure around the entire foundation.
When Should You Worry About a Foundation Crack?
An active crack requires prompt attention, while a passive crack can sometimes be monitored before deciding whether to repair it. However, certain warning signs suggest that the problem may extend beyond the crack itself and affect the structure.
Contact a professional promptly if you notice:
A horizontal crack, regardless of width
A crack wider than 3 mm or one that grows from season to season
Doors or windows that stick or no longer close properly
Floors that become soft or begin to slope
Visible structural settlement
Moisture, mould or musty odours in the basement
Water entering through the crack during heavy rain
These signs may be indicative of an underlying structural or drainage problem. Simply sealing the crack without addressing its cause can hide the symptom while the movement continues.
Spring is often a good time to inspect foundations in freeze-thaw climates because the winter cycle can reveal whether a crack has changed.
Can You DIY Repair a Foundation Crack?
Source: Fissure et drain Soucy
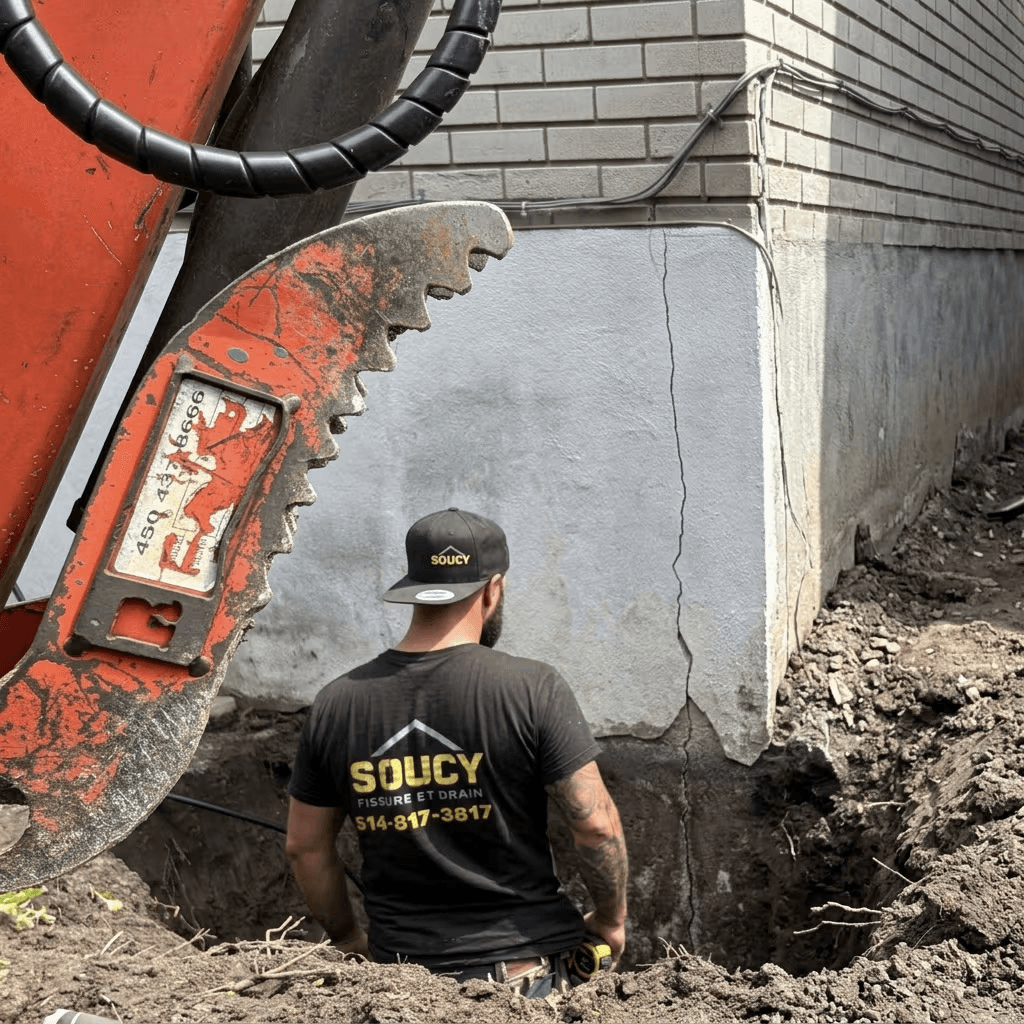
This is one of the first questions many homeowners ask, and the answer depends entirely on the diagnosis.
A DIY repair may be considered only if all of the following conditions are met:
The crack is vertical and less than 3 mm wide
It is passive, confirmed by monitoring it through at least one freeze-thaw cycle
It is dry, with no evidence of water infiltration
It is accessible from inside the basement
There are no other signs of structural problems
Leave it to professionals in all other cases, particularly when the crack is horizontal, active, wet, wider than 3 mm, or located in a concrete-block foundation rather than a poured-concrete wall.
Foundation crack-sealing kits sold at hardware stores generally cost between $85 and $350. They are intended for small, dry and stable cracks. When used on an active or leaking crack, the repair may fail after a few seasons, and a temporary seal can sometimes make a later professional repair more difficult by blocking injection access.
A professional repair also normally comes with a written warranty, which a DIY repair does not. This documentation may be important when the property is eventually sold.
How to Repair a Foundation Crack
Source: Construction Roy Inc.
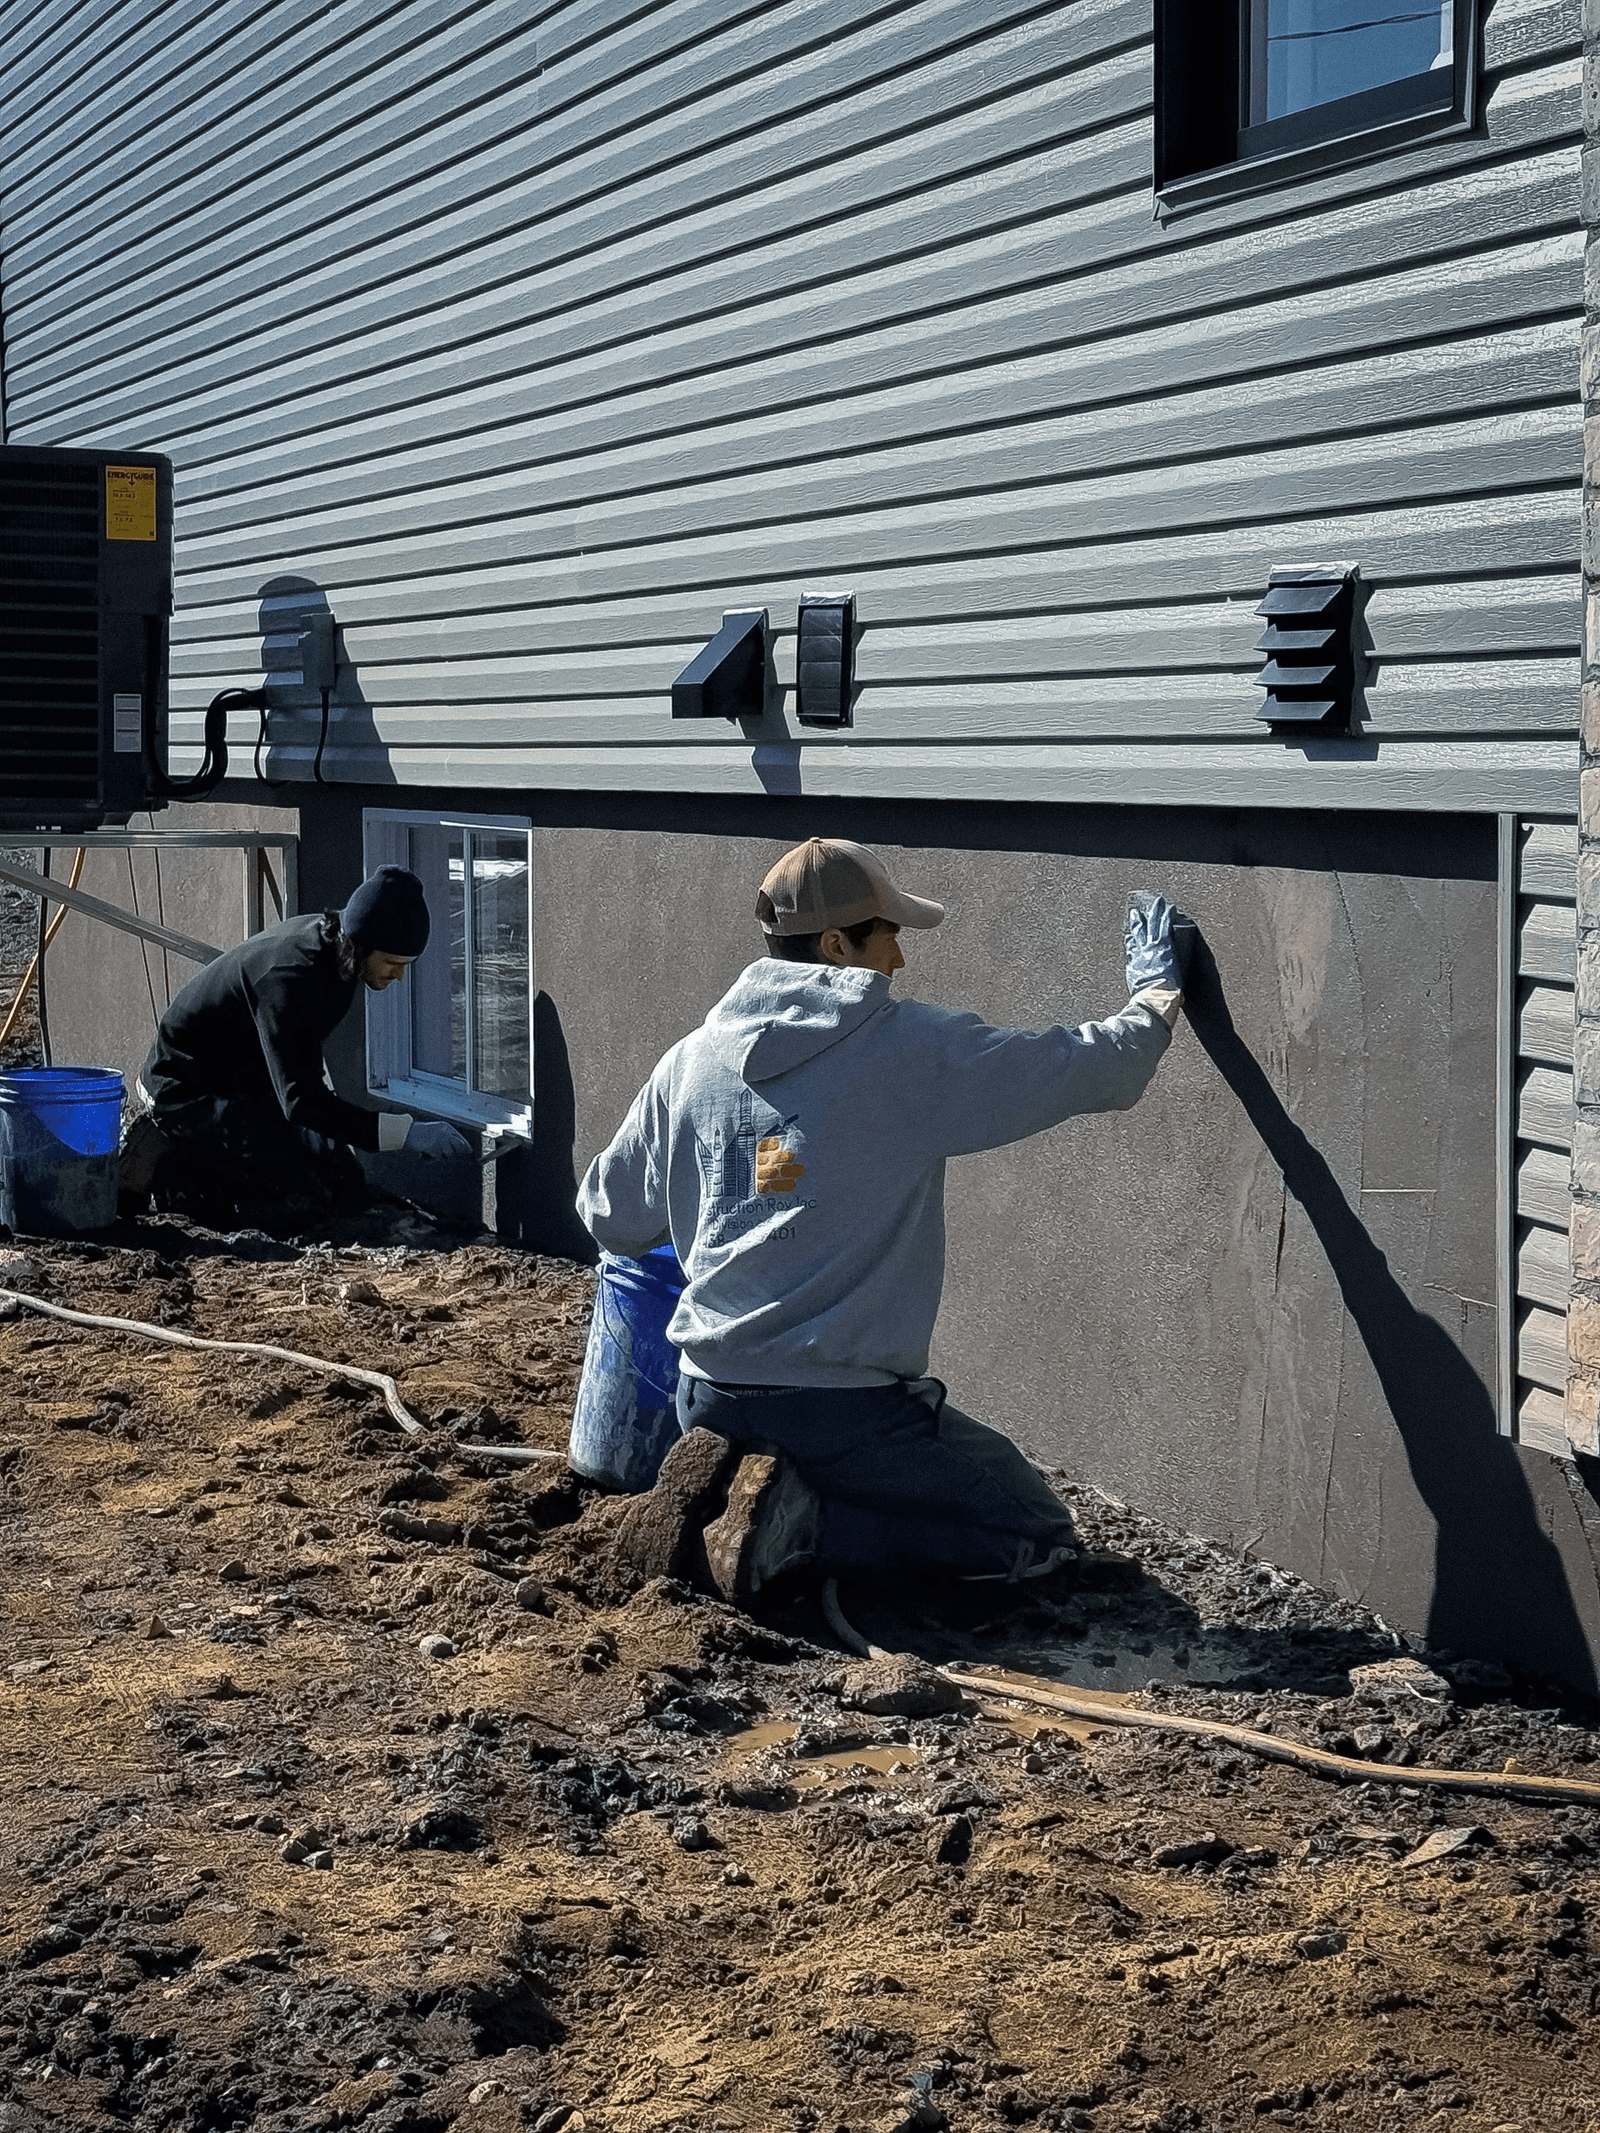
Choosing the right material is critical to keeping a foundation watertight. According to contractor Sébastien Déry of Solutions Fondations Rive-Sud, two products are commonly used to repair interior foundation cracks: polyurethane injection and epoxy injection.
There are two main approaches: repairing the crack from the inside or repairing it from the outside.
Opinions differ on the best method out there. In a review published by La Presse, several specialists considered interior repairs to be a shorter-term solution and preferred exterior work. André Gagné, director of technical expertise at the APCHQ, disagreed with that blanket assessment, explaining that both approaches can be appropriate depending on the conditions.
For a minor crack, an interior repair may be possible. According to Déry, the injection itself can take approximately 45 minutes per crack. If the damage is more extensive or an active crack is suspected, an exterior repair may be preferable, although proceeding as such requires excavation.
Work with a qualified professional who can recommend the appropriate technique. In Quebec, contractors performing regulated work must hold the appropriate RBQ licence and applicable subclasses, as well as the required bonds and insurance. Elsewhere in Canada, licensing and contractor requirements vary by province and municipality, so verify the requirements applicable in your area.
For more information, see our article, "Repairing Concrete Cracks With Epoxy or Polyurethane?"
Repairing a Crack From Inside or Outside?
Source: Construction APC
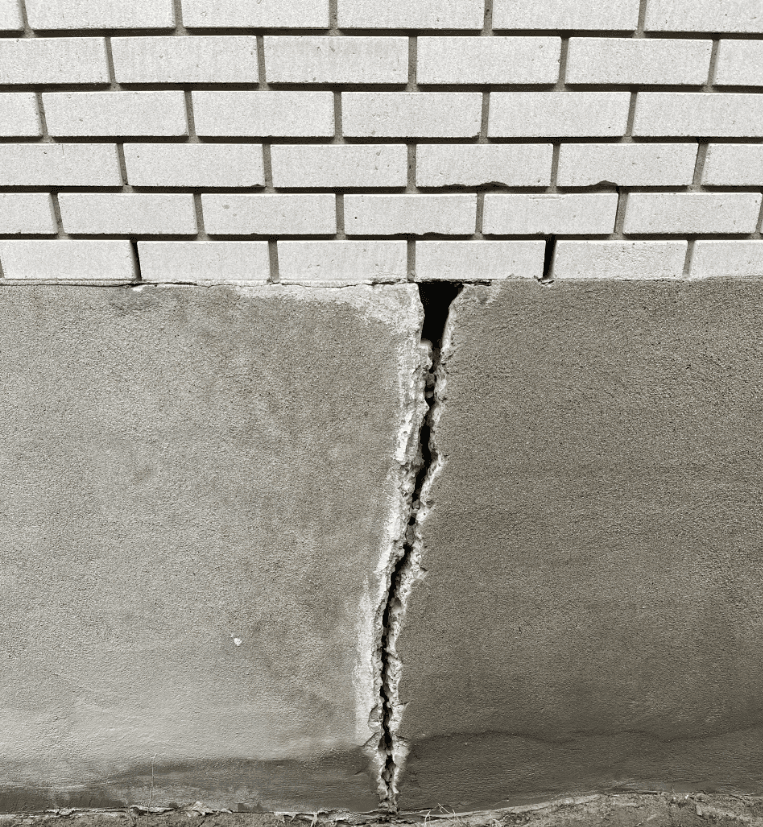
Foundation crack repairs generally follow one of two approaches: injection from inside the basement or excavation along the exterior foundation wall. The repair method should be based on the diagnosis rather than preference.
Interior repair works in many situations where the crack is accessible, the wall is made of poured concrete, and the foundation drain or weeping tile is functioning properly. Exterior repair is the best course of action when the crack cannot be accessed from inside, the wall is made of concrete blocks, water infiltration is chronic, or the drainage system needs to be replaced anyway.
From the Inside | From the Outside | |
Duration | 2 to 5 hours | 3 to 7 days |
Excavation | None | Down to the footing |
Relative cost | Reference | Approximately 3 to 5 times higher |
Landscaping | Remains intact | May require restoration |
Suitable for DIY | In certain limited cases | No |
As André Gagné of the APCHQ has noted, both approaches can be appropriate depending on the conditions. A contractor who automatically recommends excavation for every crack, or who dismisses exterior work outright for chronic water infiltration, may be worth comparing with a second quote.
Repairing a Foundation Crack From the Inside
This method is used for many foundation cracks in Quebec and throughout Canada. Work is done from the basement, negating the need for excavation, and generally takes 2 to 5 hours, depending on the product and the conditions.
Prepare the surface: Clean the crack and surrounding concrete, removing paint, dust and loose concrete.
Install injection ports: Drill at an angle along the crack at regular intervals and install the injection ports and fittings.
Seal the surface: Apply a fast-setting cementitious coating along the entire crack between the ports to contain the injection material under pressure. Allow it to cure.
Moisten the crack for polyurethane: Clean the holes and introduce a small amount of water when required by the polyurethane system. The moisture triggers expansion of certain polyurethane products. Epoxy systems do not require this step because their components react when mixed.
Inject under pressure: Using an injection pump, inject the material through each port, beginning at the lowest point. Move to the next port when material begins to emerge from it, indicating that the cavity has been filled.
Inspect and finish: Confirm that the material has travelled evenly through the crack, then remove the ports and finish the surface once curing is complete.
Curing time typically ranges from 24 to 72 hours depending on the product and temperature. The basement can often be used again after a few hours once any odour has dissipated.
Why this method works: Unlike a surface sealant, pressure injection pushes the repair material into the depth of the crack through the thickness of the wall. This is the difference between simply covering a crack and filling it.
How Is an Exterior Foundation Crack Repair Done?
This method requires excavation and should be performed by a contractor. The following typical process can help you evaluate a quote and understand what you are paying for.
Excavate: The contractor clears the work area manually or with machinery and excavates to the foundation footing.
Clean the foundation: Soil, debris and deteriorated concrete are cleaned off the foundation wall.
Drill: Holes are drilled at about a 45-degree angle to install the injection ports.
Moisten the crack: The crack is cleaned with water to prepare it for the repair product, where required.
Inject: Flexible polyurethane is injected under pressure to fill the crack through the thickness of the wall.
Reinforce if required: Steel plates, clamps, carbon fibre or other engineered reinforcement may be installed where structural conditions require it.
Waterproof: A waterproofing membrane is applied over the exposed foundation surface.
Protect the membrane: A drainage/protection membrane or insulation board may be installed over the waterproofing system.
Allow the material to cure: The contractor allows adequate curing time before testing or backfilling.
Backfill: Excavated material is replaced, and the surrounding property is restored.
According to Sébastien Déry, the duration of exterior work depends on factors such as excavation depth, access and equipment operation. A complete excavation and membrane installation may typically take approximately 3 to 7 days.
Ask for a photo of the waterproofing membrane before the excavation is backfilled. Once the soil is replaced, this part of the work can no longer be inspected visually.
Materials and Equipment Used
Polyurethane
Hydraulic injection pump
Injection ports and fittings
Excavation equipment
Stiff-bristle brush
Drill
Steel plates or clamps where required
Waterproofing membrane
Elastomeric membrane, drainage membrane or protective insulation board
How Much Does Foundation Crack Repair Cost?
Source: Rejean Rivard
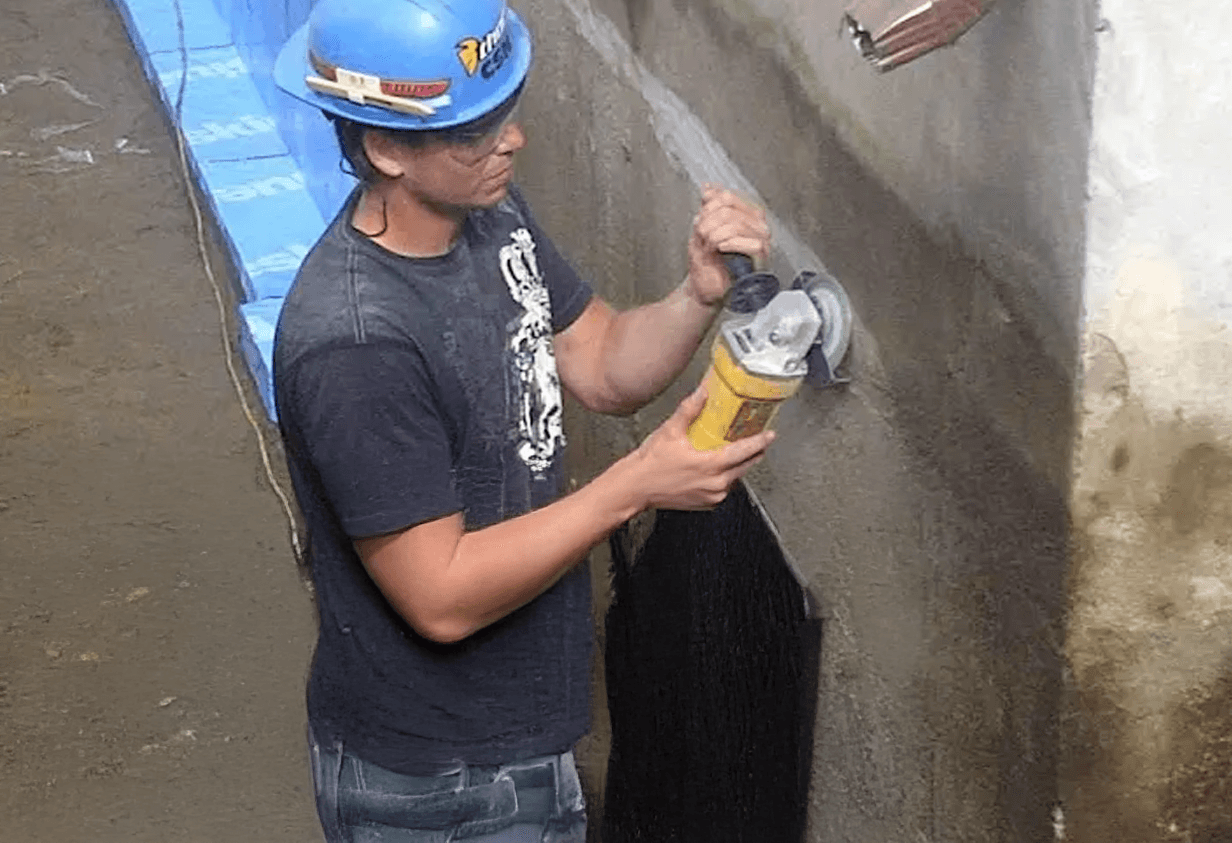
The cost depends largely on the repair method, which in turn depends on the type and condition of the crack. Across Canada, a straightforward interior crack injection generally costs about $500 to $1,500 per crack. More extensive sealing and waterproofing work can cost between $2,000 and $6,000, while exterior excavation and structural repairs can increase the total substantially.
In Quebec, interior injection can generally range from approximately $300 to $1,500 per crack, while exterior work involving excavation and a waterproofing membrane can cost several thousand dollars.
A professional foundation assessment may cost approximately $200 to $800 in Quebec, depending on the professional and the scope. Engineering reports or more extensive structural assessments elsewhere in Canada may cost more.
Foundation Crack Repair Costs in Major Canadian Cities
Published prices vary significantly between contractors because the scope of an "exterior repair" is not standardized. Some companies quote by crack, others by linear foot, and others by complete wall or project. The following ranges should therefore be used as planning estimates rather than direct quote comparisons.
Major Canadian Market | Interior Crack Injection | Exterior Repair / Excavation |
Montréal / Greater Montréal | Approximately $400 to $700 per typical crack; complex injections may reach $1,000 to $1,500 | A complete excavated wall rehabilitation with waterproofing and drainage can range from approximately $12,000 to $30,000 |
Toronto / GTA | Approximately $500 to $1,500 per crack, with many polyurethane repairs around $750 to $1,000 | Approximately $2,000 to $4,000 for a localized exterior crack repair; broader excavation is often priced around $150 to $250+ per linear foot |
Ottawa | Approximately $300 to $1,200 per crack depending on leakage and complexity | Approximately $3,000 to $7,000 for a localized exterior excavation repair; larger wall sections can cost more |
Vancouver / Metro Vancouver | Approximately $250 to $700 for many standard interior injections, with more complex cases costing more | Approximately $1,500 to $4,000 per crack for localized excavation and exterior repair |
Calgary | Approximately $500 to $1,500 per crack is a useful planning range for injection; structural cracks can cost considerably more | Extensive exterior foundation projects involving excavation may range from approximately $20,000 to $40,000 depending on scope |
These prices are for reference only. The actual cost depends on crack length and width, foundation depth, access, water infiltration, soil conditions, finished basement surfaces, landscaping, excavation requirements and whether structural reinforcement is required.
Check your home insurance coverage before assuming the work will be reimbursed. Many standard policies exclude damage resulting from gradual settlement, soil pressure or chronic moisture. Coverage can vary substantially by insurer, province and cause of loss.
What Factors Affect the Cost of Foundation Crack Repair?
Two similar-looking cracks can result in very different repair bills. The final price comes down to where the crack is located, whether it is changing, and the repair method required to provide a durable solution.
The main factors include:
Accessibility: An easily accessible crack from the basement is generally easier and less expensive to repair than one hidden behind a finished wall, staircase or mechanical installation.
Width and depth: A small surface crack does not require the same intervention as a crack extending through the entire wall or one accompanied by water infiltration.
Foundation type: A poured-concrete wall can often be repaired by injection, while a concrete-block, stone or other foundation may require a different approach.
Condition of the drainage system: A deficient foundation drain or weeping tile system, or water accumulating against the foundation, may make a simple crack repair insufficient.
Exterior access: A deck, walkway, pool, mature landscaping or narrow side yard can make excavation more difficult and increase labour costs.
Soil movement: Unstable soil or soil that expands and contracts with moisture changes may require the underlying cause of movement to be addressed before the crack itself is repaired.
For these reasons, an inspection is important before comparing quotes based on price alone.
How to Prevent New Foundation Cracks
Repairing a crack without addressing its cause may simply postpone the problem. Prevention largely depends on managing water and soil conditions around the foundation.
Drainage: A functioning foundation drain or weeping tile system is an important line of defence. If it is clogged or at the end of its useful life, water pressure can continue to affect the foundation regardless of the quality of the crack repair. See our article on foundation drain installation and foundation waterproofing.
Eavestroughs and downspouts: They should direct water well away from the foundation. A downspout that empties directly beside the wall can saturate the soil and increase water pressure against the foundation.
Grading: The ground should slope away from the house. As a general rule, approximately 15 cm of drop over the first two metres provides roughly a 7.5% slope. Local building and landscaping requirements may differ, so the objective is to maintain positive drainage away from the building.
Trees near the foundation: Large trees should be planted far enough from the house to reduce the risk of roots and uneven soil moisture affecting the foundation. Appropriate distance varies by tree species, mature size and soil conditions.
Indoor humidity: A basement dehumidifier does not prevent foundation cracks, but controlling moisture can reduce condensation and mould and may make signs of water infiltration easier to detect.
Heavy materials: Avoid piling soil, lumber or construction materials directly against the foundation wall, as this can add unnecessary lateral pressure.
Soil stabilization: On clay-rich properties, managing drainage and major fluctuations in soil moisture can help reduce repeated expansion and contraction.
How to Hire the Right Contractor to Repair a Foundation Crack
Source: RenoQuotes
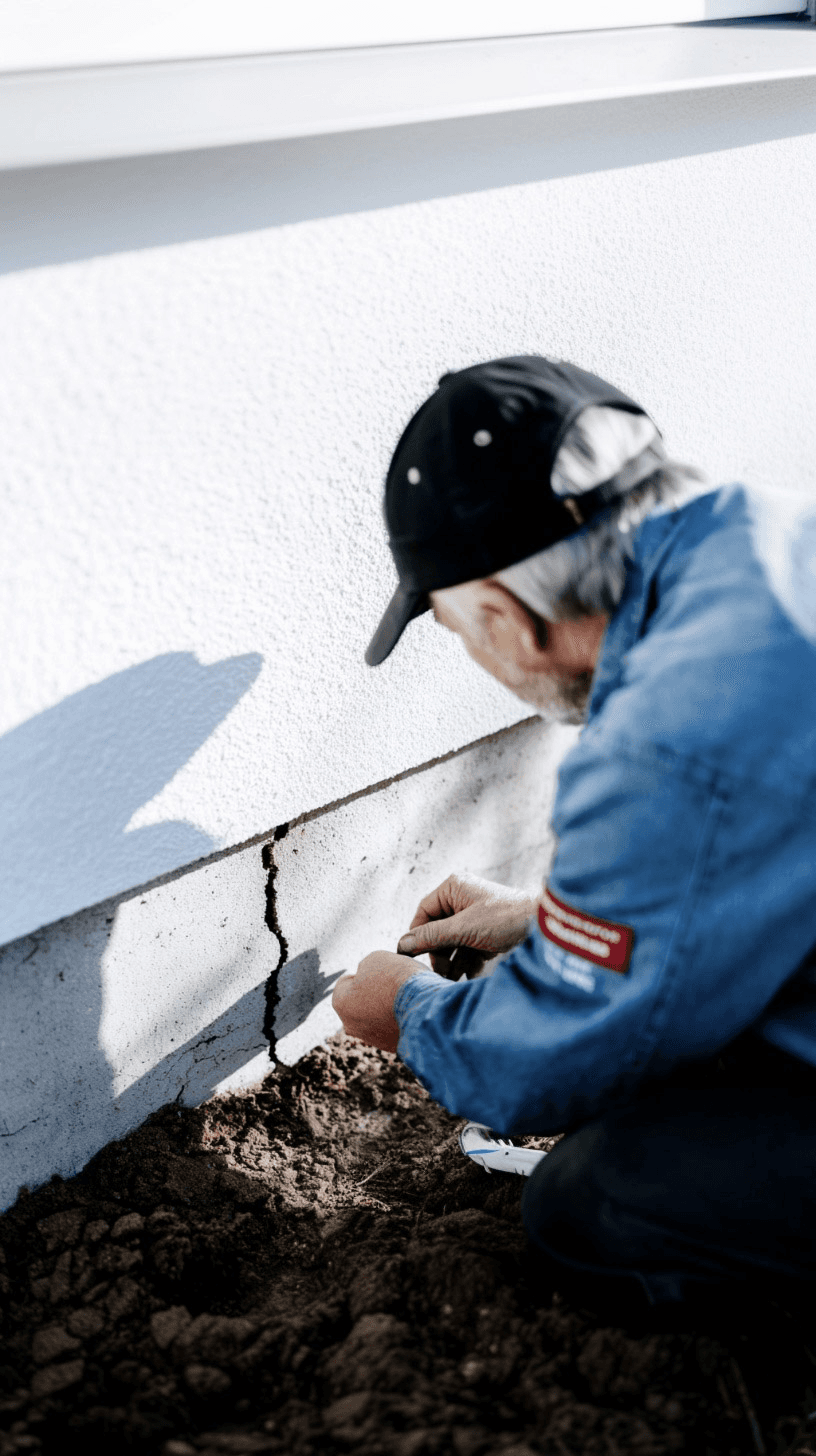
Before signing a contract, verify the contractor's credentials and make sure they are authorized to perform the proposed work.
In Quebec, verify that the contractor holds a valid RBQ licence and that the licence subclasses correspond to the work being performed.
Elsewhere in Canada, contractor licensing, trade certification, building permit and engineering requirements vary by province and municipality. Check the requirements that apply in your jurisdiction, particularly when excavation, underpinning or structural modifications are involved.
Also verify:
Liability insurance
The exact scope of work included in the quote
The proposed repair method and why it was selected
The length and conditions of the warranty
Whether landscaping and other site restoration after excavation are included
Whether an underlying drainage problem is included in the scope
Beware that the same solution is suggested automatically without a diagnosis. An interior injection can be entirely appropriate for certain cracks, while other problems require excavation, waterproofing, drainage work or structural intervention.
Ask for a written warranty and keep the invoice, photographs and all documentation relating to the repair.
Keep Proof of the Repair
A repaired foundation crack does not necessarily need to become a problem when selling your property. However, keep the invoices, warranty, photographs and, where applicable, inspection or engineering reports.
These documents can demonstrate what was repaired, which method was used and which company performed the work. They can also make discussions with a home inspector or prospective buyer easier.
FAQ About Foundation Crack Repair
How long does foundation crack repair take?
An interior polyurethane injection generally takes approximately 2 to 3 hours, while an epoxy injection can take approximately 3 to 5 hours depending on preparation and access. An exterior repair involving excavation and a membrane may take approximately 3 to 7 days. Product curing time can range from 24 to 72 hours depending on temperature and material.
Do you have to excavate to repair a foundation crack?
Not in most cases. Interior injection is appropriate for many cracks in poured-concrete foundations. Excavation may become necessary when the crack cannot be accessed from inside, the wall is made of concrete blocks, water infiltration is severe or the French drain/weeping tile needs to be replaced.
How long does an injection repair last?
The lifespan of a repair depends heavily on the product, installation quality, crack movement, water pressure and whether the underlying cause has been corrected. A properly completed injection can last for many years, but no repair should be considered permanent if continuing settlement or drainage problems remain unresolved.
Is a foundation crack dangerous?
A fine vertical crack is often less concerning than other crack patterns. A horizontal crack is more serious because it can indicate lateral soil pressure against the wall. Any crack accompanied by wall displacement, continuing movement or water infiltration should be professionally assessed.
Can a foundation crack be repaired in winter?
Interior injection can generally be performed year-round because the work takes place from inside the basement. Exterior excavation depends on climate and ground conditions. In Quebec and other cold Canadian regions, this work is generally easier to schedule when the ground is not frozen.
Are foundation repair kits from hardware stores effective?
They may be suitable for a small, dry, vertical and stable crack measuring less than approximately 3 mm. They are not appropriate for active, structural or leaking cracks. Using a surface product on the wrong type of crack may fail to solve the underlying problem and can complicate later repairs.
Is foundation crack repair covered by home insurance?
Not usually when the damage results from gradual settlement, soil pressure, deterioration or chronic moisture. Sudden and accidental damage may be treated differently depending on the policy and cause. Check your insurance contract and speak with your insurer before beginning the work.
Do preserved-wood foundations crack too?
Preserved-wood foundations (PWF) do not crack in the same way as concrete, but they can experience other problems, including wood deterioration, movement at connections and water infiltration at joints. They should be inspected by a professional familiar with this type of foundation.
What should you do if a foundation crack reappears after repair?
A recurring crack can indicate that the underlying cause has not been corrected, such as continuing settlement, soil movement or a drainage problem. If the repair is still under warranty, contact the original contractor first. The drainage system, grading and structural conditions may also need to be evaluated before repairing the crack again.
Looking for something else?
Related articles
The latest industry news, interviews, technologies, and resources.

Editorial Team
•08 Nov 2023
Wood window frames add a naturally beautiful element to both the interior and exterior of your home. However, as with everything of natural beauty, wood needs to be carefully looked after so that it can continue to have pure charm and appeal. You can easily extend the life of wood frames by making sure they are properly inspected and maintained, saving time and money in the long run.

Editorial Team
•05 Dec 2023
A pergola is a great alternative to a traditional patio umbrella. Not only does this sunshade provide a more aesthetic appeal compared to the latter, but it also offers a wide range of options in terms of materials and sizes. On top of that, it doubles as a permanent patio lounge area, while still shielding you from the elements. Despite being exposed to Canada's harsh East Coast climate and other elements, preserving its condition for many years to come requires meticulous care and maintenance.
Léa Plourde-Archer
•17 Feb 2025
Are you planning on renovating your kitchen? This process can be long and complicated, as it involves several steps as well as a number of factors that can affect the price, the duration of the work and the durability of the materials.
Editorial Team
•23 Mar 2026
For any property that's not connected to a municipal sewer system, putting in a septic system is a must. To demystify its functioning, on top of the recommended damage protection methods, we bring you the following article.
Editorial Team
•31 Mar 2025
Are you a homeowner with an oil-fueled heating system? Note that replacing this type of heating system comes highly recommended. If it’s money that’s standing in your way, rest assured, there are financial assistance programs designed to help you achieve your goal.