7 Different Window Styles to Consider for Your Home
By Editorial Team
Updated on June 11, 2025

When it comes to bringing more light into your home, there is nothing better than natural light. Filling your home with sunny daylight won’t just change the atmosphere, warming it up, but it can also help make you happier while also providing a steady dose of vitamin D.
So, if you have the opportunity to introduce natural light into darker spaces, then it is highly recommended. To help you with making your home brighter and in turn cozier, we’ve compiled a list of 7 beautiful window styles that will help transform your home, along with their average prices.
The different types of windows and their prices
Double-hung windows

Source: Canva
Double-hung windows are a very classic design that has been around for centuries. Their setup makes for effective ventilation and also lets in lots of light, which is why they’re still popular today. These highly efficient windows also have an interesting design feature, which is that they open both at the top and the bottom of the frame. When open at the top and the bottom, double-hung windows allow warm air to leave through the top and cooler air passes through the bottom half.
This ability to open on both ends is also great for cleaning since it easily allows you to clean both sides of the window pane from the inside. The only major drawback is that when both upper and lower parts are open, airflow is somewhat limited as both openings are smaller than if only one were open, which can impede airflow to some degree.
A double-hung window can cost between $400-$1,100.
Casement windows
Casement windows are another unique style of windows. This is thanks to their design which sits on hinges and features an opening mechanism that uses a lever. When the lever is turned, the window begins to open vertically, since the hinges are on the side of the window. Casement windows excel in keeping the space well ventilated, as opening at the proper angle will allow cool air to flow in more directly.
Since they use a solid piece of glass without any moving parts other than the hinge, casement windows offer a great air-resistant barrier which means they are very well insulated. The biggest downside of casement windows is based on how they open, which is limited to an opening of about 5 inches. This might not significantly obstruct airflow into the room, however, it may not appeal to you.
A casement window can cost between $350-$1,200.
Awning windows

Source: Canva
Awning windows are also hinged windows but open in a very different way than their casement cousins. The hinge on the awning windows is located at the top meaning the window opens outwards. Their name comes from the awning-like effect that can keep the elements out during a storm.
Another appeal of the awning window design is that it’s not filled with frame pieces so your view is completely unobstructed. This is great for a room with a view or just simply to let more light in. The disadvantage to awning windows is that they’re more difficult to clean since the outer side of the glass is hard to reach when open.
A awning window can cost between $400-$1,000.
Transom windows
Transom windows are somewhat different than the other models in that they are used more as architectural accents rather than standard windows. They are most often found around a door in order to brighten the space up and while some models don’t open or close, others can be opened like awning windows.
Therefore, their status as purely decorative accent windows doesn’t limit their functionality. In fact, it doesn’t stop transom windows from providing great ventilation while also bringing more light into the room. Unfortunately, due to their positioning above the door, those transom windows can be somewhat cumbersome to clean, this being the biggest drawback of this design.
A transom window can cost between $500-$1,200.
Stationary windows

Source: Canva
Stationary or picture windows do not open but instead, are meant to offer sweeping views of the outdoors while allowing generous amounts of natural light to flood the space. Of course, for proper ventilation stationary windows need to be combined with other operable window styles throughout the home. This style of window is very aesthetically pleasing and is often found in homes that have a more modern design throughout.
A picture window can cost between $300-$1,300.
Bay windows
Bay windows are some of the most luxurious options for your home. This is because a bay window truly opens up the space by providing more floor space since it extends past your walls, creating a bay-like space. This window style is exceptional for letting in copious amounts of light while giving you an enhanced view. The only real downsides of bay windows are that they can cost a lot to install and are not really suitable for every room in the house.
A bay window can cost between $1,550-$4,050.
Arched windows
Arched windows are beautifully timeless and evoke a very classical feeling, as they have been used since Roman times. The unique arch design will definitely add to the curb appeal of your home while also helping to bring it light.
It is recommended to install arched windows in pairs so as to keep a uniform look while maximizing the brightness of the space. Unfortunately, there are many fixed arch models which don’t allow for ventilation and this may be a deal-breaker for some.
A single arched window can cost between $350-$1,500.
This guide is meant to help give you an idea of what options are available to help spruce up your home. However, there are models that may not have been mentioned so taking your time to do the necessary research and measuring those options against your budget is the ideal course of action. Since changing your windows is a major undertaking, you should always proceed by hiring a licensed contractor to ensure the work is done well and will hold up over time.
Other window models
This guide is here to give you an idea of the types of windows available on the market and their prices. On the other hand, there are models that we have not mentioned so we suggest you take the time to do your research, by evaluating the different options in relation to your budget. Changing windows is a big project, so you should always hire a specialized contractor to make sure the job is done right.
Summary table of window prices
Type of window | Average price |
|---|---|
Single-hung window | between $200 and $900 |
Double-hung window | between $400 and $1,100 |
Casement window | between $350 and $1,200 |
Awning window | between $400 and $1,000 |
Transom window | between $500 and $1,200 |
Stationary window | between $300 and $1,300 |
Bay window | between $1,550 and $4,050 |
Bow window | between $2,500 and $4,000 |
Arched window | between $350 and $1,500 |
Sliding windows | between $800 and $1,000 |
To find out about the average prices of different home renovation projects, check out our Home renovation price guide.
Get 3 renovation quotes for your window replacement project
RenoQuotes.com can help you get quotes for your window project. If you submit your project to us, we’ll put you in contact with top-rated contractors. Fill in the form on the homepage (it only takes a few minutes), and you will get estimates from trusted professionals.
Dial 1-844 828-1588 to speak with one of our customer service representatives.
Looking for something else?
Related articles
The latest industry news, interviews, technologies, and resources.

Cynthia Pigeon
•08 Nov 2023
Are you looking to close off your double living room, kitchen, closet, or guest bedroom? The space itself is already divided, all you need is a door, really. Hinged, swinging, sliding, pocket, folding, pivoting: there are a ton of door models out there, and you are bound to find one that will fit your needs, and that will not clash with your decor.

Editorial Team
•28 Aug 2025
Roller shutters are an effective way to improve home comfort and security. Made to suit all window sizes, they’re most often made of aluminum or PVC for optimal durability and energy efficiency.

Léa Plourde-Archer
•25 Jul 2025
One of the main advantages of owning a home with a backyard is that you can create an exterior environment that fulfills your needs. The front yard greets us when we come home and is the last thing we see when we leave, whereas the backyard is a space meant for relaxing and having fun.
Léa Plourde-Archer
•16 Jun 2025
Thinking about laying tiles as a wall covering? Learn more about the different characteristics of this material that’s both durable and customizable, as well as maintenance tips, and the average cost of tiles.
Editorial Team
•27 Apr 2026
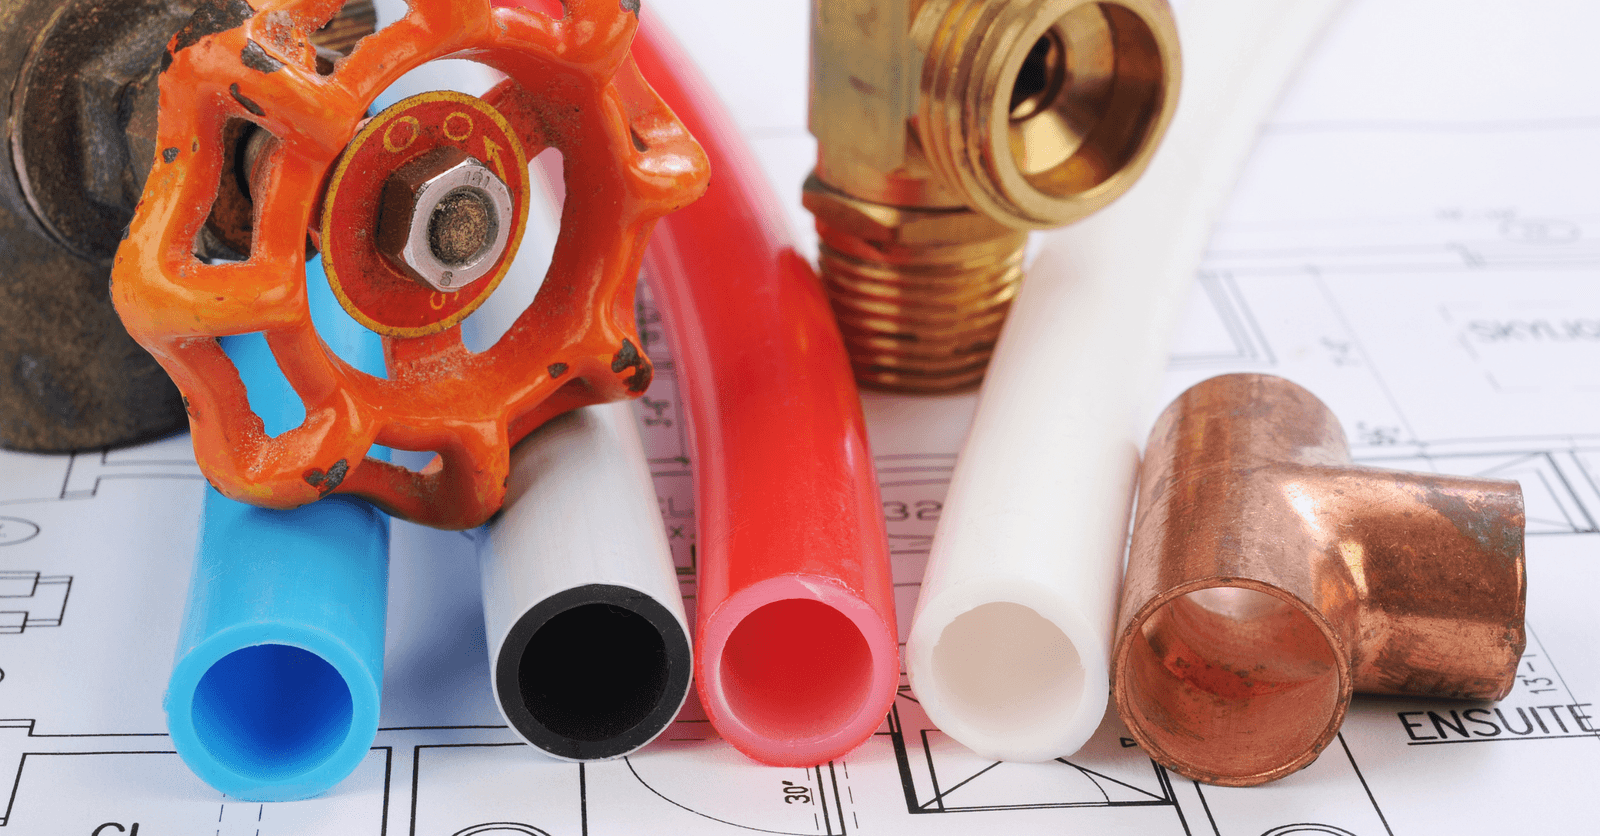
Are you carrying out a home renovation or building project? Installing PEX plumbing pipes is a great option. Reputed for its flexibility and durability, PEX pipes are increasingly sought after. It’s a remarkable system given its reliability, resistance, and versatility. What are the upsides? How much does it cost? What are the proper guidelines for installation success? All this and more detailed below.