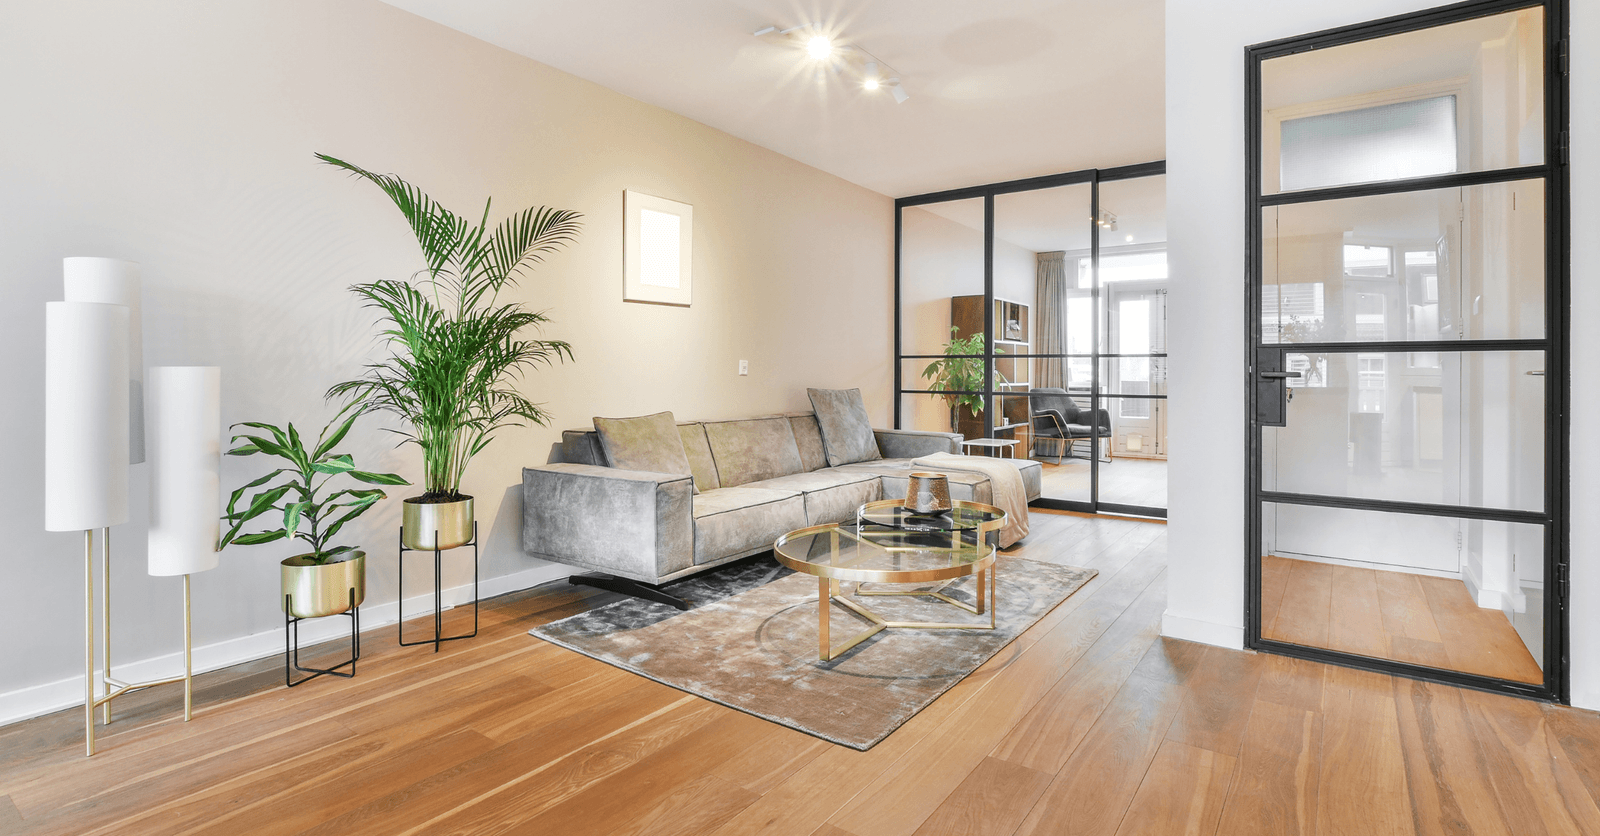
Whether you want to modernize your home, reclaim some living space, create a unique partition, or accommodate a family member with reduced mobility, installing sliding doors is a smart choice — they’re both practical and timeless.
Whether it’s a stunning barn door, a discreet pocket door, or a classic mirrored closet door, there’s something for everyone. Available in wood, PVC, glass, iron, mirror, or aluminum, the level of difficulty for installation and maintenance varies by model.
Installing a Sliding Door
The Pocket Sliding Door
First and foremost, choosing the ideal door for your available space and desired look is essential. The pocket door is especially popular for small areas because, as the name suggests, it hides inside the wall.
Each material has its pros and cons. For example, a PVC door offers great value and doesn’t require special upkeep, while glass doors are harder to install and clean. Mirror doors make rooms feel larger, though some find them outdated, while aluminum or iron models, being more imposing, are popular in modern interiors.
Whatever your favorite may be, if it needs a special finish—like wood that must be painted, varnished, or stained—it’s best to apply it before beginning the installation. That way, your door can dry while the tracks or frame are being installed.
Materials Needed for a Pocket Door Installation
Essentials: Safety glasses, tape measure, square, level, utility knife, wood chisel, pencil.
Tools: Reciprocating/miter/jigsaw, oscillating tool, drill, and router.
The kit: Pocket door frame (pre-assembled), the door, and the handle.
For the wall: Framing wood (2x4 or 2x3), shims (small wedge-like boards used to level elements), wood screws and drywall screws.
For repairing the opening: Drywall, joint tape, sandpaper, and compound.
For finishing: Roller, paintbrush, and paint.
Steps for Installing a Pocket Door
Most manufacturers include an instruction manual. Always refer to it first. The following steps are a general overview, applicable to most pocket doors. Also, note that this project takes more than one day, since plaster joints must dry.
Before anything, make sure the section of wall to be removed for the door frame doesn’t contain wiring or plumbing, and that it’s not load-bearing.
You’ll need to open the wall, since a pocket door slides into it when open. Measure any existing doorway and the adjacent wall to ensure there’s enough space before the perpendicular wall to install the frame. Use a utility knife to remove trim, then take out the door frame.
Use a pencil and level to outline the frame of your new door on the wall. This outline marks the section you’ll cut using a saw to remove the drywall. Note that standard door height is 82 inches, but you’ll need to add 2 inches so your door can slide freely—adjust as needed.
You’ll need to build a new wood frame to install your sliding door. To build it, measure the space between the studs revealed after opening the wall, and the height. Cut new 2x4s to size, ensure they’re level, and fasten with wood screws. Cut and remove old studs.
Insert the header onto the pocket door frame, then place the assembled frame into your new wall opening. Everything must be perfectly level—use shims if needed between the door frame and the structure. Fasten the frame and trim any protruding shims used for leveling.
Now comes the most crucial part: installing your pocket door. Center and attach the included stopper inside the frame and the latch mechanism to the door, 2 inches from the edge. Install the wheels in the top track and remember to reverse the wheel orientation.
Ask someone to help or use wood blocks to elevate the door and align the latch screws with the wheels. Lock the hook to secure the screw in place. Then, add the guides at the base of the frame to center the door, and if it doesn’t roll smoothly, adjust the system.
Hide the sliding mechanism by closing the wall. Cut a drywall sheet to size and screw it onto the frame using short drywall screws to avoid damaging the door. Then tape the joints and cover the screws. Apply tape, mix your compound, and sand between two thin layers. Let it dry.
Meanwhile, install the handle. Measure and mark the spot according to its size and shape. Cut with the jigsaw to insert it into the door. Reinstall the missing section of the door frame where the door rests when closed. Slide the door to mark where the second latch section goes. Use a utility knife and router to carve out the space to install the plate.
Time to finish up! Close the door and place trim on each side to center it. Leave a 1/8-inch gap if you want to add a discreet latex bead for a cleaner finish. Reinstall the moldings using wood glue and nails, then hide the nails with compound and sand. Now, let your creativity shine and paint as you please!
Of course, protect your eyes and hands throughout the process and follow all building code regulations. If you’re unsure of your skills or prefer not to invest time and energy, call in a pro.
Top-Rail Sliding Door
Rail-mounted doors are simpler and faster to install than the previous option. They glide via rollers at the top or bottom of the door—or both. For heavier doors, a double rail system is recommended.
Materials Needed for a Top-Rail Sliding Door
Essentials: Safety glasses, tape measure, chalk line, pencil, nails and screws.
Tools: Metal saw and drill.
The kit: Rails, roller brackets, floor guide, and the door.
Steps for Installing a Top-Rail Sliding Door
Note that the first step happens before purchasing the door, and this example covers a double-rail system.
Measurement is key at this stage. Measure the door opening and the width at the top and bottom. Do the same with the height—left and right sides. Then measure the frame thickness in two places. Use the smallest values to pick the right rail door model.
To mount the top rail, use your tape measure to mark where the rail goes at the top left and right corners of the opening. To ensure the panels look even from the front, measure from the front edge. You may need a metal saw to slightly shorten the guide rail.
If cutting it, insert wooden shims (wedges) to avoid warping the rail. Align your rail with the pencil marks and temporarily hold it in place with nails or clamps until you can screw it in. Most of the time, the holes and screws are already provided by the manufacturer.
To place the floor rail, follow the front edge of the top rail and mark the floor with the chalk line. The instruction manual usually notes how far back the bottom rail should be compared to the top. Don’t anchor it just yet—install one panel first to check alignment before screwing it down.
Install the roller brackets. Many kits come with wheels pre-installed. Otherwise, mark their position per the manual. Typically, they go 2–3 inches from each end at the top. Screw the brackets in using the provided hardware and make sure nothing blocks the movement.
To hang the doors, for a closet, start with the inner panel. Tilt the bottom toward you to fit the top wheels into the rail, then insert the bottom wheels. Test it before doing the second door using the same method. Adjust the brackets with a screwdriver.
Finally, install the handles, if any. For recessed or screw-in types, the holes may already be pre-drilled—just insert and screw. Some handles are self-adhesive. If not pre-drilled, a standard height is about 36 inches from the floor. Honestly, it’s your house—feel free to place them where it feels right; such details won’t affect resale value or buyer opinions.
Even though top-rail sliding doors are easy to DIY, issues can arise—like incorrect base measurements, misdrilled holes, or poorly placed wheels. Nothing major—just reassess those steps if something seems off!
Barn Door
Very popular across many styles—from industrial to rustic to contemporary—a barn door is mounted on a wide, exposed track above the opening. You’ll need to make sure your wall can support this setup.
This type of door comes in a wide range of styles and is perfect for an upcycling project. A bold decorative element, it’s best to avoid visible wall features like outlets, switches, or panels.
For full details on how to install this type of door, check out our article How to Install a Barn Door + Price Guide.
Looking for something else?
Related articles
The latest industry news, interviews, technologies, and resources.

Léa Plourde-Archer
•08 Nov 2023
August 25th, 2011, we finally got the keys to our coveted condo. This condo is located in an old building in the Rosemont district (Montreal) and was built in 1926. It's a far cry from the modern condo developments where you can choose the finishes and that were built less than two years ago.

Editorial Team
•08 Nov 2023
A problem with your water heater is never a good sign, especially since it’s not something that a household can easily go without. Since problems that can arise are numerous and diverse, let's take the time to see how to fix the most common ones. Here’s a summary of the 10 most frequently dealt with water heater problems and the solutions to help fix them.

Amanda Harvey
•08 Nov 2023
Insects are part of life, as they play a vital role in maintaining the biodiversity of outdoor space. However, in a backyard, they can be harmful and cause inconveniences both big and small.

Cynthia Pigeon
•08 Nov 2023
If there is one thing every homeowner dreads before starting a renovation project, it has to be the possibility of encountering unforeseen issues, especially the possibility of exceeding the set budget for the project. So, here is a tidbit of advice on how to deal with such a situation should the hired contractor carry out additional work or should you discover a hidden defect.

Editorial Team
•18 Dec 2024
As metropolitan areas are seeing a surge in population, more than ever, people are seeking smaller living spaces, and are keen on making the latter as cozy and versatile as possible, for the long haul. This phenomenon, combined with an increasingly competitive housing market, is not all that surprising that upon finding the perfect apartment, people prefer staying put rather than considering another move.