What Type Of Water Heater Is Best For My Family?
By Équipe éditoriale
Updated on November 8, 2023
People don’t often think about their water heaters - that is, until the hot water stops flowing or the water heater is making noise. Should you repair your old water heater?
You might be inclined to, but older units can need an excessive amount of repairs, making replacement a more viable option. What’s more, newer units are much more energy-efficient than older units, which can lead to a lot of savings over time.
You might be surprised to learn that there are a wide variety of water heaters available on the market today, from traditional storage heaters to tankless heaters. This guide will help you understand the differences between each type, as well as which type might be best for your particular needs.
The Types of Water Heaters
Water heaters can have different capacities, and they can be heated through a variety of means - chiefly, natural gas or electricity. The method you use to heat your water will have an impact on what type of heater you want to purchase. In most places, natural gas is less expensive to use than electricity, but this isn’t always the case.
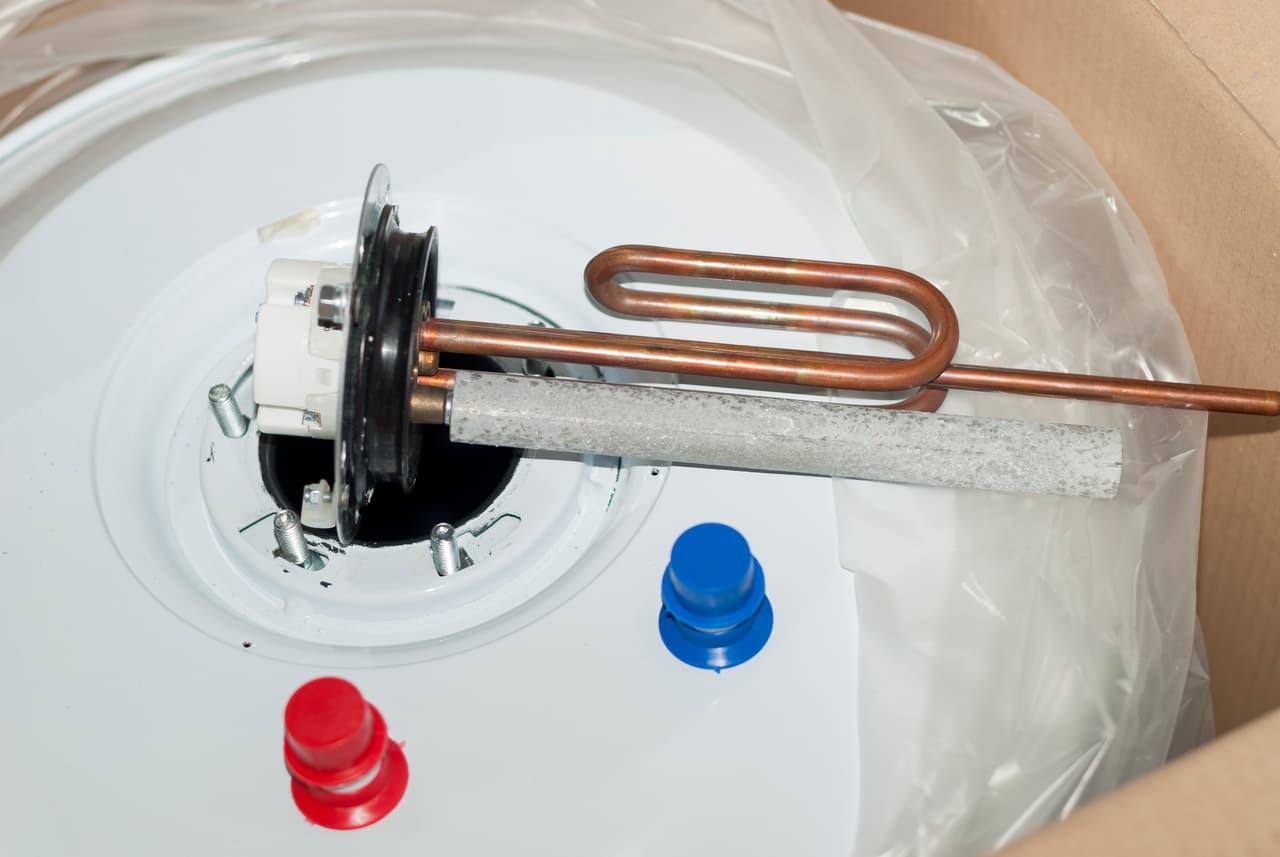
Let’s start by looking at the classic - storage tank water heaters. In brief, these heaters store water that is heated by electricity or gas, and they typically range from 75 to 300 litres (20 to 80 gallons) in capacity. When you turn on your hot water tap, water exits from the top of the heater and goes through the piping to your tap; cold water then replaces the hot water. The biggest problem with this type of water heater is standby heat loss; when you’re not using water and the element is off, heat will dissipate out of the heater.
Tankless water heaters are the new kids on the block. By virtue of being tankless, they’re much smaller than traditional storage tank heaters, and they’re not susceptible to standby heat loss. They superheat water at an incredibly rapid pace - think of them as on-demand water heaters.
Heat pump heaters are an interesting new player in the water heater market. They’re incredibly energy efficient, drawing heat from the air to heat your water - they work a little bit like an air conditioner. They’re quite tall, and they’re not great for cold climates.
Solar water heaters are a particularly green solution - they absorb thermal energy from the sun to heat your water. They’re particularly popular in sunny, warm regions. Rainy places or areas where it gets quite cold aren’t optimal for these. That said, heating your water through the power of the sun is incredibly green and energy-efficient. These models usually come with back-up power generators for those cloudy days.
Finally, there are condensing water heaters. In short, these heaters act like conventional gas-heated storage tank heaters, but with reclamation devices that allow them to use flue gases that would otherwise be wasted, to heat the water. This makes them more energy efficient.
Which Water Heater is Right For You?
First, let’s look at how many people you have at home. In homes where you expect a lot of hot water use, you’ll be best off with a tank heater of some kind. Tankless heaters only heat water on demand, so when demand is too high, they’ll be overburdened, which would mean you’d have to buy multiple tankless heaters. That can get pretty pricey.
Homes that have their water heated primarily through electricity are often not the best-suited for tankless heaters, either. You might need a costly upgrade to your electrical system to get the tankless unit installed.
Have a relatively small household with gas heating? Tankless is probably the way to go. It can save you a tremendous amount of energy, and you’ll never end up taking an unexpected, cold shower.
Are you in a region with a lot of sun and heat? Heat pump tanks and solar tanks can both be excellent options. For heat pump tanks, you must have sufficient clearance in the space your water heater was installed in, usually requiring 2 metres (7 feet) or more. In cold climates, neither solar nor heat pump tanks are viable.
Living in a cold climate with gas heating? You’d do well to get a condensing water heater - they’re extra fuel-efficient. Keep in mind that they tend to have a higher upfront cost than traditional tank heaters.
Conventional tank heaters still have their place - they’re great if your home is heated electrically, you don’t want as much upfront cost, and/or you don’t plan on staying in your home for very long. Keep in mind that fuel efficiency pays greater dividends the longer you stay in your home.
The capacity of your system will change substantially depending on the size of your household. RONA created an excellent guide to water heater sizing to help you determine what capacity you’ll need in your house.
Bet you didn’t know there was so much to know about water heaters! Now when you go shopping, you’ll have a breadth of knowledge that will surprise even seasoned sales associates!
Get 3 renovation quotes for your water heater renovation project
RenoQuotes.com can help you get quotes for your water heater renovation. By submitting your project to us, we’ll put you in contact with top-rated contractors. Fill in the form on the homepage (it only takes a few minutes), and you will get estimates from trusted professionals.
Dial 1 844 828-1588 to speak with one of our customer service representatives.
Looking for something else?
Related articles
The latest industry news, interviews, technologies, and resources.
Editorial Team
•08 Nov 2023
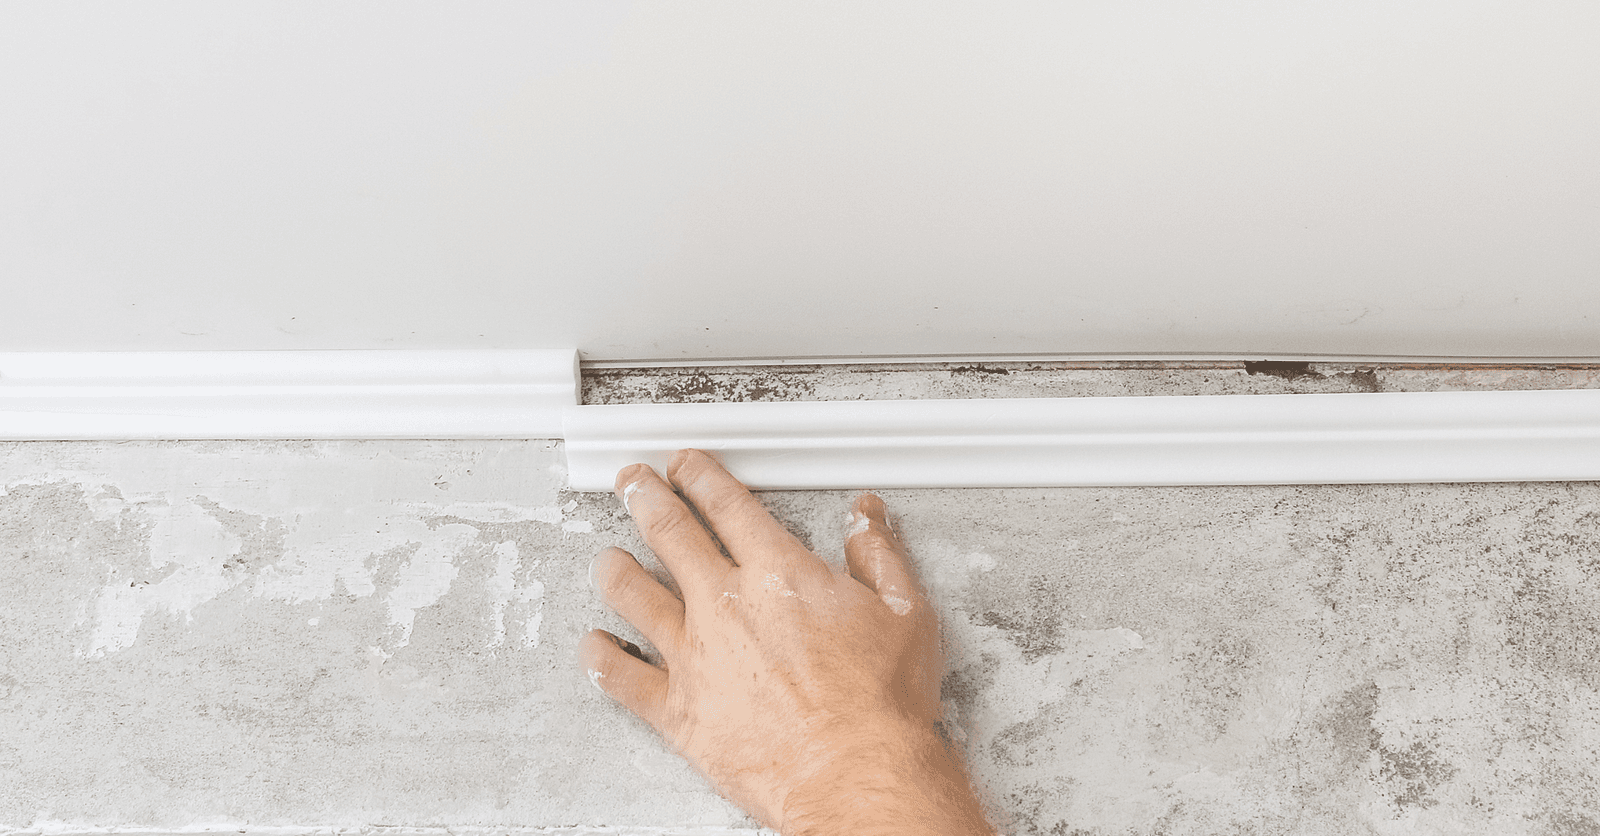
Are you in the process of renovating a part of your home and would like to create an impeccable finish? Adding moulding, like quarter rounds, is indispensable in this regard and will surely add a lot in terms of aesthetics. Want to know more about this type of moulding? Keep reading!

Editorial Team
•09 Oct 2024
Are you coughing and wheezing, have itchy eyes and a nose runny? Are your kids suffering from asthma and your family coping with chronic fatigue?

Editorial Team
•23 Sep 2025
Are you an HVAC contractor in Montreal looking for new contracts? The heating, ventilation, and air conditioning market continues to evolve rapidly in 2025, driven by building modernization, energy efficiency demands, and residential renovations. To stand out, you not only need to provide high-quality services but also know where and how to find the right projects.

Cynthia Pigeon
•20 Apr 2026
In 2026, across Canada, a typical kitchen bump-out (or micro-extension) often falls between $30,000 and $70,000, depending on structural complexity and region. The cost per square foot generally ranges from $300 to $700, which is higher than for larger extensions due to fixed costs (engineering, mobilization). This estimate includes structure, foundation (often helical piles), high-performance insulation suited to Canadian climates, and interior finishing. While the price per square foot is higher than new construction, compared to a full multi-storey addition (often $150,000+), a micro-extension limits overall budget impact while addressing a specific space constraint.

Editorial Team
•16 Mar 2026
Quebecers have a strong and unwavering love when it comes to swimming, and an inground pool is definitely a backyard MVP and must-have.