How to Repair Your Squeaky Wooden Staircase
By Cynthia Pigeon
Updated on November 8, 2023
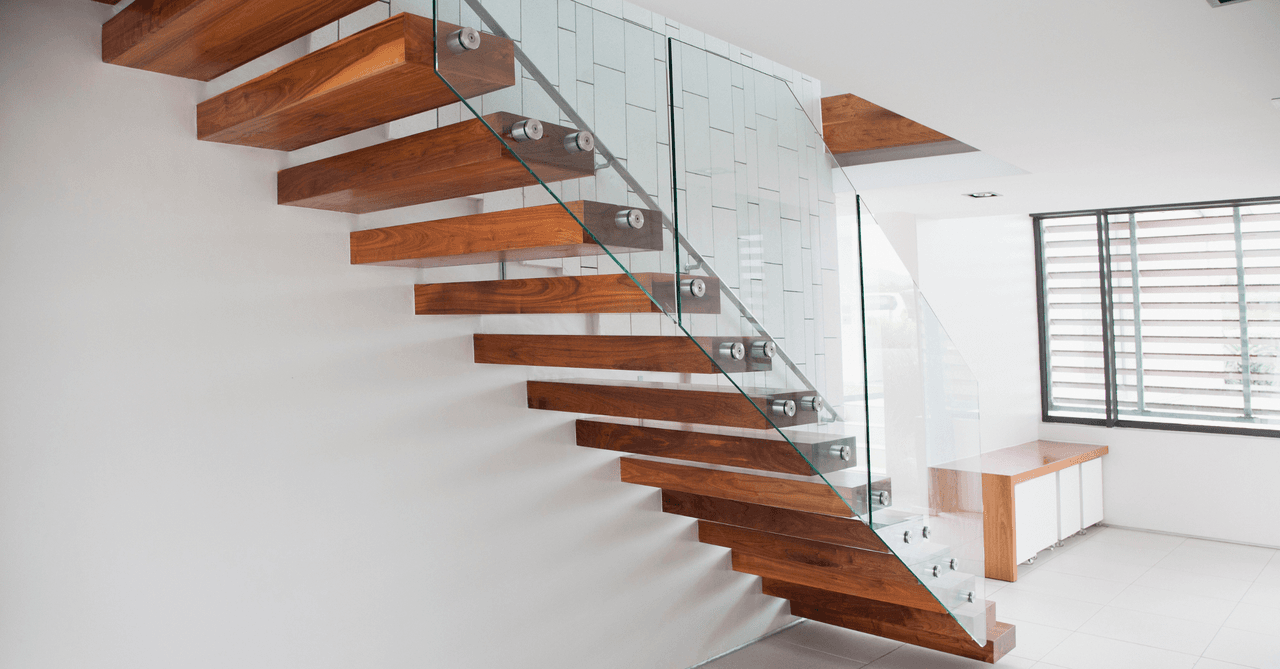
When you come home late at night, you desperately want to try to minimize the sound of your every footstep so as to not wake anybody up. However, this very mission can be hindered by squeaky stairs that may complicate your end goal. Even throughout the day, there is nothing more irritating than the squeak of the stairs at one’s every step.
Remodelling your entire staircase is not always an easy task, however, one must find the source of the problem in order to fix it. In this article, you will come about multiple ways to fix a squeaky staircase.
Reasons Behind Squeaky Stairs
Source: Canva
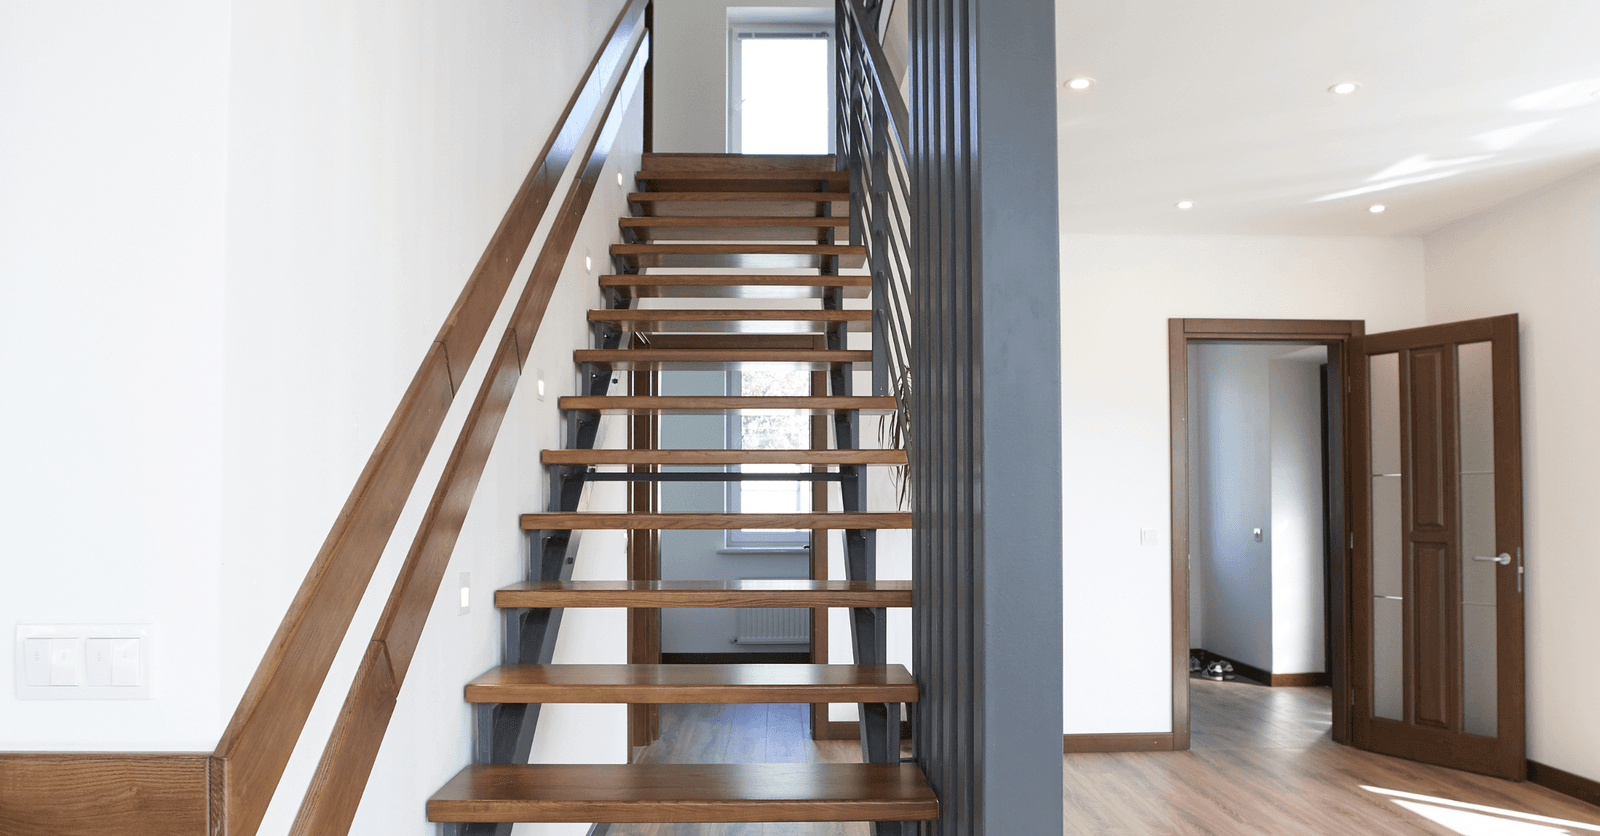
Identifying the causes of your squeaky wooden staircase is a must before you even consider renovating it. The easiest way to determine the cause of the squeaking is to test each step, one by one. Go up and down the stairs to find the exact location of the problem.
Ask yourself if the squeaking is coming from the front, back, or side of the step. Squeaky stairs are usually a result of dried-out wood and loose threads between the steps. Therefore, the friction causes the squeaking. Other factors can cause this problem, such as the ambient temperature and the humidity of the house, as well as general wear and tear, and a lack of maintenance. Note that poor thread or rise installation can also be a factor in the mix.
Checklist
Wooden staircases are inherently durable, but still, require upkeep every 10 to 15 years to preserve their appearance and avoid any future damage. First things first, check the degree of physical damage to every step. If they are squeaking, then chances are there are other damages lurking beneath the surface.
If you notice any obvious flaws, then the next step is to check if it is only a superficial problem or if it is a major problem that will require you to change the treads or risers. In the event that the treads are too worn out in the middle or that the varnish and/or paint is peeling, a full staircase renovation is probably best.
If you are a DIY-type person, you can do the work yourself. Check out our staircase renovation guide to find out just how to proceed. However, it is always a good idea to hire a certified contractor to ensure that the repair is done the right way and safely so.
Fixing a Squeaky Wooden Staircase
Source: Canva
1. Repairing squeaky steps with linseed oil or wax
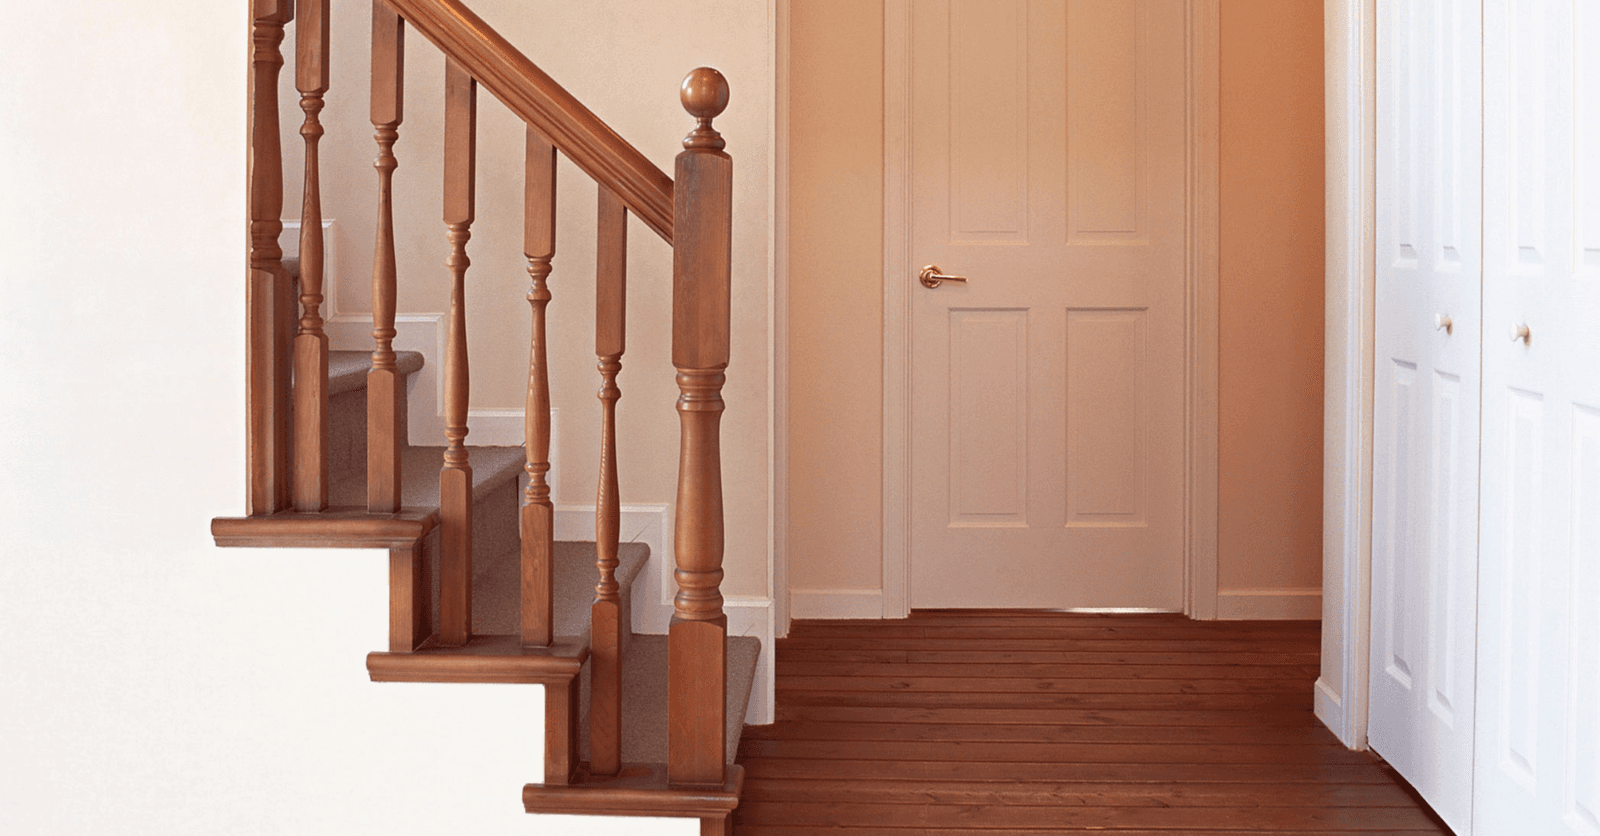
Squeaky steps are commonly caused by loose wooden planks, which will emit a sound when they come into contact with one another. Albeit, there are numerous ways to fix this problem.
This method is fairly complicated and involves rubbing linseed oil or wax into the space between the tread and the riser. This will act as an oil drying agent to thicken the inside of the treads and therefore, avoid further friction between the step and the riser. Note that it is also possible to accomplish the above by using wood glue.
2. Bridging the gaps between the steps
Another way to prevent loose stair boards from rubbing against one another resulting in a squeaking sound is to bridge the gaps between the steps and risers by using ''flipots''. In the woodworking industry, this term refers to a small piece of wood that is inserted into a gap and then concealed.
This method is quite simple and consists of applying a little glue on the flipot before hammering it into the gap that needs to be filled. For this, it is best to position yourself under the staircase, although if you have no choice but to proceed from overhead, you will have to conceal this repair by trimming the flipot at the same level as the riser using a box cutter.
3. Fixing the squeaking by using screws
The last method consists of tightening the step and riser by screwing them together to eliminate squeaking. If you can do so from underneath the staircase, just put in a screw and you're done, as it will be unnoticeable. Keep in mind that if the noise originates from the stair riser, you will then need to screw in a piece of wood under the staircase. Note that if your stairs are covered with a carpet or some other lining, you can just lift it and screw the piece of wood directly into the step and riser.
However, if you do not want the screws to stick out, then it is important to widen the hole on the outside so that you can get the screw in deeper and fill in the hole with putty. Once the hole has been filled in, simply allow it to dry, sand it down, and then you are ready to apply a new coat of paint to your stairs which no longer squeak.
However, if you are unable to fix your squeaky stair problem using the above-suggested methods, you may need to look into calling a professional who can determine the cause of the squeaking and provide a better-suited solution.
Hiring a Carpenter
Are you worried about damaging your stairs? If so, it is probably best to hire a carpenter. To get the best deal, do not hesitate to ask for three quotes.
Should you be thinking about replacing your staircase instead, check out our article Staircase Renovation Tips: From Installation to Maintenance.
Get 3 renovation quotes for your wooden staircase
RenoQuotes.com can help you get quotes for your wooden staircase. By submitting your project, we’ll put you in contact with top-rated contractors. Fill in the form on the homepage (it only takes a few minutes), and you will get estimates from trusted professionals.
Dial 1-844 828-1588 to speak with one of our customer service representatives.
Looking for something else?
Related articles
The latest industry news, interviews, technologies, and resources.
Cynthia Pigeon
•31 Jul 2026
In Canada, an installed central heat pump generally costs between $6,000 and $13,500, depending on the system size, energy efficiency, existing HVAC setup, and any related work required. This amount usually includes the equipment and specialized labour, but the final price can vary based on the unit’s capacity, SEER2/HSPF2 ratings, ductwork condition, electrical requirements, and local labour rates. Financial assistance may also be available depending on your province, municipality, income level, heating system, and the model installed. Federal programs have changed significantly in recent years, so it is important to verify active rebates before signing a contract.

Paul Riopel
•14 Jan 2025
Ready to get to work tearing down a wall in your living room, moving the location of your kitchen sink, or adding a whole new section to your house? Not so fast! Before work commences, you must ask yourself an important question: Do I need a building permit?
Cynthia Pigeon
•08 Nov 2023
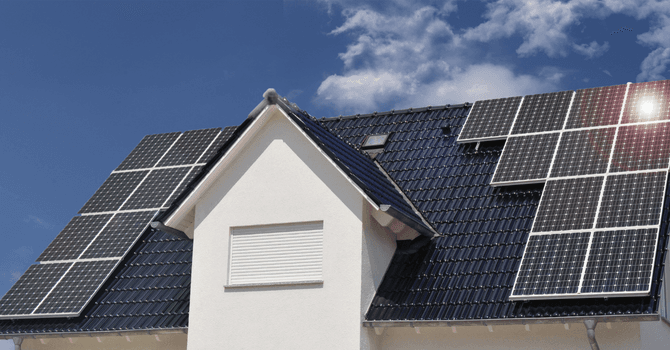
Over the last couple of years, eco-friendly alternatives to traditional asphalt shingles have made their way into taking hands around Quebec. Between energy savings, fewer environmental impacts, and sure financial incentives, choosing eco-friendly roofing is quite the compelling option.

Cynthia Pigeon
•08 Nov 2023
To limit the creation of urban heat islands, white roofs have become increasingly popular and are the subject of much media attention. Praised by some and questioned by others, there is much debate about the real benefits of white roofs. Here is a summary of the information reported by the two main parties involved.

Christine Simard
•08 Nov 2023
With seasons changing fast, we suddenly feel the urge to redecorate our space. When we think of an idea for a simple, yet drastic change that is both easy and economical, repainting walls seems to be the logical option.