2026 Guide on How to Build a Stone Wall in Your Canadian Backyard
By Léa Plourde-Archer
Updated on January 28, 2026

A stone wall is a timeless feature that brings both function and natural beauty to any outdoor environment. Whether you want to create a garden border, a textured retaining wall, or an elegant backdrop for your patio, building a stone wall in your backyard is a rewarding project for Canadian homeowners. This practical guide covers everything you need to know, including product options, purchasing materials, and expert construction tips for both natural stone walls and modern alternatives.
Why choose stone walls for your outdoor environment?

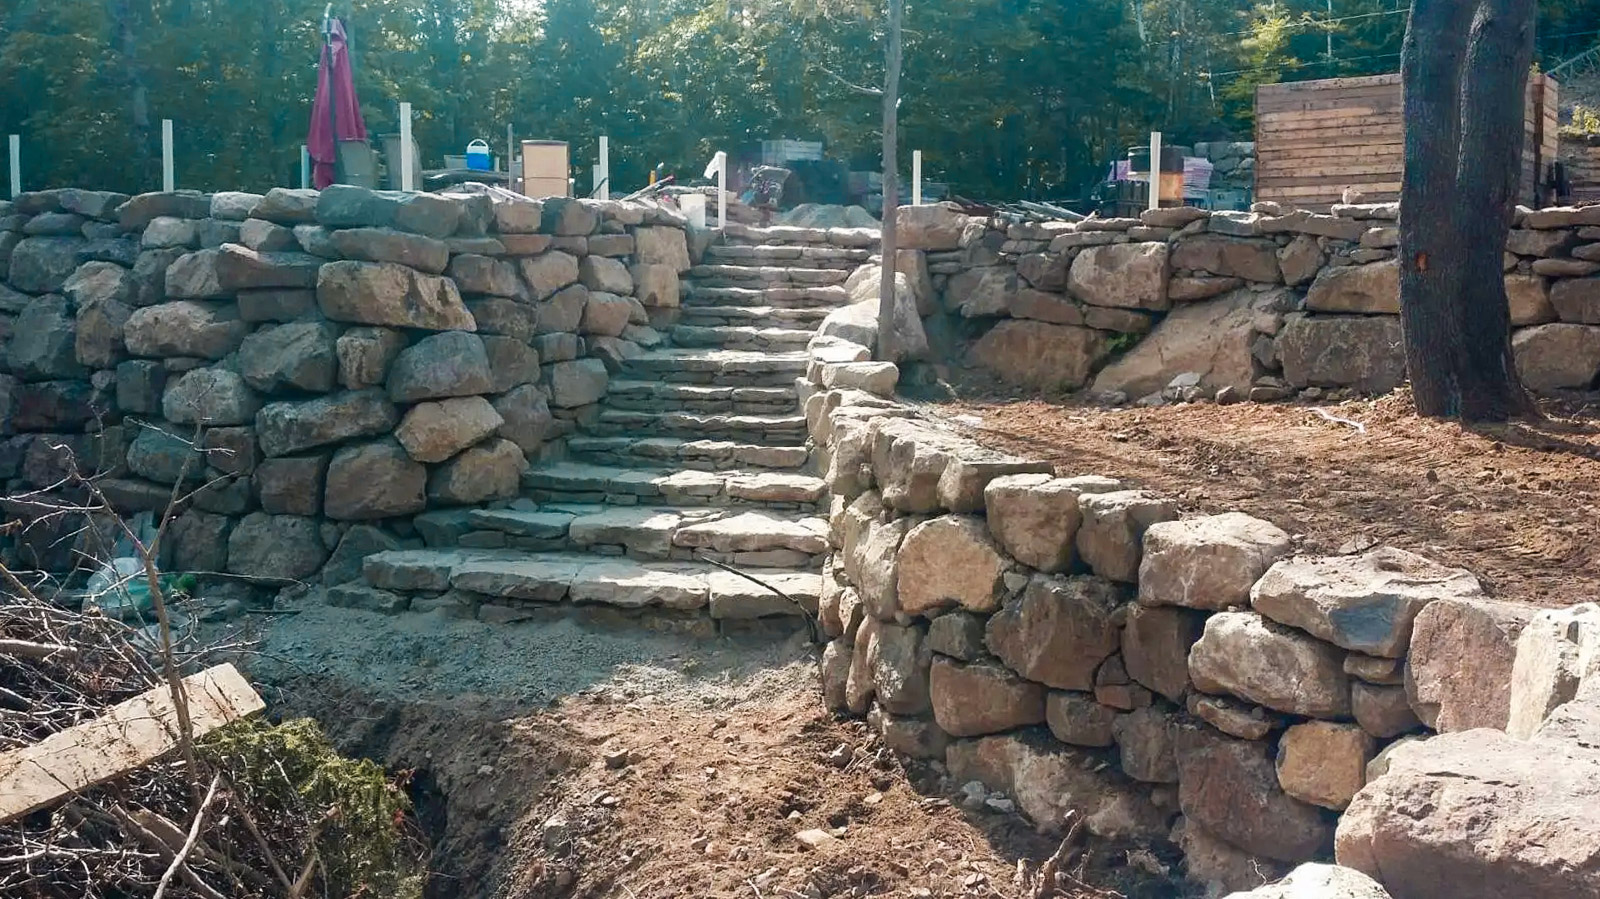
Source : 9213-6449 Québec Inc.
Stone walls—especially natural stone walls—are valued for their durability, classic appeal, and ability to withstand Canada’s diverse climate. They can serve as retaining walls to manage slopes, as garden dividers, or as decorative features that add texture and character to your landscape. With options ranging from rugged rock and stacked stone to faux stone panels and limestone, there’s a solution for every style and budget.
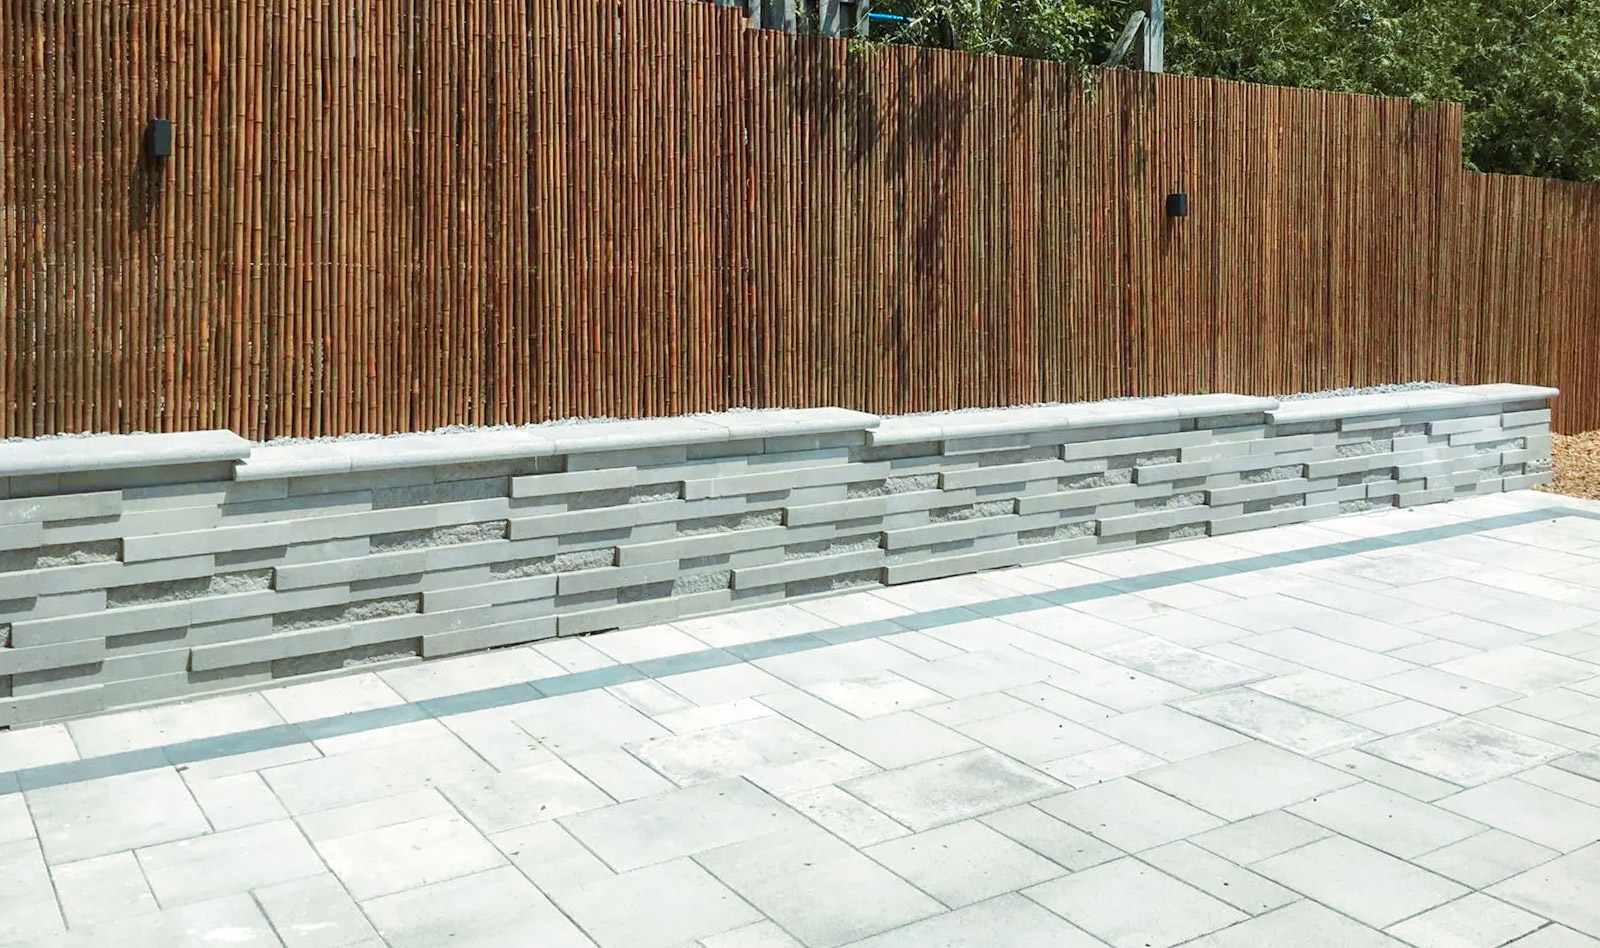
Retaining Walls: Strength and Style for Canadian Backyards

Source : Royal Town Landscape Developments
How do you build a stone wall?
Building a stone wall starts with careful planning and a solid foundation. For retaining walls, which hold back soil and prevent erosion, it’s crucial to use the right materials and construction techniques. Here’s a step-by-step overview:
Plan and Measure: Outline the wall’s location using stakes and string or a garden hose to match your desired shape.
Excavate the Trench: Dig below the frost line (up to 4 feet in some regions) and at least 2 feet wider than your planned wall for stability.
Create a Stable Base: Line the trench with landscape fabric, then add and compact a 6-inch layer of crushed stone or gravel. This ensures proper drainage and prevents shifting.
Lay the First Course: Place the largest, flattest stones or blocks at the base. Use a mason’s line to keep everything level and straight.
Build Up and Stagger Joints: As you add layers, stagger the vertical joints for strength. Use mortar between stones for mortared walls, or dry-stack for a rustic look.
Backfill and Drainage: Add gravel behind the wall and install drainage pipes if needed to prevent water buildup, which is critical for retaining walls.
Tip: For walls over 4 feet, consult a professional to ensure safety and compliance with local building codes.
Exploring Stone Wall Options: Natural, Faux, and More

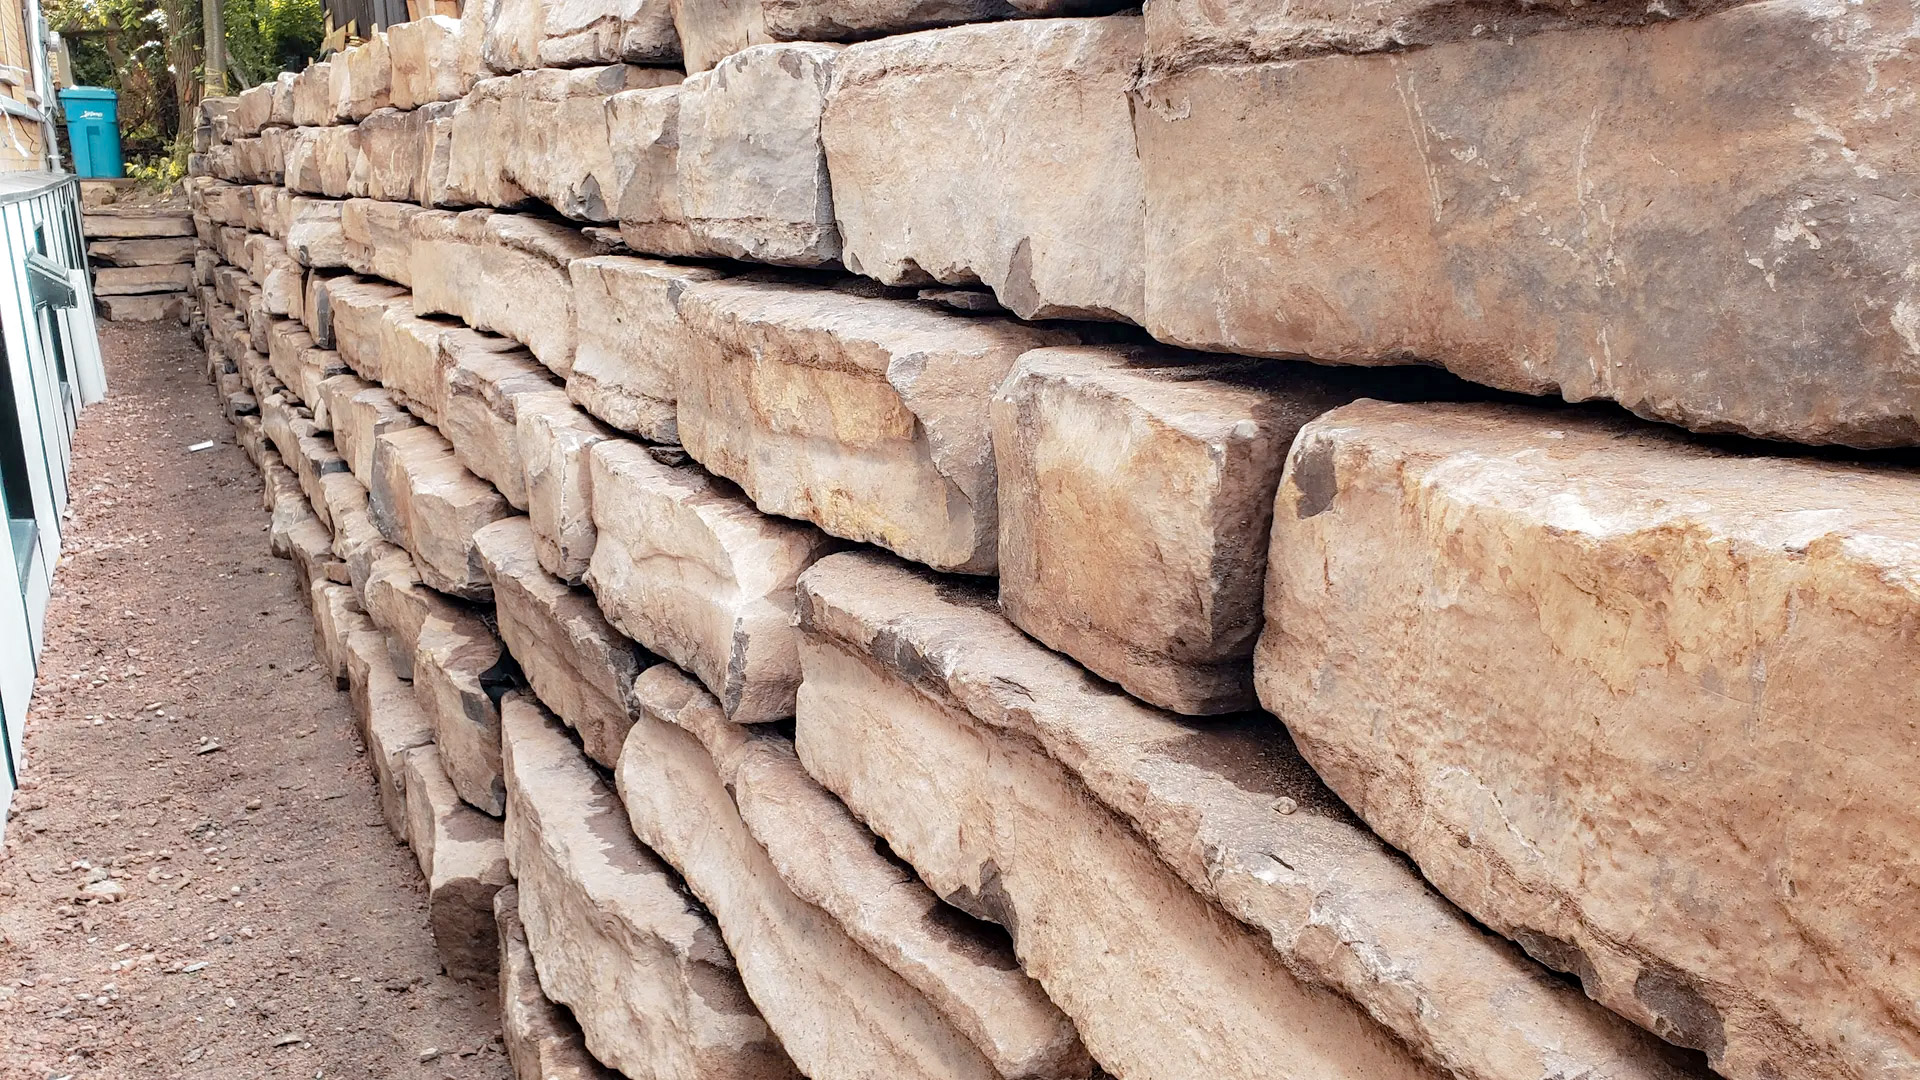
Source : Les 3FS Inc.
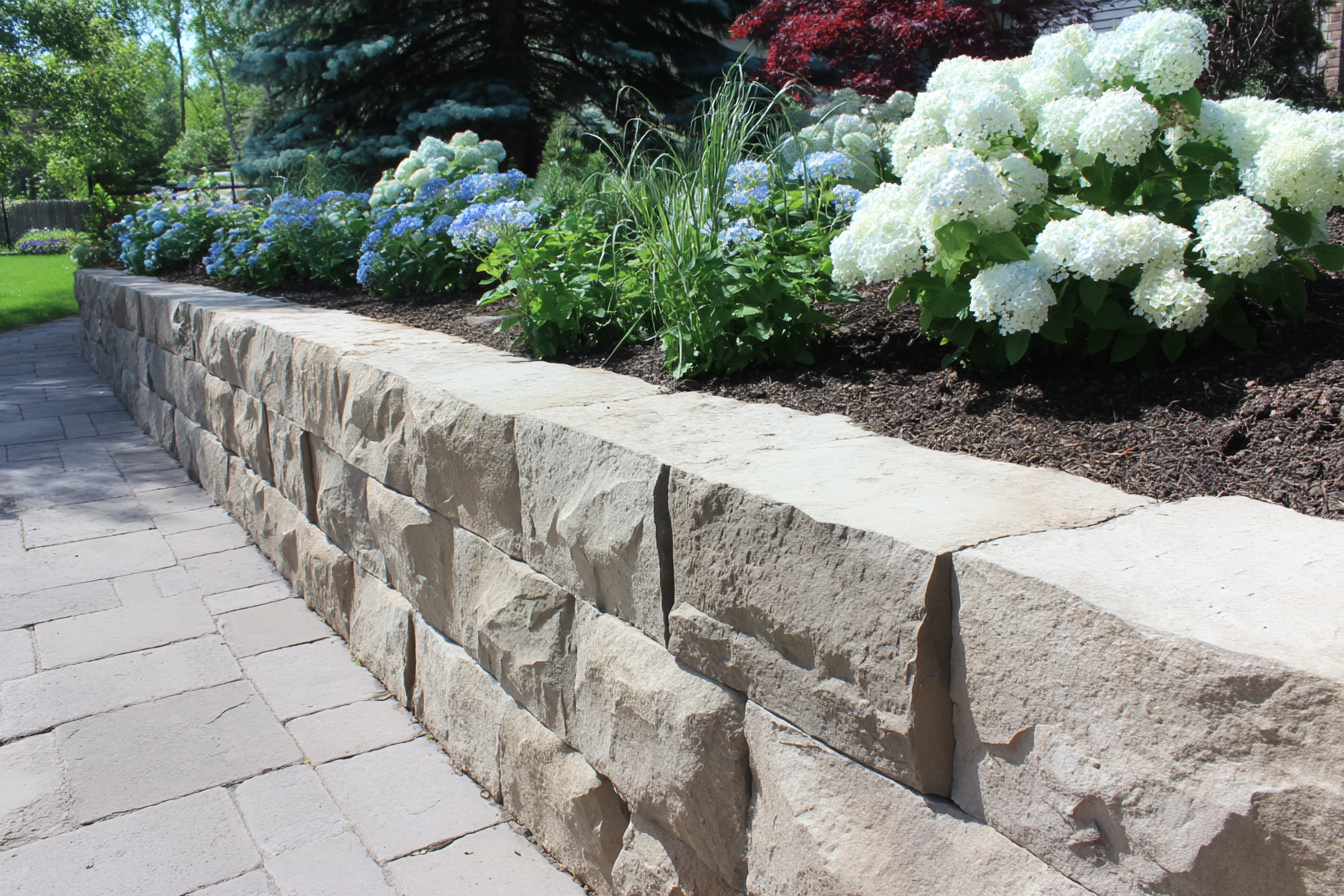
Natural Stone Walls
Natural stone walls use materials like limestone, sandstone, and granite for a classic, organic look. These stones are available in various shapes and sizes, from rough-cut rock to precision-cut blocks. Natural stone walls are ideal for garden borders, retaining walls, and textured landscape features.
Faux Stone Panels and Manufactured Walling
Faux stone panels and manufactured walling products offer the appearance of real stone with easier installation and lower cost. These panels are lightweight, durable, and available in a wide range of styles and colours, making them suitable for both interior and exterior use—including fireplaces, kitchens, and accent walls.
Interlocking and Armour Retaining Blocks
Interlocking retaining wall blocks are engineered for stability and easy installation. Made from concrete or stone, they lock together without mortar and are perfect for retaining applications in Canadian backyards. Armour stone, known for its size and strength, is often used for larger retaining and garden walls.
Armour Stone
Armour stone consists of large, natural limestone or granite blocks often used for robust retaining walls and garden features. Its heavy weight and irregular shape provide excellent stability and a rugged, natural look ideal for Canadian outdoor environments.
Peel and Stick Panels
Peel and stick panels are lightweight, adhesive-backed panels that make it easy to create a stone wall effect indoors or outdoors without mortar or special tools. They come in various textures and colours, offering a quick DIY solution for accent walls or even backsplashes.
Stone Wall Materials for Canadian Homeowners
Product Type | Description | Best For | Where to Buy (Canada) |
|---|---|---|---|
Natural Stone Blocks | Limestone, sandstone, granite | Retaining, garden, exterior | CC Natural Stone, Home Depot |
Faux Stone Panels | Polyurethane, lightweight, easy install | Interior, exterior, kitchen | Canyon Stone Canada |
Interlocking Retaining Blocks | Engineered concrete or stone blocks | Retaining, garden | Home Depot, AA Masonry |
Armour Stone | Large, rugged natural stone | Retaining, erosion control | Local stone suppliers |
Peel & Stick Stone Panels | Self-adhesive, textured finish | Interior accent walls | Canyon Stone Canada |
Cost of Building a Stone Wall in Canada 2026

Source : RenoQuotes
How much does a stone wall cost?
Natural Stone Walls: $20–$125 per square foot installed, depending on stone type and wall height.
Faux Stone Panels: $20–$80 per square foot installed, with DIY options reducing labour costs.
Retaining Wall Blocks: $15–$65 per square foot, based on material and complexity.
Armour Stone: $40–$100 per square foot installed, making it a premium choice for robust, long-lasting retaining walls.
Peel and Stick Stone Panels: $10–$30 per square foot for materials, with total installed costs typically on the lower end of the stone wall spectrum due to simplified installation.
These prices reflect 2026 market rates and may vary based on project size, location, and installation complexity.
FAQ
What type of mortar should be used for a stone wall?
Use a high-quality masonry mortar, such as air lime or hydraulic lime, for natural stone walls to ensure strength and flexibility in Canada’s freeze-thaw climate.
What is stone wall cladding?
Stone wall cladding involves applying thin stone or faux panels to an existing wall, creating a natural, stacked look without full masonry.
What is a dry stone wall?
A dry stone wall is built without mortar, relying on careful stacking for stability. These are ideal for garden walls and decorative features.
What is the white stuff on my stone wall?
White deposits are usually efflorescence—harmless mineral salts that appear on stone or concrete walls and typically fade over time.
Where can you find stone walls?
Stone walls are popular in Canadian gardens, as retaining features, around patios, and as interior accents in kitchens and fireplaces.
Can I build a stone wall myself, or should I hire a professional?
DIY is possible for small garden or decorative walls. For retaining walls over 4 feet or those supporting heavy loads, professional installation is recommended.
What are the best stones for outdoor environments in Canada?
Limestone, sandstone, granite, and engineered concrete blocks are durable choices for Canadian climates.
Where can I buy stone wall materials online in Canada?
Leading suppliers include Home Depot Canada, Canyon Stone Canada (for natural and faux panels), and CC Natural Stone.
Are faux stone panels suitable for kitchens and fireplaces?
Yes, modern faux panels are fire-resistant and suitable for both kitchen backsplashes and fireplace surrounds.
How do I maintain my stone wall?
Natural stone walls require minimal maintenance—just occasional cleaning and inspection for loose stones or mortar. Faux panels are even easier to maintain, needing only a wipe-down.
Looking for something else?
Related articles
The latest industry news, interviews, technologies, and resources.

Christine Simard
•08 Nov 2023
The rusty look has never been on trend and unfortunately for us, it is inevitable when we have exterior metal structures that are exposed to the elements. If you are a person who enjoys doing small renovations on your own, it's good to know that metal, especially rusty metal, requires specific maintenance if you want to achieve a professional end result.

Editorial Team
•14 Nov 2023
Have you finally decided to start a full or partial home renovation to boost your comfort and living space or simply revamp your outdated home?

Editorial Team
•28 Aug 2024
The wires running behind the walls of your home are hidden, but that doesn’t mean they aren’t putting in plenty of work. Having electricity that runs smoothly is key to keeping your home safe and comfortable. It’s crucial to keep your home wiring in excellent condition, as doing otherwise will compromise the safety of both your family and your home. Wiring that is outdated, damaged or in poor condition needs to be taken seriously, but how do you spot a problem?

Editorial Team
•12 Aug 2025
Are you looking to buy ceramic tiles at the best price in Laval? To help reduce your effort, we have put together a guide of stores selling ceramic in Laval.

Amanda Harvey
•13 Dec 2023
Walking through the front door of your home should always be exciting. It’s true that after a long day of work or running around, we all hope for a space that’s organized and comfortable.