If your cabinets are screaming for a fresh look, give them a quick update by stripping and refinishing them with a new stain. If your cabinets are structurally sound, then luckily all they’ll need is a bit of a facelift to appear brand new. Stripping cabinets is a short project and can be done by even the most novice of DIYers.
Stripping and restaining cabinets can save a homeowner from having to commit to an entire cabinet replacement project. Take some time to consider colour and stain options out there for you on the market. Do a bit of research and once you’ve got a vision in mind, follow our step by step guide to have cabinets that appear brand new in no time!
Here's our step-by-step guide on how to strip kitchen cabinets!
Source : les Réalisations P.O.P. Design Inc.
Prepare the Cabinet Surface
Although this project is far less time consuming and costly than fully ripping and redoing cabinets, it is important to give yourself some time to complete. It's best to give yourself two full weekends, as staining or applying new coats of paint will need time to dry. Materials required for this job are as follows: screwdriver, drop cloth, rubber gloves, 1-1/2-inch paintbrush, putty knife, sandpaper (100 and 180-grit) oscillating tool, sponge, stain, stripper and lacquer.
Start Stripping Those Cabinets!
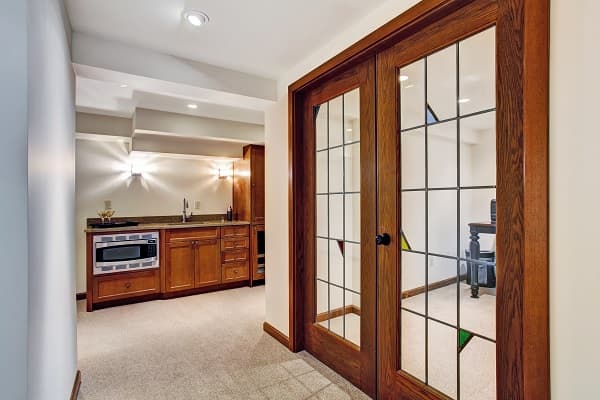
Source : les Réalisations P.O.P. Design Inc.
If your cabinets have been stained previously, bear in mind that a small layer of the wood will have to be removed with sandpaper to reach the natural wood beneath. Begin by dismantling cabinets, removing drawers and doors from their place on the wall. You can do this by using a screwdriver and unscrewing doors, hinges and drawers.
It is important that you save all screws and hardware pieces in a safe space, as you’ll need them again. Also, label cabinet doors to avoid confusion and so you’ll know where they go once the job is finished. You can do this using painter's tape. Make sure to remove the labels before refinishing or spraying with primer and paint, replacing them once dry, in preparation for reinstallation.
Next, put on your rubber gloves and paint a light coat of stripper onto the face of one of the cabinets. Work by painting one coat at a time onto cabinets, drawers and doors. Now, wait 10 minutes and then scrape the softened stripping lacquer off with a putty knife. Make sure to start at the top and scrape downwards. You should have a drop cloth resting beneath the area you are working, allowing for the gelled finished pieces to fall onto it. Repeat this step with all cabinets, drawers and doors, working carefully.
Sand and Stain
Following this, sand down surfaces using the 100-grit sandpaper and attach it to a power oscillating tool. If your cabinets have details or mouldings of any sort, use a rotary tool with the correct accessory to fit neatly inside the moulding profiles. Now, using a hand block, re-sand the cabinets, sanding parallel to the grain on all surfaces until the wood's colouring looks consistent.
Next, working with your sponge, begin staining the cabinets. Follow the same method you used to strip the cabinets, moving one door and drawer at a time. As soon as the wood appears wet, quickly wipe the stain using a dry cloth. Wait an hour and the stain should be dry.
Completing the Project
The last few steps of this process are as follows. Start by spraying the cabinets, doors and drawers with a light coat of aerosol lacquer. Take care while completing this step, as lacquers can sometimes be accompanied by toxic fumes. Consider wearing a respirator or face mask to avoid breathing in any harsh chemicals. Also, make sure if you’re working indoors that windows are open or a fan is being used to rid of the fumes. The lacquer should dry in no more than half an hour and should cure completely between coats.
Next, use 180-grit sandpaper and sand down all pieces by hand, and following this more lacquer can be applied. Wait 24 hours for the finish to cure before reinstalling the doors and drawers. Remember, another way to update your cabinets is to consider modern hardware or even a fresh coat of paint!
Looking for something else?
Related articles
The latest industry news, interviews, technologies, and resources.

Cynthia Pigeon
•08 Nov 2023
While painting a wall may seem like a rather simple thing to do, it is nonetheless easy to overlook a few basic rules and end up with a botched final outcome. In order to avoid this, here is a list of common mistakes to avoid when painting.

Editorial Team
•26 Jun 2025
Luxury, privilege, beauty, a warm cocoon in the cold of a Quebec winter—an indoor residential pool is all of this and more. That is why it remains a dream for many of us.

Editorial Team
•05 Dec 2025
Energy efficiency in a home is a key issue, especially during the winter months, and even more so if it is an older structure. Having effective insulation is frequently listed as the first step to reducing heating costs.
Editorial Team
•17 Dec 2024
If you’re looking to let a little bit of light in between two otherwise dull or dingy rooms, or you’re looking for an alternative to the classic sliding door, then you might be in the market for French doors. These doors can be a beautiful addition to both classic and modern home décors.

Editorial Team
•08 Nov 2023
Sometimes, we crave a break from the monotony of day to day life. Many of us escape from the grind by venturing on a vacation, whether that be to a faraway city or a quick drive to the country.