How to Build a Fire Pit: A Step-by-Step DIY Guide
By Editorial Team
Updated on August 24, 2026
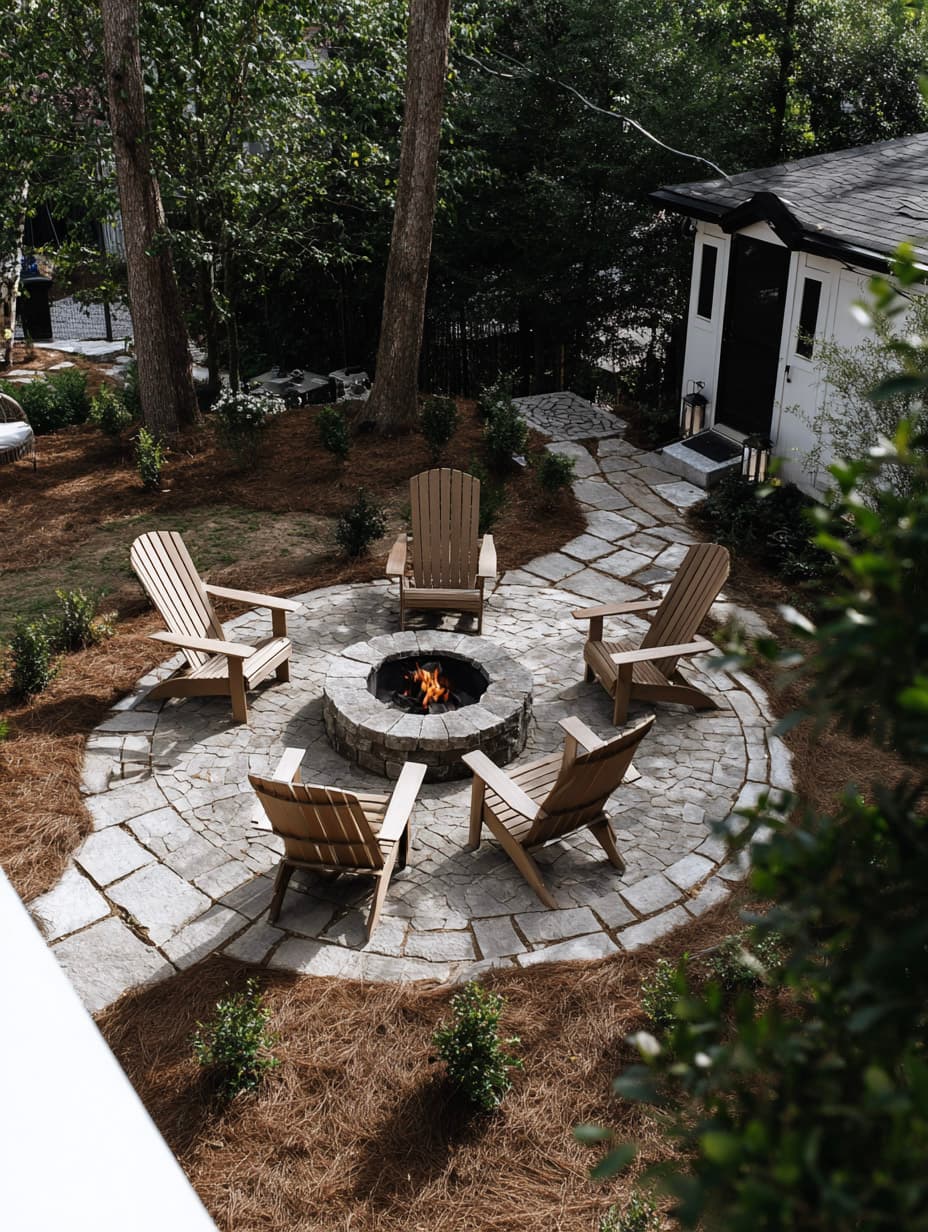
A backyard fire pit is one of the more approachable weekend builds a homeowner can take on. With the right materials, a level base, and some attention to the fire codes in your area, you can have a working fire pit built in a single weekend, no contractor required.
This guide walks through choosing a location, picking materials, building the base and walls, and finishing the area with seating and lighting. It also covers the bylaw and safety details that trip up a lot of first-time builders, since those vary more across Canada than most people expect.
Choosing and Preparing the Location
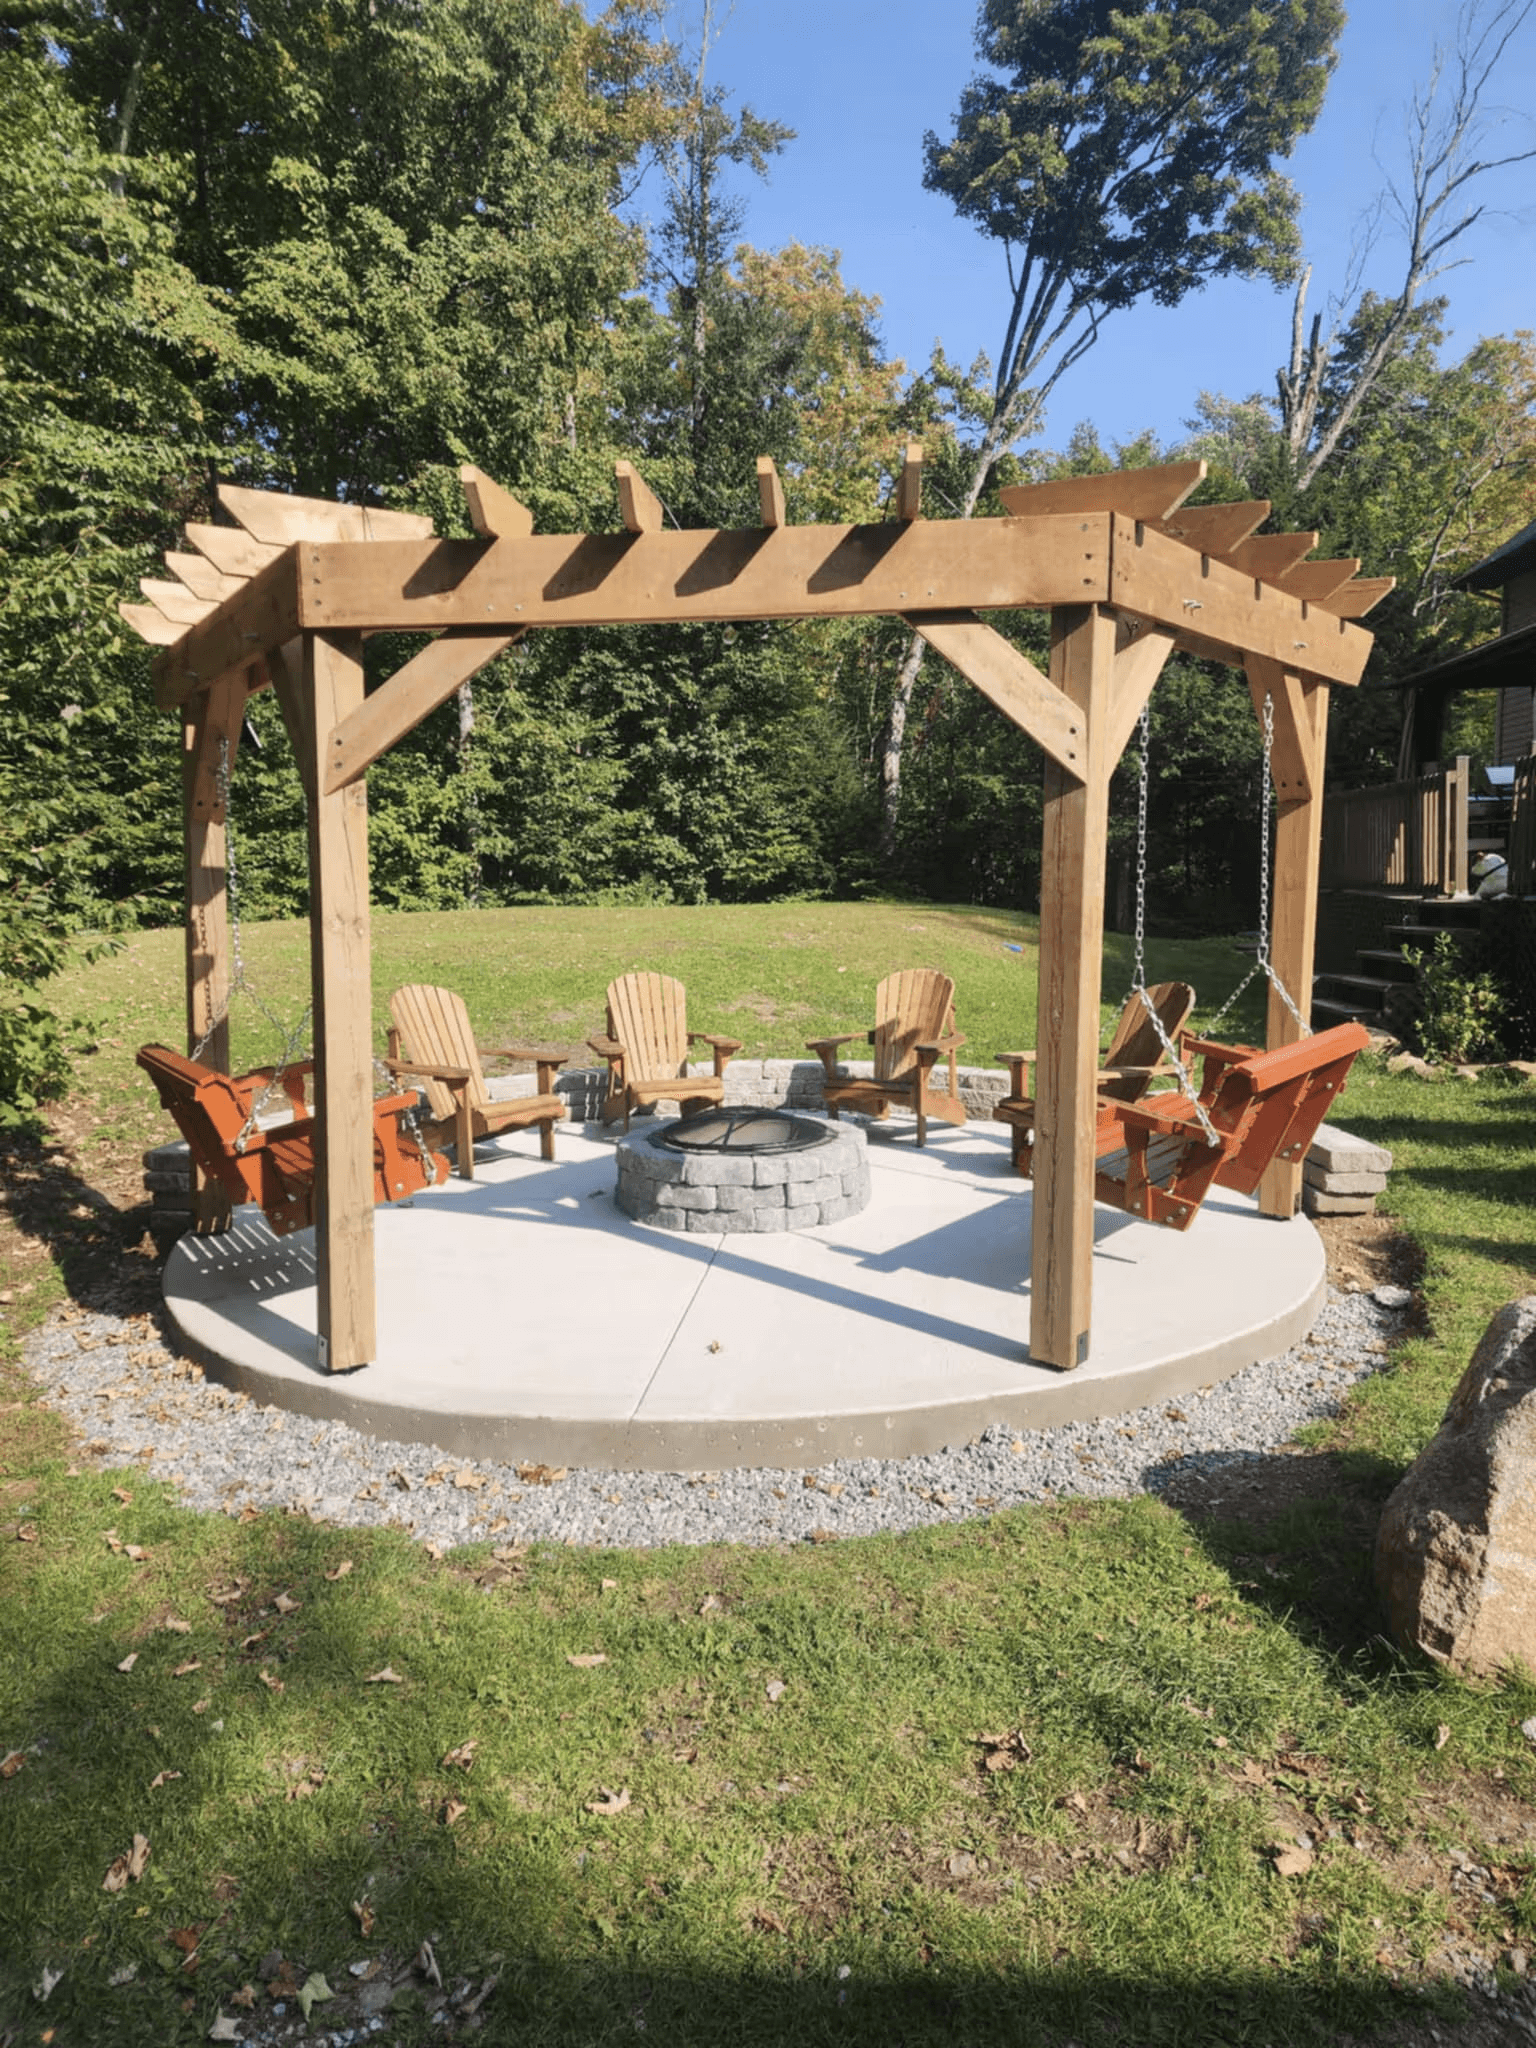
Source: Finition de béton Nadon
Safety Distances and Local Bylaws
Before anything else, check your municipal bylaw. Fire pit rules vary widely across Canadian cities, and some of that variation is significant. Calgary requires fires to sit at least two metres from any house, garage, fence, or property line, while Edmonton and Winnipeg set the distance at three metres (about 10 feet) from buildings and anything flammable. A few cities, including Toronto, Vancouver, and Montreal, have historically restricted or banned open-air burning outright, and municipalities update these rules often enough that a quick call to your local fire department or a check of the city website is worth the five minutes.
These rules aren't just on paper. Windsor raised its fine for an unpermitted backyard fire to over $570 in 2025, and Winnipeg issued a two-week fire ban that same year during dry conditions, suspending even existing permits. If your municipality requires a permit, get it before you build, not after, since some bylaws tie the permit to inspection of the pit's construction.
Beyond the legal minimum, give the pit at least three metres of clearance from anything that could catch a spark: low-hanging branches, fences, sheds, a woodpile, or overhead wires. Call before you dig, too. A quick call to your local utility locate service will mark any underground lines so you don't hit one excavating the base.
Site Conditions to Look For
Look for a bare, flat, level spot with an open sky above it. A sloped site will need extra excavation to level, and anything overhanging the pit, tree limbs, a pergola, an umbrella, defeats the purpose of keeping sparks contained. Mark the fire pit's footprint with a wooden stake and string, or with flag markers and marking paint if you want a circular outline, before you commit to excavating.
If you're building near an existing patio or backyard layout, it helps to sketch the whole area first. Our article on backyard landscaping covers how to plan a durable outdoor space around fixed features like this one.
Designing the Fire Pit and Seating Area
Size and Shape
Most backyard fire pits run between 90 cm and 1.2 metres (roughly 3 to 4 feet) across, which is large enough for a real fire without pushing into bylaw size limits in stricter municipalities. A circular shape is the simplest to build and the most common, though square and hexagonal designs work too if they suit your patio's layout better.
Planning the Seating Layout
Once you know the fire pit's footprint, mark the seating perimeter around it, typically a metre or so back from the pit's edge so guests aren't too close to the heat. This is also the point to decide whether you want a paver surround, a raised border, or a simple pea gravel patio ringing the pit. If you're still deciding on the broader look of the space, our patio design ideas article is a good next stop.
Selecting Materials and Tools
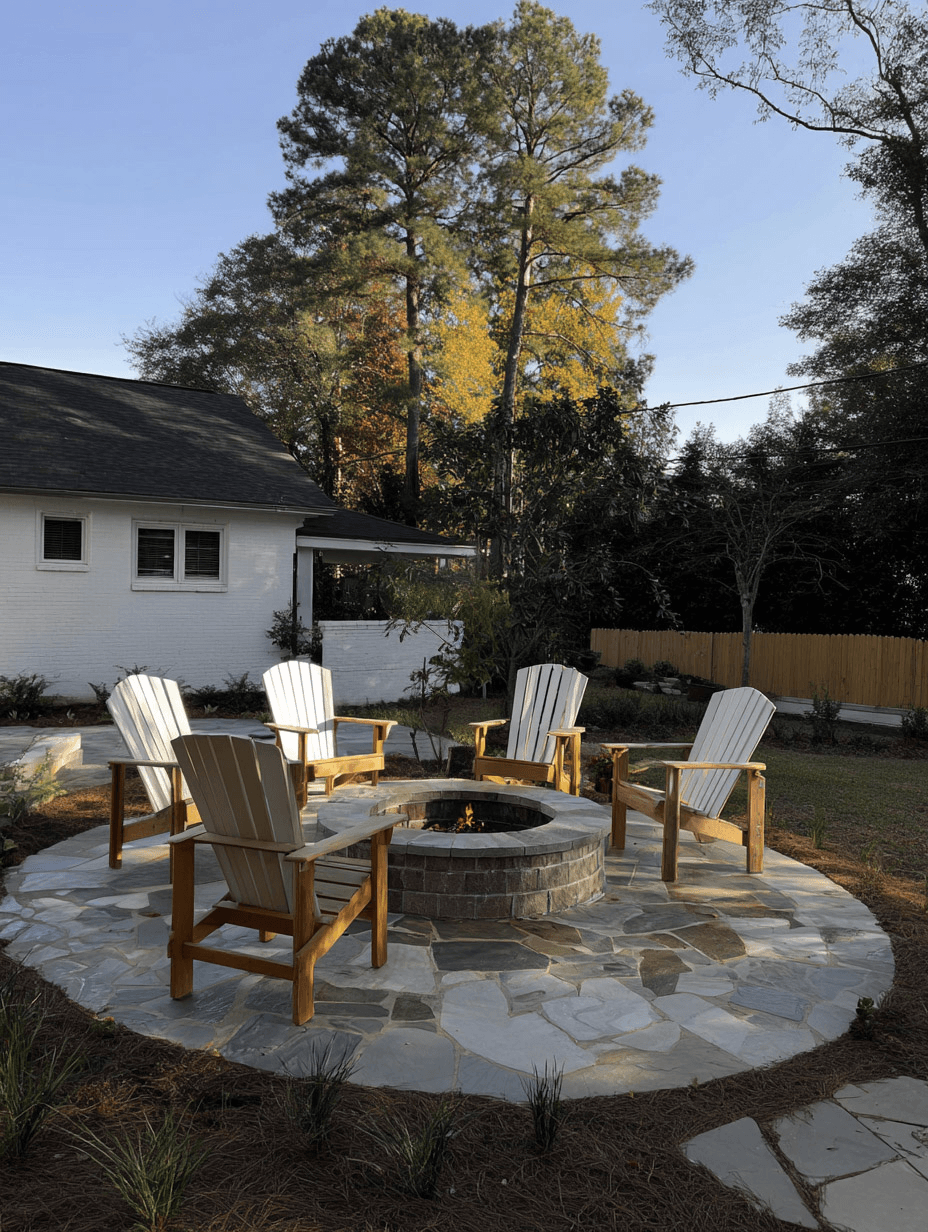
Source: Reno Quotes
Materials to Choose From
The main choice is what the walls of the pit will be built from:
Retaining wall blocks: Interlocking concrete blocks are the most beginner-friendly option, since they stack without mortar and many are sold as fire pit kits with a matching cap.
Natural stone: Fieldstone or flagstone gives a more rustic look but takes longer to fit together and often needs construction adhesive to hold courses in place.
Fire brick: Standard concrete or stone isn't rated for direct, sustained flame contact and can crack or spall over time. A liner of clay fire brick around the interior protects the outer wall material.
Ready-made fire pit rings: A steel fire ring kit is the fastest option if you'd rather skip masonry work entirely and just build a gravel base underneath it.
Whatever you choose for the outer wall, plan on fire brick or a steel liner for anything that touches the flame directly. For general guidance on working with stone and block, our article on bricklaying and masonry work covers the techniques that carry over to fire pit construction.
Tools You'll Need
A shovel and garden rake for excavation, a level to keep each course flat, a tamper for compacting the base, a caulk gun if your blocks call for construction adhesive, and a bucket of water on hand for the first test fire.
Installing the Base and Foundation
Excavating and Leveling
Excavate the marked area to about 15 to 20 cm (6 to 8 inches) deep, wider than the fire pit's footprint by 15 to 30 cm to leave room for a paver base or gravel skirt around the outside. Use a level across the excavated area and adjust the soil until it's flat, since even a small slope will throw off every course of stone stacked on top of it.
Building the Gravel Base
Line the excavated area with landscaping fabric to block weed growth, then add a layer of paver base or crushed gravel and compact it firmly with a tamper. This step matters more than it looks: an uncompacted base is the most common reason a stacked fire pit shifts or settles unevenly within its first year. The compaction technique is the same one used for building a gravel driveway, just at a smaller scale. Add a top layer of sand and screed it level before you start stacking.
Building the Fire Pit Structure
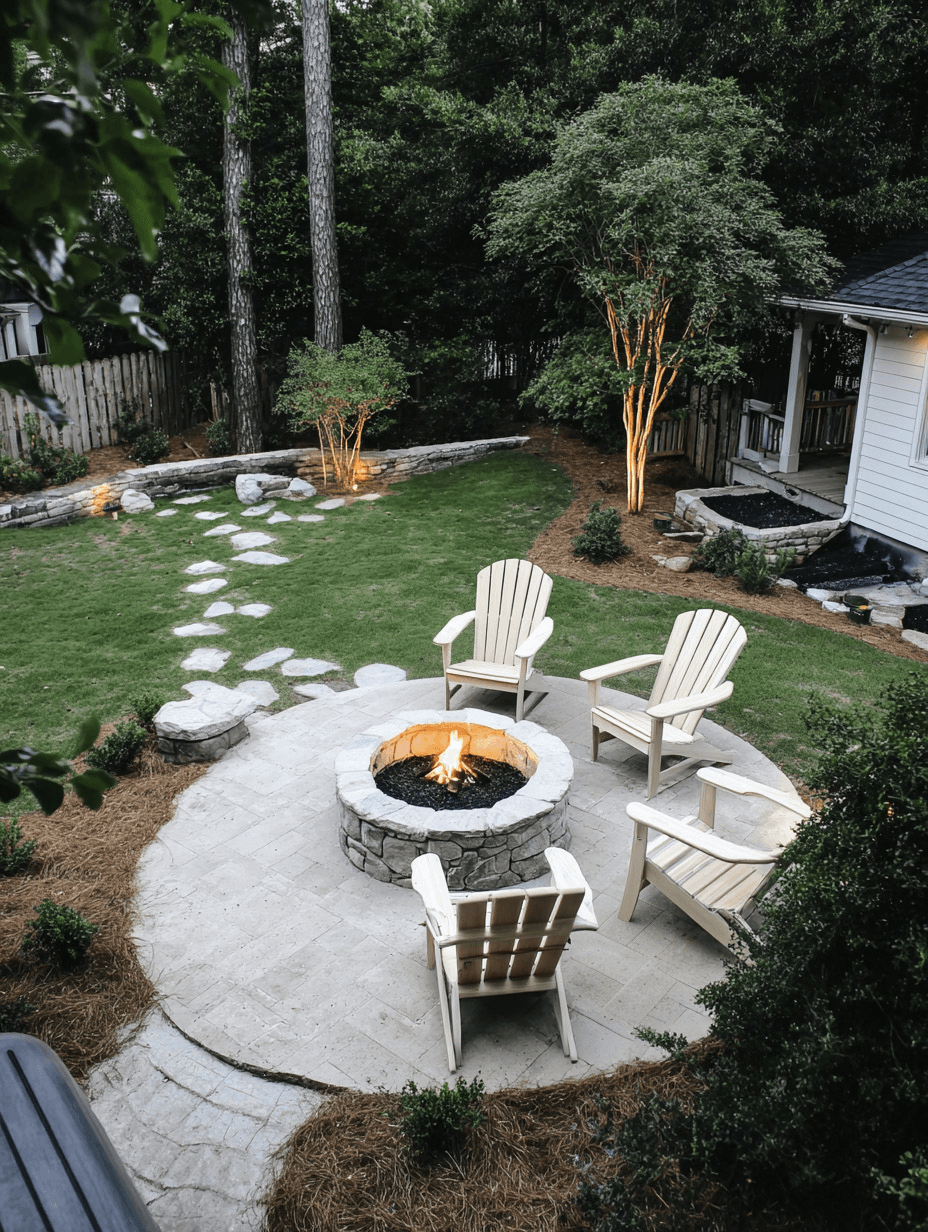
Source: Reno Quotes
Stacking the Walls
Lay the first course of blocks or stone around the marked outline, checking level after every piece. Stagger the joints on each subsequent course the way you would with a brick wall, so the seams don't line up vertically, and use construction adhesive between courses if your material isn't designed to interlock. Most backyard fire pits are three to four courses high, which works out to roughly 30 to 40 cm.
Lining the Interior with Fire Brick
Once the outer wall is built, line the inside face with fire brick or a steel fire ring insert, leaving a small air gap between the liner and the outer wall where possible. This gap protects the outer material from the direct heat of the fire and is what keeps a concrete or standard stone pit from cracking after repeated use.
Adding Finishing Touches and Seating
Around the Pit
With the structure built, finish the surrounding area. A ring of edging stones or landscape edging keeps gravel or mulch contained, and a pea gravel patio is a low-cost way to fill the seating area without pouring concrete. Bring in Adirondack chairs or a couple of outdoor end tables, and leave enough space between seats and the pit for people to get up without stepping over anyone.
Lighting and Décor
String lights strung around the seating area or a couple of light posts along the path to it make the space usable after dark. Potted plants, wind chimes, and other garden décor finish the look. If you want heat on nights you're not lighting the pit itself, a patio heater is worth considering as a supplement, our guide to patio heaters covers the options.
Fire Pit Area Maintenance
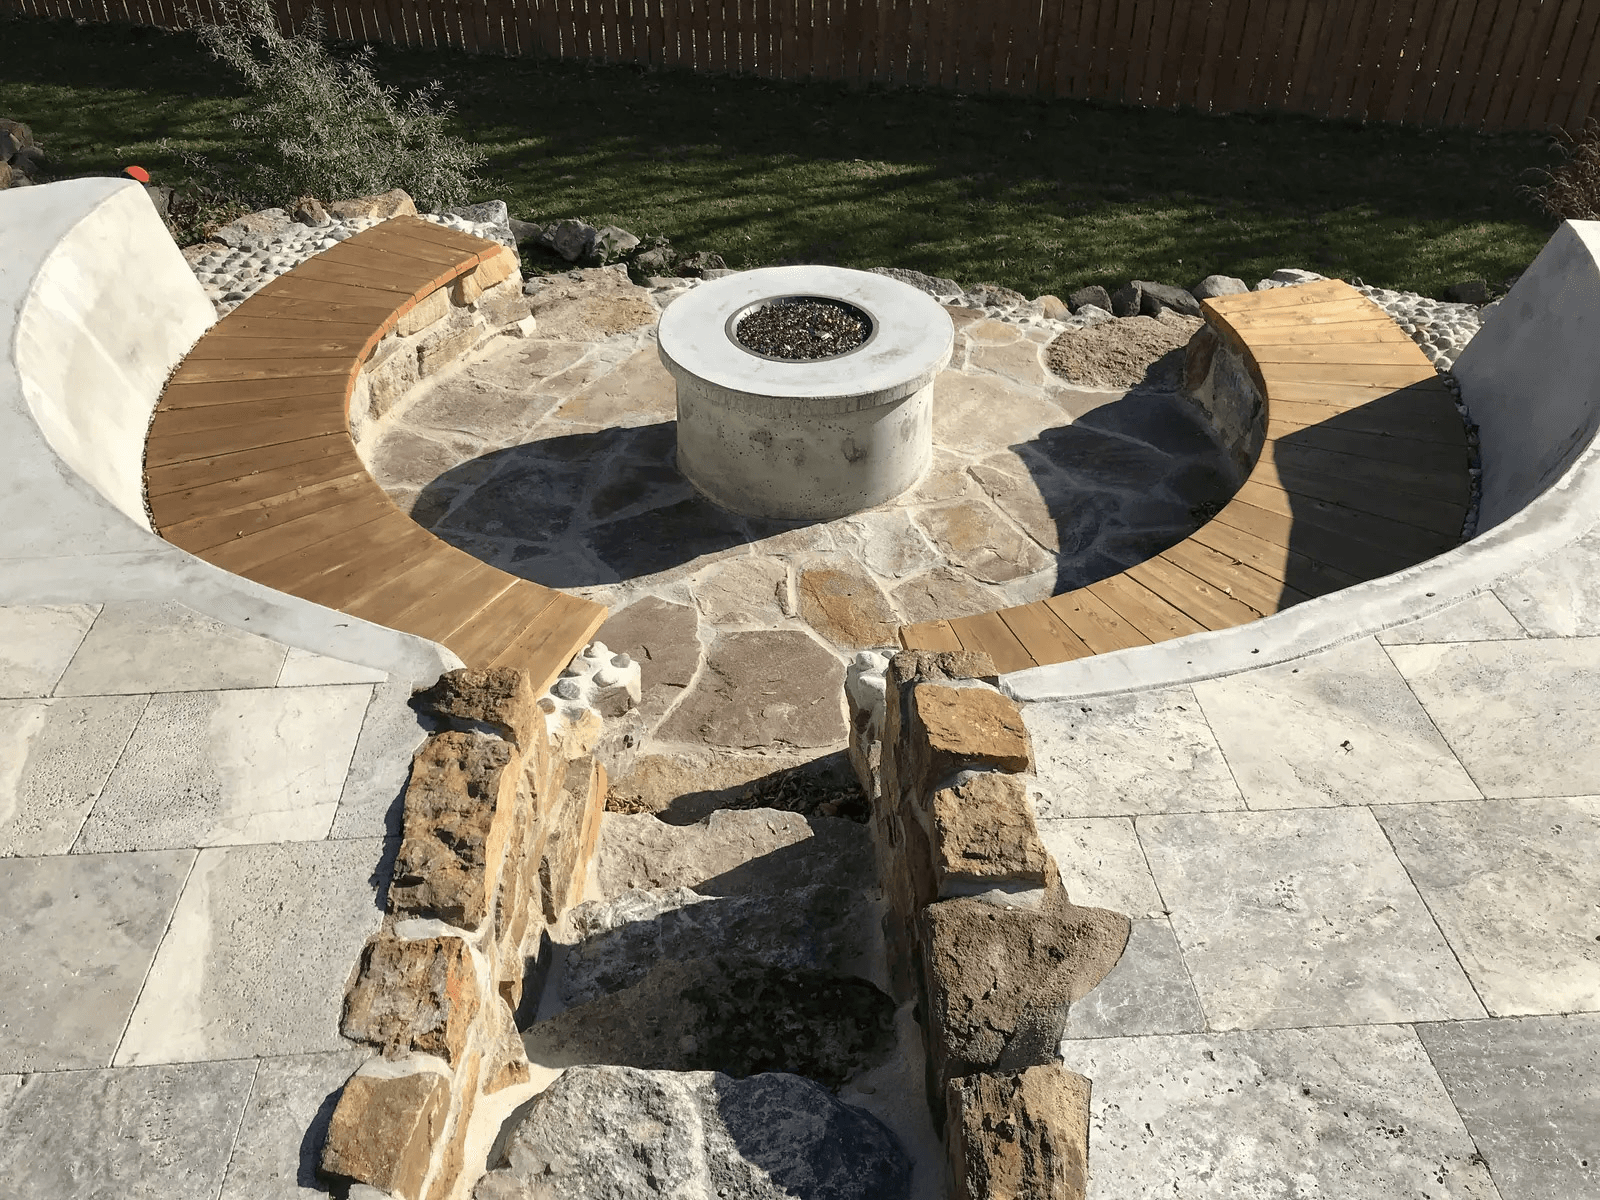
Source: maconnerie meritage inc
Routine Cleaning
Clear ash and debris after each use once it's fully cooled, and pull any weeds pushing up through gravel or paver joints before they get established. A pea gravel patio needs occasional raking to stay level, and the area should drain freely after rain rather than pooling around the base.
Extinguishing and Fire Safety
Never leave a fire unattended. To extinguish it properly, let the wood burn down, spread out the coals, and douse everything, including the surrounding stones, with a bucket of water rather than just covering it with dirt. Embers can stay hot enough to burn skin up to 24 hours later, so keep a fire extinguisher or that bucket of water within reach every time you light it.
In Conclusion
Building a fire pit is a manageable weekend project once you've settled on a location that meets your municipality's clearance rules, compacted a proper gravel base, and chosen materials that can handle direct heat. The steps scale with how much masonry you want to take on, from a simple ring kit dropped onto a gravel bed to a fully mortared stone wall with a fire brick lining.
Whatever material you choose, the base and the bylaw check matter more than the finish. Get those two right and the rest of the build is mostly patience and level lines.
Frequently Asked Questions
Do I need a permit to build a fire pit in Canada?
It depends entirely on your municipality. Some cities require a permit before you build or light a fire pit, others only require compliance with size and distance rules, and a few restrict or ban open-air burning altogether. Check your city's bylaw page or call the local fire department before you start.
How far should a fire pit be from my house?
Rules range from about two to three metres in most Canadian municipalities, but always confirm the number for your specific city rather than assuming. Regardless of the legal minimum, keep the pit well clear of fences, sheds, low branches, and anything else that could catch a spark.
Can I build a fire pit on a wood deck?
Not directly. A wood-burning fire pit needs to sit on a non-combustible surface like brick, stone, or concrete pavers, even if that surface is placed on top of an existing deck. If your deck is the main gathering space, it may be worth reviewing what a new deck build or an adjoining paved area would cost before deciding where the pit goes.
What's the cheapest material for a fire pit?
A ready-made steel fire ring kit set into a gravel base is typically the least expensive option, since it skips masonry work and adhesive entirely. Retaining wall block kits cost more but give you a permanent, built-in look without needing mortar skills.
What should go in the bottom of a fire pit?
Use gravel, paver base, or fire bricks in the bottom of a fire pit. These materials help create a stable surface and improve drainage.
How deep should a fire pit be?
A backyard fire pit is often about 1 foot deep, though the exact depth can vary depending on your design and local rules.
What is the easiest type of fire pit to build?
A fire pit kit is usually the simplest option for beginners because it reduces planning, cutting, and assembly work.
How much space should I leave around a fire pit?
Leave enough room for chairs and easy movement around the pit. A comfortable seating area should give people space to sit back from the heat without crowding the fire.
Looking for something else?
Related articles
The latest industry news, interviews, technologies, and resources.

Cynthia Pigeon
•08 Nov 2023
Have you just made the leap and purchased your dream lakefront house or chalet, but you are just lacking an essential element to fully enjoy it? Now, adding a floating dock might just be the idea of the century to bring about a bit more fun to your evenings with your friends and make your family's access to water sports that much easier.
Editorial Team
•29 May 2026
Building a new home is an exciting prospect, as many wait their whole lives to be able to put their plans for a dream home into action. Of course, constructing a house from the ground up can be a complicated process.

Editorial Team
•08 Nov 2023
Are you considering renovating your kitchen this year? With all the available material and decor options, at first, it can be difficult to navigate. To offer some inspiration for this large-scale project, take a look at the kitchen decor trends that are sure to steal the show in 2021!

Amanda Harvey
•08 Nov 2023
After living in your home for some time, it’s normal to long for a change. If you’re not looking to make a huge move or take on something complicated, then you should consider smaller renovation projects. There are rooms you spend a lot of time in, and the kitchen is one of them. Specifically, many homeowners grow tired of their kitchen cabinets; the colour, the finish, or both. Luckily, through a process called “refacing,” you can offer your cabinets a second chance without investing in a whole new set.

Cynthia Pigeon
•18 Aug 2026
Starting a residential renovation project represents a major financial and personal investment. Whether you are remodelling a kitchen, finishing a basement, or replacing a roof to withstand harsh Canadian winters, the work should be completed according to accepted industry standards. Unfortunately, some projects can turn into nightmares: unfinished work, job abandonment, structural errors, or unjustified delays.