Kitchen Remodel Cost Guide: How Much to Budget in 2026?
By Léa Plourde-Archer
Updated on April 2, 2026
Are you renovating your kitchen? This list of kitchen-specific features, characteristics, and price points will help you plan your project and choose what best suits your budget.
Get Your Project Started Today
Submit your details and receive three free quotes from trusted contractors.
How Much Should You Spend for a Complete Kitchen Renovation?
Type of Renovation | Average Cost |
Standard cabinets | $100–$700/unit |
Standard kitchen island | $100–$1,000 |
Counters | $6–$400/square foot, depending on the material selected |
Sink | $90–$600 |
Faucet | $48–$540 |
Flooring | $2–$25/square foot, depending on the flooring chosen |
Backsplash | $1–$48/square foot, depending on the material chosen |
Electrical | $1,000–$2,000 |
Plumbing | ≈ $2,000 |
Insulation | $1–$18/square foot |
Lighting | - Wall sconces: $50–$150/unit |
Range hood | $200–$2,000 |
Kitchen Cabinets and Drawers
Source: Les Réalisations P.O.P. Design Inc.
Characteristics:
Must be installed at the right height and be big enough to suit the homeowners’ needs
Framed cabinets
Various styles, colours, installation methods (corner, etc.), heights, and available sizing
Most sought-after materials: melamine, wood, metal, door glass inserts, PVC, etc.
Cost:
Prices vary depending on the selected material, whether the cabinets are custom or store-bought, and other factors.
For custom-made kitchen cabinet costs, check out our article: Custom-Made Kitchen Cabinet Price Guide
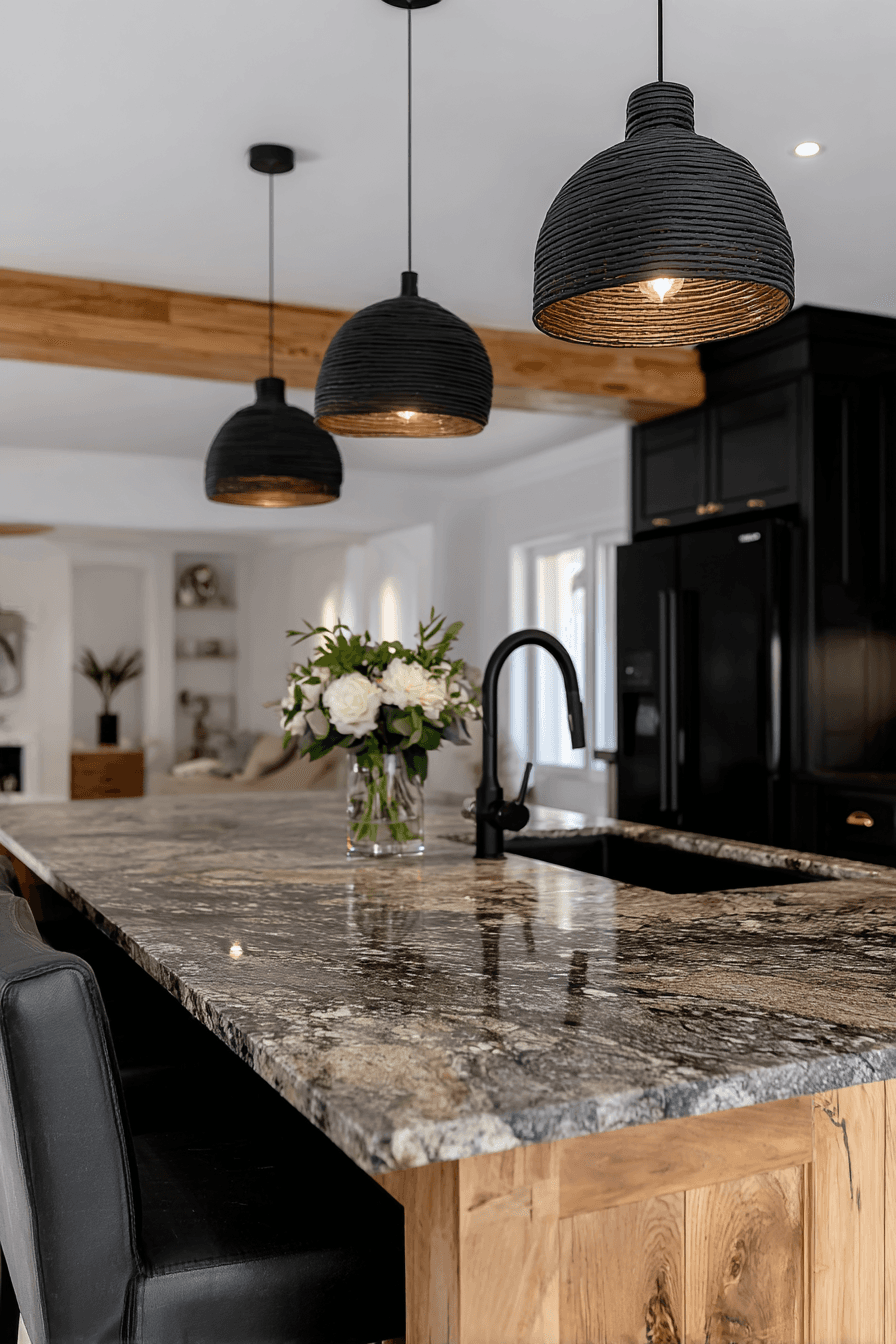
Kitchen Countertops
Source: les Réalisations P.O.P. Design Inc.
Characteristics:
Must be long-lasting and low-maintenance
Different textures, finishes, colours, and materials
Most sought-after materials: laminate, synthetic, natural or manufactured stone (marble, granite, quartz), tiles (ceramic or porcelain), metal, wood, and concrete
Can include an island, a breakfast nook, or a bar with counter stools.
Cost:
Sink
Source: les Réalisations P.O.P. Design Inc.
Characteristics:
Must be big enough to suit the occupants’ needs
More than one can be featured in the kitchen and can be sized differently
Different sink types: single, double, and triple
Several installation methods: undermount, drop-in, etc.
Different materials available: stainless steel, enamelled cast iron, stone, etc.
Cost:
Low-end kitchen sink: $90–$200
Standard kitchen sink: $250–$360
High-end kitchen sink: $400–$600
Faucet
Characteristics:
Must be easy to use
Different models: motion activated, one or two taps, "pot filler" near the stovetop, etc.
Different spouts: 180-degree or 360-degree rotation, detachable, high or low spout, etc.
Available accessories: sprayer, high-pressure spout, etc.
Cost:
Low-end kitchen faucet: $60–$90
Standard kitchen faucet: $120–$250
High-end kitchen faucet: $260–$600
Flooring
Source: les Réalisations P.O.P. Design Inc.
Characteristics:
Must be stain and shock-resistant
All flooring can be used, but consider the most durable options: vinyl, linoleum, laminate, bamboo, stone (granite, slate, etc.), and ceramic
Cost:
Wall Covering
Characteristics:
Other than paint, you can use ceramic tiles (mosaic, porcelain, etc.) or stone on select surfaces for design purposes
Backsplashes can be made of tile, ceramic, stone (marble, quartz, etc.), wood, mosaic, etc.
Another possibility is using magnetic or chalkboard paint
Cost:
Paint
Source: Major Renovation and Tiling Inc
Characteristics:
Must be moisture- and maintenance-resistant
Use either 100% acrylic paint or bathroom- and kitchen-specific paint
Wide-ranging colours and finishes (semi-matte, glossy, semi-glossy, etc.)
Cost:
Electrical
Characteristics:
Must be protected against moisture and water exposure
Requires an expert/general contractor
Involves ventilation ducts, electric outlets, appliance outlets, etc.
Cost: $1,000–$2,000
For more detailed information, check out our article Cost of Electrical Renovations in 2024.
Plumbing
Source: MTL Contractors
Characteristics:
Must be installed correctly to avoid accidents (flooding, noisy pipes, water flow and pressure issues, etc.)
Has to be done by a professional plumber
Cost: About $2,000
For more detailed information, check out this article: Plumbing Renovation Price Guide.
Insulation
Characteristics:
Good thermal insulation will result in efficient heat exhaust
Must be moisture-resistant (vapour barrier)
Extensive material selection
Cost:
Lighting
Source: MTL Contractors
Characteristics:
Must light all surfaces and areas in the kitchen (sink, countertop, pantry, etc.)
Several types of lighting (general, specific to one countertop, decorative)
Different options: manual settings or according to daylight, track lighting, floor lamps, built-in, pendant, etc.
Cost:
Costs vary depending on the scope of work.
Ventilation
Characteristics:
Must ventilate the kitchen adequately
The stove's range hood is often the main source of ventilation
Different types of hoods: wall-mounted, over-the-range, downdraft, under-cabinet, etc.
Different types of fans with varying strengths: centrifugal (quieter) or with blades
Exterior air outlets are more efficient (coal filters are less efficient)
Cost:
Check out this article for more information about range hoods (French only).
Furniture
Source: MTL Contractors
Characteristics:
Dining area with tables and chairs, bar stools, office space, seating, etc.
Cost:
Depends on the furniture.
Appliances
Source: Ontera Homes Inc
Characteristics:
Refrigerator, freezer, dishwasher, oven, microwave
Wide-ranging models retailed at varying price points
Cost:
Depends on the appliance.
Accessories and Home Decor
Characteristics:
Optimizes the space inside cabinets and drawers
Slides, adjustable shelving, organizers, lazy Susans, etc.
Prints, mirrors, fruit bowls, decorative dinnerware, kitchen accessories, etc.
Avoid overloading countertops
Cost:
Accessories are all priced differently.
Kitchen Remodelling: Questions to Consider When Planning Your Budget
Source: Ora Construction design inc.
How Much Should You Spend for a New Kitchen on Average?
How much will your new kitchen end up costing you? What kind of renovation budget are we talking about—$5,000, $10,000, $30,000, $60,000? This sort of project usually incurs a broad range of expenses. Coming up with an initial budget may be challenging when planning your first kitchen renovation project.
However, note that the overall cost of a new kitchen depends on the following:
Kitchen size
Quality of the material
Appliances
Accessories
Electrical and plumbing work (if the layout was changed)
Labour cost
To determine the price of your kitchen remodel, get detailed quotes from different suppliers and contractors.
Here’s some information to guide you along:
You can also use our cost estimator to get an idea as to how much your project will cost.
How Can You Finance Your Kitchen Remodel in Canada?
Source: WDK Management Inc
There are several ways to finance your new kitchen:
Use your savings
Get a loan
Use your credit card(s)
Remortgage your house to finance your kitchen remodel
What Is the Biggest Expense in a Kitchen Remodel?
Cabinets are often the most expensive investment in a kitchen remodel, followed by electrical work and plumbing, which requires hiring skilled experts. Additionally, if structural changes are involved, you may need to obtain a building permit. For those on a tight budget, consider DIY upgrades that don't require expert services, such as replacing plumbing fixtures, repainting, or upgrading appliances.
To learn about the average cost of different renovation projects, check out our 2024 Home Renovation Price Guide.
To see kitchen renovation projects completed by RenoQuotes.com contractors, check out 10 Examples of Kitchen Renovation Projects.
We also recommend checking out Your Go-To Kitchen Renovation Checklist, an in-depth article featuring a handy checklist.
Looking for something else?
Related articles
The latest industry news, interviews, technologies, and resources.
Cynthia Pigeon
•08 Jul 2026
Renovating a kitchen is one of the most valuable and unifying residential projects for Quebec homeowners. The addition of a large central island equipped with a sink and dishwasher has become a highly sought-after layout for improving both the conviviality and ergonomics of the living space. However, bringing drinking water — and especially draining wastewater — to the middle of a room creates major logistical challenges.

Karine Dutemple
•08 Nov 2023
Although materials like ceramic, wood, porcelain or natural stone are still going strong, the arrival of new ones on the market could easily create new competition for them.

Editorial Team
•08 Nov 2023
Wondering how to renovate your house without spending a fortune? RenoQuotes.com has a few tips on how to renovate your house when you have a limited budget.

Cynthia Pigeon
•09 May 2024
If knocking down a load-bearing wall is no simple matter, then knocking down a non-load-bearing wall isn't a walk in the park either. To know just how to carry out this kind of task, and achieve a decent result, here are the necessary steps and precautions to follow.

Editorial Team
•19 Mar 2026
Across Canada, we long for warm weather. Balmy months mean a chance to enjoy the great outdoors, and if you’re lucky, that also means enjoying a glass of wine on the comfort of your balcony. If your home has a balcony, you already know that keeping it in shape takes a little bit of effort and elbow grease.