
A wood-burning stove glass is more often than not hard to maintain. Between wear and tear fissures and soot coating its surface, it’s best to be prepared and have the right solutions on hand.
Here’s everything you need to know, from glass replacement to maintenance tips.
Wood-Burning Stove Glass Types and Pricing

Source: Canva
All in all, there are two types of glass for wood-burning stoves: tempered glass and ceramic glass. Here are their unique characteristics:
Tempered Glass
Tempered glass can solely be used with economical, low-efficiency wood-burning stoves as the glass will shatter under high temperatures. Another problem with tempered glass: it can’t withstand drastic temperature changes. If a glass of water is spilled on hot, tempered glass, the latter with crack.
As a result, the vast majority of wood-burning stoves on the market are sold with ceramic glass.
Ceramic Glass
Ceramic glass is a much more interesting option than tempered glass when it comes to a wood-burning stove.
Not only does such glass not break on account of drastic temperature changes, but it can withstand temperatures reaching 760°C (1,400°F), compared to the 564°C (1,047°F) of tempered glass.
Ceramic glass is typically 1 ½ (4 mm) thick and is retailed in various formats, to suit your wood-burning stove door.
Given the latter, the glass panels available are as listed:
Arched ($100 to $200)
Curved ($600 to $700)
Lateral ($100 to $250)
Centred and rectangular ($200 to $300)
How to Replace a Broken Glass Panel

Source: Canva
Replacement Glass
Wood-burning stove glass isn’t timeless. There are numerous reasons why the glass may break:
Physical shock
Very high temperatures (excess of wood)
A too-tight hold on the glass (the screws and bolts prevent the glass from expanding under the heat)
Wrong fuel (domestic coal or petrol)
If you fail to replace a cracked glass, it may end up shattering completely and causing a hazard for you and your family members.
However, a replacement glass is easily found. A lot of professionals retail different types and shapes of glass. If you can’t find the one you need, you can always order a custom-made one.
Custom-Made Glass
Rectangular, square, trapezoidal, rounded or pointed edges, custom-made wood-burning stove glass can be shaped in any way and embrace all sizes.
As such, for a 20-inch by 12.25-inch glass, standard glass will cost between $150 and $250. We’ll circle back to this down below.
5-Step Installation
Here are the steps to follow to DIY install your replacement glass:
Step 1: Remove the door
To replace a wood-burning stove glass under the best condition possible conditions, you first have to remove the door. Typically, you’ll solely need to lift it off its hinges.
Step 2: Remove the glass
Wood-burning stove glass is upheld by bolts. By loosening the bolts, you’ll soon notice that they aren’t over-tightened. Otherwise, it would prevent the glass from dilating under the heat, causing it to break.
However, if you aren’t able to loosen them easily, that means they’re embedded into the door material. This is likely to be the case if your wood-burning stove is old. Some degreaser should get the job done.
Remember to wear gloves while removing a cracked glass panel, and to hold on to it tightly to prevent it from shattering on the floor.
Step 3: Replace the gasket
A wood-burning stove’s glass panel must always be sealed to prevent the following:
Carbon monoxide from filtering into the room
Smell of smoke
Excessive fuel exposure
Loss of efficiency from air leak
Therefore, when you change your device’s glass, feel free to replace the gasket at the same time.
Prioritizing self-adhesive gaskets will ensure you don’t have to apply a special type of glue too. A wood-burning stove’s gasket is a fibreglass-made rope. To ensure it properly sticks to the door, you simply have to remove the build-up of soot that coats the door with a scrub brush.
Step 4: Install the new glass
The new glass may have a few labels adhered to its surface. Naturally, you’ll need to carefully remove them prior to adding the gasket.
Avoid over-tightening the screws and bolts at the risk of the glass breaking under intense heat.
Step 5: Hang the door
After a few hours, put the door back on its hinges. The glue used to stick on the new gasket does need a few hours to cure.
How to Prevent a Wood-Burning Stove Glass from Turning Black

Source: Canva
Keeping the glass clean isn’t an easy feat, as the blackening can happen on account of two factors:
Creosote
Soot
Both these particles are the product of the same causes, though aren't cumulative:
Damp wood used as fuel
Lack of air in the fuel chamber
Poor airflow
The above-mentioned causes aren’t a result of wood-burning fuel. If you’re using coal in your wood stove, look no further. Coal produces tar when burned, and it then blackens the stove’s glass. Here’s how to ensure your glass panel remains clean.
Tip 1: Use dry wood
Your wood’s been drying for a year now, surely it must be ready to use in your wood-burning stove? Think again. Wood needs two years to dry completely. With over 20% humidity, a log can’t be considered dry.
To pinpoint the moisture content of your wood, use a wood moisture meter. Such devices are sold online for about $10 to $40.
Tip 2: Ensure decent airflow in the stove
To make sure air is properly flowing in the stove, you have to have a gap between the glass and the wood. If the fuel touches the glass, the airflow won’t be sufficient.
However, this precautionary measure might not suffice. For combustion to happen, three factors are needed:
Fuel (wood)
Oxygen supply (air)
Source of energy (flame)
In a wood-burning stove, air is consumed to oxidize the wood. It must be replaced periodically while ignited for the fire to be constantly fueled. As a result, make sure the air vents located in the unit are always clean and unobstructed by smoke residue.
Tip 3: Check the draft
Start a strong fire while keeping the wood-burning stove’s door open to control air intake for 45 minutes to one hour. You will then want to close it slowly. Doing so will warm up the chimney’s air duct, which when cold, will be problematic in terms of airflow.
Another possibility is a lack of oxygen. To confirm the latter, simply crack open a window and check if your stove’s draft is more effective with the window opened compared to closed.
How to Clean a Wood-Burning Stove Glass
We all know the saying: “Better safe than sorry.” To prevent the build-up of a black substance on the stove’s glass, make it so that soot or creosote deposits don’t directly coat it.
To do so, every morning, before starting up your wood-burning oven, add standard white liquid soap to the glass. That way, the particles in the smoke will stick to the protective film created instead of directly on the glass.
Cleaning your wood-burning stove’s glass will never have been this easy. Just grab a sponge to wipe it clean.
Get 3 quotes to install a wood-burning stove glass
RenoQuotes.com can help you get quotes from a general contractor. By submitting your project, we’ll put you in contact with top-rated contractors. Fill in the form on the homepage (it only takes a few minutes) and get estimates from trusted professionals.
Dial 1-844 828-1588 to speak with one of our customer service representatives.
Looking for something else?
Related articles
The latest industry news, interviews, technologies, and resources.
Cynthia Pigeon
•08 Jul 2026
In 2026, replacing a concrete slab and pyrite-contaminated backfill can represent a significant budget. For a basement, some estimates range from around $15,000 to $40,000, while a garage can cost several thousand dollars, depending on the surface area, access and the extent of the removal required. This price includes the full excavation of the contaminated backfill, its replacement with tested non-expansive crushed stone and the pouring of new concrete. Before undertaking this major work, an official technical test following the CTQ-M200 protocol is often required by financial institutions or during a real estate transaction to assess the swelling index.

Cynthia Pigeon
•21 May 2026
In Canada, the installation of a residential or commercial alarm system should be planned carefully. Security rules vary by province, and Quebec has its own framework through the Bureau de la sécurité privée (BSP) for certain private security activities, such as installing or maintaining alarm systems, cameras or access control systems. When the project involves wiring, electrical connections or systems integrated into the building, provincial contractor licensing requirements may also apply, including RBQ requirements in Quebec.
Editorial Team
•08 Nov 2023
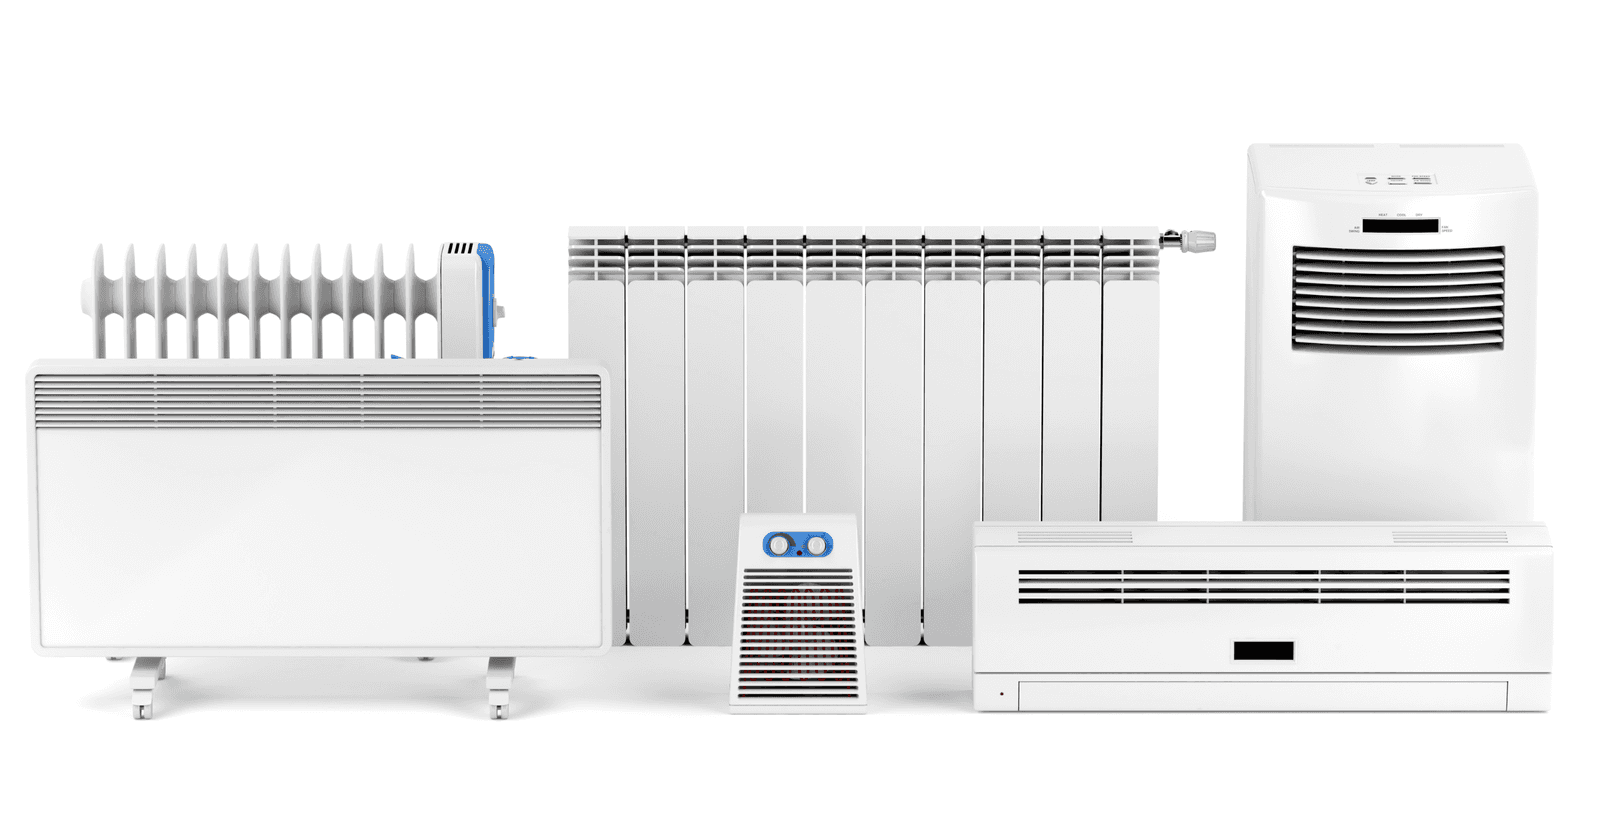
During your home-building process, making an informed decision regarding the type of heating system you’d like installed is of utmost importance. Gas, hot water, or electric heating solutions, no matter the system, each have their advantages and disadvantages. However, electric heaters are the most commonly used heating solution in the province of Quebec, and most residents aren’t holding back from renovating their entire heating system to install residential electric heaters.

Léa Plourde-Archer
•08 Nov 2023
Ceramics look beautiful in almost any home, whether used as a material for the kitchen backsplash or as a beautiful mosaic accent piece on a wall. This material is versatile, low-maintenance, sturdy and with an excellent lifespan if looked after correctly. Another place a tile floor is commonly found is in the bathroom. If you already have one installed, then you’re one step ahead of us.

Karine Dutemple
•08 Nov 2023
For every storage space at home, there is inevitable long-term chaos. Fortunately for us, there are now many ways to organize these spaces, whether it's the wardrobe, kitchen cabinets or rooms like the laundry room. Apart from Ikea's convenient facilities, there are other ingenious and original tips that will help you optimize the organization of your closets.