Running Underground Electrical Connections in Your Backyard
By Editorial Team
Updated on June 23, 2025

If you have a large yard, and therefore, perform a significant amount of yard maintenance, chances are you know a thing or two about dragging electrical wires along your lawn. Now, did you know that outlets can be mounted on soil-planted posts and wires can be buried beneath your feet? You can save yourself the hassle and frustration of pulling cords across the grass by running power underground!
Power can easily be run underground to another area of the house, as well as to a dethatched garage or outbuilding. Homeowners simply need a day to complete this job, along with some basic wiring skills. There are a few different methods to complete this project, but we’ll give you the tools to do what you choose!
How to run an underground electrical connection!
Preparation
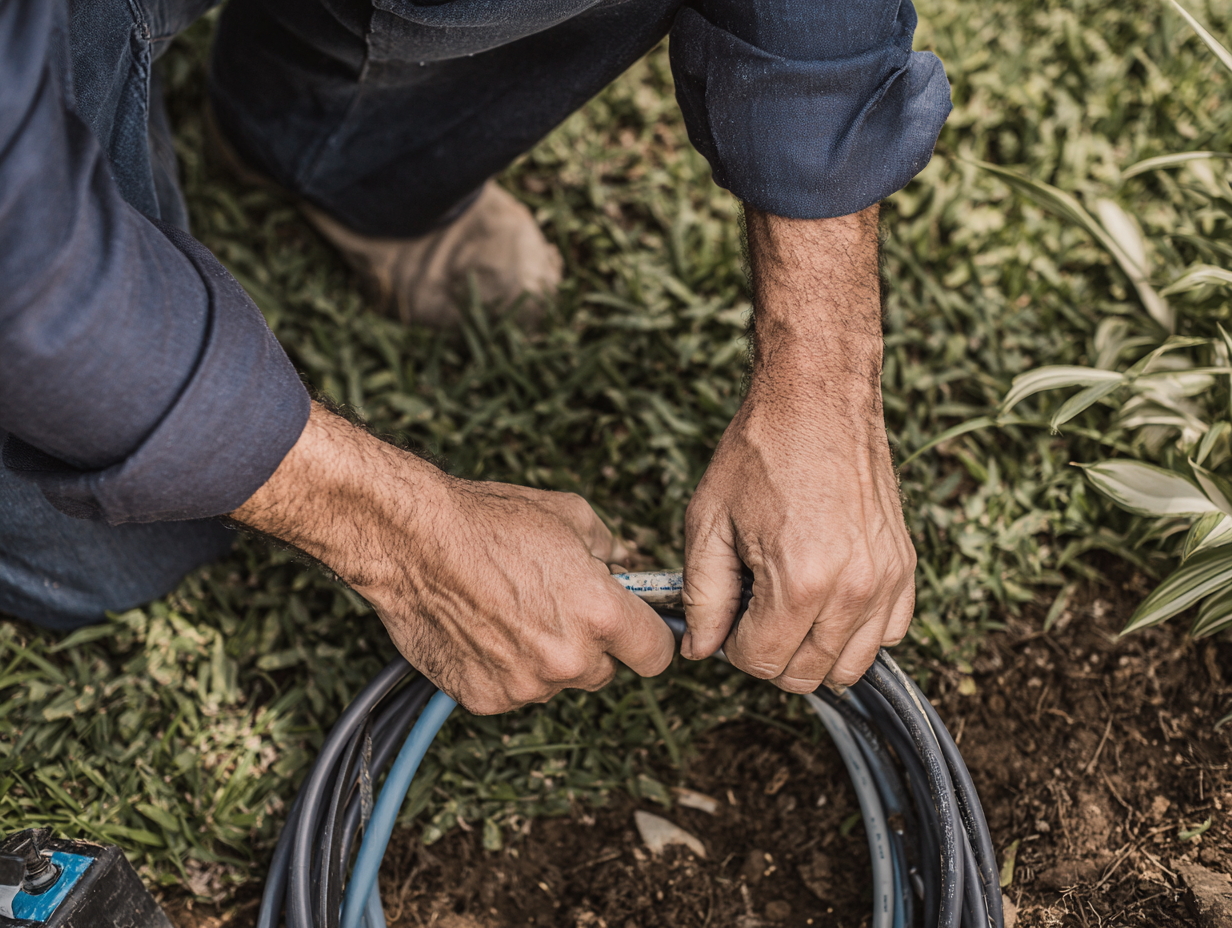
Source : RenoQuotes
First, it is paramount that you use the correct cable to run wires underground. Experts would suggest that the only cable to use is called a UF, or underground feeder, cable. This cable has a GFCI protection. For this type of cable, there are two types of conduits that can be employed: schedule 40 PVC and galvanized rigid metal. Schedule 40 PVC is the most common type, as it is very affordable and will be finished with PVC cement. PVC conduit needs to be buried at least 18 inches deep, or 12 when covered by concrete.
If digging a shorter ditch, use a galvanized metal rigid electrical conduit, and run individual conductors inside. The conductors must be waterproof, so when shopping for them make sure they have a W on the label. Unfortunately, metal conduit is very expensive, so look for the root that provides the deepest depth and shortest length.
Next, depending on the soil type that your property rests on as well as the amount of power you’re hoping to run, digging methods will vary. If the ground beneath you is sandy, and therefore easy to dig, you can dig a deep ditch. If the ground is rocky or clay based, keep the ditch’s depth to a minimum. Regardless of your digging method of choice, it is important that you include a service entrance ell. The ell will have a removable cover that gives you access to inside wires at the above ground level. Finally, as with any electrical work, make sure to check with local and municipal codes before moving forward with this project.
Dig and Prepare the Conduit
After all the proper preparation orders have been taken care of, and you have made sure that the local codes allow for this type of work, you can begin digging the ditch you intend on rooting the cable in. This can be done with a regular shovel.
Depending on the size of the trench, some homeowners may consider renting a trenching machine to complete this job. If you’re working on your lawn, remove sod in slices and place it aside so it can be reused once the pipe is in the ground. It is best to lay the sod on plastic tarps, otherwise, you may have to rake out grass following the job.
Next, begin installing the conduit, first by dry fitting all pieces along the place where you are hoping to run your cable. If pieces have not been previously cut, you can do this with a backsaw or PVC saw. Once all pieces are cut and the length has been determined, you can join the pieces using PVC cement. Let the cement set, and once it is ready, homeowners can begin running the type UF cable through the conduit.
Connecting to power

Source : RenoQuotes

Homeowners should have located a power source for the cable to connect to, making all necessary connections inside the house, whether this means connecting it to your home’s main panel, a ceiling box, outlet or another electrical box. You’ll want to figure out the best and easiest way for the conduit to enter your home. However, if you are running power underneath your home, this won’t be as much of a problem. Some homeowners may have to drill a hole into the side of the house to run a cable.
In other instances, the conduit will connect to a fitting that is called an “LB.” LBs have removable covers that simplify the task of pulling wire. However, the LBs need to be connected to metal boxes that transmit power. Homeowners should figure out the length of electric metal tubing they’ll need to stretch from the LBs to their corresponding metal boxes, and these metal boxes will be the connection between the house wiring and whatever homeowners are attempting to power.
Once the connection between the metal box and LB is successful, you’ll want to thread the LB onto the end of the pipe. Once all conduits have been placed in the trench, remove covers from the LBs and push the wire through the conduit. To get power, you will require two wires, one black and one white. If you intend on adding more than one circuit, at least 3 wires will be required.
The wiring methods of this project can become complicated if not followed directly, so if you're having a bit of trouble figuring it all out, why not get in touch with a professional!? In some parts of Canada, the law requires you to do so.
Disclaimer: All tasks that touch on electricity are very risky and should be completed under the safest conditions. Additionally, in certain parts of Canada, only certified electricians are allowed to do this type of work. Please check before you do any electrical work yourself.
Get 3 renovation quotes for your underground wiring project
RenoQuotes.com can help you find a specialist for your underground wiring project. If you submit your project to us, we’ll put you in contact with top-rated contractors. Fill in the form on the homepage (it only takes a few minutes), and you will get estimates from trusted professionals.
Dial 1-844 828-1588 to speak with one of our customer service representatives.
Looking for something else?
Related articles
The latest industry news, interviews, technologies, and resources.

Editorial Team
•08 Nov 2023
If your home is in a humid climate, or you’re finding a buildup of condensation on your walls or windows, you should consider a dehumidifier for your home.

Cynthia Pigeon
•11 May 2026
The cost of kitchen cabinet refacing in Canada in 2026 generally ranges from $2,500 to $8,500, including installation, for an average-sized kitchen. This option can save homeowners approximately 30% to 50% compared to a full cabinet replacement, while still giving the kitchen a fresh, modern look. The final price depends mainly on the material selected, the number of cabinet doors and drawers, the condition of the existing cabinet boxes, and the complexity of the hardware and installation.

Editorial Team
•23 May 2025
There are several reasons that may motivate a homeowner to consider adding a floor to their home. A growing family or a desire to rent the new floor and enjoy the additional income are definite reasons behind such an important decision. The desire to avoid moving, as well as the need to enjoy a larger living space both seem like other relevant options. For some homeowners, this state of affairs indicates the need to expand the home through the construction of an additional floor.

Cynthia Pigeon
•03 Nov 2025
Are you looking to add hardwood floors in the common areas of your house hoping to create a rustic feel? Cherry wood flooring, although not the cheapest option, has an exotic essence and makes for a durable choice due to its sustainable material.

Cynthia Pigeon
•21 May 2026
Investing in the renovation of hardwood floors is one of the most effective ways to restore value, warmth and character to a property. Whether it is a condo in Montréal or Toronto, a single-family home in the suburbs, a heritage property in Atlantic Canada or a cottage in the Laurentians, hardwood flooring is affected by everyday wear, pets, furniture movement and seasonal humidity changes.