There’s nothing worse than time-worn caulk—the distasteful brown and brittle bead, cracking around the edges. Once the sealant starts cracking, you're at risk of dealing with water ingress, which could potentially lead to mould growth.
Have you started noticing the telltale signs that the caulking around your tub needs replacing? If so, carrying out the necessary repairs as soon as possible is paramount.
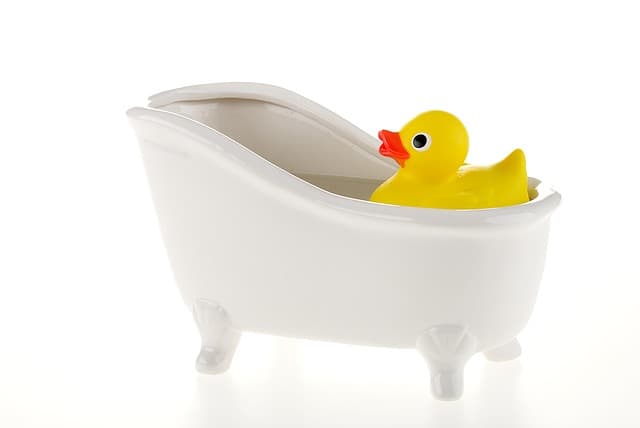
How can you remove old caulking without damaging your tub? What products are best suited to a bathroom? How can you apply the product effectively and achieve professional-looking results? Follow our guidelines to restore your bathtub to a watertight, ready-to-use state!
How to Choose the Right Sealant for Your Bathtub Caulk Repair

Source: Pixabay, ErikaWittlieb
First off, you have to choose the right sealant or caulk for your bathroom. Look for products with a “bathroom and kitchen” label specification as such sealants are latex- or silicone-based, specifically designed to guard against mould while still clinging to non-porous surfaces. However, the two main types of sealants—acrylic latex and silicone—work differently, so be sure to inquire as to what you really need.
To learn more about the pricing of caulks and sealants, check out our article, "Weatherization Project Price Guide."
Silicone Caulks and Sealants
Silicone sealants are especially robust yet flexible and water-resistant. However, this type of caulk is quite particular in terms of specific substrates and tends to be a bit more difficult to smooth out. Furthermore, post-installation maintenance does require the use of dedicated products. Note that this type of caulk also emits an extremely foul smell while curing. Silicone sealants are retailed in three colours: white, beige, and clear.
Top Silicone Sealants for Effective Mould Protection
When it comes to choosing a mould-proof, silicone sealant, several options stand out on account of their efficiency and durability.
One of the most recommended products is Gorilla Waterproof Silicone Caulk & Seal. It’s easy to apply and quick-dry, which makes it especially sought-after for minor repairs.
Another great product is Mold Armor’s 100% Mold-Free, Silicone Caulk and Sealant. This sealant was specifically formulated to withstand mould and mildew and is ideal for humidity-prone areas. Moreover, it’s highly prized for not yellowing, retaining its white colour over time.
Both these options are available in hardware stores like Home Depot or online, on Amazon and others.
Acrylic Latex Caulk
This product is a lot less fickle when it comes to surfaces onto which it’s applied. It’s easy to apply, spreading along the substrate evenly and doesn’t emit any smells. However, acrylic latex is unfortunately not as resilient as silicone and should be replaced promptly if damaged. This type of product is available in an array of colours, which is definitely perceived as an asset.
Removing Old Caulk From Bathtub: How To
Cut through the old caulk with quick, sharp strokes. This step can be completed using a 5-in-1 painter’s tool and razor scraper, or a utility knife even. Keep in mind that working with steel blades risks damaging your tub if it’s made of plastic.
Should that be the case, use a plastic blade instead. Note that products designed to dissolve caulking can damage plastic, so proceed carefully if you plan to use such products around your plastic surfaces.
Next, scrub the surface to prepare it for the new caulk bead, carefully removing all traces of the existing caulk. Use a soft cloth or non-abrasive material to remove any leftover caulking.
Subsequently, use a damp rag to wipe away all dust that may have built up while you were removing the caulking. Then, use a clean rag to wipe the surface dry or use a hair dryer.
Applying Caulk Around A Bathroom Tub: How To

Source: Flickr, Carlisle HVAC
Start the re-caulking process by lining the edges of your bathtub and nearby walls with two parallel strips of painter’s tape. The goal here is to ensure the caulk bead doesn’t touch nearby surfaces and ensure a straight and even bead. Line up the nozzle with the joint, maintaining a 45-degree angle out from it. Then, apply steady pressure on the trigger when gliding the caulk gun along the entire length of the joint.
Make sure the caulk gun glides along the surface evenly, looking at how much caulk is dispensed from the tip. If you move too fast, you’ll notice the caulk bead thinning and bubbling, rupturing the continuous joint. If you go about it too slowly, you’ll dispense too much caulk at once, and then have to spend time cleaning up the bead.
Smooth Out the Caulk
Once you’ve filled in the joints around your bathtub, grab a damp cloth, wrap it around your finger, and run it along the joint. Slide your fingertip along the joint in a continuous motion to shape the fresh caulk inside the concave gap.
Next, remove the strips of tape, avoiding the freshly applied caulk. Once the tape strips are removed, go back and smooth out the bead once again to eliminate the tiny ridges left behind by the tape. Wait 24 hours before using your bathtub or shower, allowing the caulk to cure.
Optimal Waterproofing for Long-Lasting Results
Re-caulking around a bathtub is an essential step to safeguard your bathroom from mould growth and water ingress. By following the detailed steps outlined in this article, and using quality products, your space will remain clean and well-maintained.
Looking for something else?
Related articles
The latest industry news, interviews, technologies, and resources.

Collaboration
•28 Apr 2026
Your toilet is one of the most-used fixtures in your home, so when something goes wrong, it’s not just inconvenient – it can be downright frustrating.

Cynthia Pigeon
•28 May 2026
Planning home renovation work in Quebec requires rigour and a strong understanding of the local economic reality. Whether you own an older duplex in Montréal, a modern condo in Québec City, or a single-family home in Estrie, using price benchmarks adapted to the Quebec market is essential.
Editorial Team
•24 Jan 2025
Travertine, southern France’s emblematic stone, exudes a timeless Provençal charm paired with a colour palette that perfectly suits all decorative styles. Each tile, designed by nature, is unique and features stone-specific veining, grooves, and patterns, making it a genuine gem. The stone's singularity, paired with its durability and subtle shading, makes travertine ideal for styling any interior or exterior space.

Cynthia Pigeon
•13 Apr 2026
In 2026, the cost of a bathroom renovation in Canada typically ranges from $19,000 for an aesthetic update to $55,000 or more for a high-end remodel involving plumbing relocation. For a complete mid-range renovation, homeowners should generally budget between $26,000 and $35,000. This budget usually includes durable materials and the hiring of properly licensed tradespeople to help ensure code compliance and protect your property’s resale value.

Léa Plourde-Archer
•13 Sep 2024
Are you the owner of a home (or commercial) renovation business? To show off your work, you should have a website!