How to Restore Hardwood Floors in 4 Steps
By Editorial Team
Updated on September 6, 2024
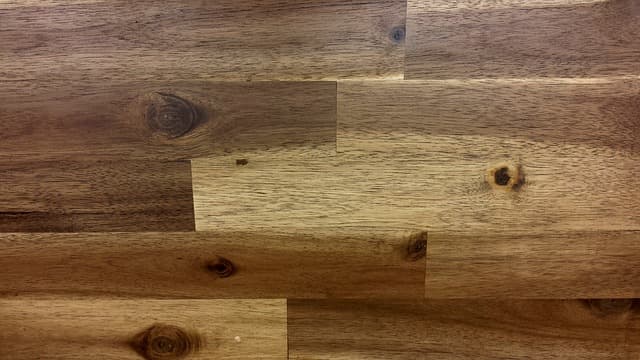
Hardwood floors are sought-after, and most homeowners want nothing more than a beautiful material coating the base of their home. However, hardwood floor maintenance is a job in itself, and keeping this material looking good requires a little bit of fineness and consideration.
Unlike other types of flooring, each hardwood floor is unique and to cultivate this uniqueness, it must be looked after carefully.
It is important for homeowners with hardwood floors to know how to properly restore this material, as high traffic areas of the home will wear out over time. Restoring your hardwood floors will require a bit of time and energy but once completed, you’ll be happy that you took on this project.
Techniques for hardwood floor maintenance
1- Clean Floors
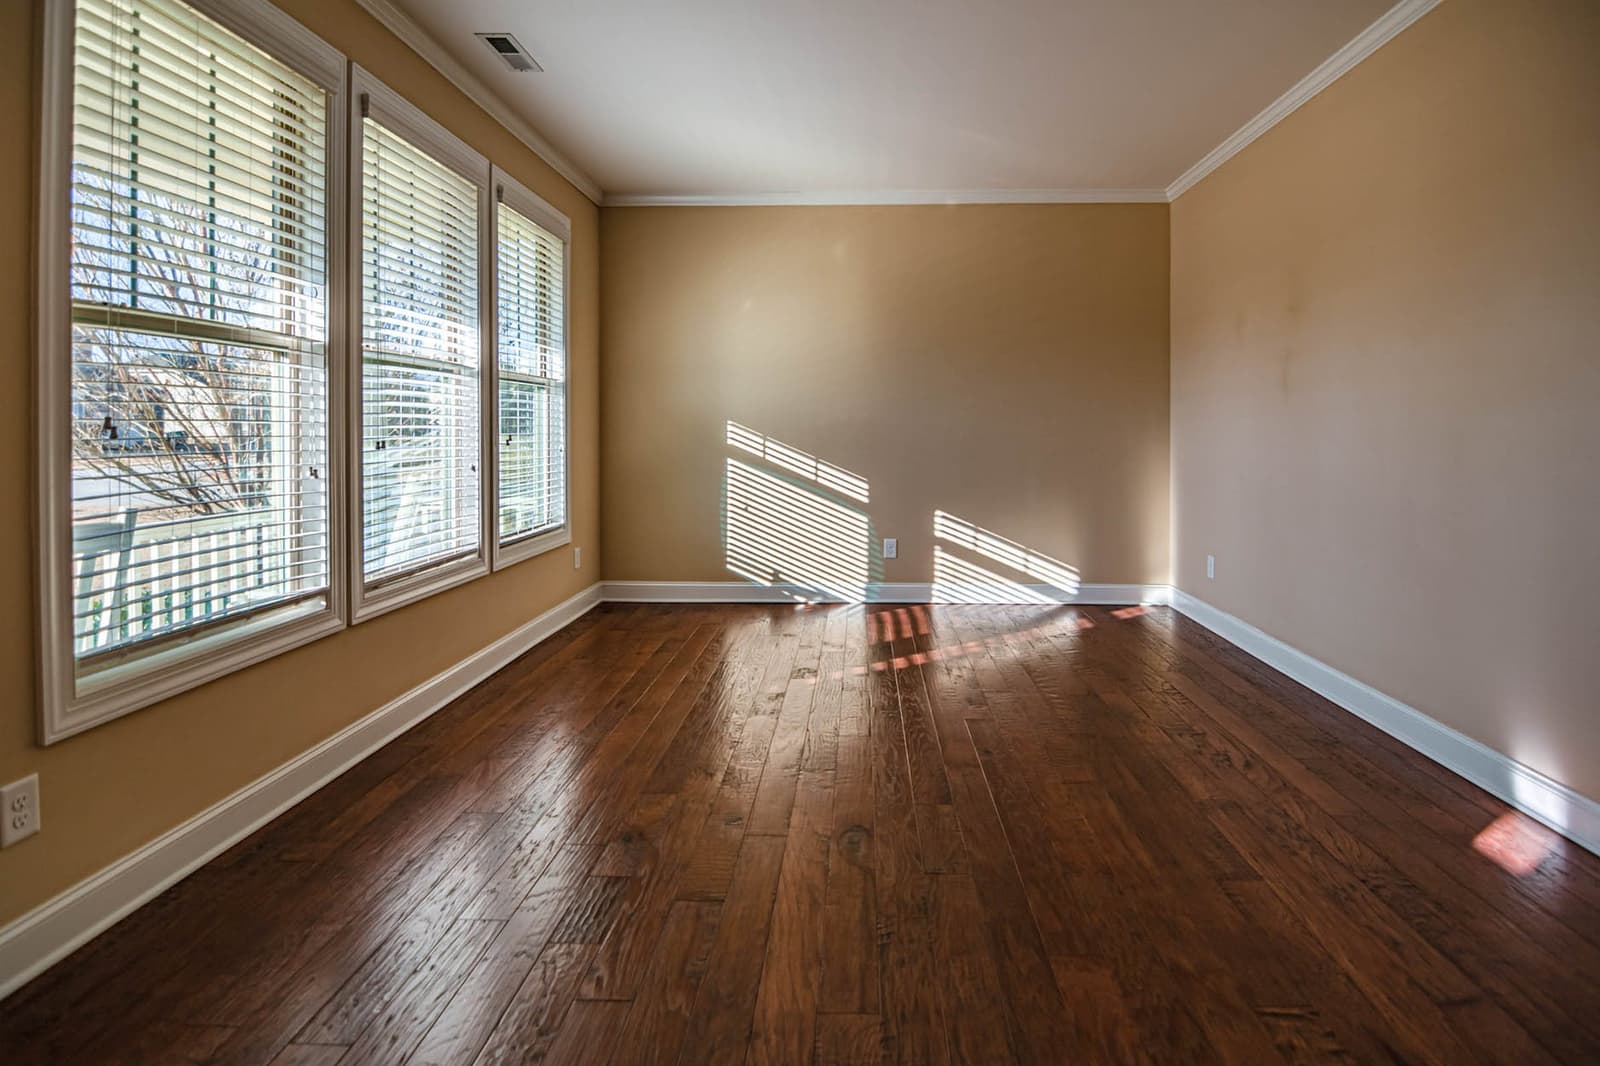
Before starting the restoration process, it is important that hardwood floors are well cleaned. Start by removing any furniture or items that may be obstructing the floors, making sure the surface is bare.
Next, clean the floors using a soft mop and a cleaner that is specifically made for hardwood flooring, as certain cleaners will be too harsh for this flooring material. Following this, wipe the floor down with a terry cloth or static cloth to remove any dirt or debris that may have been left over from the initial cleaning. Depending on the chemicals you’re working with, make sure windows are open so that the room is properly ventilated.
2- Prepare surfaces

Following a thorough cleaning of your hardwood flooring, it is important to prep the surfaces. You’ll want to sand down the surface before moving on with refinishing, as this will allow you to get rid of imperfections that may have occurred over time. First, using 180 grit sandpaper, hand-sand the perimeter of the room. This will make certain that you reach areas that a buffer or electric sander wouldn’t.
However, do not use a sanding block, as this will make uneven spots in the floor. Your next step is to grab a buffer and buff the rest of that floor! Using the buffer, attach a maroon buffing pad to the buffer to protect the floor. Make sure to wear a dust mask when completing this step, as plenty of dust will find its way into the air.
Working with the buffer, move it from side to side across the floor. You should take note of the direction of the grain, and work towards it. The old hardwood finish will turn to powder as you move the buffer over the floor, so it will be easy to determine which areas have been covered. Make sure that the buffer is constantly moving, stopping every five minutes or so to vacuum the pad.
3- Re-clean

Next, you should allow all the powdered dust that was kicked up during the buffing process to settle. Give the room 15 minutes and return to it once you feel the room has taken a bit of a breather. Afterwards, put a clean filter into your vacuum and vacuum up the dust. Follow this with a broom, and carefully sweep away any powder that has settled between the hardwood boards. Lastly, use a micro-fibre cloth from before and remove any excess of powder.
4- Finish

You are coming up to the end of this DIY project! Before beginning the finishing job, make sure to cover shoes or feet with booties to avoid damaging either the floor as well as your shoes. Further, wear a respirator that covers your nose and mouth to protect against airborne vapour that may be harmful to your respiratory system.
Now, you can begin the staining process! Strain the hardwood finish and pour it into a small plastic container. Start at the side of the room furthest from the door, and using a small to medium-sized brush, brush a 3-inch wide strip beside the baseboards, trying to cover as much area as quickly as possible.
Unfortunately, stain dries very quickly and therefore, you should move onto the next step after 10 minutes. Using a long hand roller, pour out an approximately 1-inch strip of finish, making sure it is in line with the grain. Again, work quickly to keep edges wet so that stain does not dry unevenly.
After 10 minutes, go back to the initial step, working with a brush at the edges of the room and then rolling out the additional stain from the edges. Repeat these steps until the floor is covered, and let the stain completely dry before recoating. It is recommended that you wait a week to replace the furniture and allow the new stain to soak into the wood.
The tools and materials you'll need
In order to renovate your hardwood floor, you will need the following tools and materials :
mop ;
cleaning product designed for hardwood floors ;
sponge fabric or antistatic linen ;
180 grit sandpaper ;
electric sander ;
respiratory mask ;
vacuum cleaner ;
broom ;
rag ;
shoe protections ;
stain ;
plastic container ;
small or medium-sized brush ;
small hand paint roller.
Steps to follow for your hardwood floor renovation project
The steps to follow | What you need to do |
1) Clean your floor | get rid of your furniture ;clean your floor with a mop and a cleaning product designed for hardwood floors ;swipe your floor with a sponge fabric or an antistatic linen. |
2) Prepare the surfaces | sand the perimeter of the room ;sand the rest of the floor with a mask. |
3) Re-clean | wait 15 minutes for the dust to settle ;vacuum ;use the broom to remove dust from the gaps between the boards ;wipe the floor with a cloth to remove the rest of the dust. |
4) The finishing job | cover your shoes and put your mask back on ;apply the stain with a brush near the baseboards and make 3-inch-wide strips ;wait 10 minutes ;continue applying the stain on the rest of the floor by making 1-inch-diameter strips with the small roller (working in the grain direction and rolling from the edges) ;wait 10 minutes ;repeat the application of the stain near the edge of the baseboards and on the rest of the floor ;allow the floor to dry completely ;apply one last layer ;wait a week before putting your furniture back in place. |
Need information on your options for your new hardwood flooring? Check out our article Choosing your Hardwood Floor: the Materials.
Get 3 renovation quotes for your hardwood flooring project
RenoQuotes.com can help you get quotes for your hardwood flooring renovation project. If you submit your project to us, we’ll put you in contact with top-rated contractors. Fill in the form on the homepage (it only takes a few minutes), and you will get estimates from trusted professionals.
Dial 1-844 828-1588 to speak with one of our customer service representatives
Looking for something else?
Related articles
The latest industry news, interviews, technologies, and resources.
Editorial Team
•09 Sep 2024
If your cabinets are screaming for a fresh look, give them a quick update by stripping and refinishing them with a new stain. If your cabinets are structurally sound, then luckily all they’ll need is a bit of a facelift to appear brand new. Stripping cabinets is a short project and can be done by even the most novice of DIYers.
Editorial Team
•11 Sep 2024
Your kitchen drawers hold the essential elements for you to create a delicious meal, and clean up afterwards. As they’re used numerous times throughout the day, sliding in and out of place, it is evident that they may break. However, a broken drawer can be replaced using basic carpentry skills and even the most novice of homeowners can complete this DIY job.
Editorial Team
•17 Feb 2026
Buying a Carrier heat pump in Canada is rarely “just” about picking a model. Between harsh winters, outdoor unit noise, efficiency (SEER2/HSPF2), and cold-weather performance, it’s easy to feel a bit lost—especially when several models look similar on paper. This article is designed to make things easier and help you make a clear decision, without unnecessary jargon.

Editorial Team
•25 Jul 2025
Are you looking to add to your current living space? Whether it’s a solarium or a sunroom, they’re both great options. The question is, what’s the difference between the two?

Editorial Team
•19 Jun 2026
The construction industry is a vast and multifaceted sector that plays a critical role in economic development and the shaping of the built environment. It encompasses a wide range of activities, including planning, design, financing, construction, renovation, and maintenance of buildings, infrastructure, and various civil engineering projects. The industry is divided into several key sectors, each with its own characteristics and specialties: