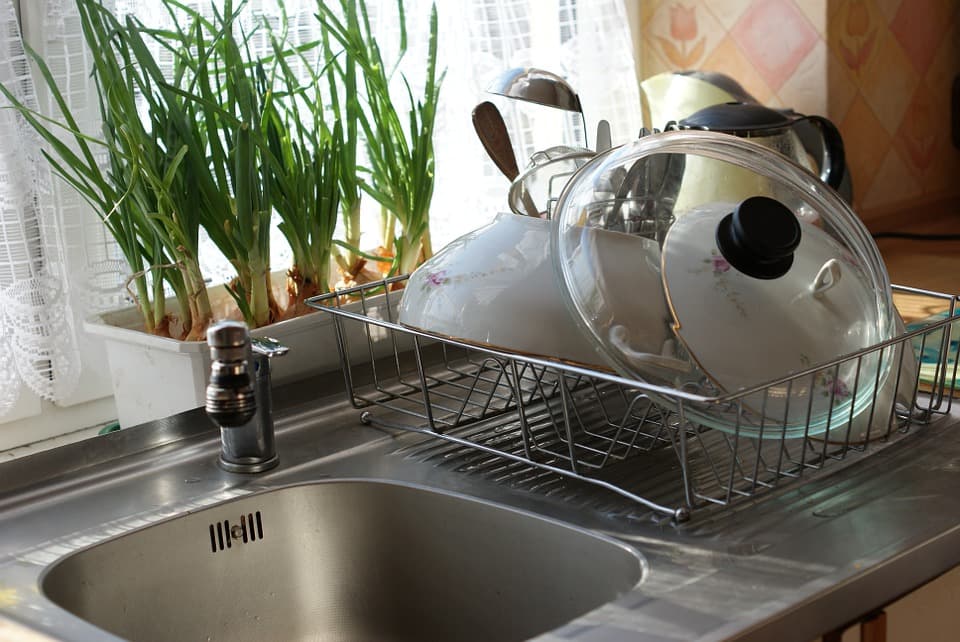
Whether preparing for or washing up after a meal, filling a cup of water or a vase with fresh flowers, your kitchen sink is a fairly integral piece of the puzzle. A sink comes up against plenty of wear and tear, and thus, the possibility of it becoming worn before other parts of the room is plausible.
Of course, if you’re just interested in giving your kitchen a makeover, replacing your old sink can be a good, affordable solution. If you’re in either of these situations or just simply looking to change your kitchen sink and wondering how you should proceed, then you’ve come to the right place! We’ve prepared a guide covering this very subject to help you with your renovation project.
How to Replace a Kitchen Sink

Replacing your kitchen sink is a project that can be carried out by pretty much anyone with basic manual renovation skills. However, do bear in mind that if the sink you choose requires a complicated installation process, hiring a professional to complete these steps is the recommended course of action.
Before you start your renovation project it’s crucial to be aware of certain safety precautions that are involved in work which deals with plumbing as work that touches on a house’s plumbing system must always respect security norms.
Getting started
Your water supply lines have control valves that live underneath the sink and should be readily accessible. These valves are the direct connection to the water supply tubes. If there’s something wrong with your water pressure or flow, this is the first place you should check. When the time comes to replace your old sink with a new one, these valves need to be switched off.
If you’re worried about the process being too complicated, try to find a sink that has the same exact dons as the one you already have. When in doubt, ask for the advice of an expert who will be able to indicate the right course of action.
The different types of sinks
Now that you know a little bit about what it takes to start on this renovation project, we’re going to briefly touch on the different types of sinks available. This way, you’re able to make an informed decision about the one that’s right for you.
Drop-in or wall-mounted: This is the easiest type of sink to install as it can be fitted to almost any counter. This is an excellent option if you’re on a budget. However, some homeowners find them a bit difficult to clean due to their surrounding edges. If you have a hard time with dirt and grime getting caught around your sink, then this might not be the one.
Undermount: The installation process of this type of sink is much more difficult than the aforementioned. This is because it is installed from below the sink and leaves the counter edges surrounding the structure exposed. Therefore, it won’t work with all types of counters and should be left to those with marble or other strong materials. Bear in mind that the joint between the sink and the counter must be sealed well. This style of sink does not trap dirt and is easy to clean.
Farmhouse: This style sink is popular in homes with a more rustic décor approach. They come equipped with a wide basin which can be perfect for a large family or household. However, do consider that this style sink can protrude past the countertop and thus, will not work in smaller or compact kitchens.
Integral: This sink is for the minimalist, as it offers seamless integration with the countertop. However, this style sink requires that you replace your entire countertop which will have a definite effect on the overall budget!
The main steps to replace your sink

source: unsplash
Once you have chosen your sink, start the installation process by cutting off the water supply as we suggested in our initial steps.
Next, completely remove the old sink and this will include the removal of the sealant around the sides of the sink if necessary.
Following this, you will need to cut the countertop, either to create a new opening or to adapt the one that is already in place. The specifics of this will be fairly dependent on the countertop material as well as the sink you’ve chosen to install. In most cases to complete this task, you will need a jig-saw with a special blade that is adapted to the countertop’s material. Once you are done with this step and before you install your new sink, apply a coat of plumber’s putty or transparent silicone to make sure that the sink sticks to the counter.
Next, you will have to test the new sink to see whether or not the opening you’ve created is the right size. If your sink is made of heavy material, ask a friend to help you with handling this part.
Once the sink has been installed, you will have to connect the pipes. During this step, you must follow the manufacturer's guidelines.
Install the tap!
If your sink doesn’t already come with holes for a mixer tap or a soap dispenser and you’d like to add them, you’ll have to pierce holes in the sink to these accessories.
After having inserted the tap’s metallic rods in their proper holes, make sure the base is parallel to the back of the sink. You can also use a sealant product so that everything is solid and waterproof.
When handling the pipes, always wear protective glasses. Other tasks include attaching the fastening ring. For this part of the job, you’ll need a wrench.
Lastly, you will have to pull the drain connector up and set it into place. If applicable, don’t forget to plug in any accessories. Before you turn the water back on, check that everything is properly secured.
Get 3 renovation quotes for your kitchen sink project
RenoQuotes.com can help you find a trustworthy contractor for your kitchen sink project. By submitting your project to us, we’ll be able to put you in contact with the best companies in our network. Fill in the form on the homepage (it only takes a few minutes).
Dial 1-844 828-1588 to speak with one of our customer service representatives
Looking for something else?
Related articles
The latest industry news, interviews, technologies, and resources.

Amanda Harvey
•04 Jun 2025
Having a wrought iron staircase on the exterior of any home is lucky. Wrought iron staircases are beautiful pieces that add to the resale value of the property as a highly sought-after item. This type of staircase is forever, with limitless design options. They do not show dust and are easy to clean and to maintain.

Amanda Harvey
•08 Nov 2023
If you’re walking from one room to another and notice a slant in your floor that falls to the left or right, don’t panic. Although feeling a dip or a sag in your floor might initially bring anxiety, don’t get too bent out of shape about it. Chances are an uneven floor is pointing to a deeper problem, yet although there might not be a quick fix or solution, there are still some methods you can take to deal with the issue.

Editorial Team
•08 Nov 2023
The laundry room is a space that is notorious for being cramped. Since it is a multipurpose room, there is a constant quest to try to keep this room organized and utilitarian while still being an attractive space in the home. Especially in the case of smaller houses and apartments, the laundry room often lacks much-needed storage.

Amanda Harvey
•08 Nov 2023
Without our trusted rain gutters, rainwater would splash and run down our homes, seeping its way into the surfaces and eroding the soil that holds our foundation.

Editorial Team
•20 Oct 2026
In 2026, the cost of building a deck in Canada generally ranges from $35 to $130 per square foot, including installation, depending on the materials, dimensions and complexity of the project. For a standard 12 × 12-foot deck (144 sq. ft.), expect to pay approximately $5,500 for a simple pressure-treated wood structure, while a high-end composite deck with railings and helical piles can exceed $18,000.