How to Repair and Maintain an Awning | Renovation Quotes
By Amanda Harvey
Updated on July 27, 2026
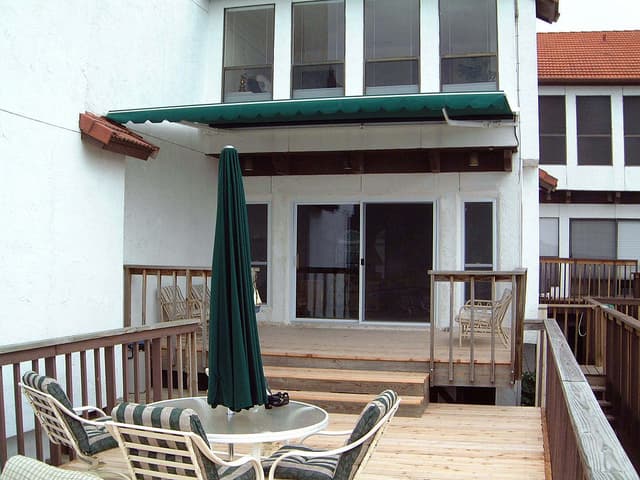
The awning of your home provides shade throughout those long summer months while adding an element of decoration to the facade. Since an awning can add significant curb appeal, you’ll want to keep them in good working order. That’s why it’s important to know how to both maintain and repair your awning.
As an awning lives outside, there are plenty of things it comes up against, including the fluctuating weather in all four seasons. Your home’s awning can experience weather damage with the possibility of rips, holes as well as mould and mildew growth. If you’re concerned that this could happen to you, read on to find all our tips and tricks for awning repair and maintenance.
Here’s how to take care of your home’s awning
Prepare for damage repair!
Before taking on any form of repair on your awning, you’ll want to clean it off. First, take a long-handled broom and knock away any dirt, dust or cobwebs. Do this on both the top and bottom of the awning. If you are repairing a hole in the awning, then it is recommended that you give it a clean beforehand.
This can be done with regular soap and water, using this mixture alongside a scrub brush to remove built-up dirt. Rinse this mixture following. If you haven’t already applied one, pick up a sealant that is made to be used outdoors. Apply the sealant to a clean awning, as a dirty one will reduce its effectiveness. Bear in mind that your awning should be cleaned at least once every 6 months in order to preserve its longevity.
Mould and mildew damage on your awning

source: Flickr
If your home is in a wet climate, chances are your awning is susceptible to mould and mildew growth. Even if you live in a dry place, your awning can easily be damaged by regular amounts of rain or snowfall. However, if you find signs of mould or mildew, all is not lost. Luckily, these spores are relatively easy to get rid of. Take a trip to your local hardware store and be on the lookout for an awning cleaner. This will work to break up the spores when sprayed on the affected area. You can also use soap and water for this job, but ultimately, this may not kill the spores themselves.
It may be easier for you to remove the awning before cleaning it, but if it’s not too difficult to get to, you could leave it up. Spray the cleaner you’ve purchased onto the awning, letting this soak into the material for a bit. Next, use a scrub brush to scrub the mould off the awning. Lastly, use a hose or a bucket of water to rinse off the awning. If you’ve taken it down from the side of your house, return it to its usual spot only when it’s completely dry.
How to repair rips and holes on an awning
Of course, the repair process of any rips or holes in your awning will directly depend on the material it's made from. If your awning is made of fabric, you’ll need to repair any holes with an iron-on or heavy-duty fabric patch, preferably in the same colour or pattern. This method also works well for canvas awnings. Cut the patch to extend about an inch past the border of the hole, peel the backing off, and apply it firmly. Make sure to repeat this process on both sides of the awning to create a strong, weatherproof seal.
For vinyl awnings, you will require specialized vinyl repair tape or a liquid vinyl solvent adhesive. If there is a small tear, trim away any loose or frayed threads around the edge using a sharp pair of scissors to prevent the rip from catching and expanding. Once the area is clean and trimmed, apply a strip of UV-resistant vinyl repair tape over the tear, pressing out any air bubbles. For larger tears, apply a vinyl-based adhesive patch to both sides of the material to securely fuse the vinyl back together without risking damage to the canopy.
Looking for something else?
Related articles
The latest industry news, interviews, technologies, and resources.
Amanda Harvey
•08 Nov 2023
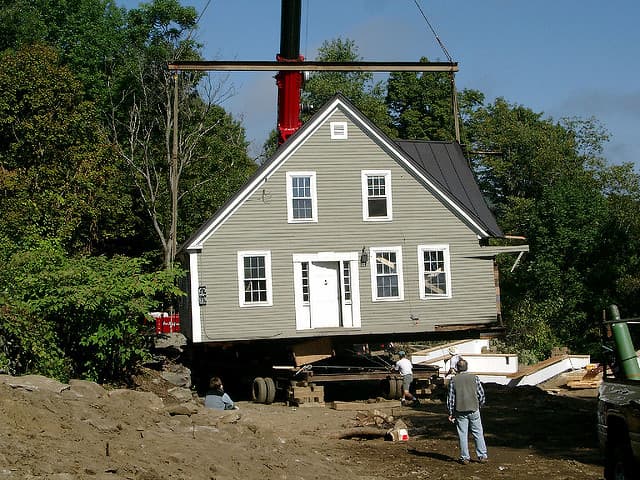
You may have found your dream home, one that ticks all the boxes regarding what you’re looking for. But what if this home rests in a place that you’re not drawn to? The only option would be moving the house itself!

Editorial Team
•28 May 2025
Transforming your deck or patio into a solarium means benefiting from the surrounding landscape without dealing with weather-related downsides. Whether the wind is blowing, rain is falling, or storms are veering their ugly heads, why deprive yourself of a beautiful view? To reap the benefits of your solarium at will, you first have to choose wisely regarding the different options made available to you.
Editorial Team
•27 Sep 2024
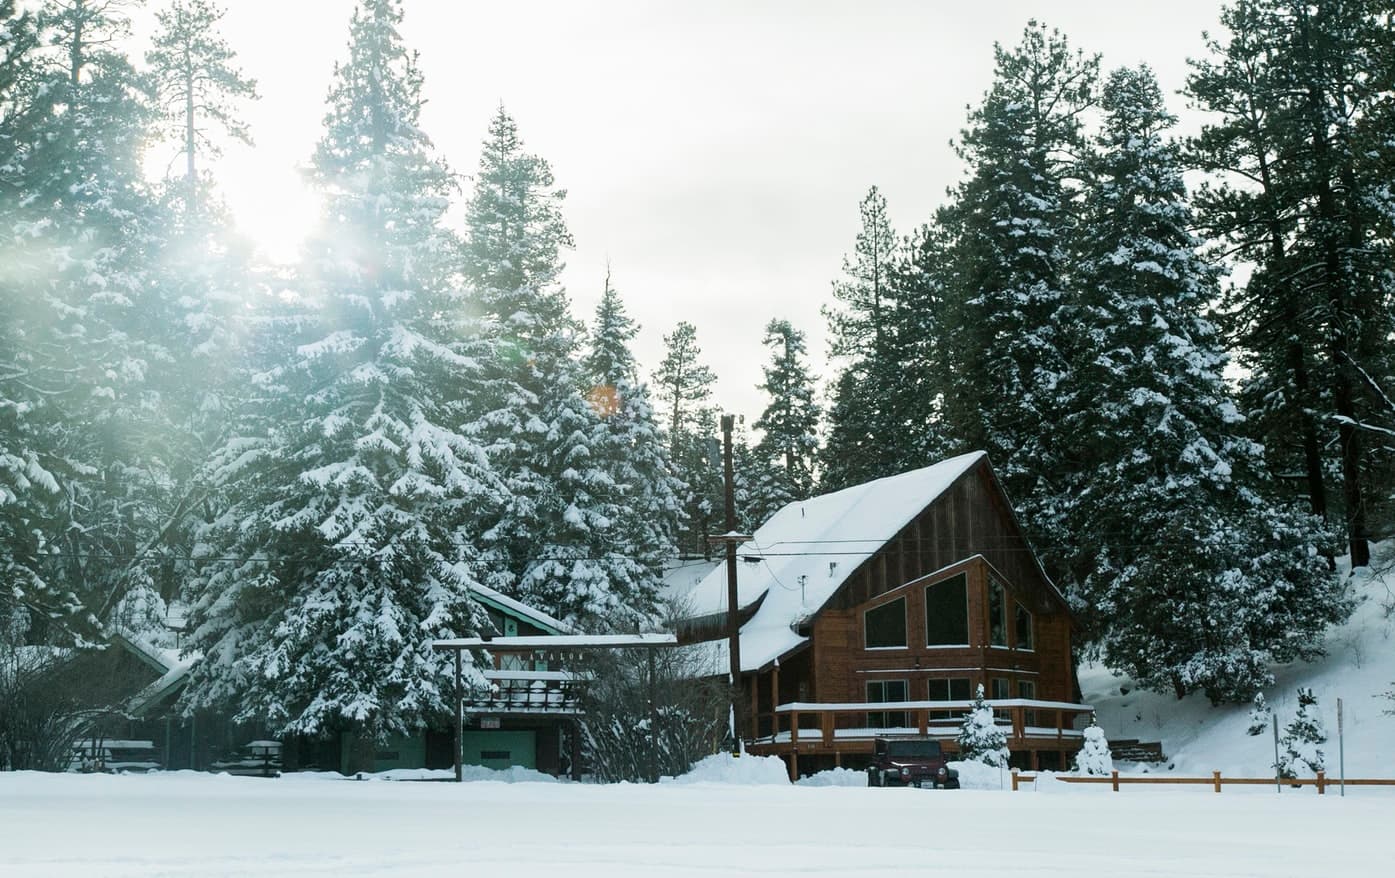
If you own a cottage and go there several times per year or per season, you may be considering taking on some renovations. Even if it was recently built, it’s never unnecessary or too late to add value to your property.
Editorial Team
•08 Nov 2023
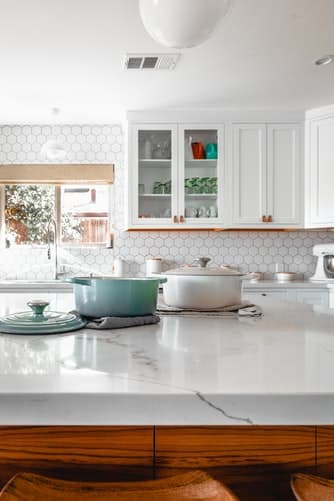
Are you looking for a tile model that will add a touch of originality to your decor? Whether you're renovating your kitchen, bathroom or another room of your home, tile replacement will likely be an integral part of your home improvement project.

Editorial Team
•08 Nov 2023
Although summer is drawing to a close, it’s never too late to plan how to decorate the exterior of your home. Whether it’s a new construction project or you’re the owner of an apartment, you have several options to refresh your exterior.