Are you looking for a contractor?
Submit our quick form and get quotes now!
Table of Contents
4 min read
How to Strip a Hardwood Floor
4 min read
How to Strip a Hardwood Floor
Interior renovationsHow to Strip a Hardwood Floor
Wood varnishes are in place to protect the natural textures and colour of the hardwood while adding an additional attractive shine and finish. However, it is only natural for your hardwood floor varnish to wear over time, as floors come up against constant movement leading to the potential for scuffing and stains. Of course, a hardwood floor can easily be re-stained with a little bit of time and a fair amount of elbow grease.
There are several possible methods for homeowners to follow to refinish their floors. If you’re ready to take on the task yourself and looking for a step-by-step guide to follow, search no further. Below, you’ll find everything you need to strip and refinish your hardwood floors!
Here's how to strip and refinish hardwood floors!
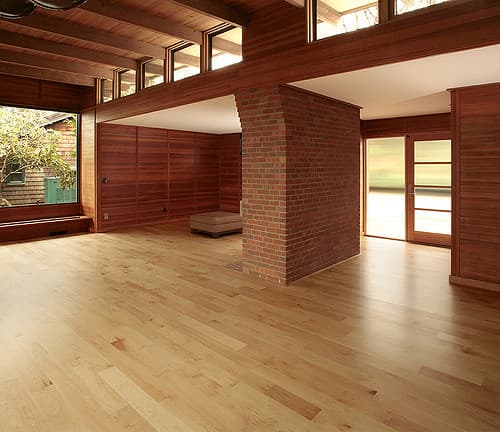
Strip your hardwood floor

source: Flickr, gregoryswan
The first step to stripping your hardwood floors is to apply a paint stripper to remove the old varnish. If your floor has been painted for whatever reason, use a liquid stripper instead. Apply this with a paintbrush instead of pouring the stripper directly onto the floor, as wood is very porous and sensitive to saturation.
An alternative is to use a spray stripper, which will come in an aerosol can, and this method can be applied directly to the surface of the floor. It is important to note that homeowners should only use a gel stripper if looking to remove the varnish as well as the paint, as gel strippers work to remove several layers.
Remove and Clean Off the Varnish
The next step to stripping your hardwood floors is to remove the varnish from the surface of the floor. The varnish will have loosened by way of the paint stripper that was previously applied, and therefore, will be relatively easy to scrape off. You can scrape off the varnish using one of two methods: either by way of a chemical-resistant scrapper blade or using a damp mop.
Make sure that if you choose to remove the stripper using a mop that it isn’t soaked. Regardless of the method you choose, complete this process carefully and vacuum the floor directly afterwards.
Sand the Surface
If you find that the varnish has not disappeared, you may have to sand down your floors. To complete this step, you will need the aid of a belt, disk or drum sander with a coarse sandpaper. Before you begin sanding, make sure to put on protective eyewear in order to shield against small flying debris as well as a large amount of dust that will accumulate.
To start the sanding process, work from the centre of the room, turn the sander on and tilt it upwards. Sand across the room in the same direction as the grain on your hardwood floors. Further, make sure to always keep the sander in motion during the process. Make your way towards the wall, and once you reach it, return the sander to the centre of the room and move on to the next section until the entire floor has been sanded.
Finish the Job
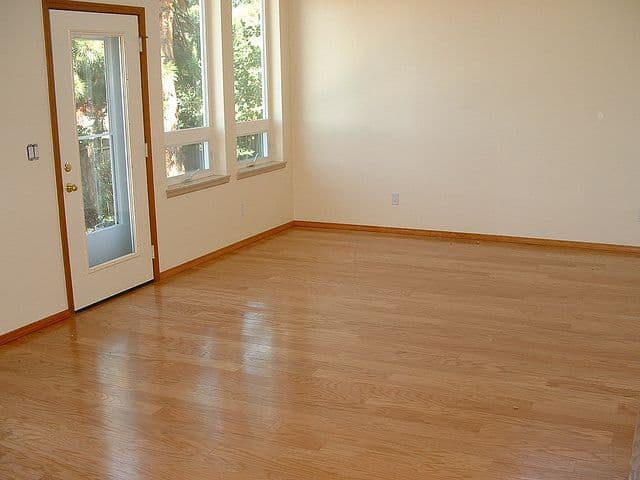
source: Flickr, Garth
Following the sanding process, vacuum the area to rid of any dust that the sander created. Once the floor is clean, sand it again using fine sandpaper, as this will smooth out the floor while providing the finishing touches. Make sure that no varnish remains on the surface of the hardwood floor surface.
If you are still finding patches that haven’t been removed, these can be removed with an electric paint remover, which will heat the varnish to remove it. Following this, scrap the varnish from the floor with the previously mentioned paint scraper.
Get 3 renovation quotes for your hardwood flooring refinishing project
RenoQuotes.com can help you get quotes for your hardwood flooring renovation project. If you submit your project to us, we’ll put you in contact with top-rated contractors. Fill in the form on the homepage (it only takes a few minutes), and you will get estimates from trusted professionals.
Dial 1-844 828-1588 to speak with one of our customer service representatives
Last modified 2023-11-07
Looking for something else?
Related articles
The latest industry news, interviews, technologies, and resources.

RenoQuotes.com • 07 Nov 2023
As the weather gets warmer, many of us jump at the chance to spend our days outdoors taking in the sights and sounds while occasionally working to spruce everything up. As much as we love our outdoor space, the fact of the matter is that it’s not always easy to arrange our land in a beautiful as well as functional way.

RenoQuotes.com • 15 Nov 2023
Deciding whether or not to renovate a house can sometimes be a hard decision to make. You might not be sure that you need it or could find it difficult to get the ball rolling. Still, every year many people go through with their renovation projects, either through necessity or due to a need for change.

Amanda Harvey • 07 Nov 2023
When building a new home, air barriers are not always part of the equation. However, air barriers are crucial structures that assist in aiding with energy efficiency as well as maintaining a comfortable and cozy home environment.

RenoQuotes.com • 07 Nov 2023
Office, restaurant, storefront or shop; regardless of the type of project, a commercial renovation can help your business to grow and expand its success. So, working with the right person is essential, but how do you choose them?

RenoQuotes.com • 14 Mar 2024
Working on a construction site has its fair share of risks, regardless of the nature of the work involved. Since worker safety is an ever-present concern, it requires the cooperation of quite a few players. Therefore, last October, the CNESST initiated an awareness campaign, targeting construction industry workers, employers, general contractors, and affiliated individuals in the province of Quebec.