Aluminum Gutters: Providing Optimal Structural Protection
By Editorial Team
Updated on October 25, 2024
Aluminum gutters are not only a long-term investment but also offer key benefits, such as:
Preventing foundation erosion
Preserving roof integrity
How do aluminum gutters compare to other options? What’s their cost, and how are they installed? Find everything you need to know about aluminum gutters below.
What Type of Gutter Best Suits Your Home: PVC, Aluminum, or Zinc?

Source: Canva
Nowadays, PVC, zinc, and aluminum are the top three materials used to make gutters. In some Canadian provinces, aluminum and PVC are favoured over zinc, which is more expensive.
Advantages and Drawbacks
All three, aluminum, PVC, and zinc gutters, have their advantages and drawbacks, which we listed in the chart below:
Material | Pros | Cons |
PVC | - DIY-friendly | - Not compatible with drinking water (except if certified) |
Aluminum | - Highly resistant | - Dents easily |
Zinc | - Very durable (over 40 years) | - Oxidizes when exposed to iodized air |
Colours Available
Aluminum gutters have, by far, the largest colour palette. Manufacturers can show off, on the spot, a colour chart with at least 24 different shades, including:
Black
Red
Cyan
Cream white
etc.
You can most certainly choose one colour for your aluminum rain gutter and another for your downspout. The most important factor is that the colour matches the following:
Siding/cladding
Shutters
Door and window frames
Aluminum gutters are the only type of gutter available in such a variety of colours.
Cost of Aluminum Gutters
On that note, below are a few price points for reference purposes only:
Aluminum gutter: between $4.50 and $11 per linear foot
Gutter system downspout (120-in L x 2 ⅕-inch W): $20
Connector: $9
Drop outlet (gutter’s end): $7
Corner gutter: $26
End cap: $3
Gutter spitter: $4
Downspout band for gutter: $2
Gutter leaf guard: $70
Prices not only hinge on the length of the gutter and downspout but also on the roof’s surface area.
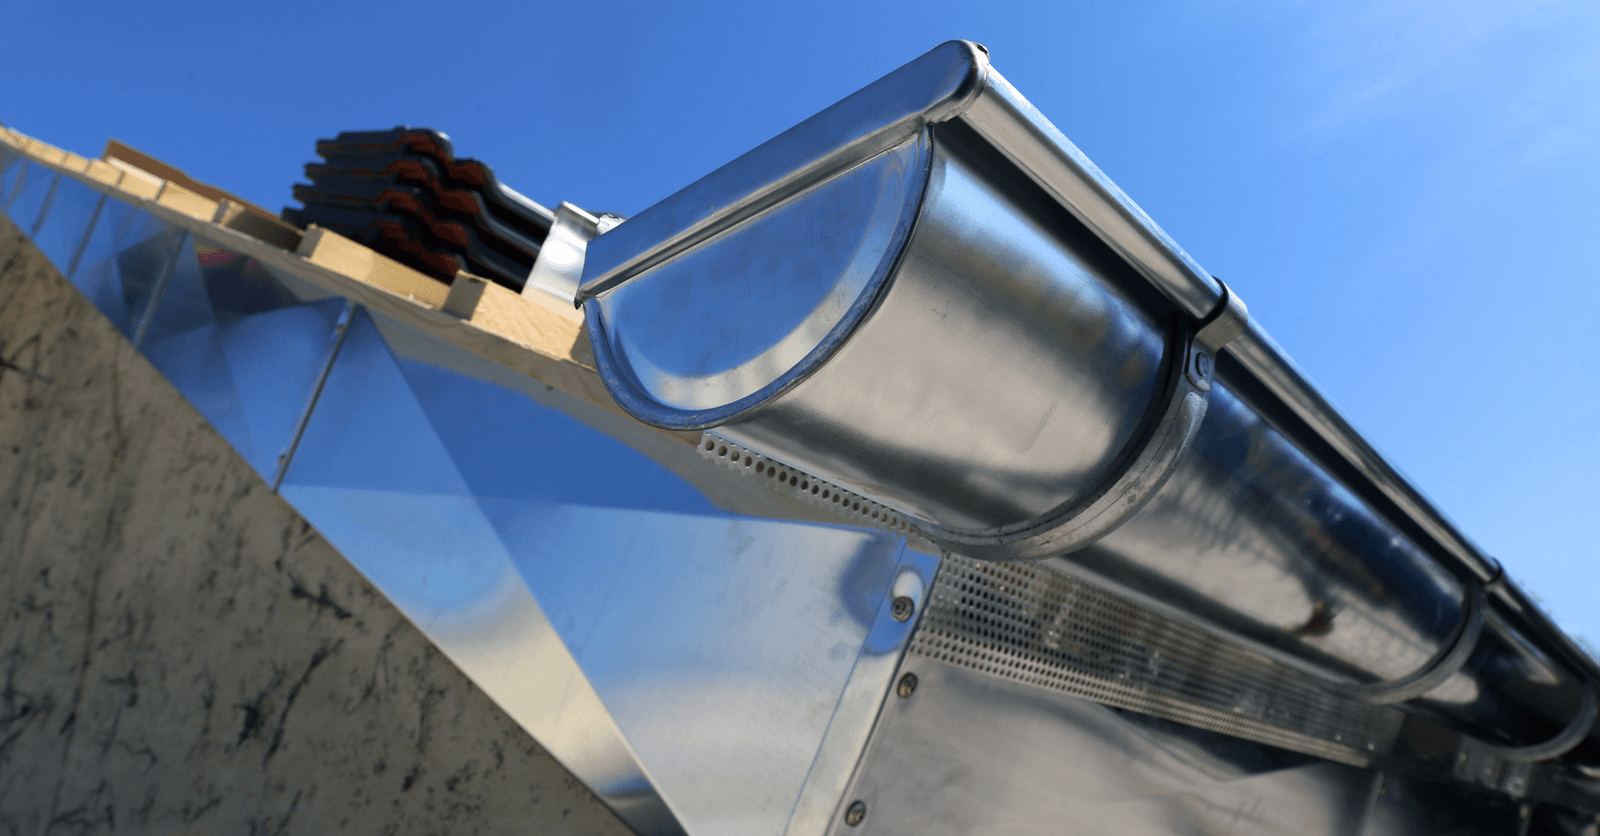
Note that there are two types of aluminum gutters:
K-style gutters have a flat bottom with folded sides making them very robust
J-style gutters are rounder with fewer folds, making them less robust and less aesthetic.
For more information, check out our article Rain Gutter Installation Costs.
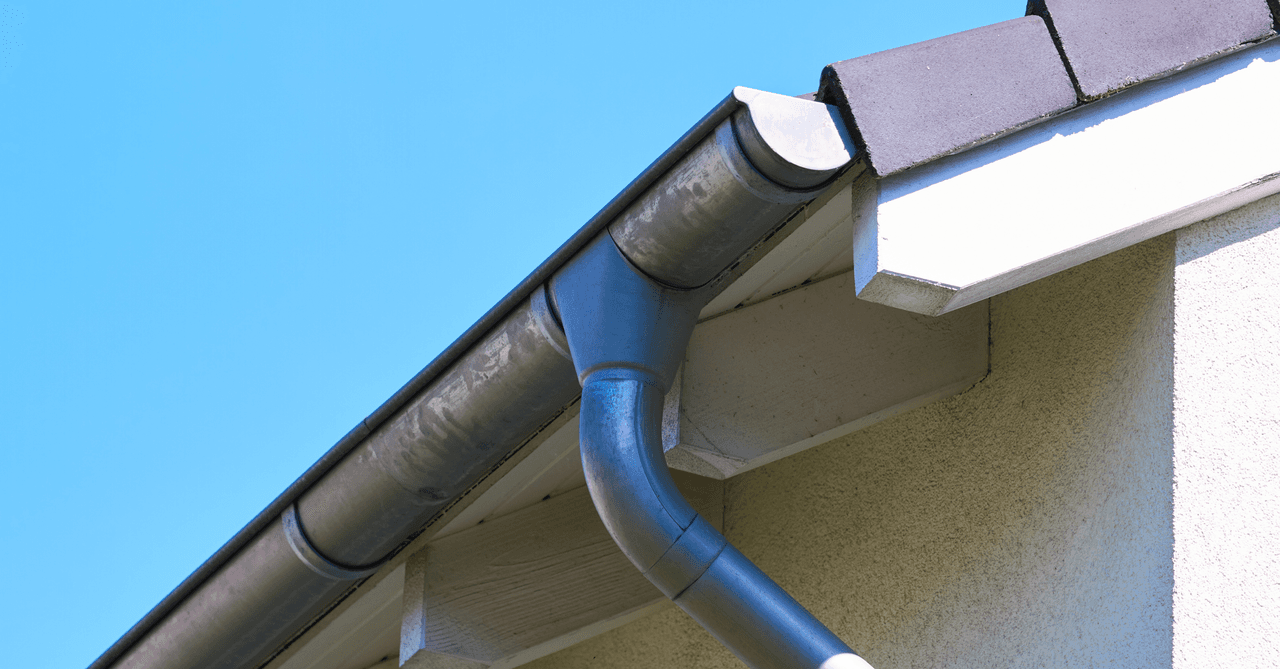
Installing Aluminum Rain Gutters
Source: Canva
The best aluminum gutters on the market are custom-made—they’re seamless! Since an aluminum rain gutter can measure up to 500 feet (152 m) without needing a seam or joint, there’s no doubt that it needs to fit your roof like a glove.
How to Cut and Install a Gutter
However, if for any reason whatsoever you wish to cut your aluminum gutter prior to installing it, here are some guidelines:
Step 1: Measure and mark the cut
There's a simple way to mark a cut on a gutter. Grab a thick sheet of paper and place it over the gutter. The edge of the sheet of paper will mimic the aluminum gutter's shape and serve as a makeshift ruler.
Step 2: Cut the gutter
Use a hack saw to cut your aluminum gutter. Using one of those metal-cutting tools will get the job done in seconds.
Step 3: Fasten the hangers
Hangers are fitted every 16 inches (40 cm). These hangers are installed through the gutter and allow you to attach the gutter to the fascia.
Step 4: Install the connector
If you need a connector, best install it prior to attaching the gutter. If so, follow these 3 steps:
Apply silicone sealant
Start from the outside
Overlap by 2 inches (5 cm)
Step 5: Secure the gutters
To secure the aluminum gutter to the fascia, screw it through the hangers. However, note that your gutter has to have a 0.07-inch (2 mm) incline every 3.2 feet (1 metre).
Therefore, prior to jumping right in, mark where the hangers will the fitted on the fascia. Don’t forget about the slope!
Step 6: Glue on the end caps
The gutter end caps are adhesive. But, before sticking them on, make sure they're watertight by applying a sealant, just like you did with the connector.
Step 7: Select a downspout
When it comes to a downspout, you have two options:
A-style elbow (front-facing)
B-style elbow (right- or left-facing)
Using an A-style downspout elbow, attach the drop end to the gutter, sealing it with silicone, the same way you would the connector.
When mounting it, ensure that it extends beyond the siding by at least 10 inches (25 cm), but no more than 12 inches (30 cm) from the fascia bracket.
Anywhere under 10 inches, you may need to design a custom downspout elbow, known as a swan neck connector. Anything over 12 inches, add a curved extension to your downspout.
When it comes to a B-style downspout elbow, meaning one that runs to the right or left of the wall, you’ll absolutely need an offset bend between the two elbows.
Step 8: Secure the downspout
To secure the downspout, you’ll need a 0.3-inch wide (8 mm) concrete bit. With it, drill into the wall, positioning the smaller part of the fasteners.
The larger part is secured directly onto the pipe with 4 drywall screws. To do so, mark the downspout where the fastener will be after having positioned it without tightening it.
Once all the fasteners are positioned, simply secure the gutter by tightening the fasteners with drywall screws.
For proper installation, plan for 1 fastener at every 3 feet (1 fastener for every metre).
Necessary Accessories
Downspout
The downspout or waterspout is attached to what’s known as the drop end, the section of the gutter with an outlet, allowing water to flow out of the gutter and into the downspout.
The end bit of the drain spout can be fitted with a splash block or be channelled into a dry well.
Hanger
Aluminum gutter hangers are fitted inside the gutter channel every 16 inches. These hangers are screwed through the gutter and into the fascia.
Elbow
The elbow is what allows the downspout to run down the roof alongside the building. Including the downspout extension or splash guard, which is also an elbow, you’ll need two additional elbows:
1 elbow located near the drop outlet
1 elbow secured to the one above it, but pointing down
Leaf Guard
Gutter guards aren’t mandatory, but will help prevent many little annoyances, especially if you live in a wooded area. In fact, a gutter guard is a screen mesh or guard that prevents wind-blown leaves or other debris from settling in your gutter.
Why is installing a leaf guard important if you already have a lead spitter? Simply because without a lead guard, leaves and other debris will swiftly build up atop the gutter spitter.
The outcome is rather straightforward: the drop outlet will clog and the gutter will overflow. Whereas, with a gutter guard, leaves will still accumulate atop the mesh, but won’t prevent rainwater from flowing along the gutter to the drop outlet.
Either way, you still need to regularly maintain your gutters to prevent them from annoyingly overflowing.
Aluminum Gutter Maintenance
Source: Canva
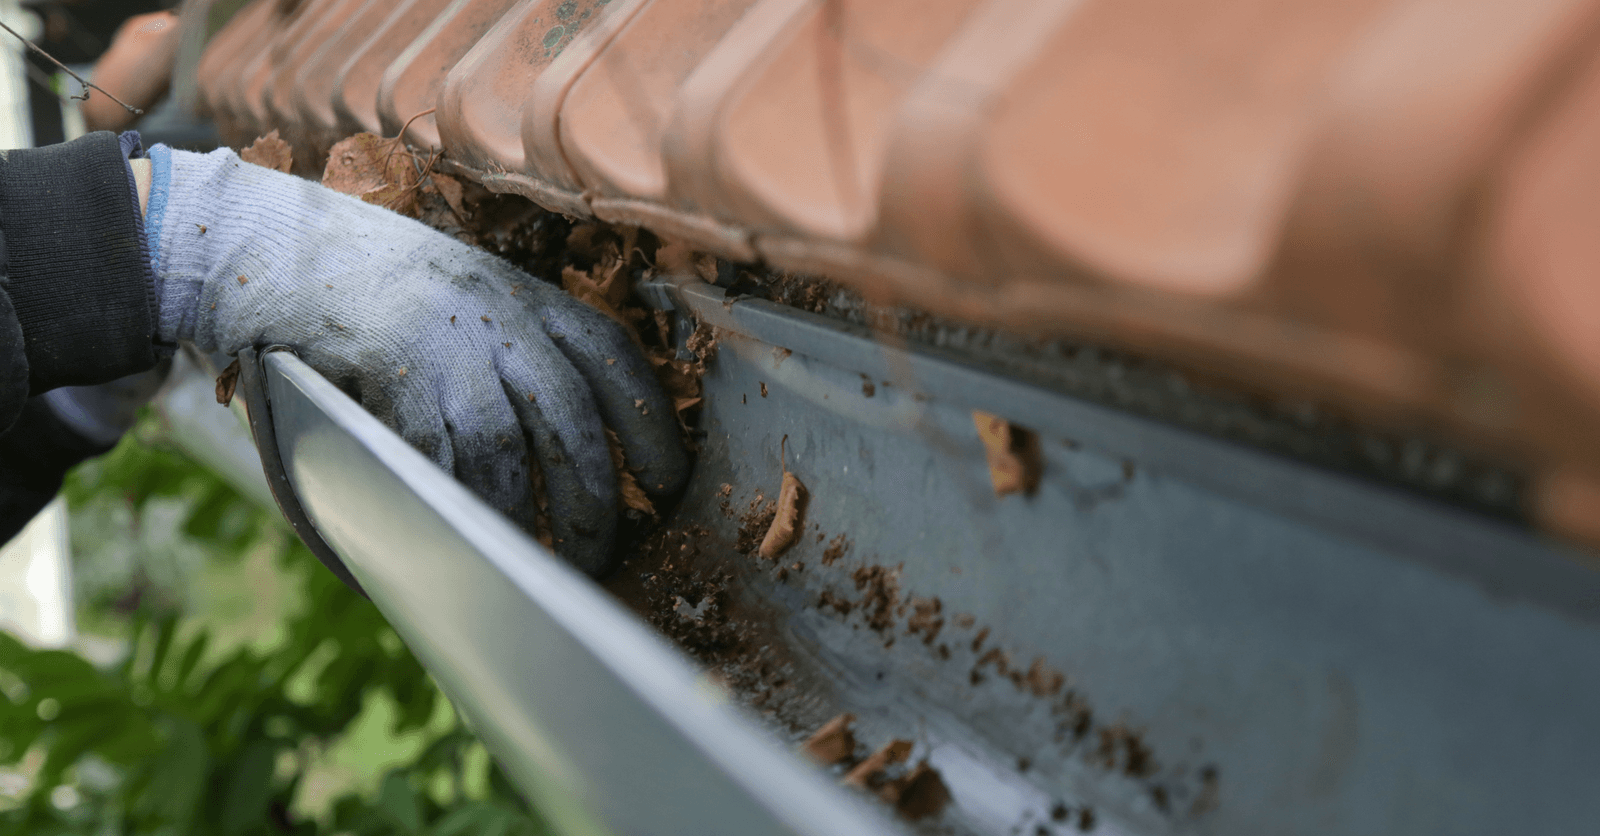
How Do You Clean Gutters?
Once a year, and after every storm, climb up the side of your roof and inspect your gutters. You’ll most likely find leaves, small branches, twigs, or whatever the wind might have blown your way.
There’s nothing sorcerous about inspecting your gutters—you can either remove all debris by hand (with gloves on) or with a small plastic shovel, like one a kid might use.
Dump the debris into a bucket or onto a tarp. Then, you can hose down your gutters with water to clean them, but check for potential leaks, too.
For more information, check out our article How to Clean Gutters.
How Do You Repair Rain Gutters?
Aluminum rain gutters can puncture over time. Or, can be punctured by whatever wind-blown debris is found inside. If so, to repair it, get a hold of the following:
A piece of aluminum
Some sort of tar coating
The same metal prevents galvanized corrosion, meaning corrosion led on by the incompatibility between two types of metals. A tar coating can be used to fix a section of the metal gutter or fill in a gap.
However, prior to jumping right in, clean the gutter and scrub it with a wire brush to remove all dirt and stains.
For more information, check out our article How to Repair a Leaky Gutter.
Aluminum Gutters: Ensuring Your Home Is Well Protected
Aluminum rain gutters stand out as the best choice to adequately shield your home from rainwater or snow. Their exceptional durability, corrosion resistance, and superior rainwater drainage capacity ensure comprehensive protection against moisture-related damages, water leaks, or foundation deterioration. Furthermore, aluminum’s lightweight nature, low maintenance, and recyclability make it the most eco-conscious choice.
Looking for something else?
Related articles
The latest industry news, interviews, technologies, and resources.

Editorial Team
•17 Apr 2024
Are you planning on building a deck in your backyard, but aren’t sure which type of foundation to install? Your patience has been rewarded! Have you ever thought of piles? It’s a cost-effective, eco-friendly, and simple solution, one that’s been developed by a Quebec-based company that’s also a global market leader.

Editorial Team
•03 Jun 2024
Demolition may be one of the more exciting parts of construction, as you witness floors, walls, and ceilings can all come down within an instant. While demolitions can be fast, thrilling, and messy, this doesn’t mean that they can be completed mindlessly.
Editorial Team
•27 Apr 2026
Plumbing renovations aren’t exactly gripping. As much as you’d like to put it off, at times, whether you like it or not, the right time is right now. This is all the more likely during a kitchen, bathroom, or basement renovation.

Cynthia Pigeon
•11 Jun 2026
Whether you are planning the complete transformation of an ancestral duplex on Plateau-Mont-Royal, modernizing a suburban kitchen, or fully redesigning corporate offices in downtown Québec City, interior demolition is the crucial first step in your project. Often referred to as “stripping” when the goal is to expose the structure, this type of work requires far more than sledgehammers and manpower.

Editorial Team
•06 Dec 2025
Pretty much all renovation projects consume a significant amount of time, money and patience. Of course, the reason most homeowners take on a renovation is to improve their quality of life as well as their home resale value.