
Typically, the roof is the largest surface of a building. And, because of that, contractors are awarding more importance to this structural element during construction projects. That said, the inverted roof is one of the most durable and dependable options available.
Inverted Roof: Definition
Also known as the “upside down” roof, the inverted roof is becoming an increasingly popular alternative to traditional roofs. One of the key advantages of this roofing method is that the membrane is safeguarded against thermal expansion and contraction, which is a direct result of weather fluctuations, such as freeze-thaw weathering and solar radiation, by an insulation layer. It’s also protected against damage often caused by foot traffic on the rooftop, temporary equipment movement, etc.
As previously mentioned, these systems are roofing structures in which a waterproof membrane is positioned beneath the insulation layer. This so-called “inverted” sequence means that the roofing structure is first and foremost impermeable, then insulated, and then ballasted with gravel or concrete paving slabs. Ballasting prevents the insulation layer from being wind-lifted.
This type of roof doesn’t require additional air or vapour barriers, as the waterproof membrane is positioned beneath the insulation layer, which fulfills that very role. The waterproof membrane’s position is instrumental in protecting against the elements, UV rays, rapid temperature changes, and mechanical damage. Therefore, using this membrane is highly recommended in situations where the roofing space requires the manoeuvring and storage of plants and materials. Furthermore, these are also well-adapted for buildings with frequent vehicle and foot traffic.

Source: Flickr
Are you looking for experts to tackle your roofing project?
Fill out our form to receive quotes from certified contractors!
Inverted Roof: Features
An inverted roof is characterized by the following elements, according to their respective layers (from outside, in):
Ballast or concrete slab on supports (made of stone, gravel, or slabs on blocks);
Water flow reducing layer;
Rigid thermal insulation;
Draining layer (optional);
Liquid waterproofing layer;
Screed (layer of material stabilizer used to level or coat);
Structural slab/deck;
Internal finish.
MM6125 Inverted Roof
The monolithic membrane 6125 (MM6125) is a flexible, tough, and thick, hot fluid-applied bitumen membrane. Said membrane is heated and paired with a layer of reinforced and protective polyester to then form a waterproof layer that’s 100% adherent.
It has been successfully used worldwide by architects and engineers as a covering and/or waterproofing membrane, typically, on concrete substrates, for vertical or horizontal applications (terraces, parking lots, reflecting pools, mechanical room floor underlayment, foundation walls, tunnels, planters, etc.).
More so, it offers the following advantages:
It can be applied in temperatures as low as -18°C and isn’t affected by extreme weather conditions immediately after installation.
The MM6125 is designed with an inert filler consisting of up to 40% post-consumer recycled material, such as recycled oil and tires. This increases durability.
It’s especially resistant to fertilizers, cleanings, acid rain, and methane.
It binds tenaciously to the substrate, making it ideal for heavy-duty green roofs, platforms, and waterproofing projects.
Inverted Roofs: Types
Monolithic membrane
To mitigate drawbacks, which are often a direct result of a roofing system’s joints, a rather simple solution, and quite obvious at that, consists of not having any joints at all. With a monolithic membrane, the liquid waterproofing system (rubber bitumen) is applied in adhesive layers to provide a roofing surface that’s entirely devoid of joints.
This results in an adhesive protective membrane that’s sealed against humidity, thereby eliminating leaks and costly maintenance directly linked to non-monolithic systems. The necessary maintenance is mainly with the drains; it’s actually recommended to call in a specialist in the trade to carry out the work.
Furthermore, in terms of advantages, monolithic membranes are known to last more or less 25 years, all the while remaining flexible to structural movement to minimize damages.
Elastomeric membrane
This roofing system greatly differs from regular tar and gravel roofs. It’s actually a much more sophisticated two-layer system, made up of a base sheet and a finishing layer (coloured on the surface). The base sheet can be screwed or glued to the support and the top layer welded to the base sheet. Also, all the joints are hot-welded to ensure that the membrane fuses in place.
Elastomeric membranes are applied to a number of different types of roofs to protect and waterproof the underlying roofing materials, eliminate and prevent leaks, and limit any damages resulting from future harsh weather conditions. They’re also designed to move with instead of against the roof and are more flexible, rather than rigid, thus making them especially durable. Moreso, the top (finishing) layer protects the roofing system from harmful UV rays and the elements.
In terms of advantages, the elastomeric membrane is aesthetically pleasing. Its overall resistance is quite remarkable and requires little maintenance. It also significantly reduces heat islands, a practical feature in urban areas.
Now, as for maintenance, the elastomeric membrane is very low-maintenance. However, a bi-yearly, seasonal (fall and spring) visual inspection is recommended.
Protected membrane blue roof
This easy-to-implement option is ideal for utility roofs that aren’t designed for users, like green or blue roofs that aren’t people-friendly (so devoid of a terrace, garden, play or lounge area, etc.). It can be made from the MM6125 system, using standard stone slabs as ballast. Here, the water from the inverted roof is stored in the voids between the stones and up to the required level above the ballast.
There’s also a terrace version, one in which the void beneath the architectural slab (heavier and thicker) can be used to store larger quantities of rainwater. The slab supports can be adjusted and placed higher up to generate a larger volume of water if necessary.
This system also facilitates water drainage beneath the slabs toward concealed drains, which in turn expedites the slab drying time, all the while reducing the quantity of stagnant water and trapped moisture.
Additionally, all the assembly parts are easily accessible. Therefore, simply lift the pavers off your flat, inverted roof to repair, replace, or maintain a specific section.

Source: David Mark - Pixabay
When a roofing structure’s waterproofing system isn’t directly adhered to its support, it’s commonly referred to as independently installed. Therefore, it must be ballasted. The ballast is an independent feature that’s affixed to the insulation to maintain its positioning (due to its weight). The weight of the ballast is determined according to their load. In cases of inverted roofs, the insulation is placed between the waterproofing layer and the ballast.
The inverted roof’s ballast enables its resistance to the insulation layer’s potential flapping caused by particularly heavy rains. It also protects the insulation and/or the waterproofing layer from UV ray deterioration.
The most commonly employed materials are gravel, soil, and patio slabs. A possible alternative to the latter is screed, while a green roof covering can also be used as ballast if its weight is suitable. Furthermore, if you can get your hands on an inverted anti-root roof, the barrier needs to be applied directly to the waterproofing layer below the thermal insulation.
The inverted roof offers considerable advantages in terms of durability. As a matter of fact, the insulation material and the whole of the roof’s construction are optimally protected against exterior weather conditions. Therefore, the roof is less likely to expand or shrink, which reduces the risks of tears or the roof covering bursting. Also, the potential money-saving opportunities of an inverted roof are significant. This makes it an excellent option, especially for flat commercial roofs.
Get 3 renovation quotes for your roofing project
RenoQuotes.com will put you in contact with 3 reliable contractors for your roofing renovation project. Fill in the form on our homepage (it only takes a few minutes), and you will receive quotes from trusted professionals.
Dial 1-844 828-1588 to speak with one of our customer service representatives.
Looking for something else?
Related articles
The latest industry news, interviews, technologies, and resources.
Editorial Team
•29 May 2026
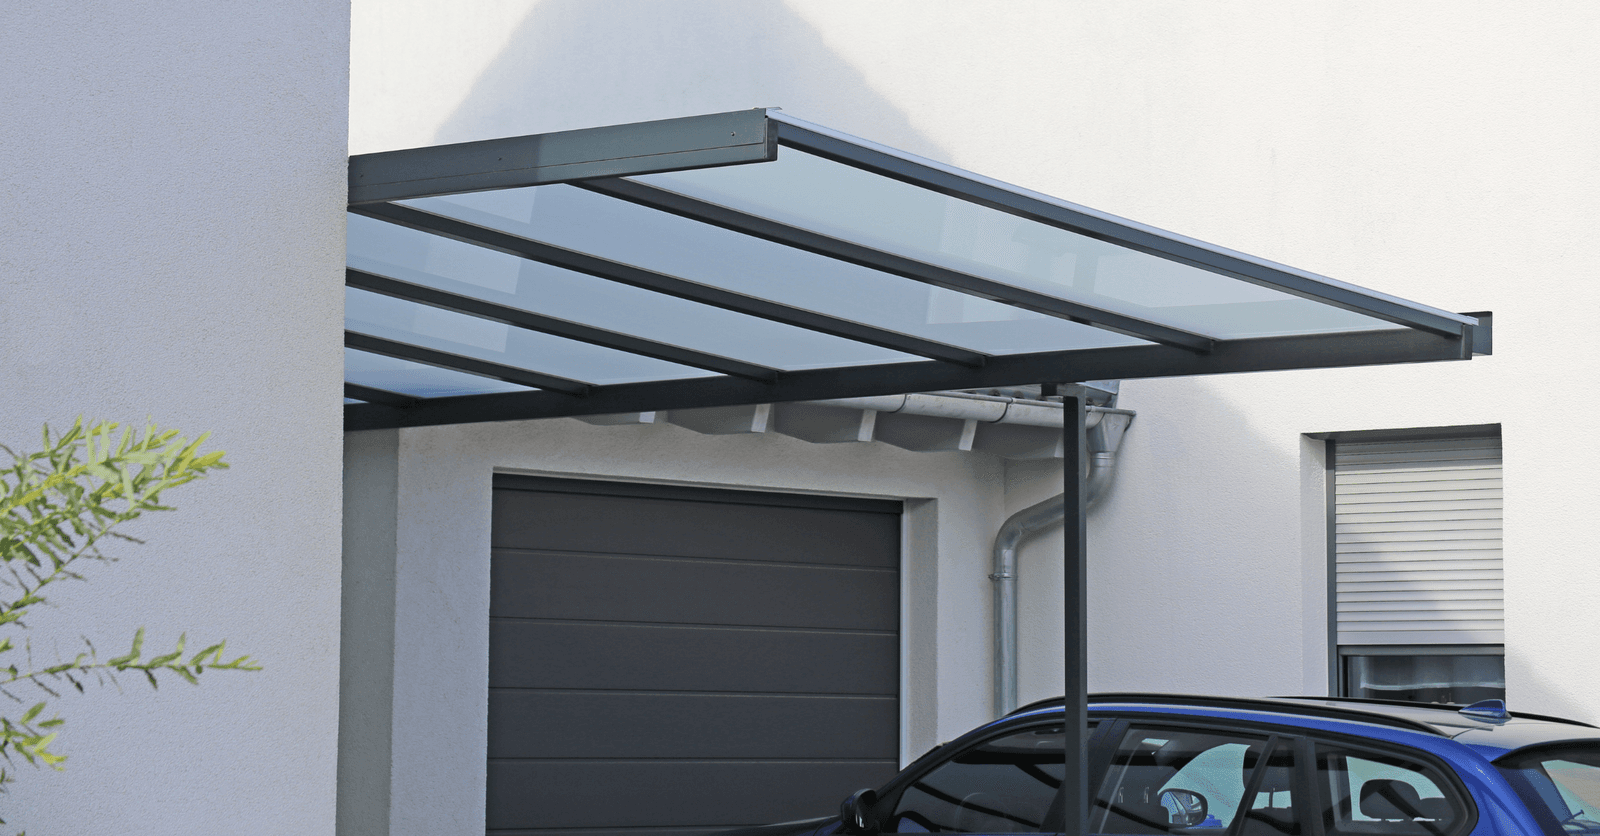
In Canada, vehicles are often exposed to bad weather, and during the winter, many turn to temporary solutions to protect their cars. However, there are more aesthetic and durable options out there, some requiring less space than a garage.

Editorial Team
•12 Jun 2024
Learn all about turfstone pavers, an eco-friendly and modern solution for your landscaping needs. Whether made of concrete or recycled plastic, these permeable pavers, which were inspired by European innovations, can transform any and all outdoor spaces into genuine works of art. Turfstone pavers make for a sustainable alternative to traditional paving methods, allowing water to seep right through, nourishing the ground. Furthermore, these pavers are super easy to install and are retailed at an affordable price.

Editorial Team
•08 Nov 2023
There’s no beating around the bush, toilets are the thrones of the home. These fixtures are an important aspect of the overall comfort, and thus choosing the right one makes a huge difference.
Editorial Team
•08 Nov 2023
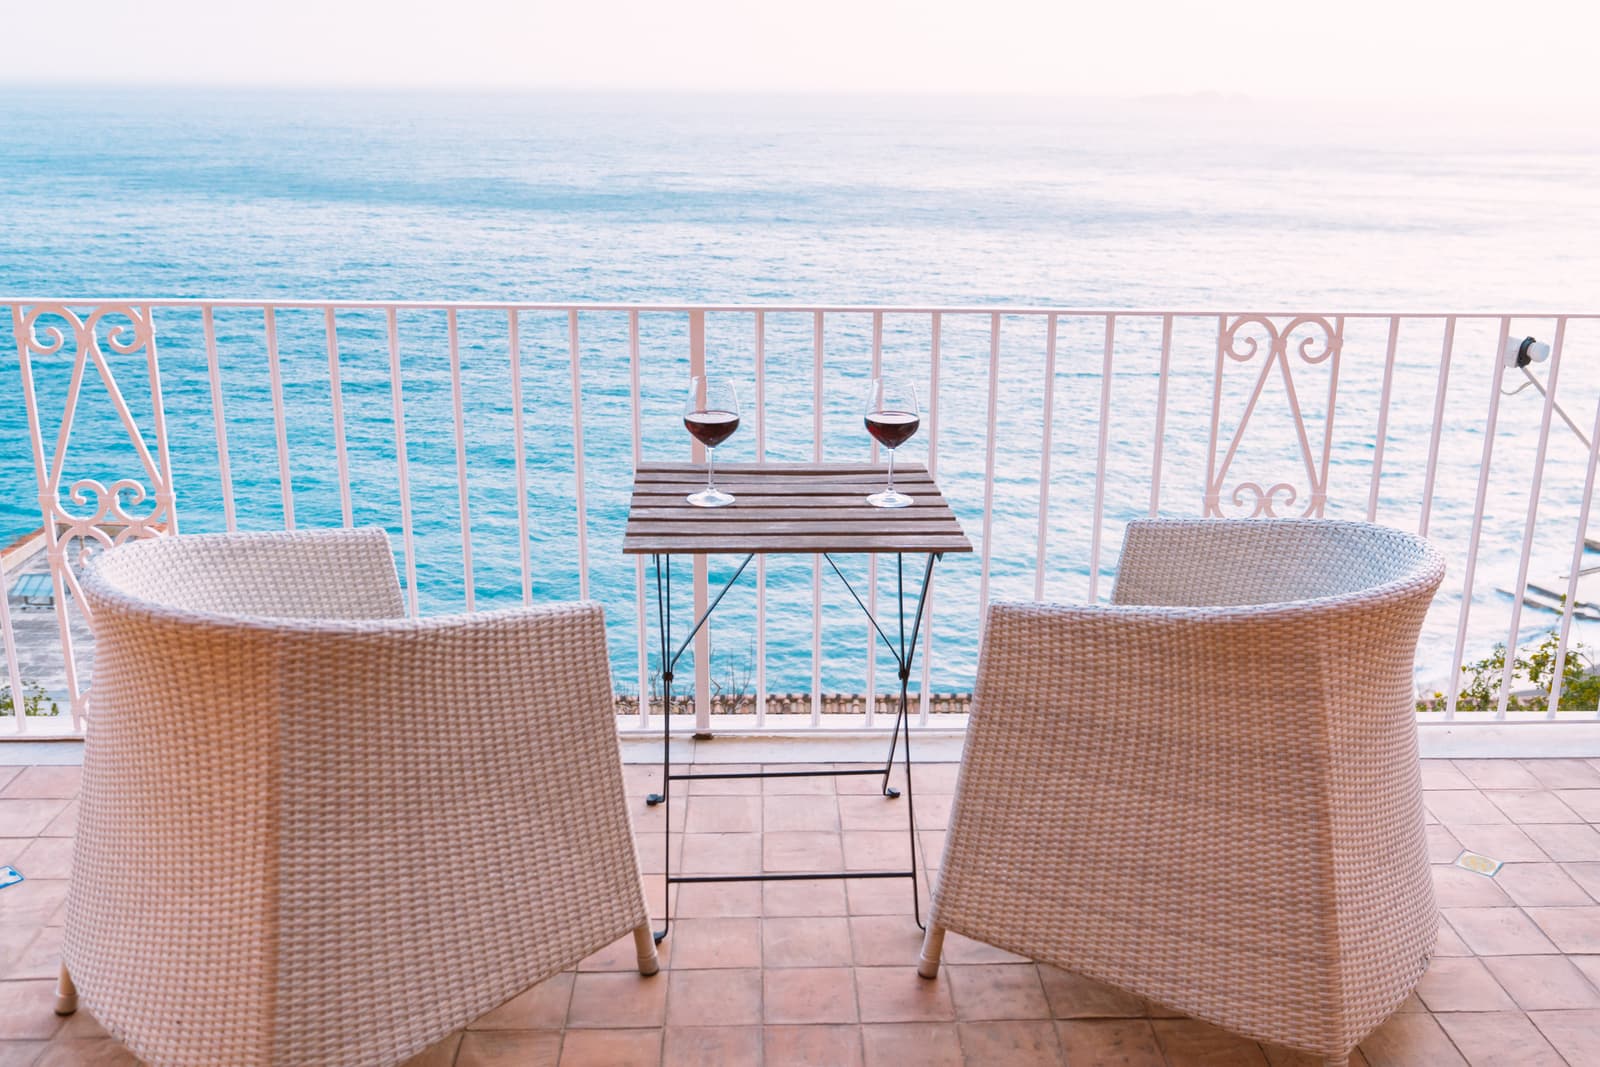
For city dwellers who live in multi-storey buildings, the balcony makes the outside world accessible. It’s a little corner where we can rest, a place to enjoy the sun and maybe even, to set up a small garden. Houses located in the countryside or in the suburbs are also sometimes equipped with balconies, but their role is less important. This is because the occupants of the house generally have access to a yard or other large green spaces.

Editorial Team
•08 Nov 2023
Obviously, the roof is a tough spot to keep tabs on. It’s difficult to access and hard to survey, and thus, is likely not at the top of your list for parts of your home that need regular care and maintenance. Since your roof does significantly protect your household, it’s important that you begin to conceive of ways to pay attention to it. It gathers a significant amount of dirt, dust, grime, and debris and as a result, requires cleaning. But how can you access and clean your roof safely? Since you’ll be up high and likely on a slant, there are specific safety precautions that will need to be considered before you climb up on a ladder. For all of the necessary measures, read on!