
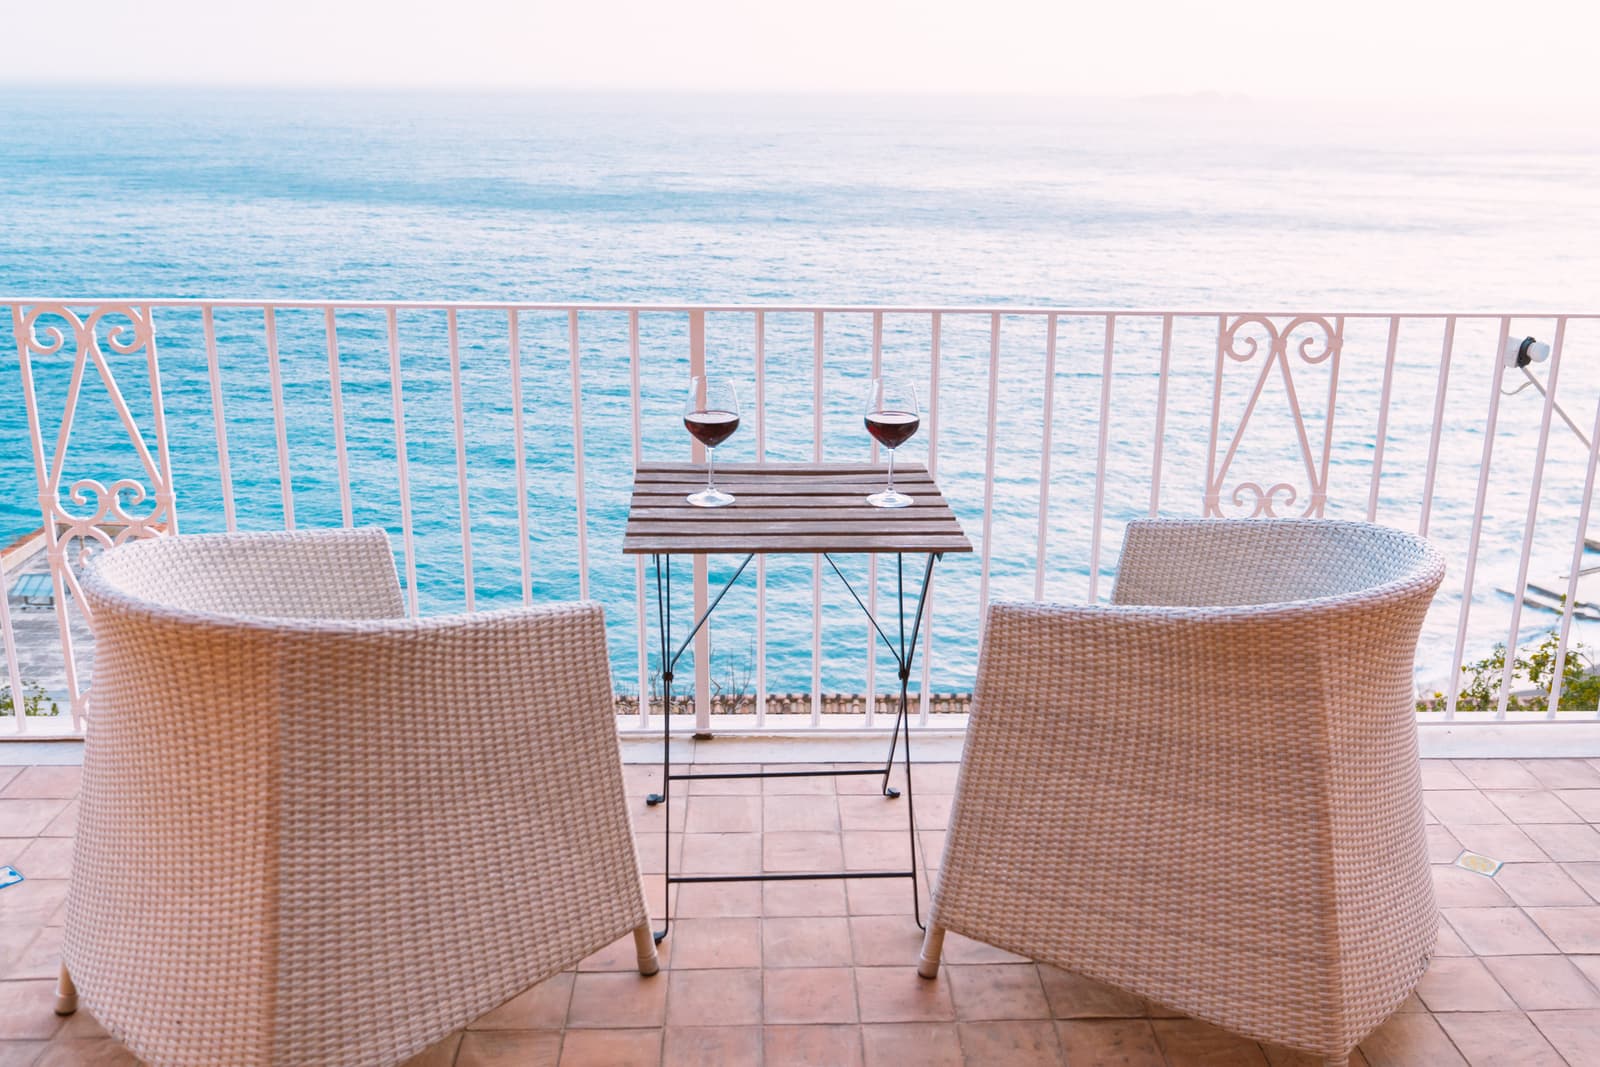
If you’re lucky enough to have a balcony on the facade of your home, it can be guaranteed that you’ll be spending a significant amount of time enjoying it. As beautiful as a balcony is, it likely sits high in the air and therefore, involves a risk of danger. If you have small children in your household or are simply looking for some extra support, we would recommend installing a balcony guardrail.
This project can be completed by even the most novice of homeowners, however, it must be done carefully. Luckily, we are here to offer the tools and steps for you to carry out this project without a hitch. So, if you’re curious about how to make your balcony safer while you’re having that after-dinner glass of wine, read on!
Here's how to install a balcony guardrail!
Get everything in order

source: Pixabay
Some homes may have a balcony which is very old, and thus, no longer up to code. There are both national codes as well as provincial ones that you will need to look into regarding where your balcony stands. However, we recommend checking with your local municipality before beginning this project. For some, you may have to apply for a permit to do any major renovations, so take the time to research before going forward with the installation.
If you are working with a contractor, they will likely know about the current codes. If you are choosing to do the work alone, make sure you understand what is involved, as you could be held liable for any damage or injury resulting from improperly built structures. Further, if you’re interested in applying for insurance, companies can cease coverage if the guardrail has been installed incorrectly.
Aside from considering the laws regarding installation, it is important to check the requirements for the guardrail itself. Guardrails will have both a minimum height and spacing requirement, as openings between poles will need to be of specific dimensions. Further, in most provinces, it is paramount that guardrails are not climbable. Again, it is recommended that you research the specifics instead of running blindly into this renovation. There is a lot at risk with this renovation project, so don't cut corners.
Gather materials
This may be a challenging task, but once permits and materials are gathered, moving forward with this project won’t prove as tough. First, measure the length of the space where the guardrails will be. It is important to determine how many balusters are necessary for the project, where they will be placed, and how far apart you want them to be. To determine these factors, simply add the width of the baluster with the space between each post.
Then divide the length between the two posts by the number, and this will determine how many balusters you require. Make your way to your local hardware store and purchase materials accordingly. Aside from the necessary materials, you will require tools to complete the job, and these include a circular saw as well as a regular saw, a chisel and a hammer.
Notch the railing posts
Time to get started! Use measuring tape to measure the distance to the joist, and from that minus ½ inch, marking this spot following. After the spot has been marked, grab your saw and use it to make several cuts or slashes close to each other, roughly half an inch deep. Following the slashes, use a chisel and hammer to remove the material left in the notch. Now, cut a 45-degree bevel on the bottom outside of the post. Next, place the post against the joist and drill two holes through both the post and the joist. Then, place the bolts through the hole to secure them. Repeat these steps on either side for all posts.
Cut and install guardrails

source: Pixabay
Now, it is time to cut and install the balusters that you have purchased. If you have a pre-existing railing on your balcony, the balusters made need to be cut in accordance with their height and now would be the time to do this. Next, insert both the top and bottom rail where you measured, and screw these in from the bottom of the balcony. Be extra careful completing the step, as it may be slightly tricky depending on the layout and location of your balcony. It may be necessary to use a spacer, this way you can know how far apart the balusters will be.
Repeat these steps to install each baluster, measuring as you move through the process. Following this, your guardrail will be fully installed! Make sure all connections are tight and that the railing itself is sturdy. If you find any loose nuts or bolts, tighten these accordingly. Now, you should feel safe enjoying those sweltering summer nights on your balcony.
Get 3 renovation quotes for your balcony guardrail installation project
RenoQuotes.com can help you get quotes for your balcony guardrail project. By submitting your project, we’ll put you in contact with top-rated contractors. Fill in the form on the homepage (it only takes a few minutes), and you will get estimates from trusted professionals.
Dial 1-844 828-1588 to speak with one of our customer service representatives.
Looking for something else?
Related articles
The latest industry news, interviews, technologies, and resources.

Cynthia Pigeon
•08 Nov 2023
Soffits are a key part of your house’s roof design. Found under the edge of the roof, it often comes in the form of a ventilated aluminum panel. Placed horizontally, it is supported by profiles secured in the building’s structure and covers the entire eave, between the fascia and the siding.
Editorial Team
•08 Nov 2023
For city dwellers who live in multi-storey buildings, the balcony makes the outside world accessible. It’s a little corner where we can rest, a place to enjoy the sun and maybe even, to set up a small garden. Houses located in the countryside or in the suburbs are also sometimes equipped with balconies, but their role is less important. This is because the occupants of the house generally have access to a yard or other large green spaces.

Editorial Team
•21 May 2025
When building or renovating a house, the choice of joinery plays a key role in the thermal performance, aesthetics, security, and durability of the dwelling. At a time when energy efficiency and environmental responsibility have become priorities, opting for durable joinery is a decision that is as ecological as it is strategic.
Léa Plourde-Archer
•29 Oct 2024
Are you all about wellness spas and dedicated to improving your well-being? Looking to create something similar in the comfort of your home?
Cynthia Pigeon
•26 May 2026
Planning interior or exterior painting work requires a clear understanding of labour costs. Whether you are a property manager responsible for rental units, a general contractor coordinating a job site, or a commercial or residential property owner, painting can represent a significant budget item.